
We Tried Seven Methods for Tenderizing Steak, and the Best One Was Juicy Perfection
There’s something about eating a perfectly cooked steak, no matter the price point, that feels luxurious. While simple recipes for ingredients like chicken, ground beef, and fish might be common in our everyday dinner rotation, steak exudes a sense of celebration. Whether you enjoy a good steak at a fancy restaurant, on a romantic date, or a cookout with family, there are some useful things to know when it comes to making sure the steak comes out perfectly tender.
So, What Is the Best Way to Tenderize a Steak?
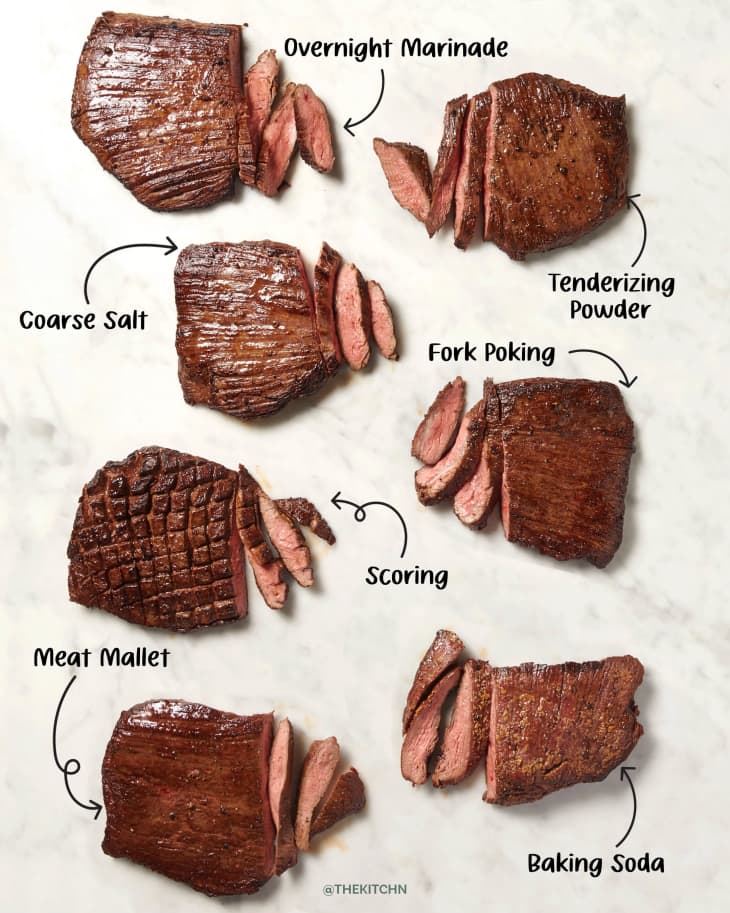
While there are a lot of different methods for tenderizing steak, after testing seven techniques, we found that the best is sprinkling the steak with meat tenderizing powder and letting it sit for about 15 minutes before cooking. The tenderizing powder yielded the most tender results with a small amount of prep. Other methods proved to be decent alternatives to tenderizing steak as well. Read on to learn more about how we found the best way to tenderize steak.
While we’ve all seen or heard of a few common methods for making steak super tender, it’s difficult to discern which ones are truly helpful, and which ones are just for show. Pounding steaks with a mallet, marinating them overnight, and, of course, not overcooking the steak are the more obvious techniques, but what is really the best one for tenderizing steak? To answer this question and uncover a few new approaches, I set out to find out which way gets the job done the best.
How I Found the Best Way to Tenderize Steak
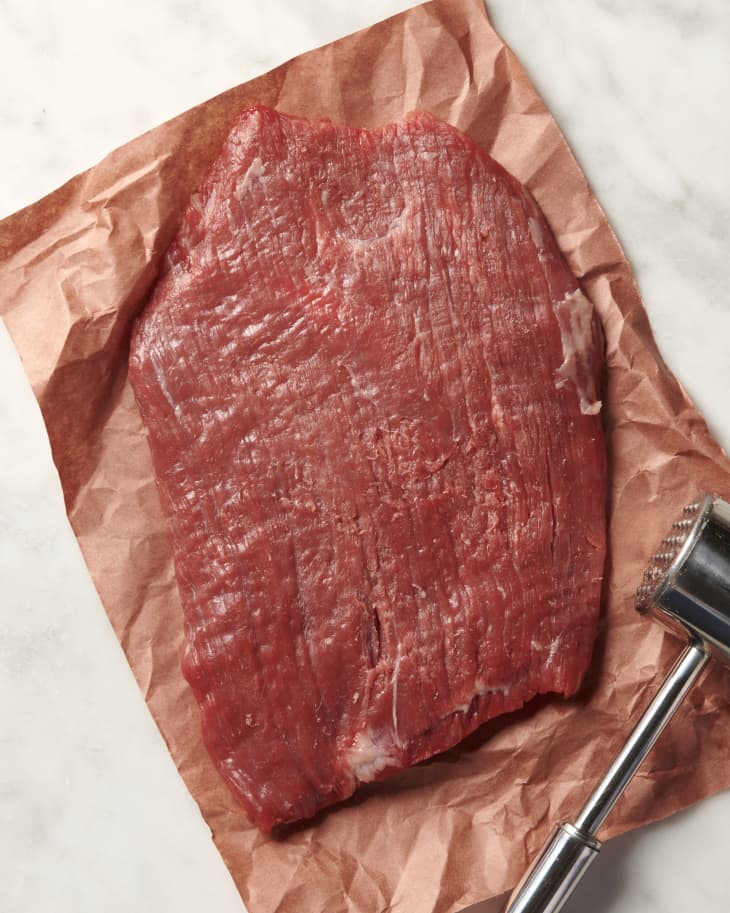
- The steaks: After some research, I ultimately decided to use about 1 1/4-inch-thick flank steaks. I did a lot of thinking when it came to which cut would be the best for testing. My first thought: I wanted a steak that’s thickly cut to be able to tell if it truly tenderized and cooked to a certain temperature that most people are accustomed to. At the same time, some cuts of steak, like filet mignon, ribeye, and New York strip, are prized for their high fat content (aka marbling), which naturally makes them a bit more tender than a leaner cut. Leaner cuts of steak that can benefit from tenderizing include flank, skirt, and brisket.
- The temperature: It’s no secret that everyone likes their steaks a certain way. Many people like theirs either medium-rare or medium, with a good amount of pink in the center, while some can only dig in if the meat is entirely cooked through. It’s worth mentioning that fully cooking a steak, in general, will almost certainly make it tougher and less tender. That said, I know some people don’t like their steak to let out a lot of juices or appear red. So I settled on cooking the steaks to medium doneness to find the best middle ground.
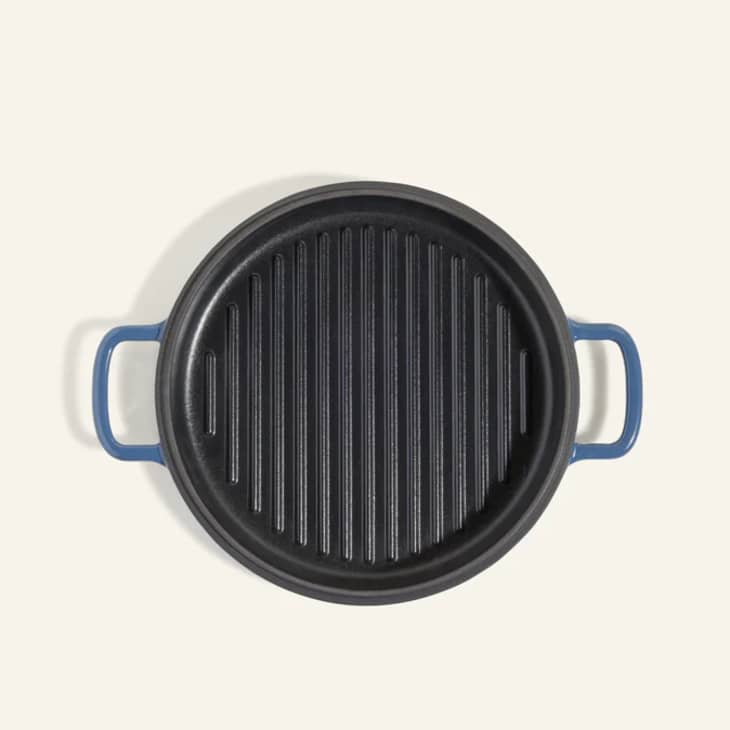
- The cooking method: If you’ve enjoyed steaks cooked in just about every form, then you know that almost nothing is better than a well-cooked steak on the grill. The smoky flavor, the subtle crispness, and the tender center are only something you can achieve over quality grill. The only downside? For a city dweller like myself, backyard and gas grills are basically nonexistent. On the flip side, you can make a decent steak on the stove in a skillet. When you bring those two methods together, like I did, then you have the magic of the cast iron grill pan. This way, I got grill marks and good charring on the steak, but didn’t have to break the bank to get a real grill. I cooked each of the steaks in the oiled skillet on medium-high heat for about five minutes per side before letting them rest for about 10 minutes.
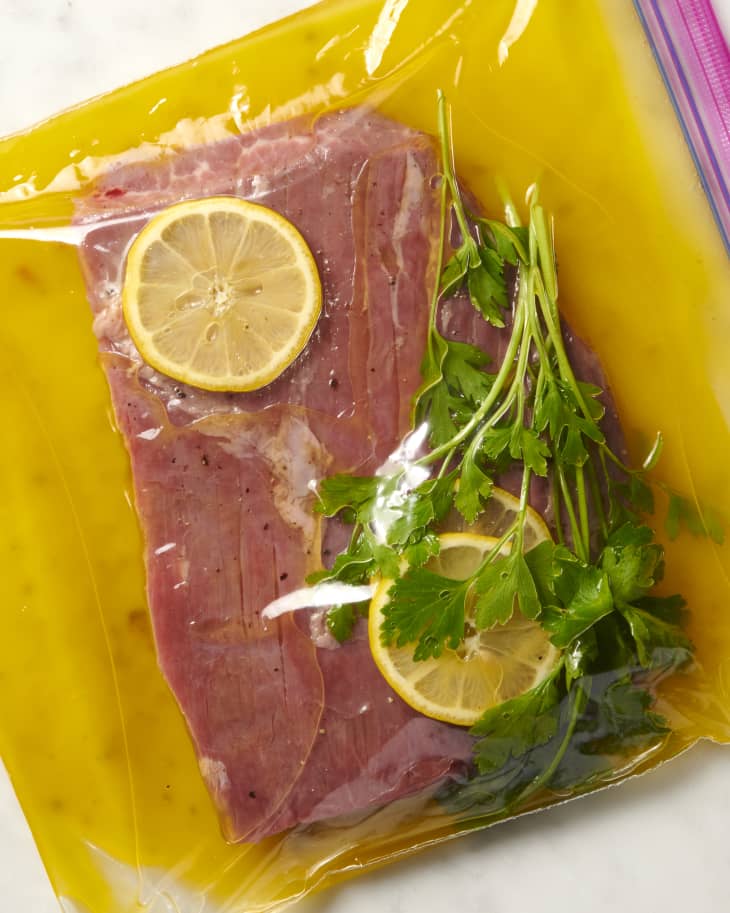
- The seasonings: In terms of seasonings and additional flavors for the steak, I kept things simple with the usual salt and pepper. The only exception in the bunch was the method involving the marinade, which was a generic lemon-pepper marinade from the grocery store. I used this marinade not only because it’s a popular flavor profile, but also because the lemon adds a good amount of flavor and acidity, which is believed to help contribute to a more tender steak.

Steak Tenderizing Method: Salt Brine
Rating: 5/10
About this method: Sprinkling a generous amount of salt over different kinds of foods is a relatively common technique — especially when it comes to vegetables, which carry a lot of excess water. The salt helps draw out the water so the food cooks more efficiently. Additionally, salt is often used for brining meat and poultry, as is the case when making a dry brine for a turkey for Thanksgiving. In the case of dry brining, the salt is meant to draw out the moisture of the meat, and then soak and lock it back into the meat, to ensure a tender piece. This is the same approach when it comes to using the salt brine for the flank steak. I sprinkled the steak with a few teaspoons of kosher salt, let it sit for about 20 minutes, rinsed off the salt, and then added my desired seasonings.
Results: Although this steak was still flavorful and looked great once it was cooked, it wasn’t super tender. One of my main concerns is that 20 minutes isn’t the longest amount of time, and when dry brining a large piece of meat or a bird like a turkey, you often have to dry brine for at least 24 hours to get noticeable results. For something like a flank steak, however, I didn’t think it would need more time since it’s so much smaller. After seeing the results from a 20-minute brine, though, perhaps a longer time would’ve made more of a difference. That said, for a single steak, I don’t know that I’d want to wait more than 30 minutes for a method I wasn’t sure was going to deliver great results.
Steak Tenderizing Method: Pounding with a Meat Mallet
Rating: 5.5/10
About this method: This is likely one of the most commonly recommended methods for tenderizing a piece of meat or poultry. To tenderize meat using a mallet, it’s recommended to lay the meat (or, in this case, flank steak) on a stable work surface, such as a cutting board, and cover it with a sheet of plastic wrap. You’ll want to use a meat mallet that has a coarse side on the end (not the flat side) before pounding the steak with a good amount of force. You don’t want to do it so hard that you’re completely flattening the meat. This method is thought to help tenderize meat by slightly breaking up some of the connective tissue in the steak, making it more tender once it’s cooked.
Results: After letting the meat rest, I gave it a try and made sure to slice it against the grain. To be very honest, the steak was not noticeably tender after using the meat mallet. I had higher hopes for this method to have more of an effect, as it’s such a common technique, but for a thick-cut steak like flank steak, it didn’t seem to make an impact. The meat tasted fine, although it was still a bit tough in some spots — especially closer to the center. Also, I had to buy a meat mallet, which didn’t feel worth it after testing the results.
Steak Tenderizing Method: Marinate Overnight
Rating: 6.5/10
About this method: This method is one that is probably the most straightforward. It’s no secret that marinating meat and poultry, especially overnight, helps to develop a lot of flavor. In addition to building flavor, marinating with a particularly acidic blend, such as the lemon pepper one that I used for this experiment, can help break down some of the natural toughness in the meat and ultimately tenderize the finished steak. So for this method, I marinated my flank steak in a large, plastic, zip-top bag, and let it sit for 24 hours.
Results: Unsurprisingly, this flank steak was super flavorful, and definitely worth waiting the full day. But even with a full day of marinating in a lemon juice-based marinade, the steak was not incredibly tender after it was cooked. Additionally, I think that the marinade subtly affected the appearance of the steak as well. On the outside, the cooked steak had a slightly gray hue to it, and when I cut into it, there was a distinct difference in shade between the outer edges of the meat and the center. In other words, the medium center was not a gradient.
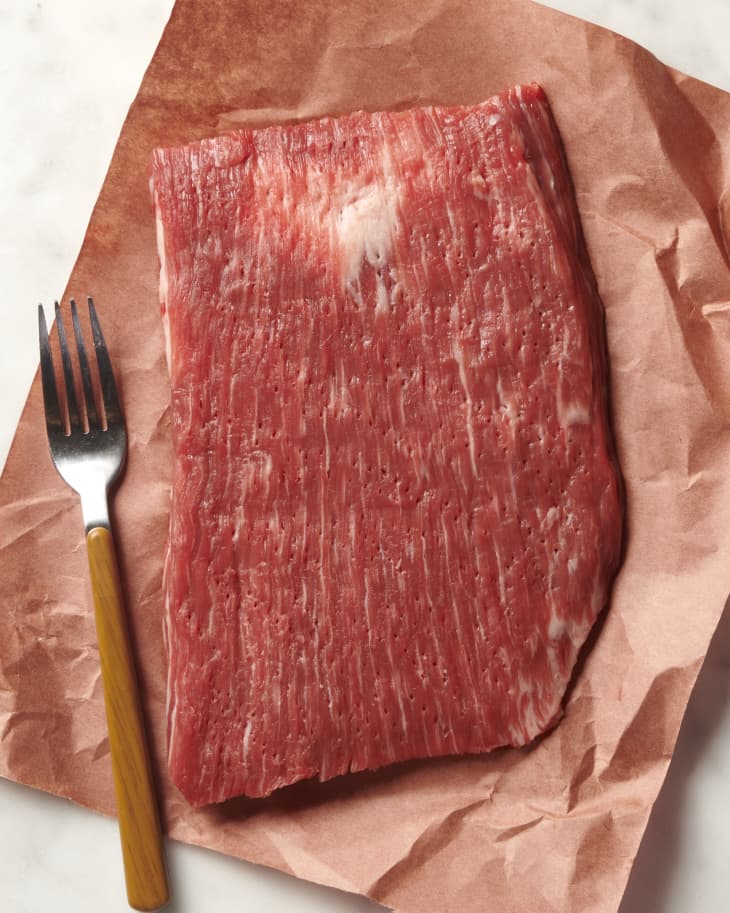
Steak Tenderizing Method: Poking with a Fork
Rating: 7/10
About this method: This is another plain-and-simple method. Similar to the method involving the meat mallet, this method involves using a tool to help break up the connective tissue in the meat. Instead of hitting the meat with a mallet, this method simply requires poking the flank steak all over and on both sides with the tines of a fork. What’s different about this method versus the one using the meat mallet is that the tines of the fork can poke the steak much further than the coarse end of a meat mallet.
Results: In all honesty, I was a bit shocked that this method made noticeable differences in the steak. I actually found the steak to be somewhat tender, and definitely more tender than the method with the meat mallet. I believe that the fact that the fork cuts deeper into the meat than the mallet contributed to the more tender results of the steak. I also like that this method involves a simple tool that every person has in their kitchen.
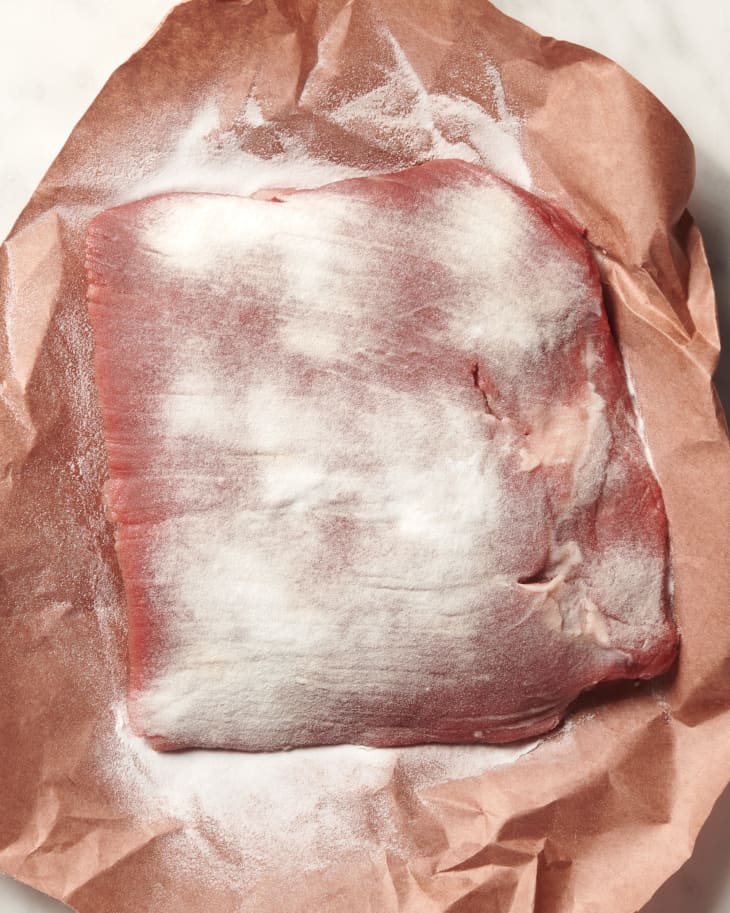
Steak Tenderizing Method: Baking Soda
Rating: 8/10
About this method: This method is similar to the salt brine method, except, instead of sprinkling the steak with coarse salt, you sprinkle the steak with baking soda and let it sit overnight in a large, plastic, zip-top bag. This particular method is mentioned by Tasting Table, which says to let the steak sit for at least three hours and up to 24 hours. Tasting Table also says that baking soda works faster than salt when it comes to breaking down the fibers in the meat. Because the salt brine didn’t yield great results, I thought it might make more of a difference to let this particular method sit for even longer. Lastly, I rinsed off the steak to remove the baking soda, and then proceeded to season it as desired.
Results: Shockingly, this method made a super-noticeable difference in the tenderness of the steak — especially compared to the methods above! Perhaps it was a combination of simply using the properties of the baking soda as well as letting it sit for a full day, but this method really surprised me in how much of an impact it had on the steak. The steak was easy to slice into, it was very clearly cooked to medium just like I wanted, and it was tender all over.
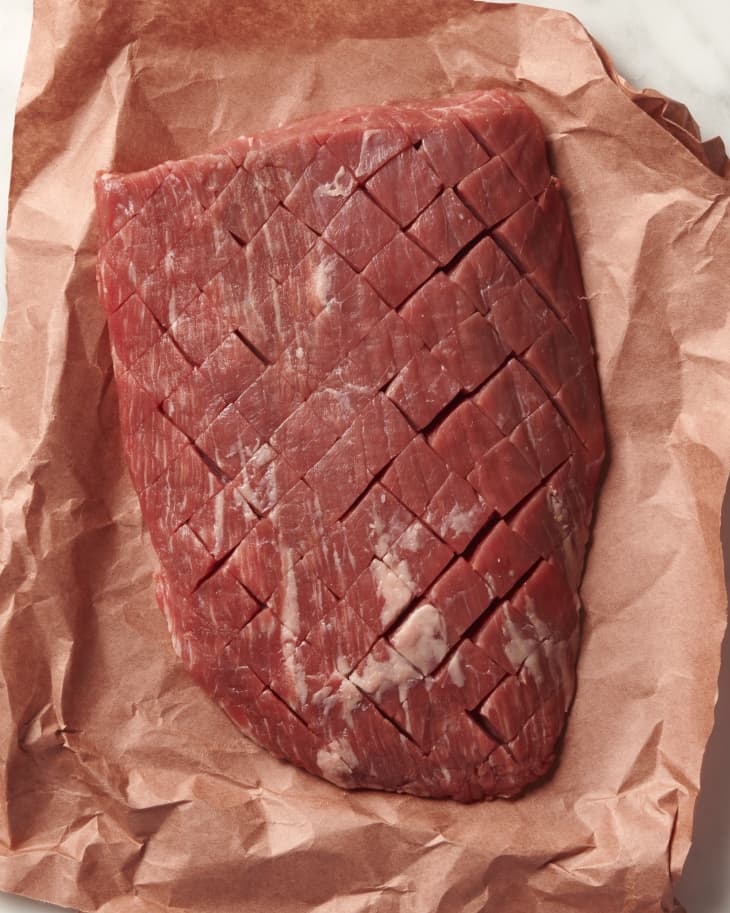
Steak Tenderizing Method: Scoring
Rating: 9/10
About this method: This is also another commonly recommended method. In fact, we’ve written about this method before, and explained how it can also lead to a very tender and flavorful steak. Similar to the methods involving poking the steak with a fork or pounding it with a meat mallet, this method also helps to break down the fibers in the steak. Instead of making holes or dents in the steak, this method involves cutting a grid into the surface of the steak, about a quarter of the way. This way, the fibers are cut in intersection lines all over the steak.
Results: I really enjoyed this steak, and I completely believe that the scoring method helped contribute to how tender the steak turned out. I felt like this method took everything about the fork and meat mallet methods each a step further. I also think the fact that the cuts were all going in opposite directions likely helped contribute to the breaking down of the tough fibers and connective tissue in the steak. Overall, this steak came out really amazing, and all you need to do is pull out a sharp steak knife!
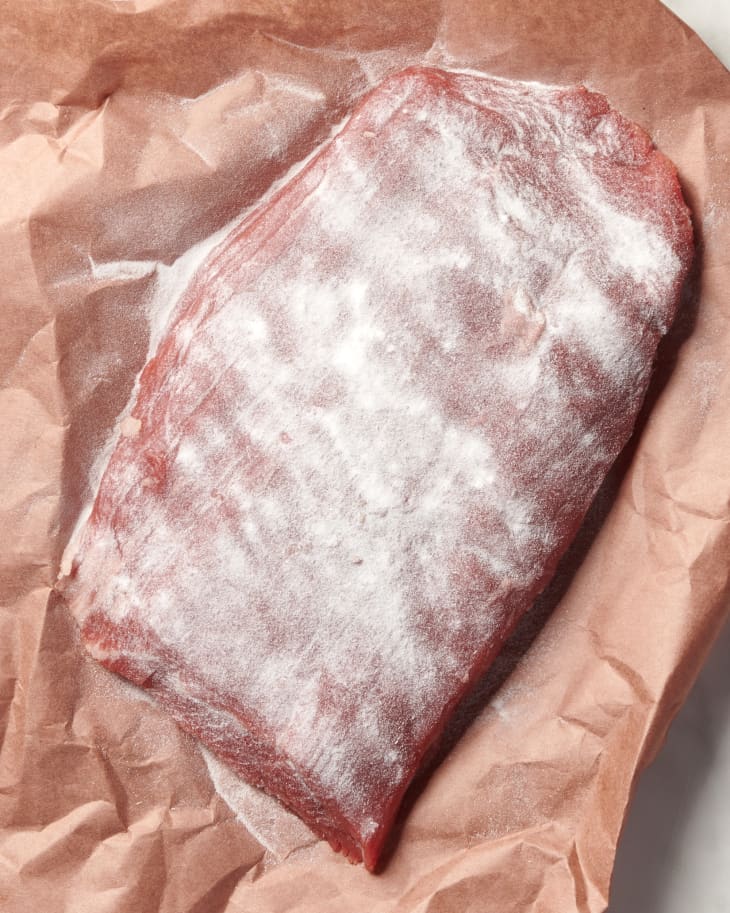
Steak Tenderizing Method: Meat Tenderizing Powder
Rating: 10/10
About this method: This method is just like the salt brine and baking soda methods, although this technique involves sprinkling meat tenderizing powder over the surface of the steak, and letting it sit for about 20 minutes. Meat tenderizing powder is made up of a mixture of salt, dextrose, bromelain, and calcium silicate (with bromelain doing most of the work). Bromelain is an enzyme that helps break down connective fibers in foods like steak (it’s also found naturally in fruits like pineapple). If you’re a steak aficionado or someone who cooks a lot of steak for work (me, apparently!), then you know that this product is largely considered a useful ingredient for professionals. I’ve seen this product in stores, but to be honest, I never really considered it necessary for the home cook. I always associated it with only being useful if you were cooking for a large crowd or a really large piece of meat.
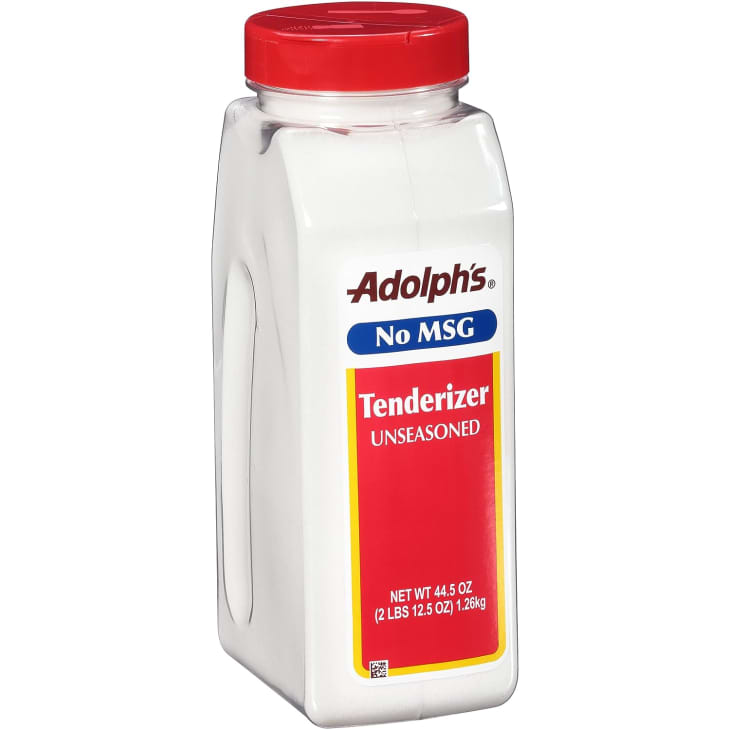
Results: Well, upon testing this very simple and affordable method, I realized I was totally wrong about thinking that tenderizing powder was only for professional cooks or caterers. This method came out fantastic and incredibly tender. It was almost unbelievable at first, because I really was skeptical that all it would take to make a piece of flank steak more tender was to sprinkle it with this somewhat mysterious powder. Lo and behold, though, this method really delivered the best results of all the ones I tested and, even though I only used salt and pepper to season the steak like the others, it still tasted fantastic. In other words, the powder didn’t impact the flavor of the steak like I had partially expected.
Takeaways
Overall, this experiment was quite eye-opening. I honestly was fearful that the results would be so subtle that it would be difficult to objectively tell a difference between each of the methods. Unless you want to change the thickness of a piece of poultry, I don’t think that buying a meat mallet just for the purpose of tenderizing steak is worth it. I also think that you can save your salt when it comes to trying to tenderize your steak. Instead, turn to baking soda, scoring, or tenderizing powder to get the job done.