
The 5-Step Guide to Wrapping Your Breakfast Sandwich Like a Pro

There is no better way to start the day than with a breakfast sandwich. Seriously, no one at the office is going to be jealous of your cereal bars and yogurt. However, everyone will be looking at you like a lottery winner if you walk in with that magical combo of egg, cheese, sausage or bacon, and a bun, bagel, or English muffin. Extra credit if your sandwich is homemade.
But even if you’ve assembled the elements just so, you still need to get your creation from here to there. No one will be drooling if you arrive at the office and it’s turned into (quite literally) a hot mess.
To prevent such a mishap, we turned to a sandwich pro for her step-by-step guide to wrapping the perfect breakfast sandwich.
Hayley Tileston has worked at the Brant Rock Market in Marshfield, MA, for seven years. The community store has been known to crank out up to 300 breakfast sandwiches a day for hungry, beach-going customers. You do the math — however you slice it, that’s a lot of breakfast sandwiches.
Here’s how to wrap your homemade version like a pro.

1. First, place your paper.
The most common paper choice for wrapping sandwiches is parchment paper, specifically paper sheets, which measure 15×20 inches each. These are very similar to the ones made for cookie sheets, although those typically come in 12×16-inch sizes. But Hayley says the material doesn’t really matter. “You could wrap it with tinfoil or even newspaper,” she explains.
What is important is how you place it your paper — straight in front of you, with the long sides on the bottom and top.

2. Center your sandwich and pinch the edges.
Next, place your sandwich in the middle of the paper, bring up the top and bottom sections of the paper, and pinch the edges at the top.
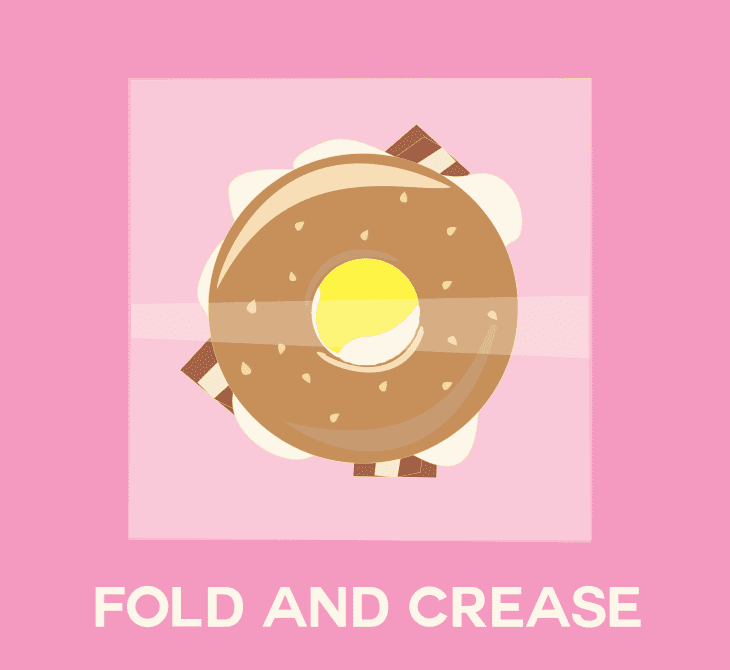
3. Fold and crease.
At the top, fold both edges of the paper over and crease all the way across. Keep folding along that crease and follow it all the way to the bottom, until it’s tight up against the sandwich.

4. Make two triangles, one at each end.
At this point, you should have a rectangular shape, with the sandwich still in the middle. Next, make a triangle at each side of that paper rectangle. “It’s sort of like wrapping a gift,” Hayley says — a precious, greasy gift.
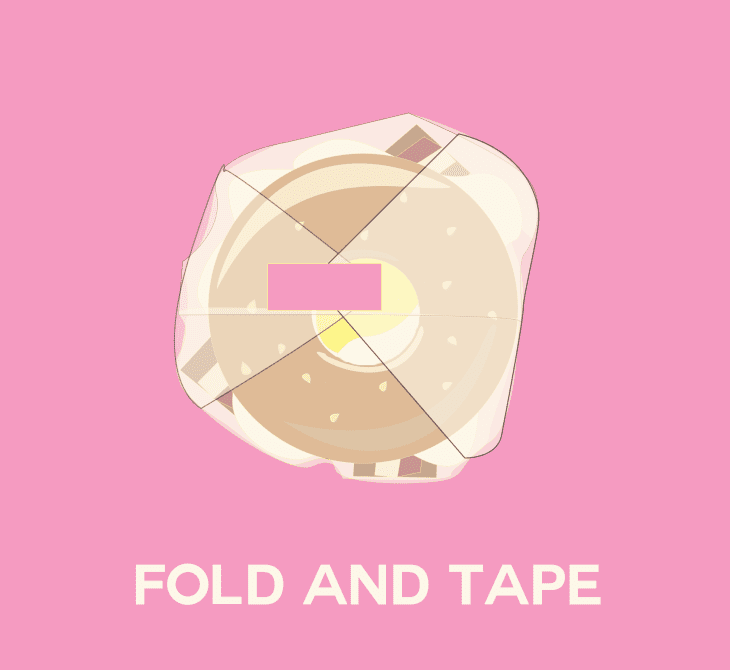
5. Tuck the triangles (and add tape).
Fold each of the triangle portions under the bottom of the sandwich, and you’re good to go. Hayley says you can add a piece of tape, but they typically don’t. It should stay perfectly wrapped until you get to your morning destination or any other point where you can no longer resist all of that deliciousness.