
5 Tips to Help You Make Better Granola
I eat Greek yogurt and granola for breakfast most days of the week. I started perfecting granola at home when I got tired of buying dry, tasteless, over-priced granola at the store. Now I make it weekly, and have some tips and tricks so you, too, can avoid disappointing granola.
5 Tips to Make Better Granola
I don’t just bake granola weekly at home; I actually used to own a small artisanal granola company here in Seattle, Marge (named after my grandmother), which specializes in olive oil granola that uses more nuts and seeds (and salt!) than you find in your average store-bought granola. So I’d like to pass onto you my advice so you can make better, tastier batches in your home kitchen.

1. You need fat.
If you’re not using some type of fat to make granola, you’re going to have a pile of dry oats. We use olive oil at Marge, and it gives the granola a toasty quality I really love. It almost straddles the line between sweet and savory. But feel free to experiment with coconut oil or your favorite oil at home — whatever you do, just don’t omit it.
2. Choose oats wisely.
I much prefer old-fashioned rolled oats to quick-cooking oats. Quick-cooking oats result in almost a dusty product, and the cooking time is different. I’ve had the most success with Bob’s Red Mill oats.
3. Add fruit last.
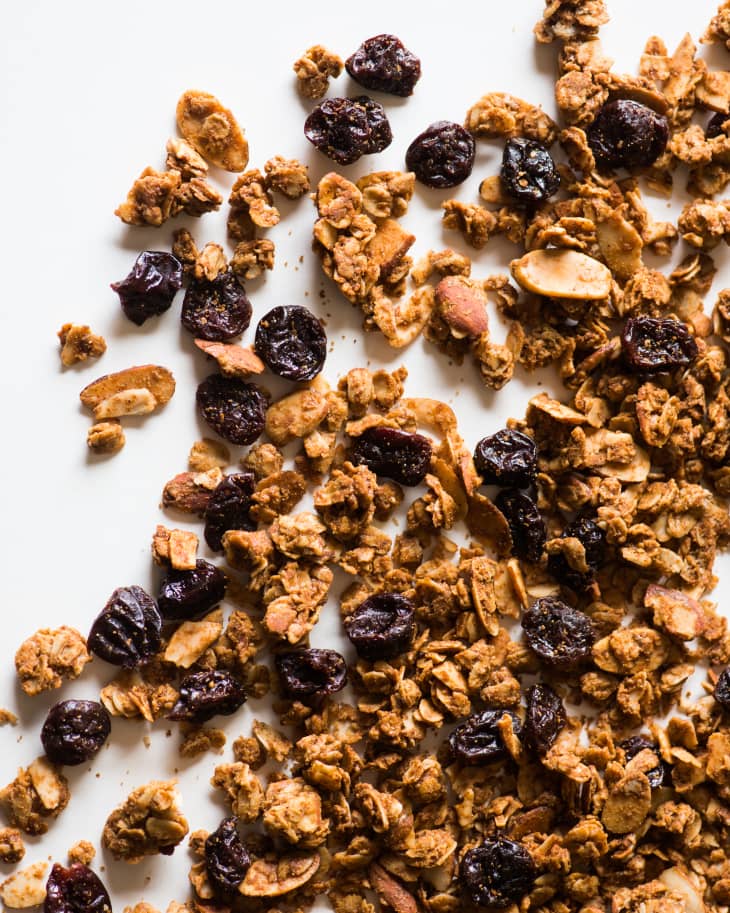
The best thing about making granola at home is you can add in whatever you like. Pistachio fan? Throw them in! On a cocoa nib kick? Mix in a few teaspoons. But the one important consideration here is what to add in before your granola bakes and what to add in after. A good general rule of thumb is to add in any chopped, dried fruits after the granola comes out of the oven. At Marge, I also add the pecans and coconut about halfway through our cook time because they tend to brown quicker than the other ingredients. So this could take a little futzing with, but always add that fruit last.
4. Use a firm press.
When I’m pouring granola onto a parchment-lined baking sheet, I want to make sure the sheet is pretty full (otherwise you’ll end up with burned oats), and I also press down the pre-cooked granola with a spatula to create a uniform layer. This helps with the formation of little clumps, which I happen to like a great deal in my own morning bowl.
5. Know when it’s truly done.
In my experience, granola is a lot like cookies in the sense that it continues baking when you pull it from the oven. As it cools on the baking sheet, it continues to form clusters and hardens just a bit, so be sure not to wait until your granola has really browned to pull it out of the oven. I err on the hm, it seems underdone side, and I’m always surprised at how much it crisps as it cools. Certainly follow the recipe you have, but do trust your own eyes and intuition when judging if it’s ready to come out of the oven.
Related: How To Make Chunky Granola Clusters