
How To Caramelize Onions
Caramelizing onions is easy to do. All you need is a few onions, a pat of butter, a pan, and some time.
Prep5 minutes
Cook40 minutes to 45 minutes
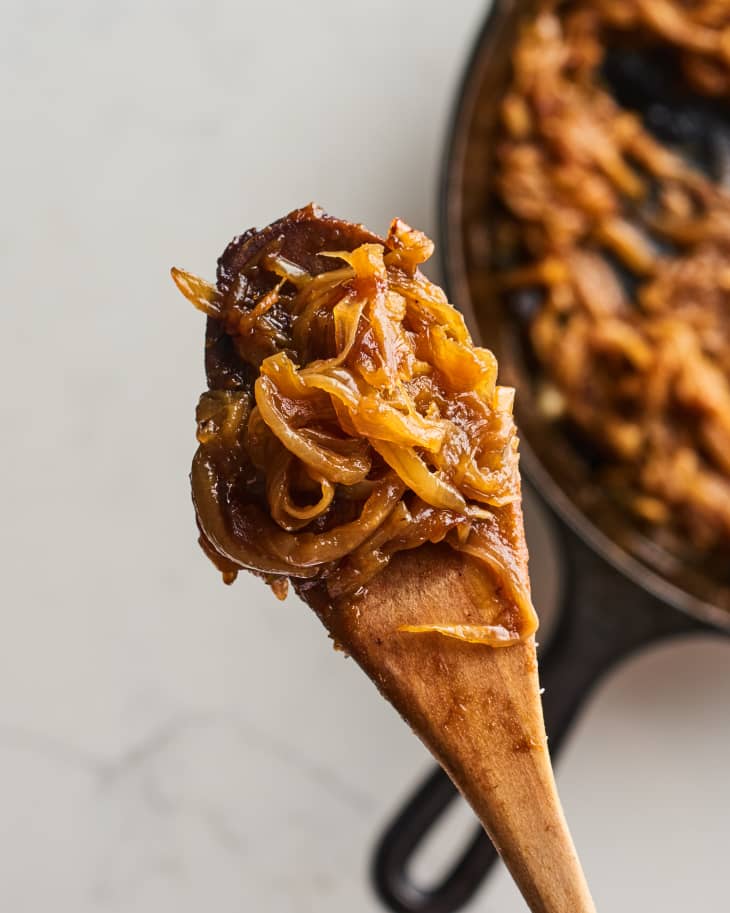
Few things will skyrocket the flavor of your dish quite like caramelized onions. These tender, candy-sweet — yet savory! — morsels turn anything from a burger to a bowl of pasta into something instantly, deliciously gourmet.
Accept no imitations: Caramelizing onions at home is easy to do. You just need a few onions, a pat of butter or some olive oil, a pan, and some time.
What to Know About Caramelizing Onions
- Yellow and sweet onions are best for caramelizing
- Use a cast iron or stainless steel skillet
- Caramelizing onions can take up to one hour; don’t rush it!
- Use them in soups, casseroles, pasta, pizza, sandwiches, and more
What’s the Best Onion for Caramelized Onions?
Any onion will caramelize, so don’t be shy about experimenting:
- Yellow and sweet onions, like Vidalia and Walla Walla, caramelize the most readily and are the most versatile in dishes.
- Red onions are fun for their deep purple color and are great on pizzas and salads.
- White onions are noticeably less sweet than yellow or Vidalia onions, but caramelization will round out their flavor quite a bit.
How Many Onions Can You Caramelize at Once?
It’s best to caramelize three or four big onions at once in a process that takes about an hour. You can shave off some time by cooking just one or two onions, but I figure the more the merrier; if I have the time, I might as well make enough to last for a while.
How Long Does It Take to Caramelize Onions?
We compared six wildly different methods for caramelizing onions, from a quick 15-minute method to a long and low slow cooker technique.
In the end, we found that you can’t rush true caramelized onions. Bump up the heat and they scorch; add brown sugar or balsamic too early, and they may look like caramelized onions, but they’ll lack that deeply caramelized, hauntingly savory flavor.
Nope, the only way is to grab your biggest pan, set a burner to medium heat, and let those pungent alliums cook slowly. At this temperature, the sugars trapped inside the onion layers caramelize steadily, never burning but growing ever more golden and delicious. Here’s what to do once they get going:
- Give them a stir every five to 10 minutes.
- Scrape up the sticky “fond” that builds up on the bottom of the pan and stir it into the onions.
- Adjust the heat as necessary to keep them cooking at a steady pace, but avoid burning.
- Let your nose and your tastebuds be your judge — when you can’t resist eating them straight out of the pan, they’re done.
It can take up to an hour to caramelize the onions, and if anyone tells you differently they’re lying.
What’s the Best Pan for Caramelizing Onions?
Stainless steel or cast iron skillets are ideal for caramelizing onions. While you technically can caramelize onions in a nonstick skillet, part of what makes these onions so special is the fond that builds up on the bottom of the pan — scraping this up and stirring it into the onions gives them an even richer flavor — and this fond won’t form in a nonstick skillet.
Fond Is Where the Flavor Lies
Let’s talk about that fond! As the onions cook and release steam, some of their sugars get transferred to the bottom of the pan. It looks like the pot is burning, but don’t worry, it’s not! This sticky glaze quickly dissolves with a little liquid.
At the beginning of cooking, the steam from the onions as you stir is enough to scrape up the fond. Then, as the onions dry and caramelize, deglaze the pan with water, broth, wine, or balsamic vinegar.
How to Use Caramelized Onions
So you’ve made caramelized onions — now what?
- Pile a spoonful on baguette slices for a quick appetizer.
- Stir a scoop into soups, stir-fries, casseroles, pasta sauces, or braised dishes.
- Add them to pizza, layer them into burgers and sandwiches, or mix them into salads.
How to Store Caramelized Onions
You can store caramelized onions in the fridge for around a week, but they also freeze beautifully. Freeze them in little portion-sized patties or in tablespoon-sized portions (an ice cube tray works well for this!) so you can grab what you need for a sauce or a sandwich topping.
How To Caramelize Onions
Caramelizing onions is easy to do. All you need is a few onions, a pat of butter, a pan, and some time.
Prep time 5 minutes
Cook time 40 minutes to 45 minutes
Nutritional Info
Ingredients
- 2 to 4
large yellow onions
- 2 tablespoons
unsalted butter, olive oil, or a mix
- 1/4 cup white or red wine, vegetable or chicken stock, balsamic vinegar, or water
- 1/2 teaspoon
kosher salt
- 1/8 teaspoon
baking soda (optional)
- 1 tablespoon
water (optional)
Equipment
Large skillet
Wooden spoon
Bowl
Measuring spoons
Instructions
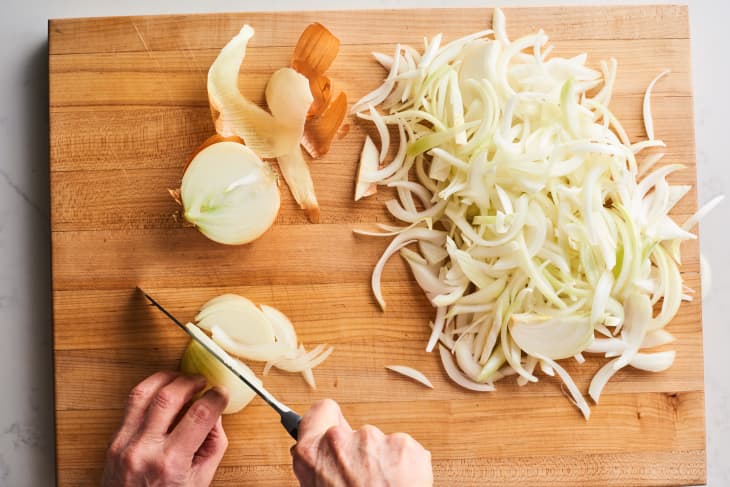
Trim the tip and root from 2 to 4 yellow onions. Halve each onion from root to stem, then remove the skins. Thinly slice each half from root to stem.
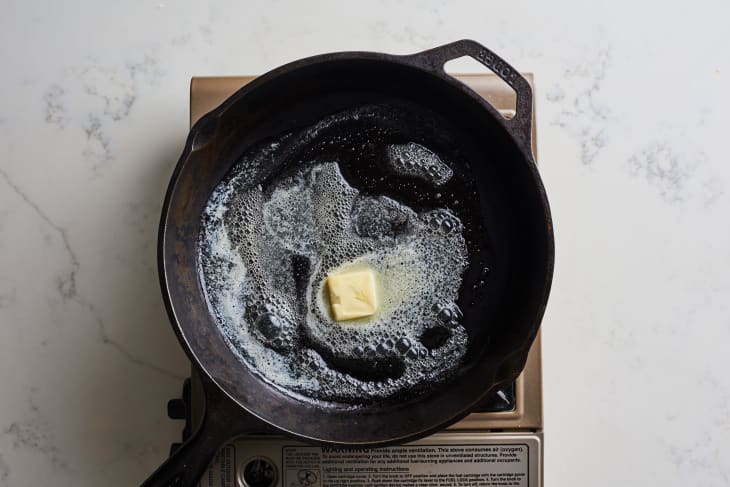
Melt 2 tablespoons unsalted butter in a large skillet over medium heat, or heat 2 tablespoons olive oil until shimmering.
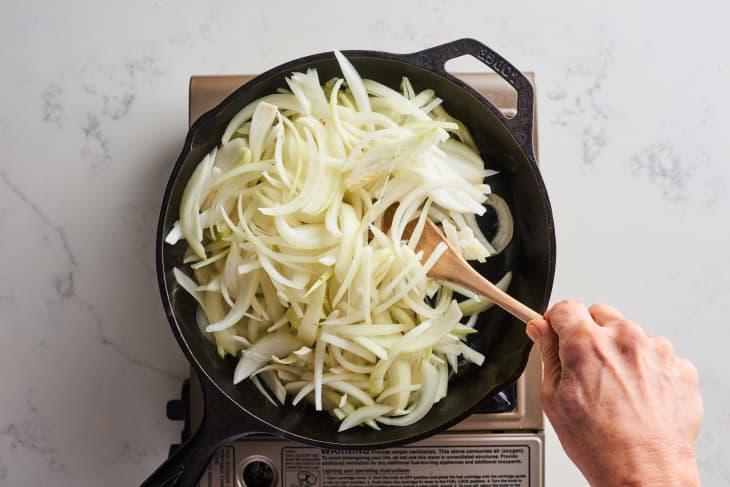
Add all the onions to the skillet and stir them gently to coat with the fat.
Cook the onions, checking on them every 5 minutes. Stir the onions and scrape up any fond that forms on the bottom of the skillet with a wooden spoon. Exact cooking times will vary with the number of onions you're cooking, their liquid and sugar content, and their age.
• Around 10 Minutes: Onions will start to soften and turn translucent in spots. They will release a lot of liquid into the pan.
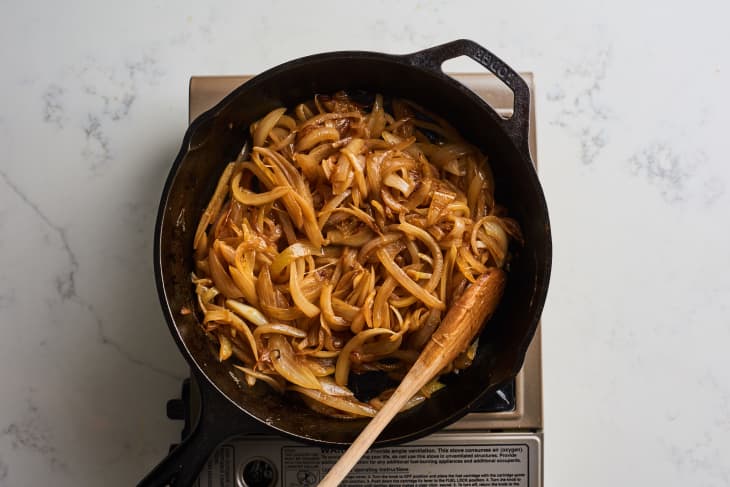
• Around 20 Minutes: Onions will be very soft and starting to break down. Some onions will start to show spots of caramelization and you may see some fond starting to build up in the pan. They will also start to smell caramelized. Adjust the heat if the onions seem to be cooking too quickly or you notice any burnt spots.
• Around 30 Minutes: Onions should be light blonde in color and starting to become jammy. More fond is starting to build up, but it should still be fairly easy to scrape it up with the evaporating liquid from the onions.
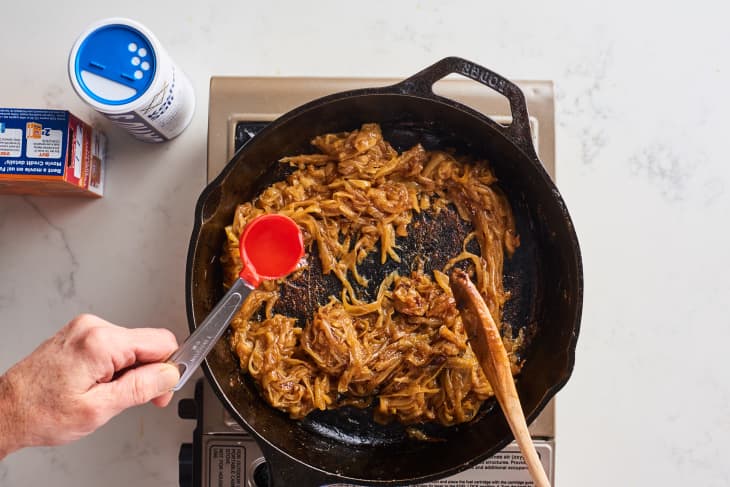
• Around 40 Minutes: Onions are golden and starting to smell very caramelized. Taste one — if you like the way they taste, you can stop now! For even deeper caramelized flavor, continue cooking.When your onions have finished cooking, pour in 1/4 cup wine, broth, balsamic vinegar, or water. As the liquid bubbles, scrape up the fond and stir it into the onions. Use additional liquid as necessary to scrape up all the fond. Season with 1/2 teaspoon kosher salt.
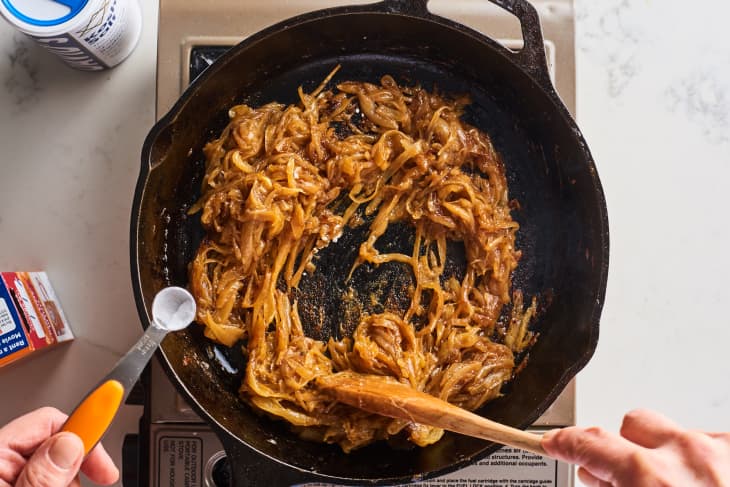
Mix 1/8 teaspoon baking soda into 1 tablespoon water until dissolved, then add to the onions. Cook, stirring constantly, until the water evaporates, about 30 seconds.
Recipe Notes
Storage: Refrigerate in an airtight container up to 1 week or freeze for up to 3 months.
How We’ve Re-tested This Recipe
In September 2019, we pitted six of the most popular caramelized onion methods against one another to determine the best. The winner was a technique heralded by America’s Test Kitchen, which begins by steaming the onions, covered, over high heat. The onions are then cooked uncovered over medium-high heat until caramelized, at which point a baking soda solution is stirred in.
Given this newfound method, we felt it was time to look at our own caramelized onion technique to see how it stacked up. I got out my sharpest chef’s knife, slid onion goggles over my eyes, and started slicing.
Result of Using the Technique
Despite attending to both the timing and doneness indicators, the onions made using America’s Test Kitchen’s method burned, imparting a bitter taste. Ultimately, we found that Kitchn’s technique of cooking the sliced onions over moderate heat gave more consistent results.
As a result of this testing, we did decide to clarify some steps. Towards the end of cooking as moisture from the onions evaporates, the onion’s sugars caramelize more quickly. We’ve added instructions to increase the frequency of stirring as the onions brown and form fond on the bottom of the pan.
As a nod to the winning skills battle contender, we’ve also added the optional step to stir in a bit of baking soda in the end to intensify the color and sweetness of the onions.
— Patty, June 2020