
How To Make No-Knead Bread

This loaf is the simplest bread we know how to bake at home and it requires no stand mixer, no starter, no special knowledge, and no kneading.
Makes1 loaf
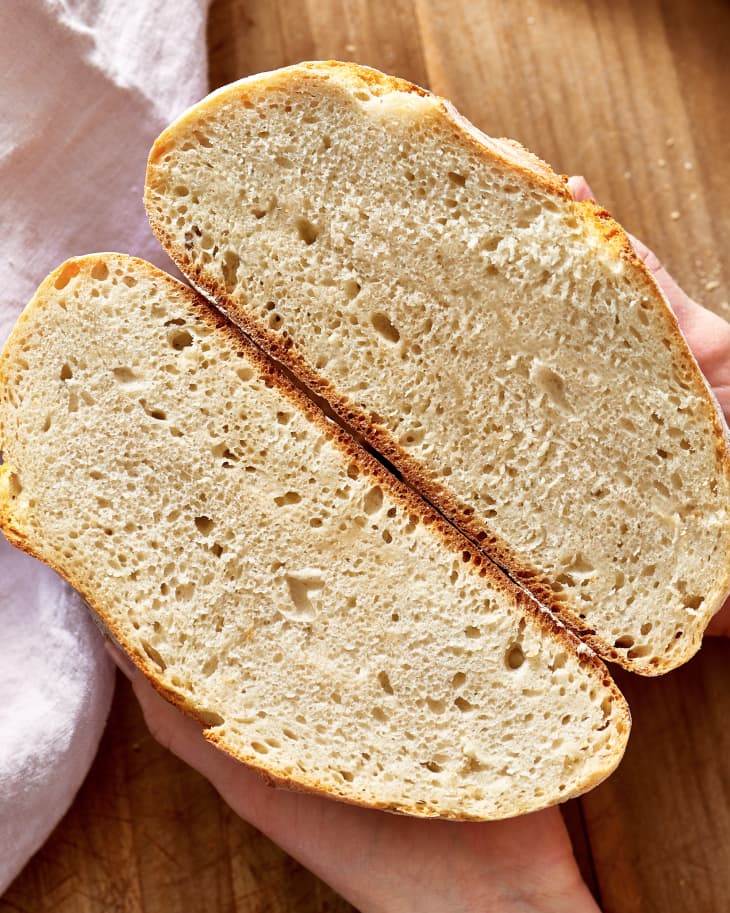
You might be thinking that a hearty, rustic loaf of bread like this one — with its shatteringly thin crust and tender, tangy interior — requires special equipment or skills or even a bread starter. Nope, this loaf is the simplest bread we know how to bake at home and it requires no stand mixer, no starter, no special knowledge, and no kneading.
This is a step-by-step guide for the now-ubiquitous no-knead bread. It’s ridiculously easy, and very forgiving. If you’re intimidated by baking ratios, volume vs. weight, baking scales, and kneading, this is a great recipe to start with. It will give you such a delicious loaf with about five minutes of hands-on time and almost no way to mess it up.
Key Steps for No-Knead Bread
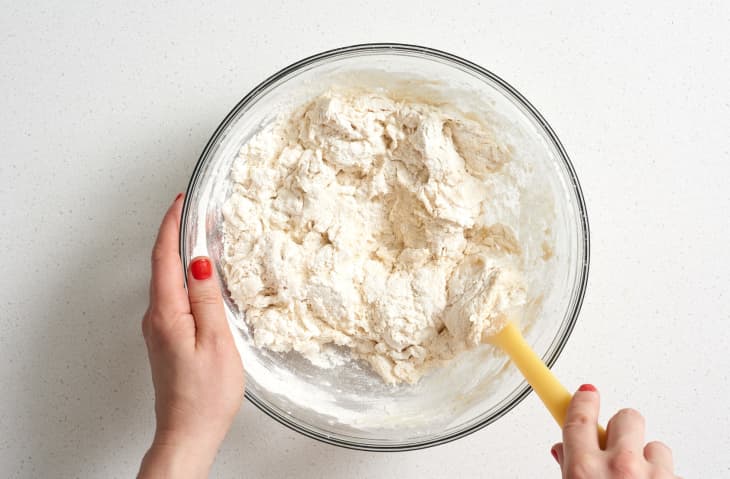
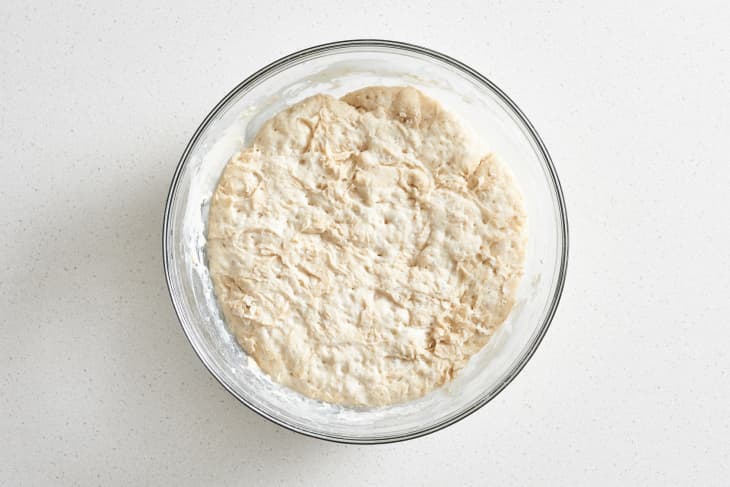
- Make a wet shaggy dough. Mix dough by hand so it’s sticky, rough, and bit shaggy.
- Give it a long rise. Our recipe has a enough yeast that it can be ready in about six hours.
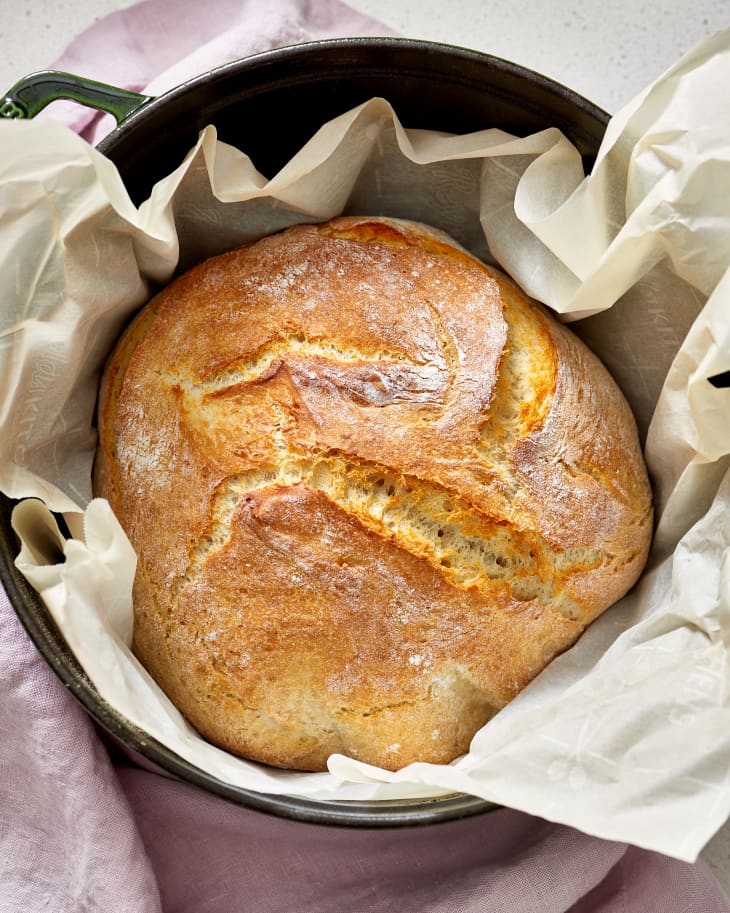
- Shape on parchment paper into a tight ball. This makes it easier to load and unload the bread from the oven.
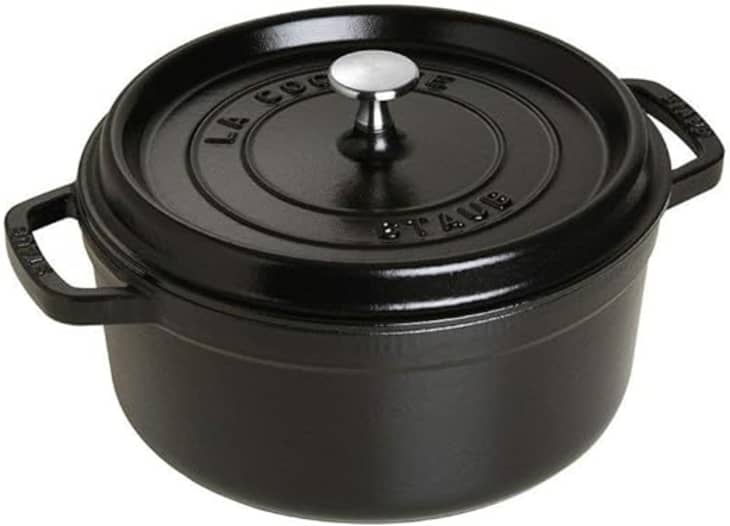
- Bake in an oven-safe Dutch oven. We prefer the Dutch oven because its weight holds heat well and keeps the steam created by the bread inside the pot for a crisper crust.
What Is No-Knead Bread?
No-knead bread was pioneered by bread baker Jim Lahey and went viral about 10 years ago when Mark Bittman published the recipe in the New York Times. This is just about the simplest kind of bread you can make. You basically throw everything into a bowl and mix it up, then sit around, let the yeast do its work, and bake it.
But it’s not just a bread for beginners — those of us who bake frequently also really love this bread. The slow rise gives this bread great flavor, and the baking method gives it an awesome crispy crust. It’s artisan quality with very little effort — that’s why this recipe is so popular!
The recipe I use in this tutorial, by the way, is a slight adaptation of the no-knead bread recipe that appears in the New York Times. This one only takes eight hours to rise, as opposed to the overnight method in the original recipe.

For Your Information
- No-knead bread gets its power from a long, slow rise at room temperature. Mix up the dough in the morning and let it sit for at least six hours before shaping and rising for one hour more.
- The bread bakes for 30 minutes covered and 15 minutes uncovered in the Dutch oven.
Tips for Making No-Knead Bread
- This bread can be mixed entirely by hand — just don’t expect a bouncy ball of bread dough. Instead this wet dough and the long rise combine to develop proteins and gluten without kneading.
- When the dough is rising, make sure it’s covered and in a relatively warm, room-temperature area. I stash mine on top of the fridge on cold winter days.
- Make sure you shape the loaf into a relatively tight round in order to get a high rise.
- If you don’t have a Dutch oven, these alternatives to Dutch ovens will work for the no-knead bread recipe.
Serving and Storing No-Knead Bread
Once out of the oven, let the bread cool for at least 10 minutes before slicing and serving. Any bread not slathered in butter and devoured immediately should be tightly wrapped and stored at room temperature where it keeps well for about three days. After that? Cut it into cubes for the best croutons of your life.
How To Make No-Knead Bread
This loaf is the simplest bread we know how to bake at home and it requires no stand mixer, no starter, no special knowledge, and no kneading.
Makes 1 loaf
Nutritional Info
Ingredients
- 1 pound
all-purpose flour (about 3 cups) plus more for sprinkling
- 2 teaspoons
salt
- 3/4 teaspoon
active dry yeast
- 1 1/2 cups
lukewarm water
Equipment
Large bowl
Plastic wrap or kitchen towel
Large Dutch oven with ovensafe lid
Parchment paper
Whisk
Instructions
Make a wet, shaggy dough. Place the flour, salt, and yeast in a large bowl and whisk to combine. Make a well in the center, and add the water into the well. Stir until it forms a shaggy dough.
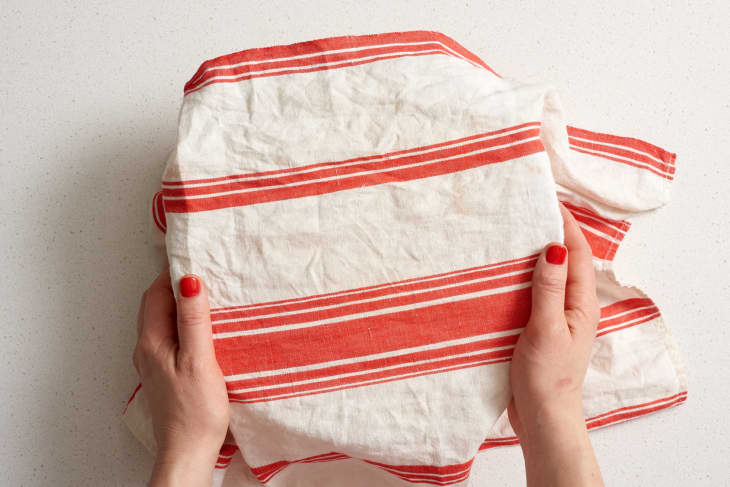
Cover the dough bowl and let rise for 6 to 8 hours. Cover the bowl with plastic wrap or a kitchen towel. Set aside in a warm place to rise until doubled in size and bubbly, 6 to 8 hours.
Shape the dough and rise for another hour. Lightly flour a piece of parchment paper. Turn the dough out onto it, folding it over on itself at least once while you do so. Quickly shape the dough into a round ball (see this video for basic instructions). Cover with a kitchen towel and let rise for 1 hour more.
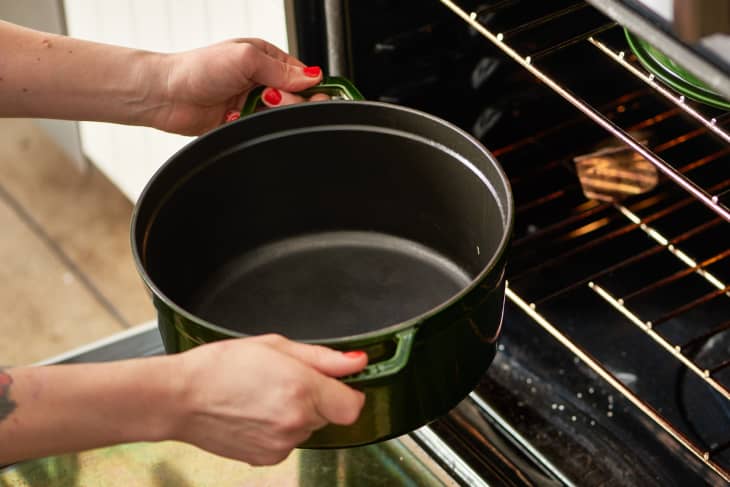
Preheat the oven and the Dutch oven. About 30 minutes before the hour is up, arrange a rack in the middle of the oven. Place a large Dutch oven with its lid on the rack. Heat the oven to 450°F.
Transfer the loaf to the preheated Dutch oven.The shaped dough will have risen and nearly doubled in size. Using the parchment paper as a sling, carefully transfer the loaf, still on the paper, to the Dutch oven. If desired, make a slash or shallow cut on the top of the dough with kitchen shears or a sharp knife so that the bread can expand while baking.
Cover and bake for 30 minutes. Place the lid on the pot and put it in the oven. (Careful, the lid is hot!) Bake covered for 30 minutes.
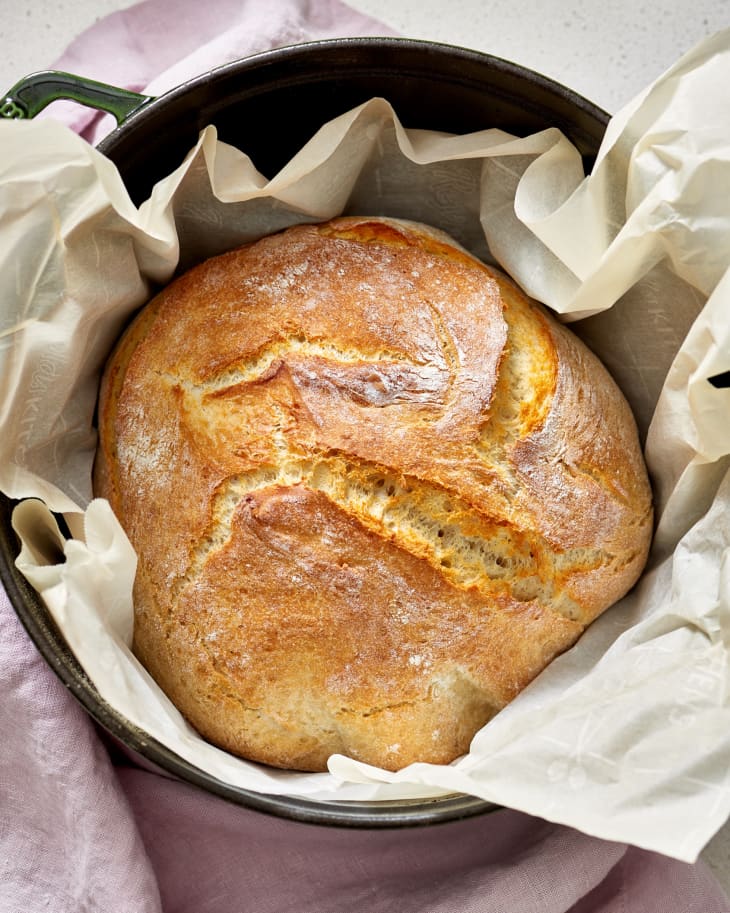
Uncover and bake for 15 minutes more. Remove the lid and bake for 15 minutes more. You can be extra-sure that the bread is done when an instant-read thermometer inserted in the top or side registers 210°F.
Cool and slice the bread. Remove the Dutch oven from the oven and use the parchment paper to transfer the bread to a wire rack. Let cool at least 15 minutes before slicing the bread.


Recipe Notes
Storage: Leftover bread can be stored cut-side down at room temperature for up to 3 days. It can also be tightly wrapped in plastic wrap and foil and frozen for up to 3 months.