
How To Make Easy Chia Jam with Any Fruit

Serves16
Makesabout 2 cups
Prep10 minutes
Cook5 minutes to 10 minutes
Put away your canning equipment and bags of sugar, my friends. There’s a new jam in town this summer, and its name is chia. Yes, by using the gelling power of these tiny little seeds we can transform a few cups of ripe fruit into a low-sugar, spreadable, spoonable jam in about 20 minutes. Here is what to do!
The Mighty Power of the Tiny Chia
Chia seeds have come a long way since the chia pets of our youth. At some point in the last five years, we wised up to the fact that these little gray-colored seeds are way better as food.
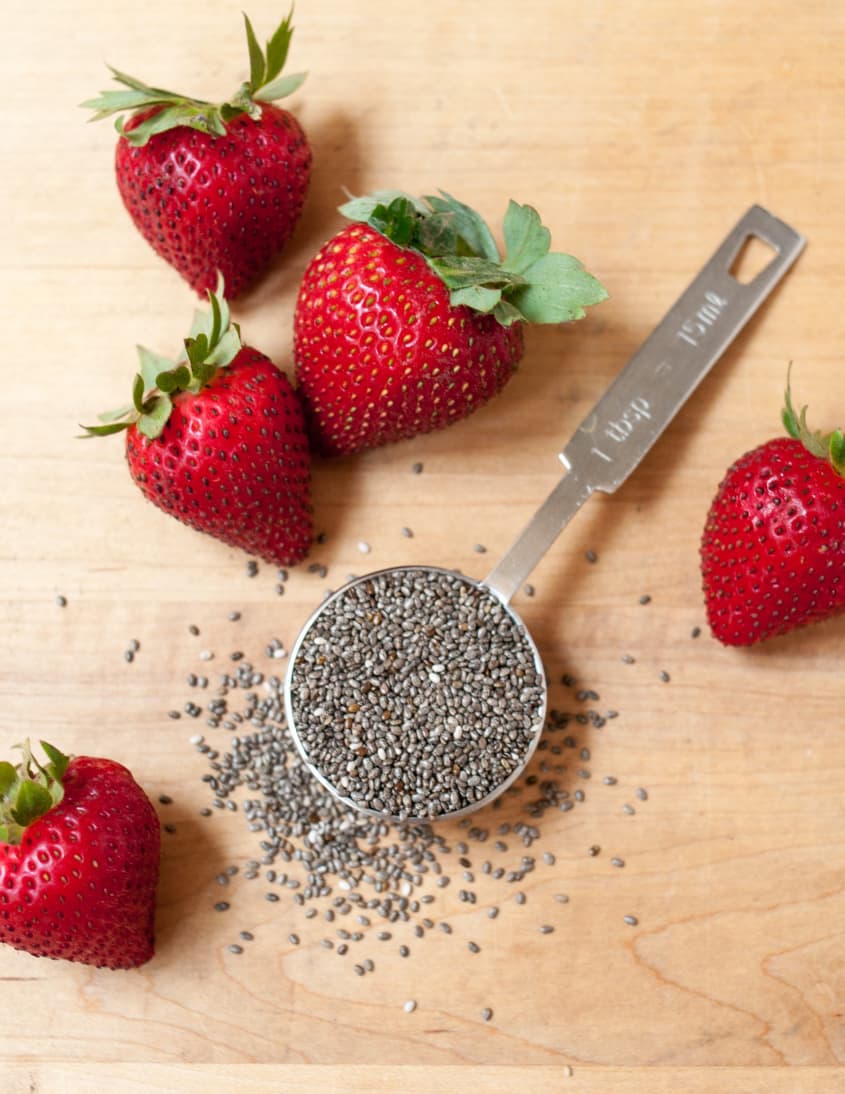
If anything is a superfood, it’s chia seeds. They’re packed with omega-3 fatty acids, rich in fiber and protein, and — most important for our jam-making purposes — they turn any liquid into a thick gel. That’s right — chia seeds will absorb several times their mass in liquid, creating a jelly-like substance in the process.
More on Chia Seeds
Making Jam with Chia Seeds
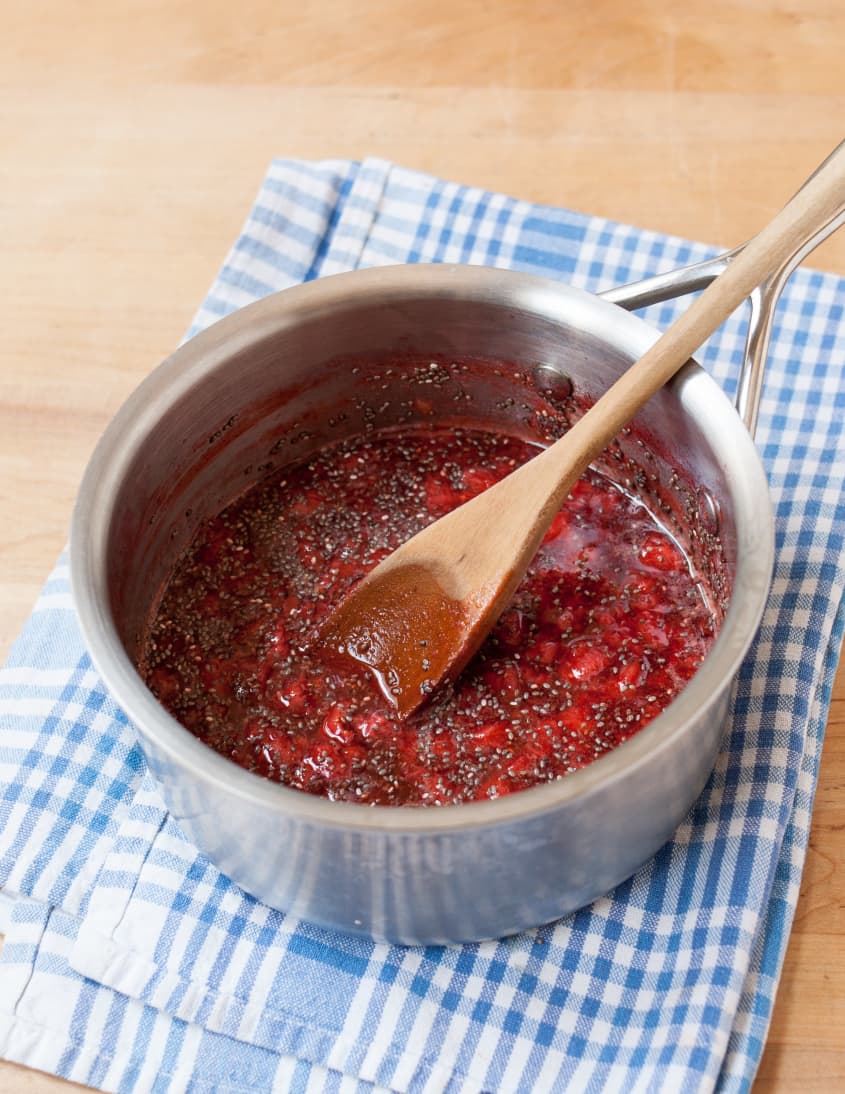
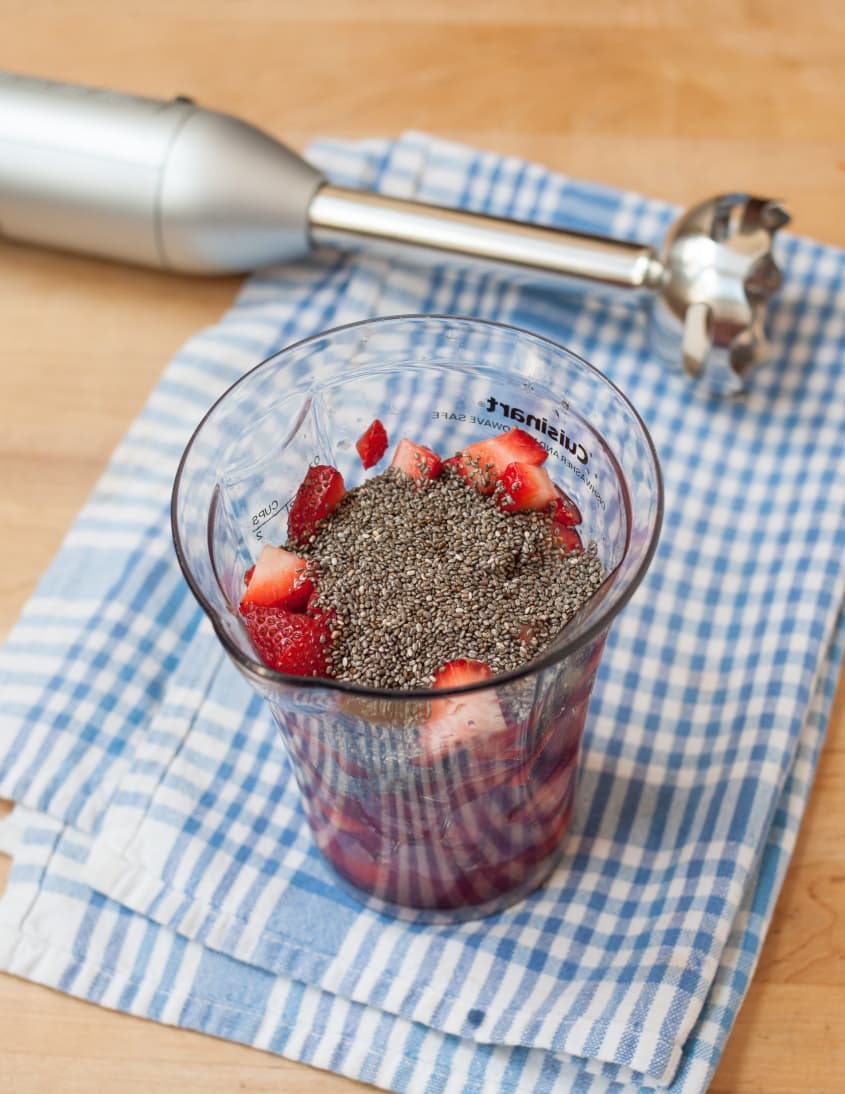
When making fruit jam with chia seeds, the seeds do all the work. Instead of cooking fruit down, relying on pectin, and adding sugar to help it set, like traditional jam, all we need to do is mash up some fruit and stir in a few tablespoons of chia seeds. Within a few minutes, the chia seeds will absorb the fruit juices and thicken it to a jammy consistency.
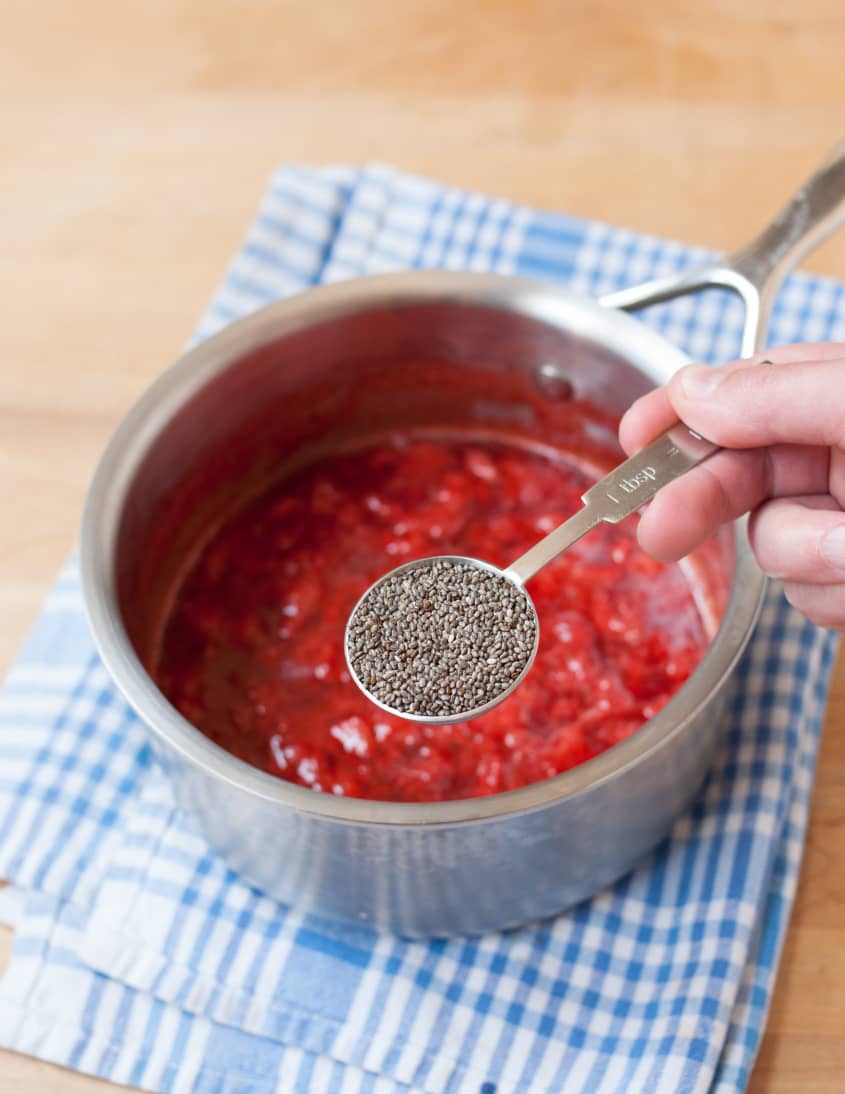
The best ratio of fruit to chia seeds is two cups of fruit to two tablespoons of chia seeds. Start with this ratio, then if your fruit was very juicy or you’d like a thicker consistency, stir in more chia seeds one teaspoon at a time.
Is Chia Jam Like Regular Jam?
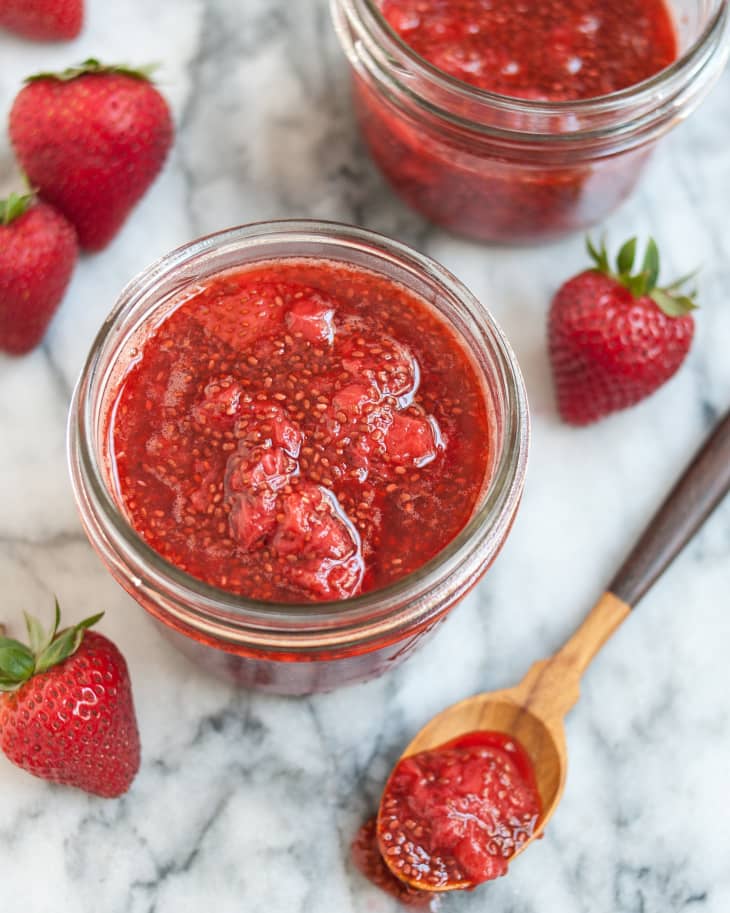
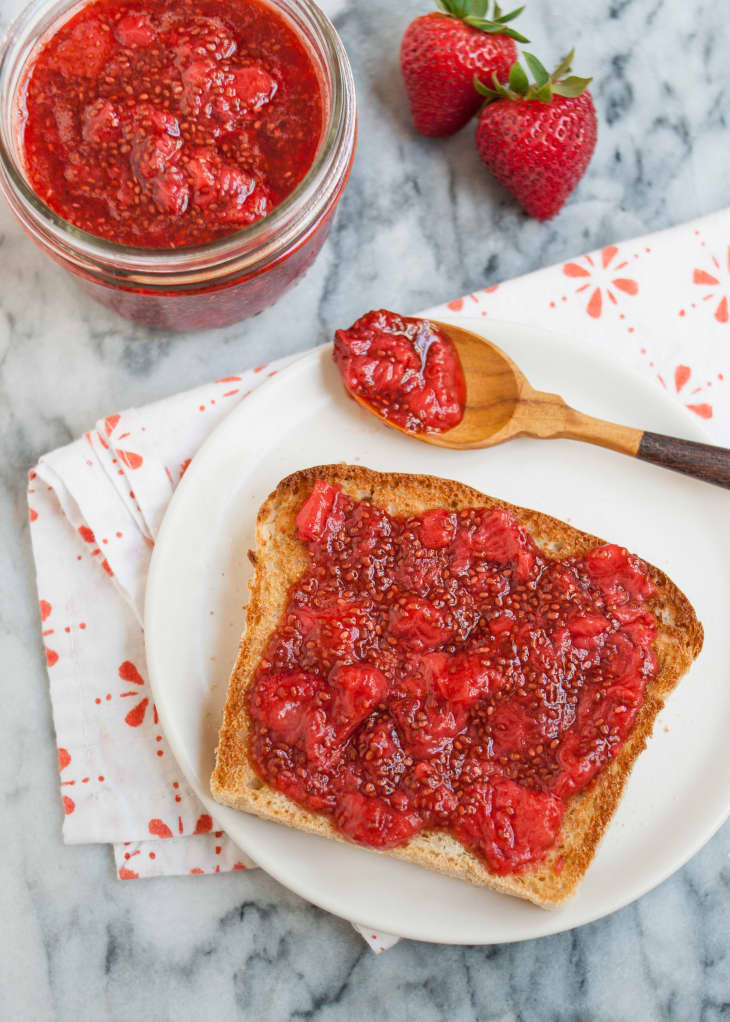
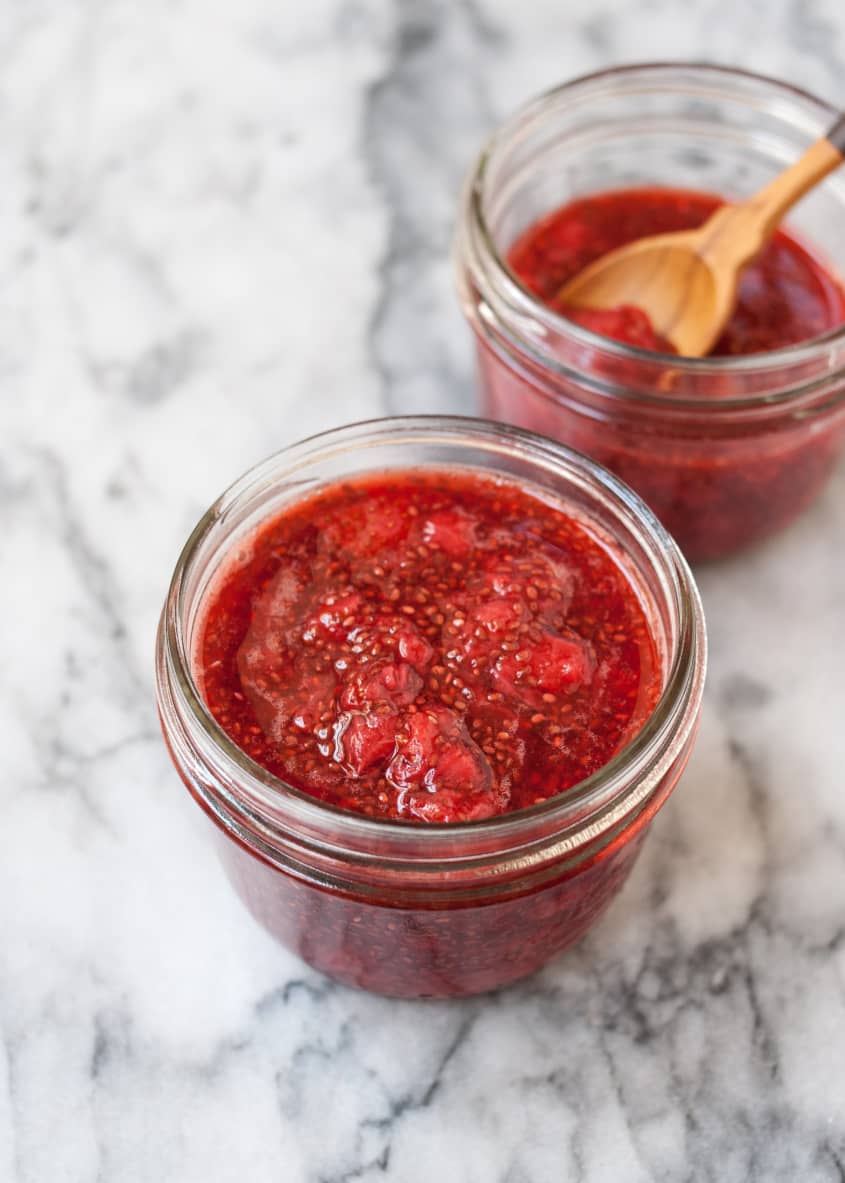
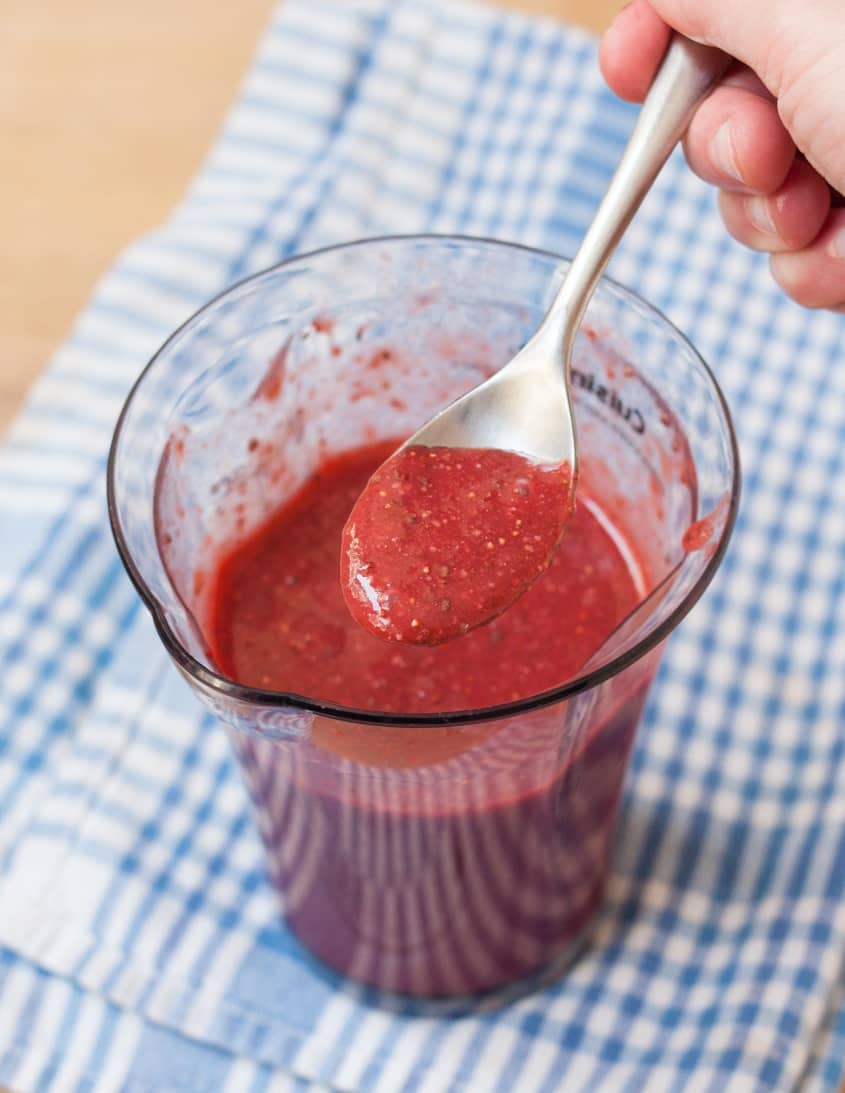
Chia jam is a bit looser and more sauce-like than the kind of traditional, fully-cooked jam you buy at the store or make yourself when canning. It gets a bit thicker after some time in the fridge, but will never thicken to quite the same sturdy, sticky consistency of regular jam. But you can still spread it on toast, spoon it over yogurt, or stir it into oatmeal, just like usual!
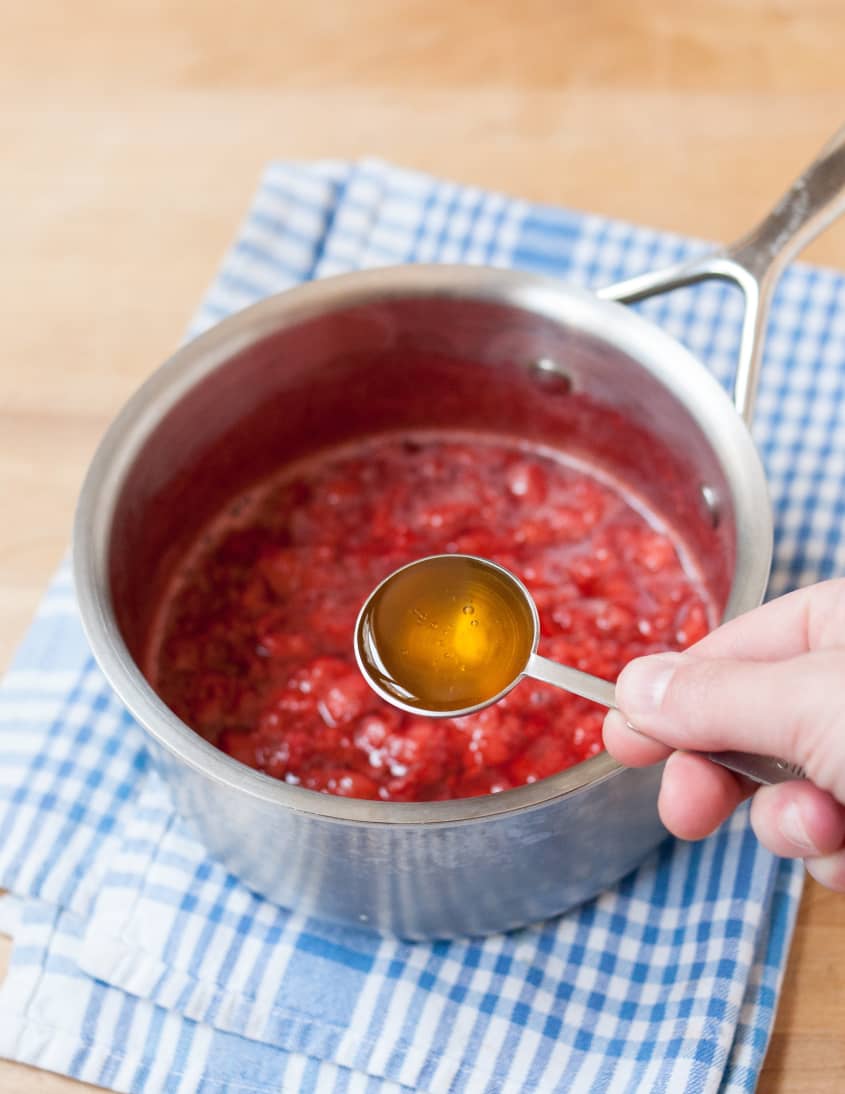
Chia jam is — or at least can be — much less sweet than regular jam. Since we’re not relying on sugar to help set the jam, we can add as much or as little sweetener as we want. Honey, agave, maple syrup, or regular sugar can also all be used.
For a more jam-like flavor and consistency, I recommend cooking the fruit briefly on the stovetop before mixing in the chia seeds. I think this helps extract the juices better than simply mashing the fruit in a bowl, and it also softens the fruit into a jammier texture. The color of cooked fruit is more vibrant and the flavor is more deeply fruity. If you’d rather skip this cooking step, expect your jam to be somewhat looser and more syrupy.
Visible Chia Seeds in Your Jam
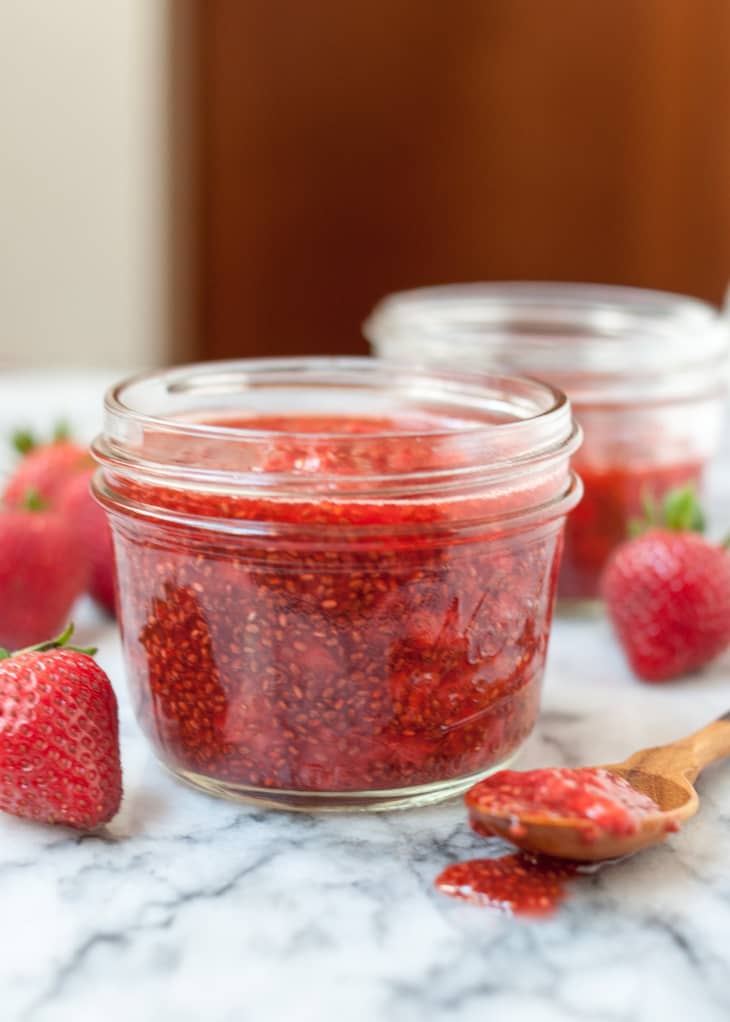
The chia seeds will stay visible in the jam after mixing. This isn’t a big deal with darker-colored fruits or fruits that also have seeds, like strawberries and blackberries, but you might not want them speckling your jar of peach jam.
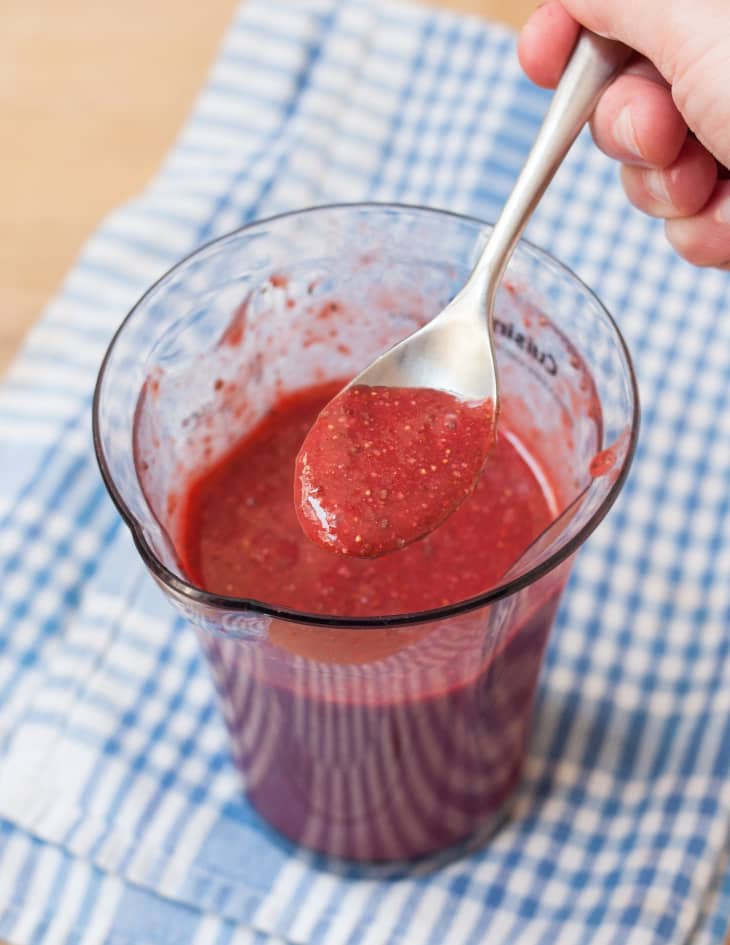
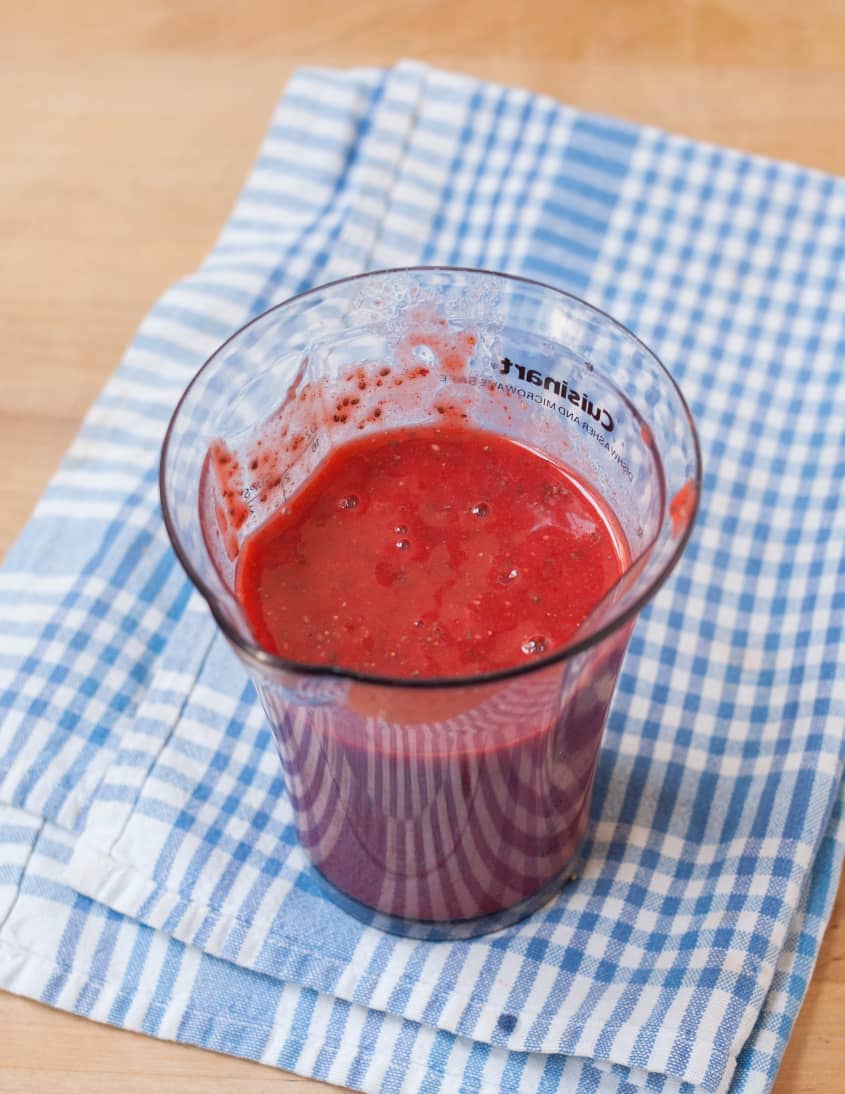
If you’d prefer not to have visible chia seeds in your finished jam, puree the jam in a blender or with an immersion blender. You’ll still see some small flecks of seeds, but they will be much less obvious than before blending. If you’d like to keep a somewhat chunky texture, blend just a portion of the jam with the chia seeds, then stir it back in with the rest of the jam.
Using Your Chia Jam
I love chia jam spread over toast with peanut butter, or swirled into my morning yogurt. Two cups of fruit makes about 1 1/2 cups of jam, so this is just enough for a week of breakfasts — then it’s time to choose a new combination of fruits at the farmers market and make another batch!
I haven’t yet tried cooking with this jam, but I’m curious to give it a go. My feeling is that it would actually work just fine, especially for things like jam bars or thumbprint cookies, since the heat of the oven would help concentrate the juices and make the chia jam even jammier. Has anyone tried this? I’d love to hear your experience!
Do you make chia jams? What are your favorite flavors?

How To Make Easy Chia Jam
Prep time 10 minutes
Cook time 5 minutes to 10 minutes
Makes about 2 cups
Serves 16
Nutritional Info
Ingredients
- 2 cups
chopped fresh fruit
- 1 to 2 tablespoons
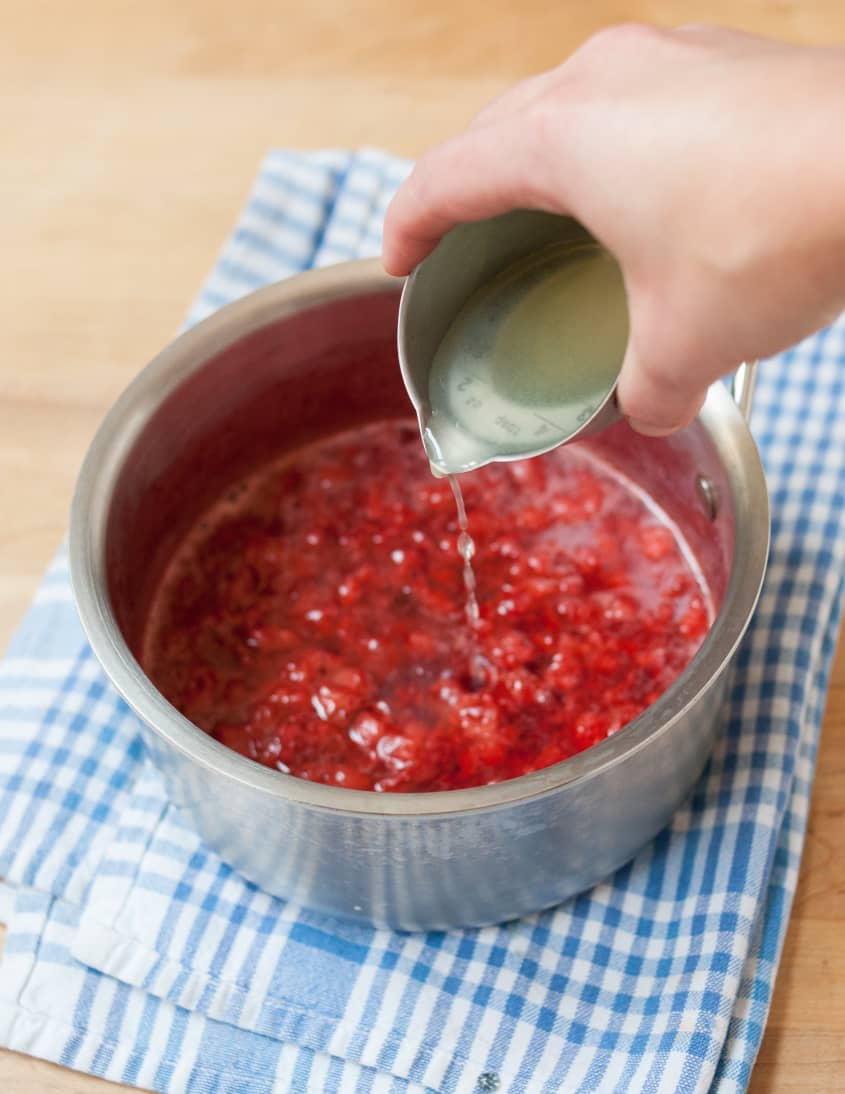
freshly suqeezed lemon juice
- 1 to 2 tablespoons
honey, agave, maple syrup, or sugar
- 2 tablespoons
chia seeds, plus more if needed
Equipment
Measuring cups and spoons
Spatula
Saucepan
Potato masher, optional
Glass jars or other storage containers, for the finished jam
Instructions
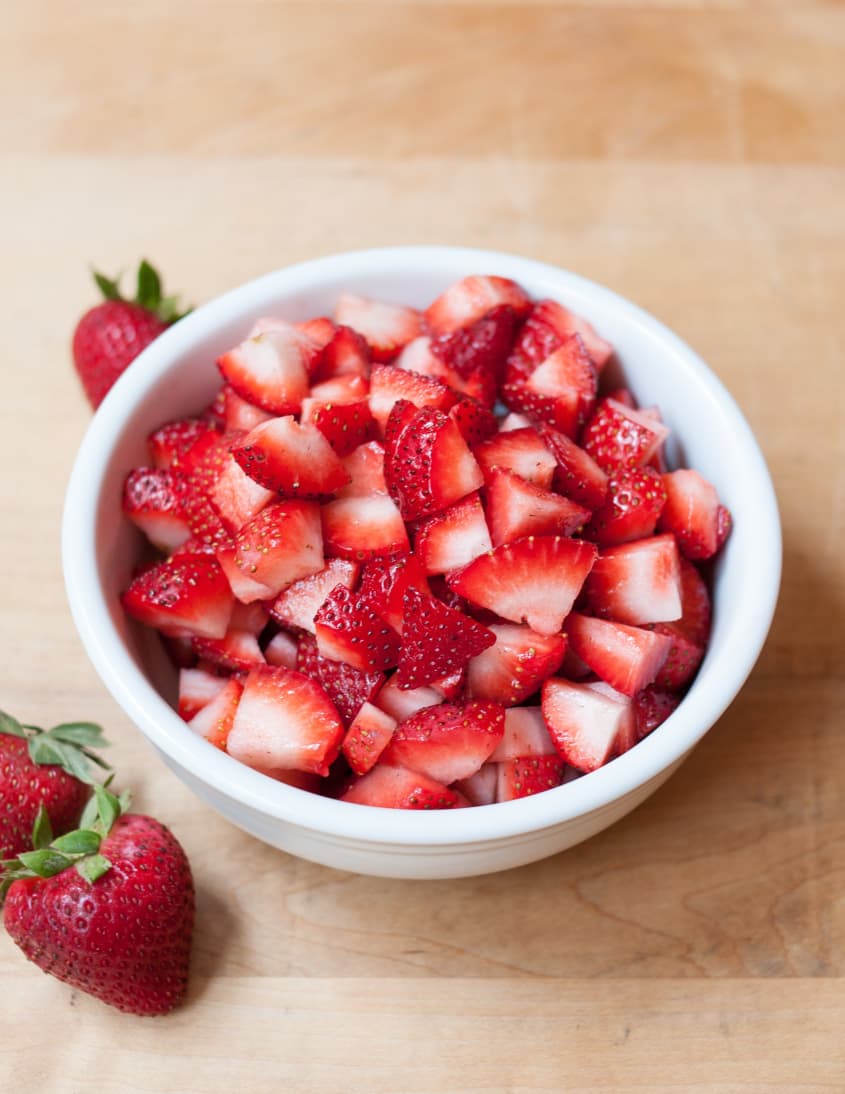
Prepare the fruit as needed. Remove stems, pits, seeds, and skin from the fruit as needed. Chop large fruits into small pieces. Berries can be left whole.
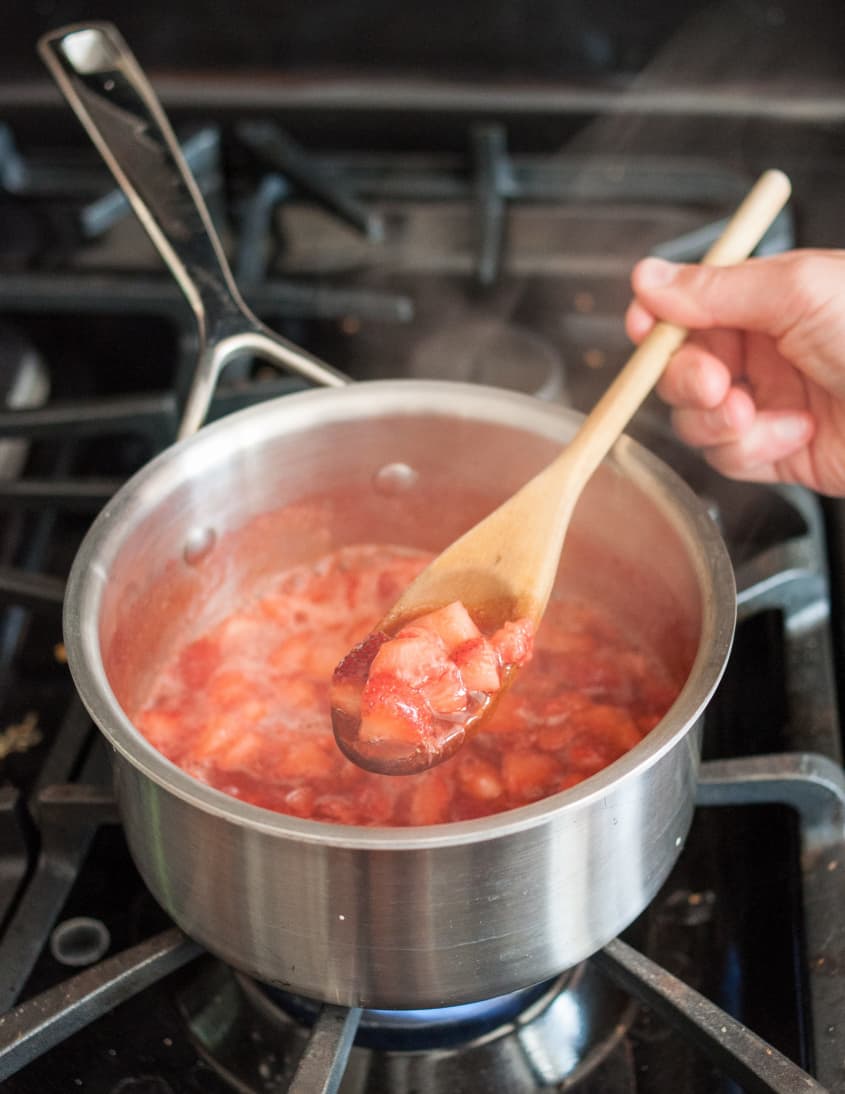
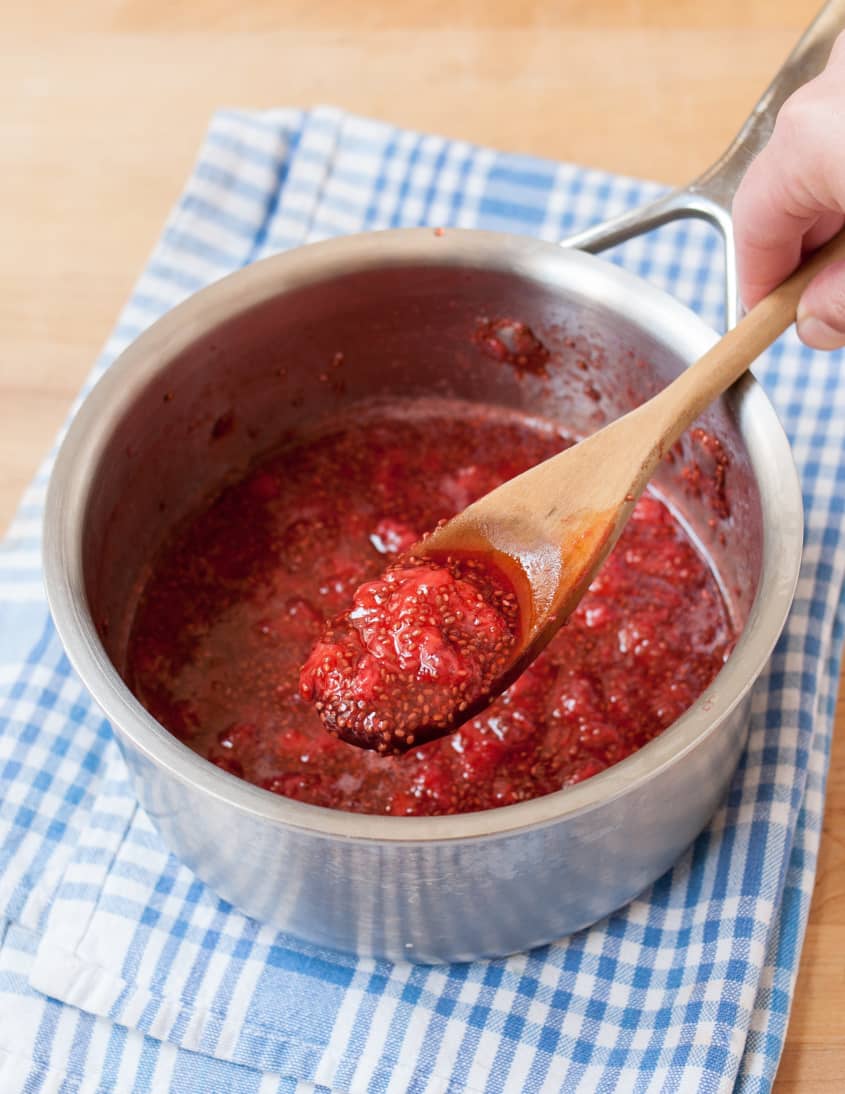
Cook the fruit until it starts to break down. Transfer the fruit to a saucepan and set over medium heat. Cook until the fruit breaks down and becomes syrupy, 5 to 10 minutes. Mash the fruit with the back of a spatula or a potato masher, leaving it as smooth or as lumpy as you like.
Stir in the sweetener and lemon juice. Remove from the heat. Stir in 1 tablespoon of the honey and lemon juice. Taste and add more honey or lemon juice as needed
Stir in the chia seeds. Add the chia seeds and stir to combine.
Let the chia thicken the jam. Let stand 5 minutes, until thickened. If you want it thicker, stir in more chia seeds 1 teaspoon at a time.
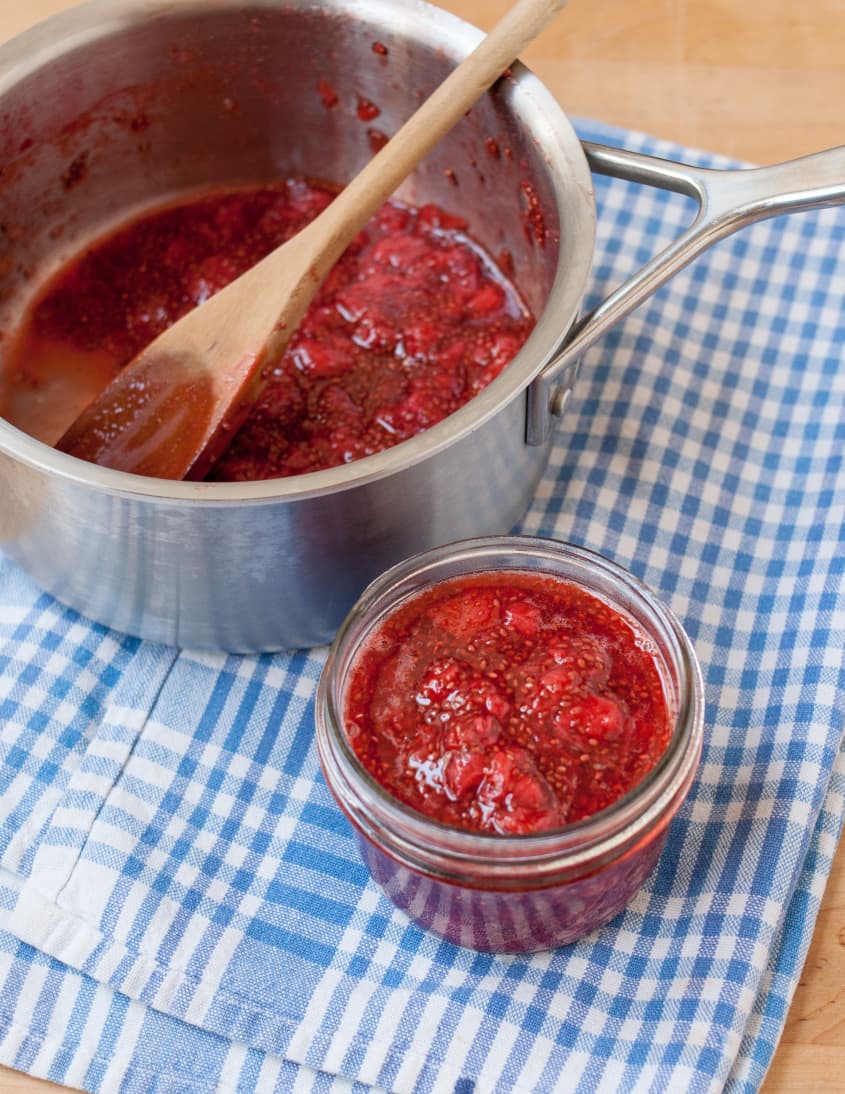
Transfer to a jar or other storage container. Once the jam has cooled to room temperature, transfer it to a jar or other storage container. Store in the fridge for about 2 weeks. The jam will thicken further and become more set once completely chilled. The jam can also be frozen for up to 3 months; thaw in the fridge before using.
Recipe Notes
No-cook chia jam: Mash the fruit with a fork until pulpy and juicy, then stir in the rest of the ingredients. You can also combine all the ingredients in a blender, or use an immersion blender, and blend until the jam is completely smooth. Uncooked chia jam tends to be a bit looser and more sauce-like than the stovetop version; add extra chia seeds if you'd like a thicker consistency.
Getting rid of visible chia seeds: If you'd prefer not to have visible chia seeds in your finished jam, puree the jam in a blender or with an immersion blender. If you'd like to keep a somewhat chunky texture, blend just a portion of the jam with the chia seeds, then stir it back in with the rest of the jam.