
How To Cook Lentils in an Instant Pot


When I don’t know what to make for dinner, I throw some lentils in the pressure cooker. By the time they’ve finished cooking, I’ve usually figured out what to do with them. And as much as I love lentil soup, I prefer them in other dishes, like tacos, salads, or simply seasoned and topped with an egg. Here’s how to cook lentils with the electric pressure cooker so you can make dinner in a hurry.
Skip the Soak
There’s no need to soak lentils before cooking in the pressure cooker. (This is true for all legumes cooked in a pressure cooker; it’s one of the many benefits of a pressure cooker.) Before adding the lentils to the cooking pot, pick them over for any random stones or pieces of straw.
Unlike the stovetop method — which will give you a great final product — you don’t have to worry about monitoring the doneness of the lentils so they’re firm yet tender every time.
Flavoring … or Not
For the pressure cooker, select either brown or green lentils. Delicate red lentils turn to mush when cooked under pressure. To amp up the flavor of a pot of lentils, I like to cook them in chicken broth. This subtle added flavor makes a great addition to lentil salads and other dishes. (Take care to note that you cooked the beans in chicken stock if you are serving anyone following a vegetarian diet.)
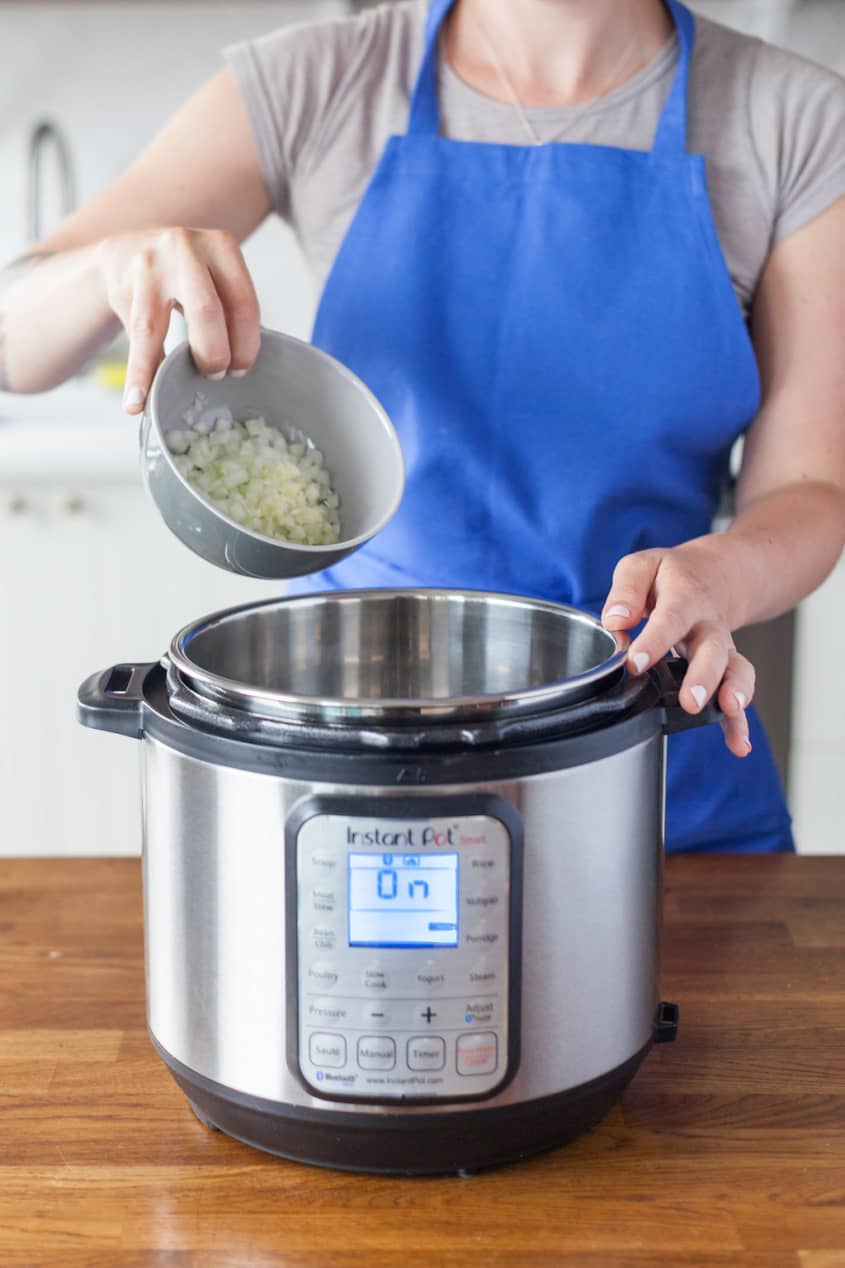
Another nice way to boost flavor is to sauté onion and garlic in a little olive oil before cooking the beans.
Releasing the Pressure
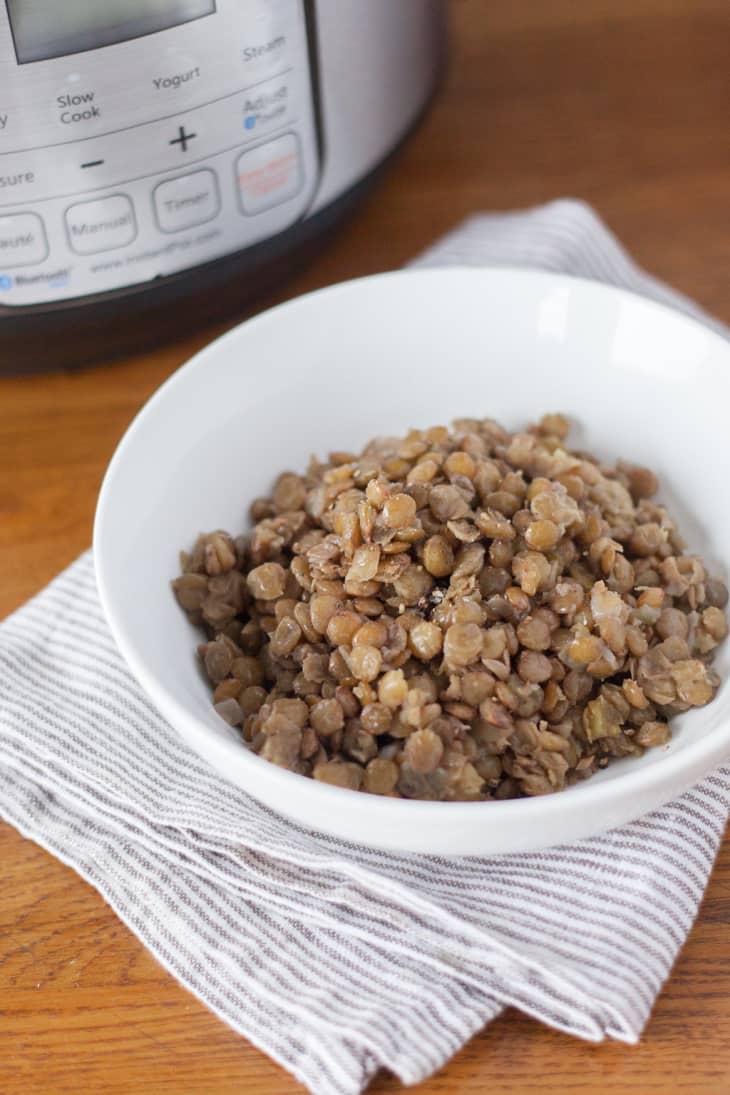
After cooking for 15 minutes under high pressure, allow the pressure cooker to release pressure naturally. This takes about 10 minutes. It’s fine if the pressure cooker switches to the “keep warm” setting during this time. It won’t affect the time it takes to release the pressure.
Ways to Use Your Lentils
Now that you have perfectly cooked lentils, it’s time to use them. Below are our some of our favorite ways to make them a meal.
Recipes That Call for Cooked Lentils
How To Cook Lentils in an Electric Pressure Cooker
Makes about 2 1/2 cups
Nutritional Info
Ingredients
- 2 teaspoons
olive oil
- 1/2
small onion, diced (about 1/3 cup)
- 1 clove
garlic, minced
- 1 cup
brown or green lentils
- 2 cups
water, chicken, or vegetable broth
- 1/2 teaspoon
kosher salt
Freshly ground black pepper (optional)
Equipment
Cutting board
Knife
Measuring cups and spoons
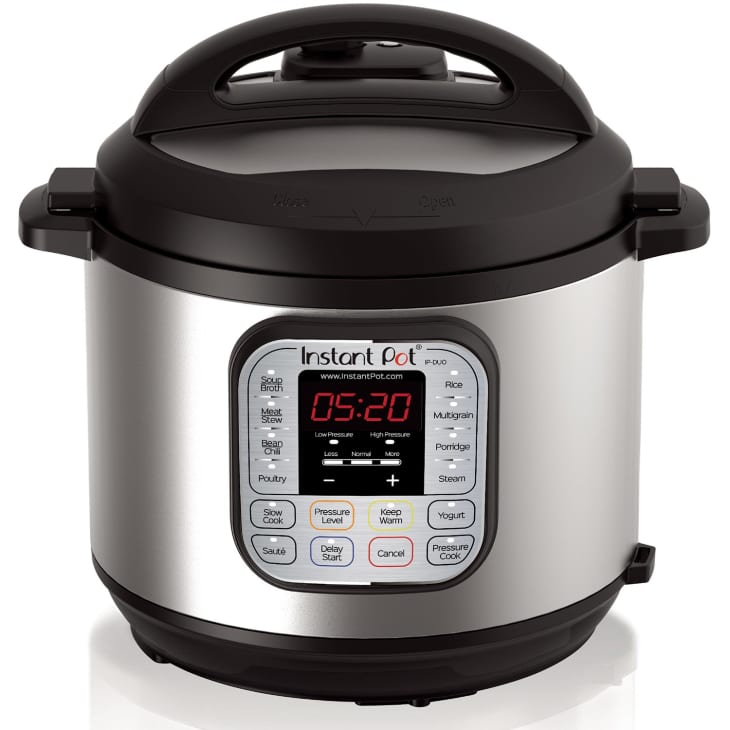
Electric pressure cooker
Instructions
Sauté onions and garlic: Select the sauté setting on an electric pressure cooker. Heat the oil until it shimmers but does not smoke. Add the onion and cook until soft, about 3 minutes. Add the garlic and cook until fragrant, about 2 minutes.
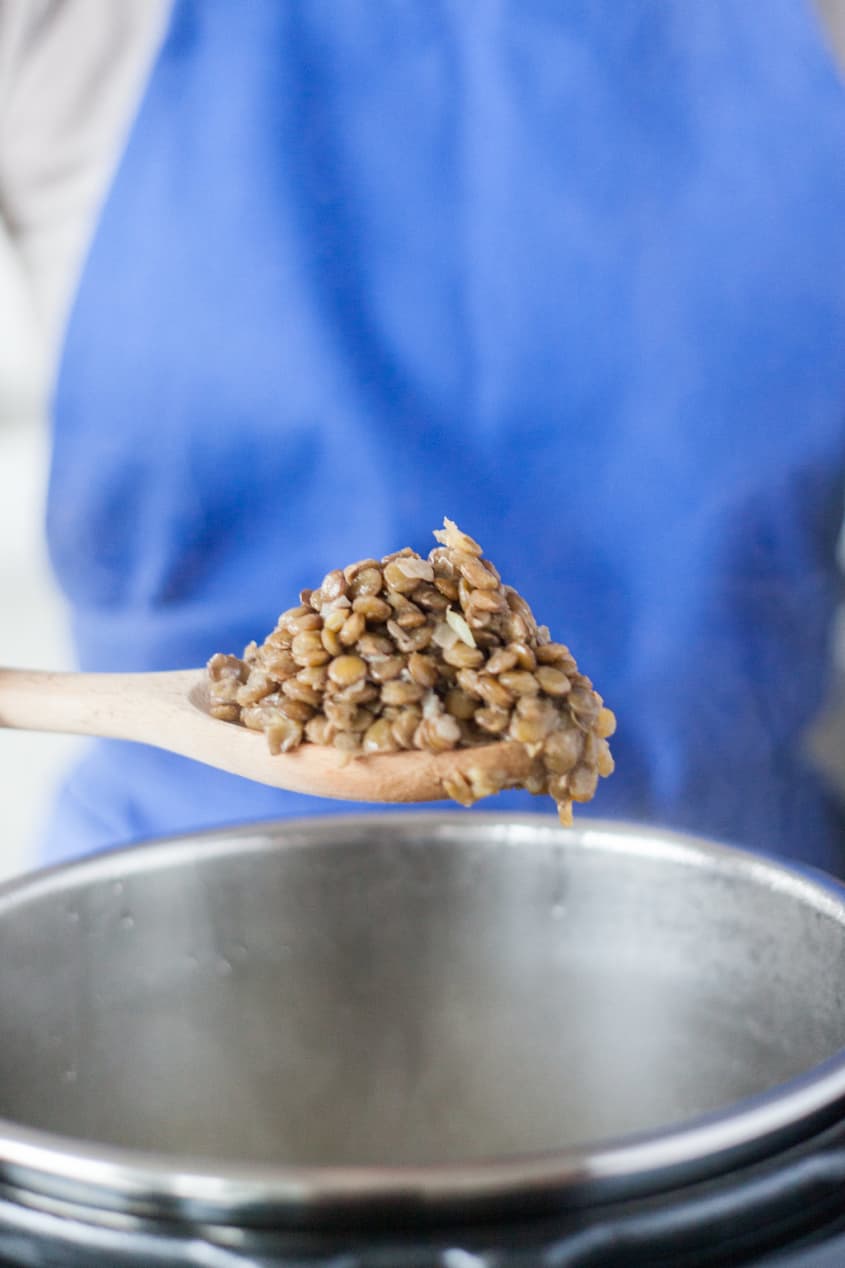
Pressure cook: Add the lentils, water or broth, and salt. Cover with and lock down the lid. Pressure-cook for 15 minutes at HIGH pressure.
Release naturally: Once the cook time completes, allow the pressure cooker to release pressure naturally; this takes about 10 minutes. Once all the pressure has released, turn the steam valve to release any remaining pressure. Remove the lid away from you. Taste the lentils and adjust with salt and pepper as needed.
Recipe Notes
Stovetop pressure cooking: This recipe was developed and tested in an electric pressure cooker. Since cooking times and methods vary with a stovetop pressure cooker, making this recipe in a stovetop pressure cooker is not recommended.
Storage: The cooked lentils can be stored in an airtight container in the refrigerator for up to 5 days or frozen for up to 2 months.