
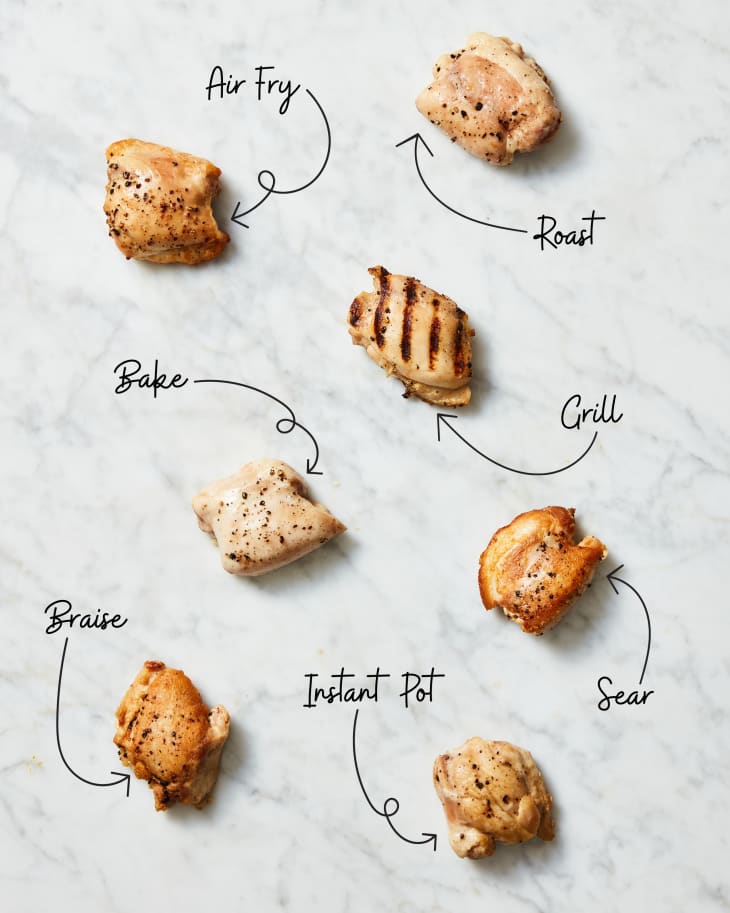
We Cooked Chicken Thighs 7 Different Ways and the Winner Was Juicy, Golden-Brown Perfection
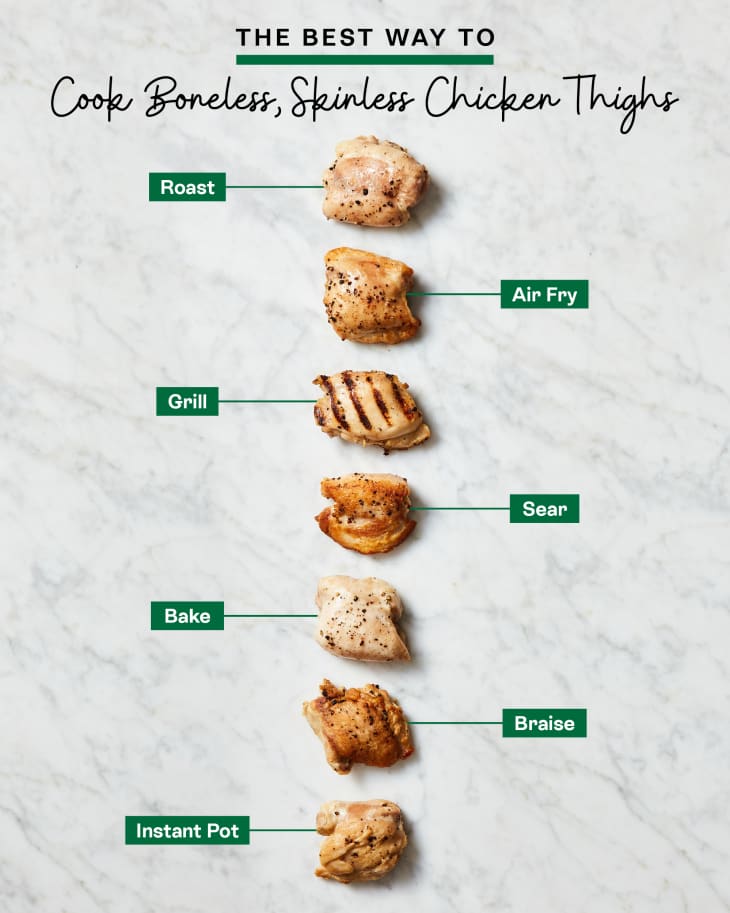
In the world of boneless, skinless poultry, one cut reigns supreme (at least if you ask me). While a boneless, skinless breast can be finicky, leaving you with a dry, sad piece of shoe leather on your plate if you cook it even one degree beyond the safe 165°F internal temperature, thighs are much more forgiving. Even when overcooked, they remain tender, moist, and flavorful — never tough. And because they’re dark meat, they have a richer, meatier flavor as well.
Boneless, skinless chicken thighs are great in stews and soups and in casseroles and braises. But what if you want to cook one as is — to enjoy on its own as an entrée or to make a batch for meal prep? Should you grill it? Or perhaps bake it? What about popping it in your air fryer?
To find out, I tracked down some popular methods for cooking chicken thighs and tested them out. My goal? To find the cooking method that enhanced their best attributes — playing up their succulence and rich flavor — as a simple, standalone entrée.
So, What Is the Best Way to Cook Boneless, Skinless Chicken Thighs?
While no method made for a bad (read: tough, dry, or flavorless) chicken thigh experience, one technique definitely made for the type of chicken you’d be delighted to find on your plate. Searing the thighs on the stovetop in a hot cast iron skillet made for juicy thighs with deeply savory, meaty flavor.
A Few Notes on Methodology
The chicken: I opted for air-chilled boneless, skinless chicken thighs — to ensure that they hadn’t been plumped or injected with broth. (I used Bell & Evans brand for my tests.) Each thigh weighed somewhere between four and five ounces and they were pretty uniform in size.
The tests: To level the playing field, I seasoned the thighs with salt and black pepper only (the same amount for each batch — 1/2 teaspoon of kosher salt and 1/4 teaspoon of pepper), and either brushed them with a little olive oil (before grilling or air frying, for example), or browned them in a little olive oil for stovetop methods. I did not include any spice rubs or marinades that the recipes I referenced might have called for so I could truly judge the methods themselves. For each test, I cooked four thighs and cut into and tasted each one — just to see if there was any inconsistency in the way they cooked. (I found no inconsistencies, by the way.)
Ratings: I judged each method on a scale of 1 to 10, with 10 representing perfection. The main criteria for my ratings were taste (meaty and rich being the ideal) and texture (hoping for moist and juicy). Moderate consideration went into appearance.
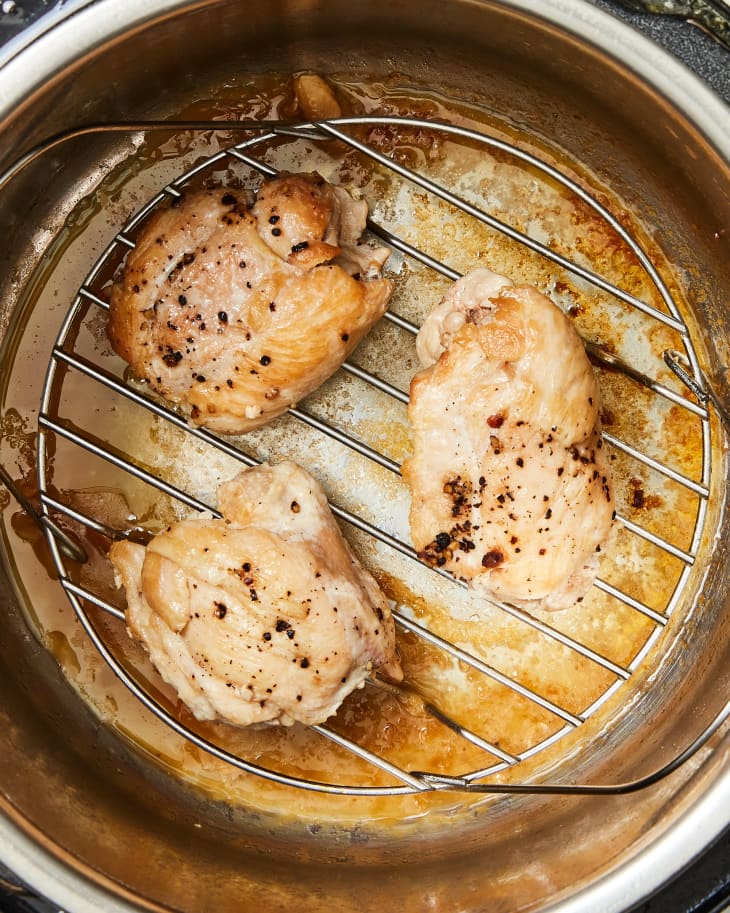
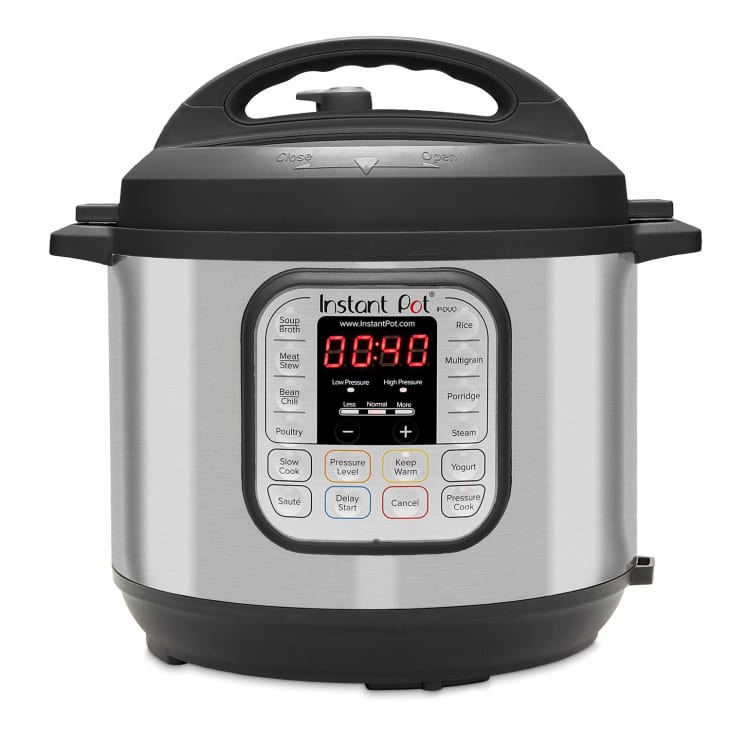
Boneless, Skinless Chicken Thigh Method: Instant Pot
- Cook time: About 12 minutes (and 3 minutes for natural release)
- Rating: 6
About this method: I searched for recipes I could use as a reference for cook times to test how boneless, skinless thighs would fare when cooked in an Instant Pot. I took a little from several different recipes to come up with the method I tested. I first lightly browned the thighs in a little oil on the sauté setting (2 to 3 minutes per side), then removed the thighs from the pot and turned it off. I added 1 cup of water to the pot, scraped to deglaze it, and inserted the trivet. I then arranged the thighs on the trivet, locked the lid in place, and set the pot to manual cook, opting for high pressure for 5 minutes. After allowing the pressure to release naturally for 3 minutes, I then quick-released the rest of the pressure.
Results: That little bit of browning I did on the front end didn’t hold up in the finished chicken; it was very pale. It did have a great texture — moist and firm — but the flavor was rather bland. If you want to use the chicken in a dish where there would be more flavor added (chicken salad or a casserole), the pressure-cooked chicken would work well there. But for a standalone entrée, this chicken would be a bit disappointing.
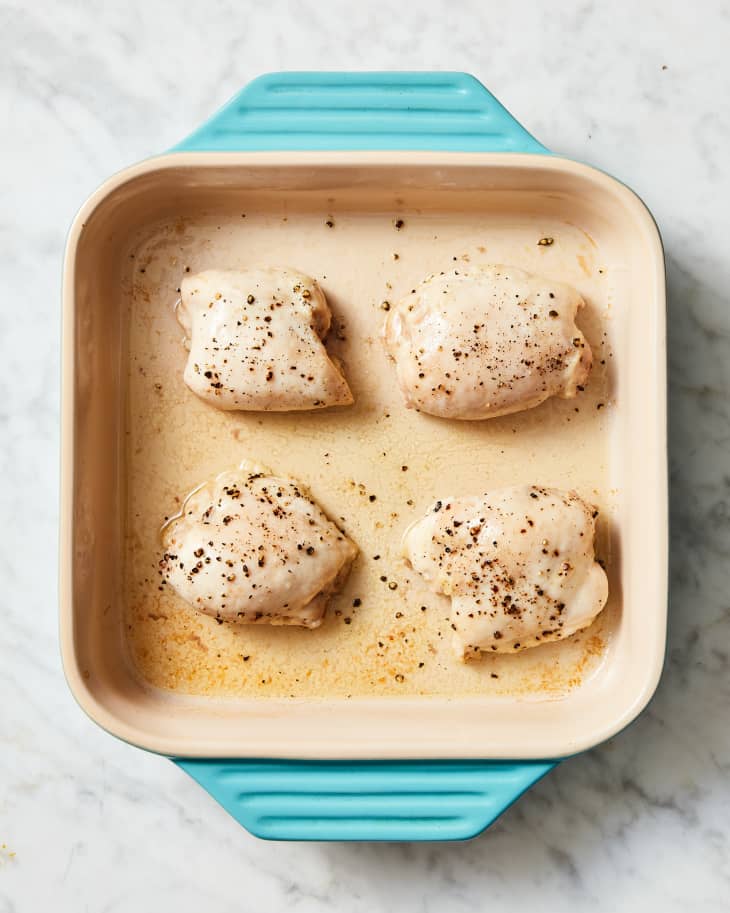
Boneless, Skinless Chicken Thigh Method: Baked in Casserole Dish
- Cook time: 23 to 30 minutes
- Rating: 7
About this method: This easy technique, which I borrowed from Healthy Recipes, starts by having you preheat the oven to 400°F, coating the chicken with oil, seasoning it, and arranging it in a baking dish. Because I tested with just four thighs, I used an 8-inch square dish. The recipe says to bake the thighs until they reach an internal temperature of 165°F, which for me took 23 minutes.
Results: When I pulled the dish out of the oven, I noticed that not only was the chicken unappealingly pale, but there was also a lot of liquid in the baking dish. Seeing that much liquid, I braced myself for dry meat — yet the chicken was surprisingly moist. Some of the salt and pepper did seem to leach out into liquid, so the chicken didn’t taste as well-seasoned as it should have. As with the Instant Pot method, this would be great for chicken that you’d like to toss into a casserole, use in a salad, or shred for tacos. And it has the bonus of being a very easy, hands-free technique.
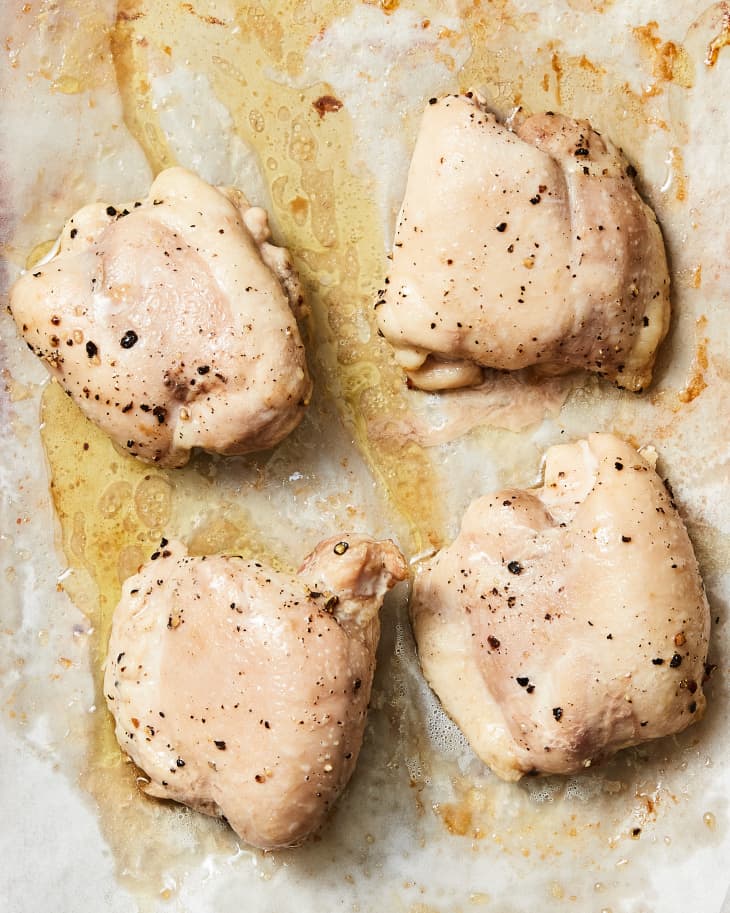
Boneless, Skinless Chicken Thigh Method: Roasted on a Sheet Pan
- Cook time: 20 minutes
- Rating: 7.5
About this method: For this other oven technique, I used guidance from The Girl on Bloor. After turning the oven to 425°F, I patted the chicken dry (even though the source recipe doesn’t call for it) and brushed it with a small amount of oil before seasoning it. I then arranged it on a parchment-lined sheet pan and roasted it for 12 minutes. I then flipped the chicken over and cooked it for 8 more minutes.
Results: There was a little bit of browning here and there on the thighs, but they were pretty pale. A bit of liquid had released from the thighs, making the parchment paper soggy, but the thighs still retained lots of moisture. There was a bit more flavor depth from the small amount of browning on the chicken, which was a welcome surprise. If you don’t mind the pale visuals, this chicken might have a place on your dinner plate.

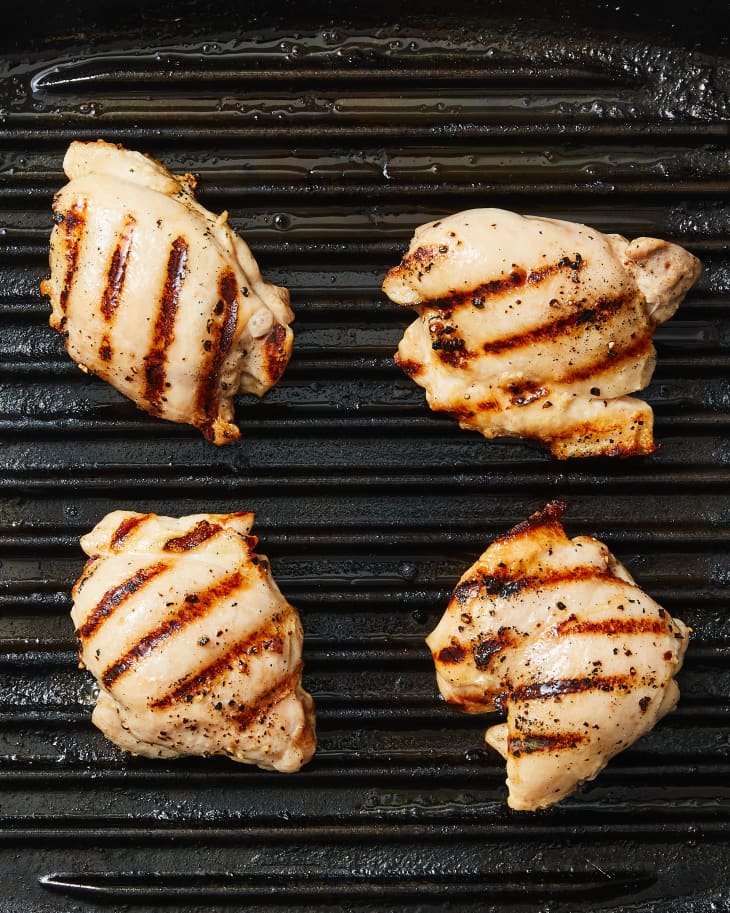
Boneless, Skinless Chicken Thigh Method: Grilled
- Cook time: 10 minutes
- Rating: 8.5
About this method: Most of the grilled chicken thigh recipes I found online required a marinade, which, for the sake of consistency, I didn’t want to use for this test. I found a source that suggested grilling at 400°F, but after trying that, I felt that the temperature was too low to produce chicken that tasted grilled. So I tried again, this time adjusting the heat to hover between 450°F and 475°F. I lightly coated the thighs with oil, seasoned them, and arranged them on the grill rack. I closed the lid and grilled for 5 minutes on each side.
Results: I must admit to having preconceived notions that this would be my favorite method. After all, I grill chicken thighs all the time. The chicken did pick up a little bit of flavorful char, and it had a lovely light grill/smoke flavor. It was moist, tender, and juicy — with some crispy edges that were quite nice. Grilling is a great method for boneless, skinless thighs that produces pretty, tasty results. I will definitely grill more chicken thighs in the future, but I was surprised and delighted to find some other methods I enjoyed more.
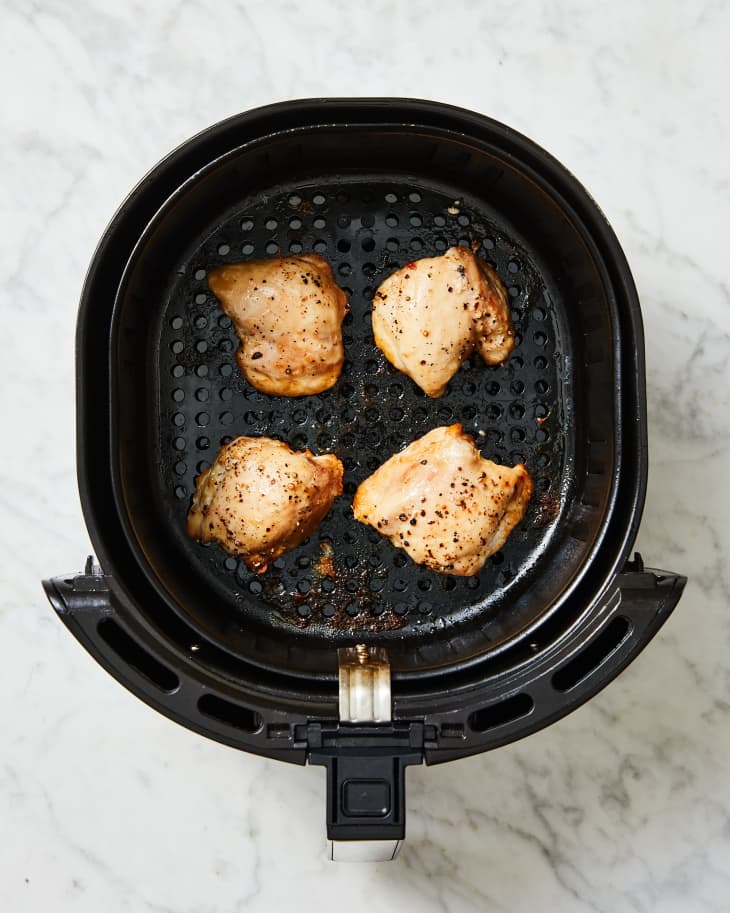
Boneless, Skinless Chicken Thigh Method: Air-Fried
- Cook time: 17 minutes
- Rating: 9
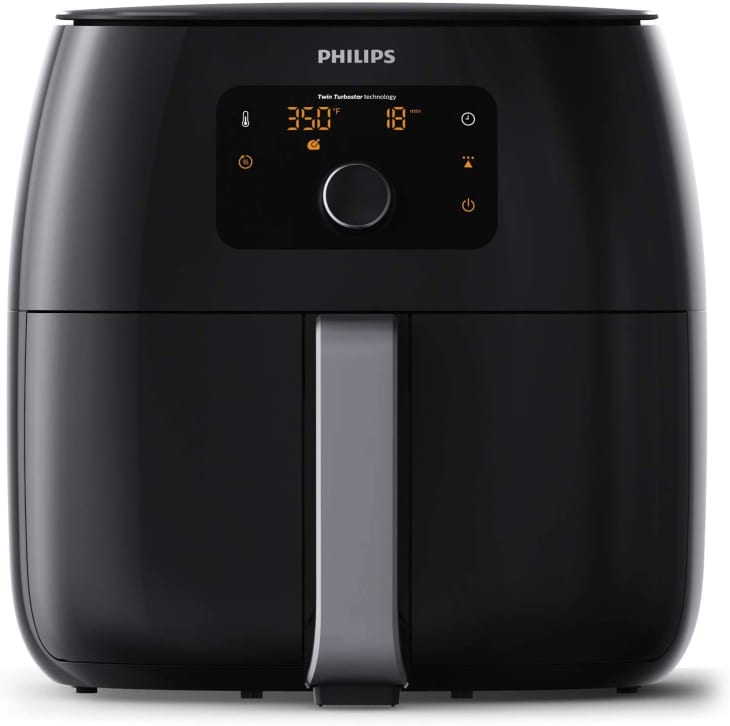
About this method: I referenced two main recipes to test the air fryer method, from The Almond Eater and Winding Creek Ranch. They call for the chicken to be brushed with oil and seasoned (again, for my test, just salt and pepper) and air-fried at 380°F. My air fryer, a Philips, doesn’t have that temperature as an option, so I went with 375°F. I started the chicken top-/presentation-side up for 12 minutes, flipped it over, and air-fried an additional 6 minutes.
Results: The chicken was a lovely, even, golden-brown color all over. It had a little bit of a crust on the outside, which was irresistible. I saw only a few drops of liquid in the bottom of the air fryer basket, so either very little liquid escaped or most of what did evaporated. The seasonings on the chicken seemed more concentrated, which was delicious. And the texture of the chicken was interesting — dense and firm but not the least bit dry. It was wonderfully juicy.
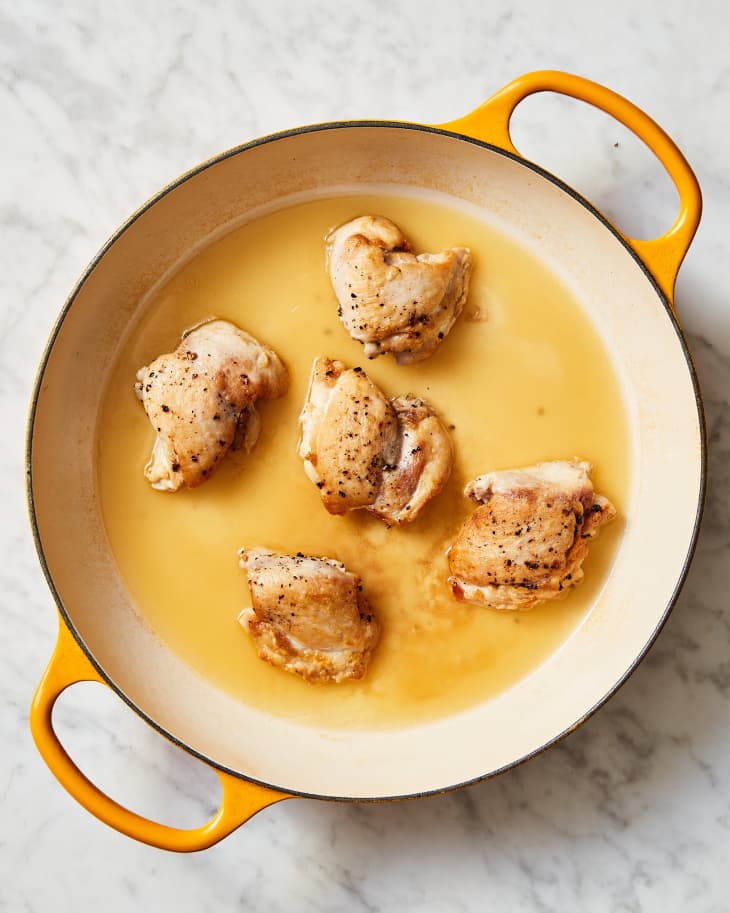
Boneless, Skinless Chicken Thigh Method: Braised
- Cook time: 25 minutes
- Rating: 9
About this method: Here again, I couldn’t really find a simple source recipe to follow. After all, most braising recipes involve aromatic vegetables, herbs, broth or stock, wine, and so on. So I looked at a lot of examples of those kinds of recipes, took some learnings from them, and came up with a simple method. I preheated my oven to 350°F, patted the chicken dry, and seasoned it. I then heated some oil in my cast iron braiser (a Dutch oven would work, too) over medium-high and browned the top/presentation side of the thighs for 5 minutes. I then flipped the chicken over, added 2/3 cup water to the pot, put the lid back on, and placed it in the oven for 20 minutes.
Results: Even though the chicken finished cooking in the liquid, it retained its lovely color from the initial browning step. The browned side of the chicken had a crust-like texture, while the interior was moist and buttery-tender. The flavor and texture were similar to braised pork shoulder, and the meat was pull-able in a similar way. Of course, the flavor would only get better with herbs, some chicken stock instead of water, and some onion and carrots. But considering this was just salt, pepper, and water, this chicken was outstanding.
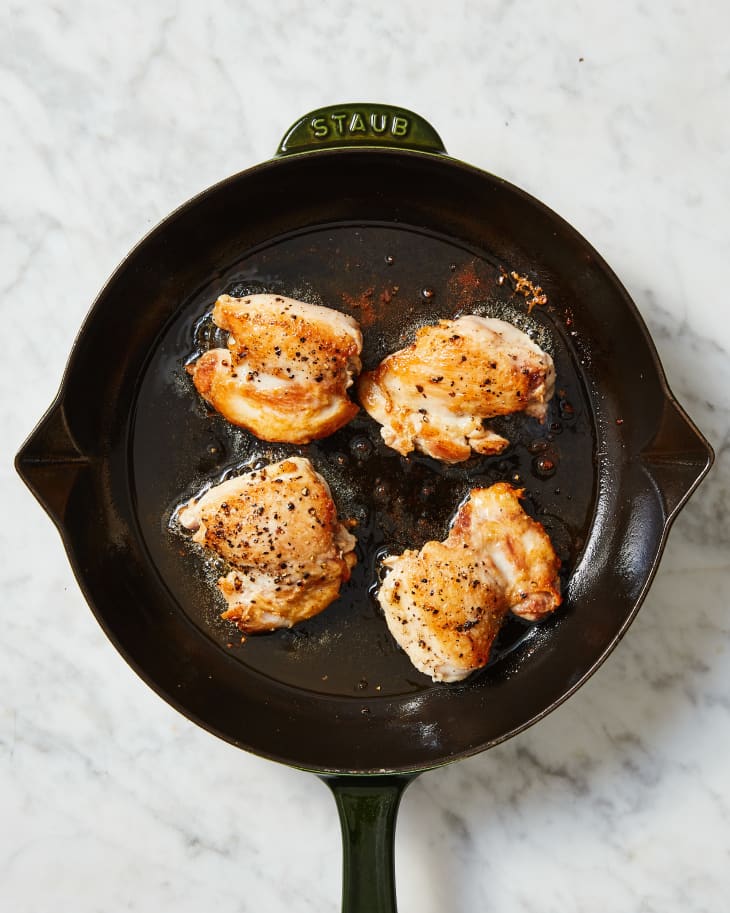
Boneless, Skinless Chicken Thigh Method: Seared on Stovetop
- Cook time: 9 minutes
- Rating: 9.5
About this method: I used the recipe from The Modern Proper to guide me through this technique. I patted the thighs dry and seasoned them with salt and pepper. I then heated some oil in a cast iron skillet over high heat. I placed the chicken in the pan, top-/presentation-side down, and cooked it without touching it or nudging it for 5 minutes. I then flipped the chicken over, reduced the heat to medium-low, and cooked until the chicken reached 170°F (4 more minutes).
Results: These thighs were beautiful: golden-brown and glossy with a definite crust. They almost looked as if they still had skin on them, and the crispiness of the seared side almost tricks you into thinking they do. The “browned” flavor you get from searing the meat (via Maillard reaction) is powerfully, deliciously savory. This method is quick, easy, and almost fuss-free. The only downside is that, as with anything you pan-sear, it’s a bit messy; the oil splatters all over the cooktop. It’s a small price to pay for chicken you would be proud to serve to guests and is easy enough to make on a busy weeknight.

Final Takeaways
A little bit of browning goes a long way. The chicken methods that yielded the best-tasting results involved getting some color on the chicken — be it through grilling, browning before braising, air-frying, or pan-searing. And, of course, those thighs looked the best, too. So for center-of-the-plate chicken thighs, think of opting for a method that’ll both look great on your plate and deliver tasty-savory results. If casseroles, tacos, or stew is your end goal, some of the other methods might be right for you.