
How To Salt Cure Salmon (Lox) at Home
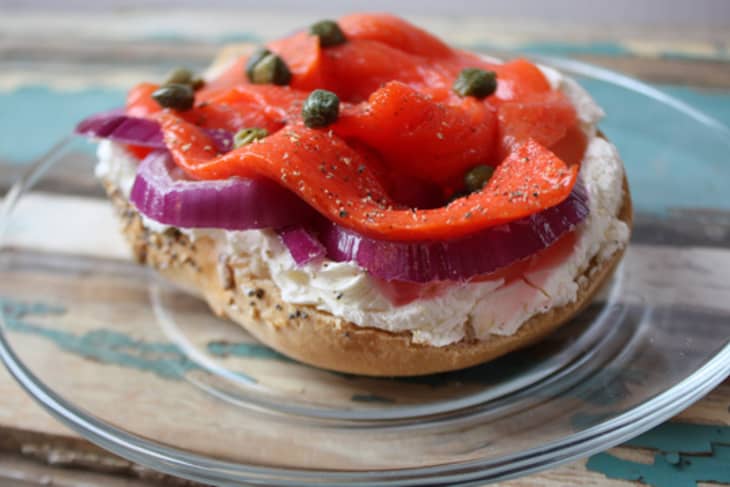
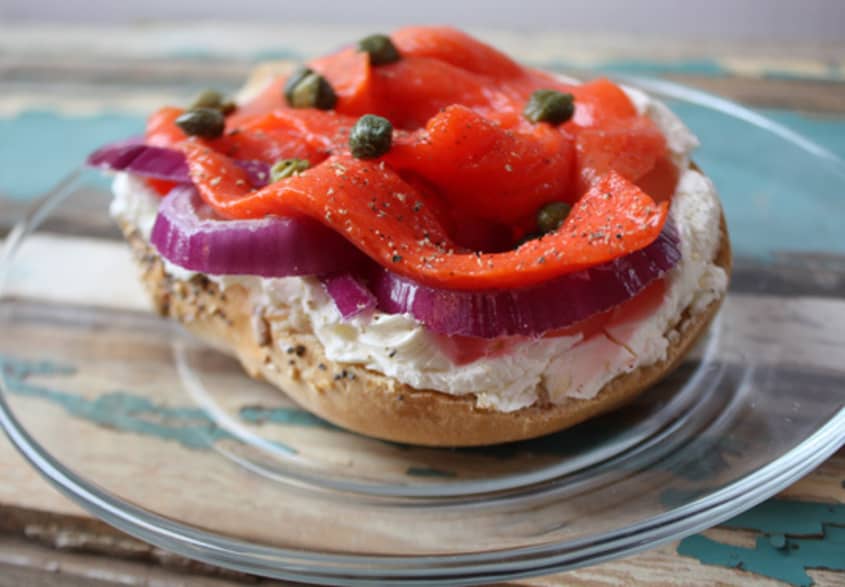
If there was a favorite breakfast food at our house it would be a lightly toasted bagel smeared with cream cheese, topped with smoked salmon, red onion and capers. You know what I’m talking about — lox. It makes our world go round, but sadly it can be a little harsh on the pocketbook… unless you salt cure it at home like we do!

What You Need
Ingredients
Fresh salmon (at least 1 pound, cut into two equal pieces)
1/4 cup brown sugar (per pound of fish)
2 tablespoons kosher salt (per pound of fish)
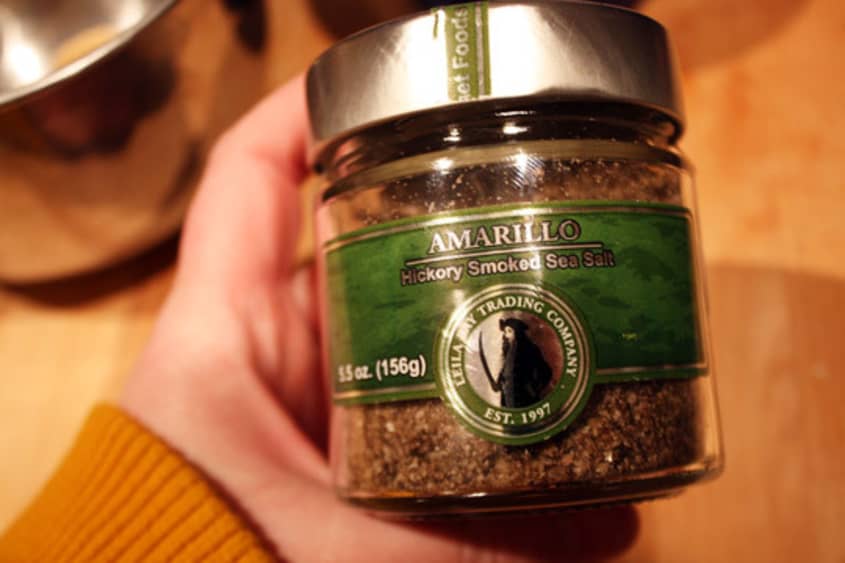
1 tablespoon smoked salt (per pound of fish)
1 tablespoon fresh cracked black pepper (per pound of fish)
Equipment
1 large glass bowl
1 small glass bowl
1 dinner plate
Plastic Wrap
Knife
Needle nose pliers (potentially)
Instructions
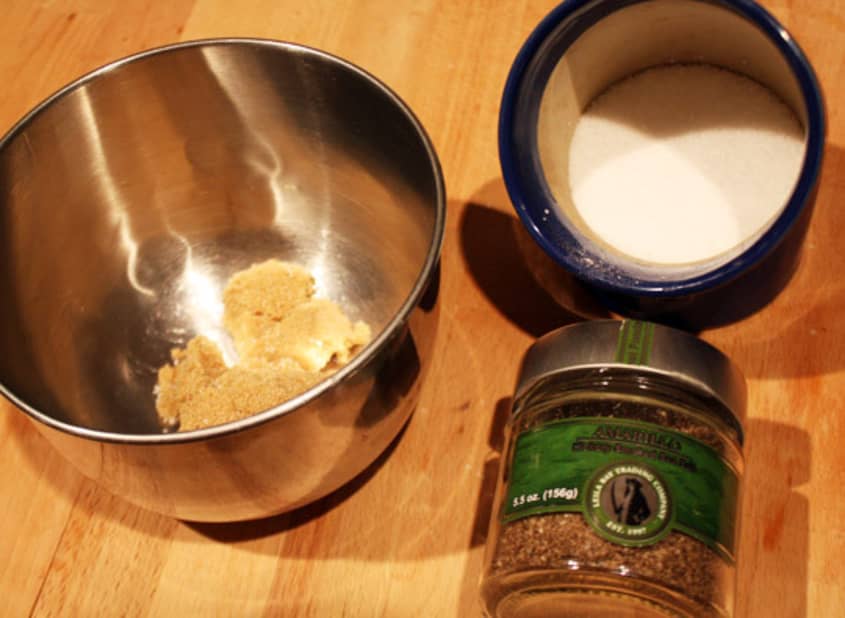
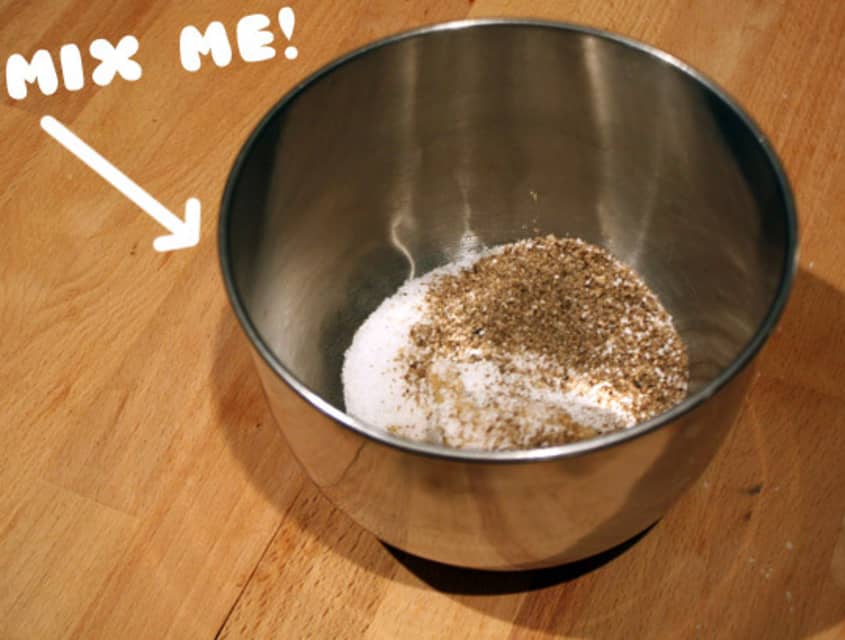
1. Combine Salt Cure Ingredients
The process starts by mixing the two salts (you can use just kosher if you wish), pepper and sugar in a small bowl or zip top bag. Combine thoroughly and make sure that the sugar is evenly distributed amongst the salt granules.
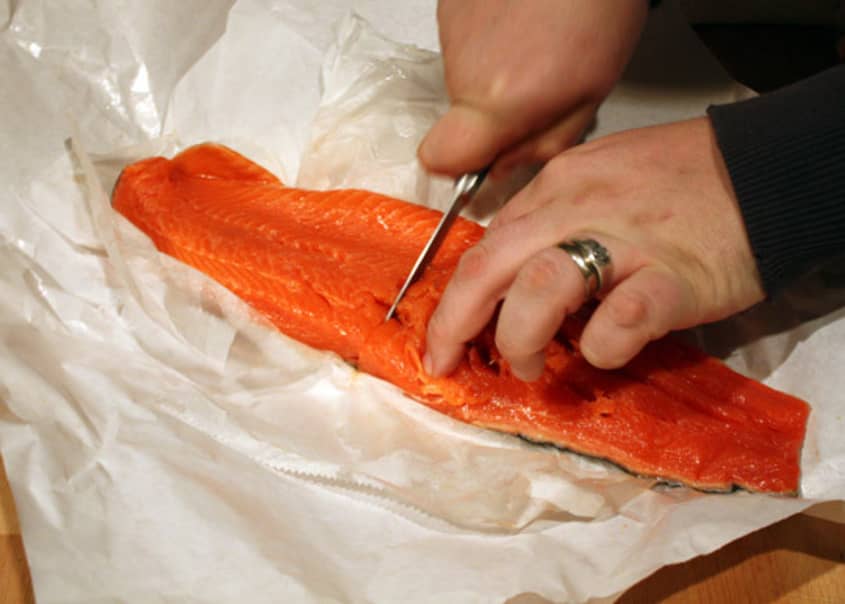
2. Check For Pin Bones
Even though your local butcher or fish monger should have de-scaled and removed all the pin bones from your fish before receiving it, that doesn’t mean there won’t still be a few left. Run your finger along the fillet to make sure they’re all gone! Use needle nose pliers (clean ones please) to remove any stragglers.
3. Lay Out Plastic
There aren’t many times we tell you to use plastic wrap around these parts, but this is one of them. Lay out two lengths side by side and slightly overlapping on your countertop, at least 3 feet in length.
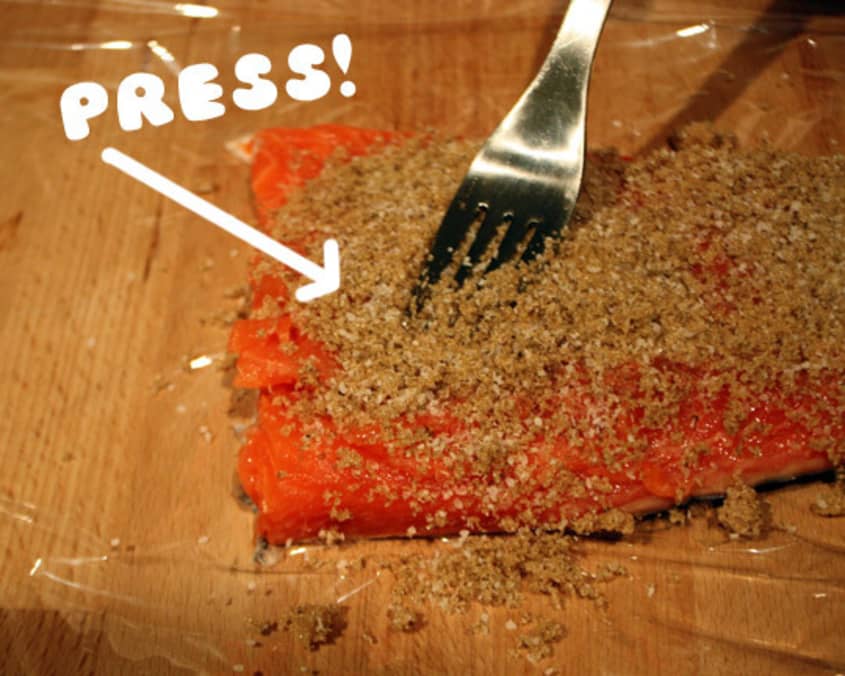
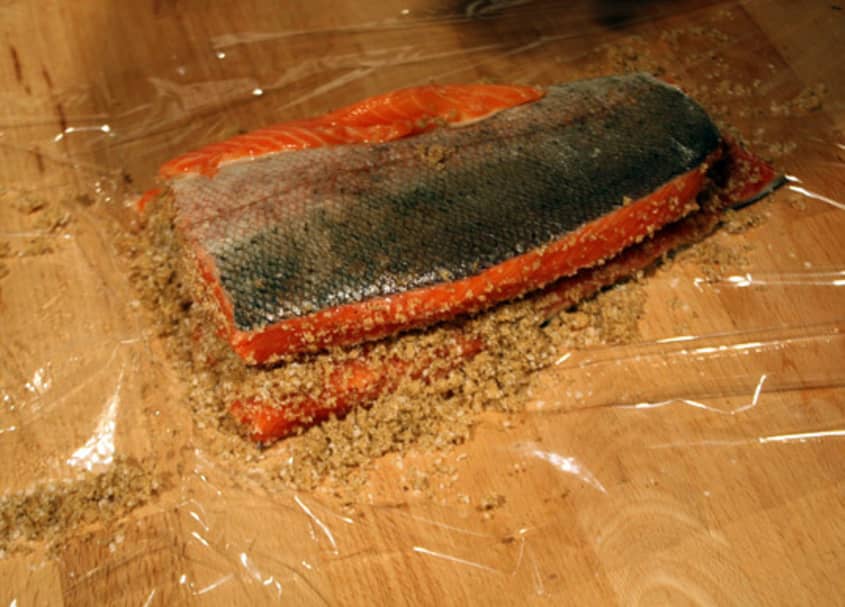
4. Place Fish On Plastic & Apply Salt Mixture
You’ll want to place your fish on your plastic side by side. Cover each piece of fish (don’t forget the sides) completely with the salt and sugar mixture. The goal is to be able to flip the two pieces on top of each other while they rest. So leave an inch or so spacing between and don’t worry about applying the mixture to the skin side.
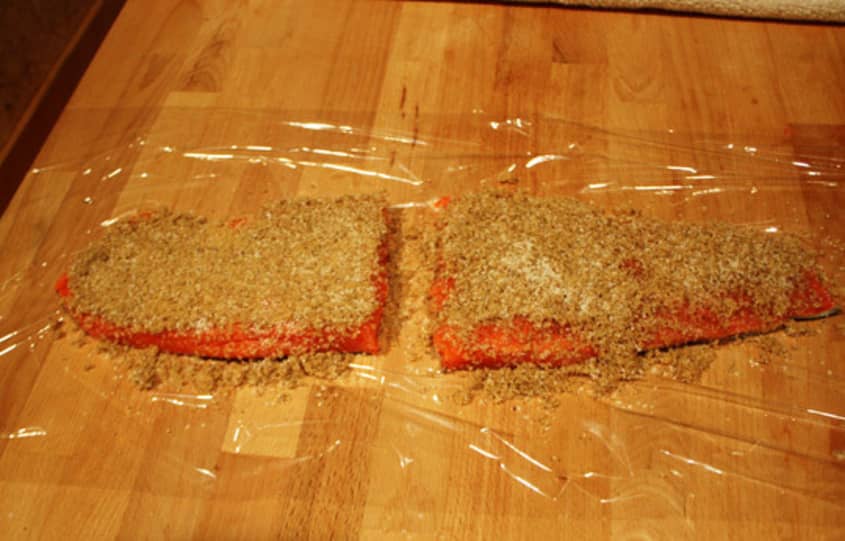
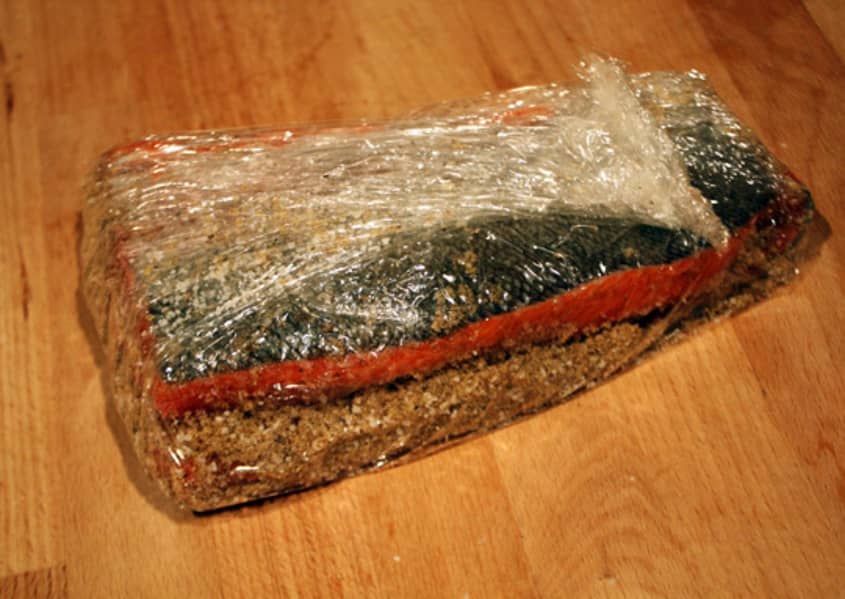
5. Fold & Wrap
Fold the two halves of fish on top of each other, flesh sides together. You might have a little mixture fall from the fish and that’s ok. You’ll want to wrap the plastic around the fish to keep all the salt and sugar mixture in, but you don’t want to wrap it too tight. What’s too tight, well that part is up to you. You want the juices to escape as the salt works it’s magic, so wrap it up, but don’t suffocate it.
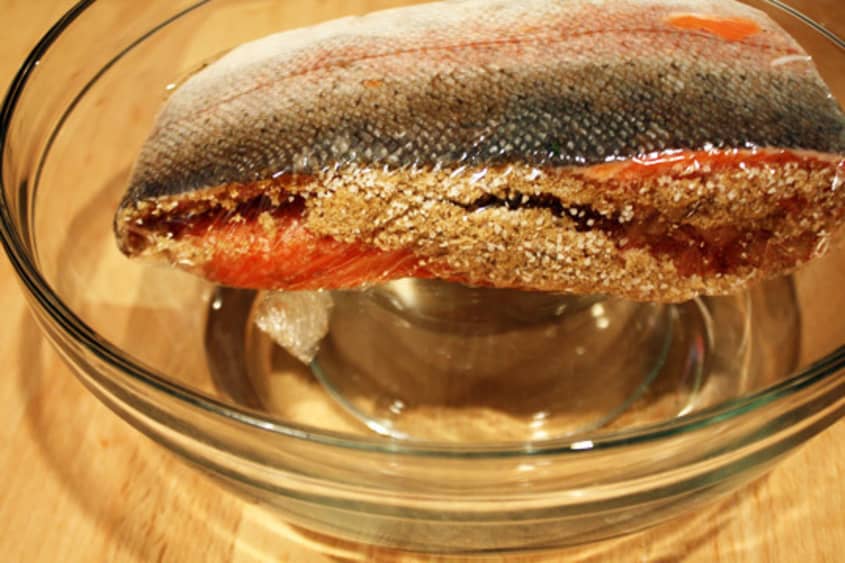
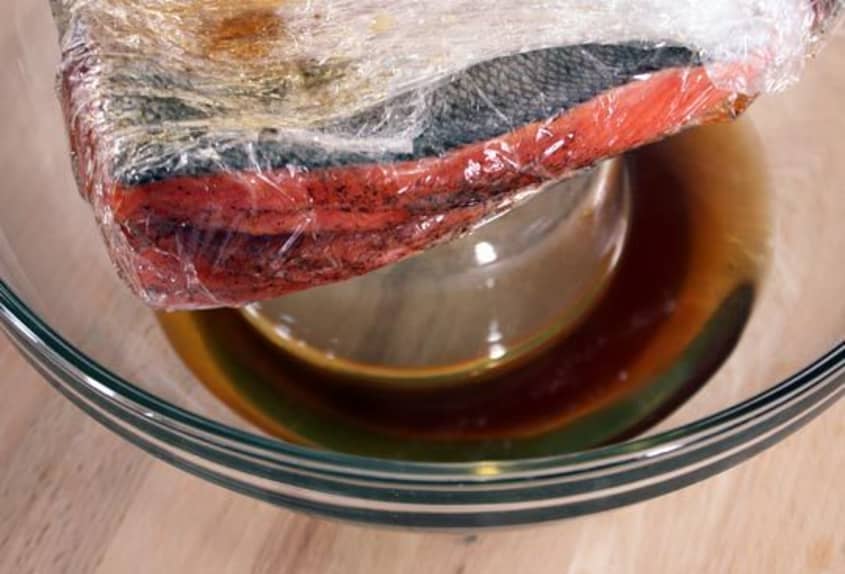
6. Assemble Your Bowls
Take a large glass bowl (you can use plastic, but it will forever be your fish bowl after that) and turn a small glass bowl upside down in the center of it. Next place your fish on top of the smaller bowl.
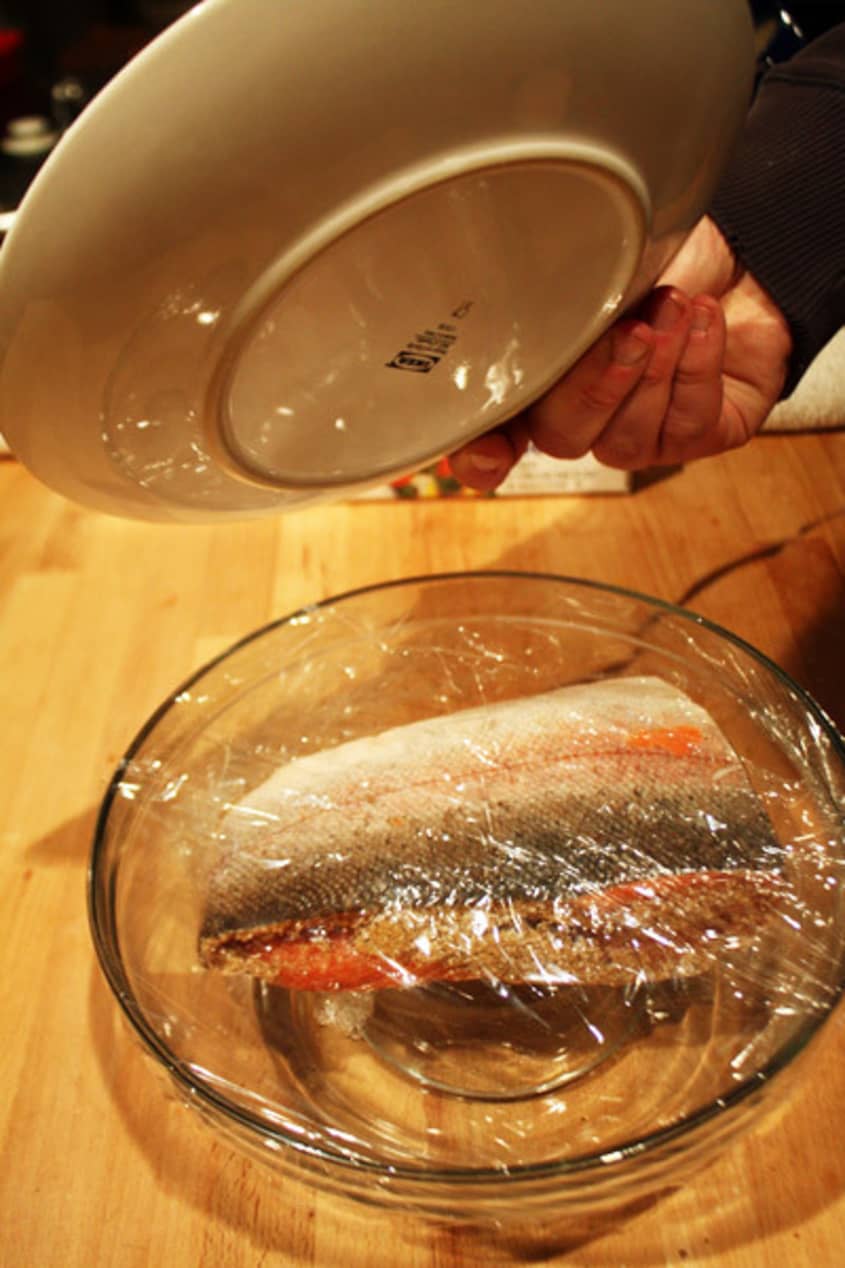
7. Add A Plate & Wrap It Up
Although the juices will naturally flow from the fish once the mixture starts to do it’s thing, it is a huge (huge) help to apply a little pressure. One of the easiest ways to do this is to simply lay a plate over the top of the fish. Place your plate on the fish and then cover the large bowl with an additional layer of plastic wrap. This will keep the fish smells down in your fridge and you won’t even know it’s there.
8. Drain & Flip (optional)
Your fish will stay in the fridge for 5 days. Hey, no one said being thrifty was fast! Each day you can remove the plate, flip the plastic wrapped fish and replace the plate. It will help keep your fish more level which can help it slice nicer, but more often than not, we find ourselves skipping this step.
9. Rinse, Rinse, Rinse
Once your 5 days come to a close, it’s time to rinse your fish. Our makeshift kitchen is a little low on light, so our apologies on not having a photo of this above, but you literally just rinse your fish. Rinse off all the salt and sugar from it’s skin and flesh side. (note: You can rinse it again later after cutting if it’s still too salty)
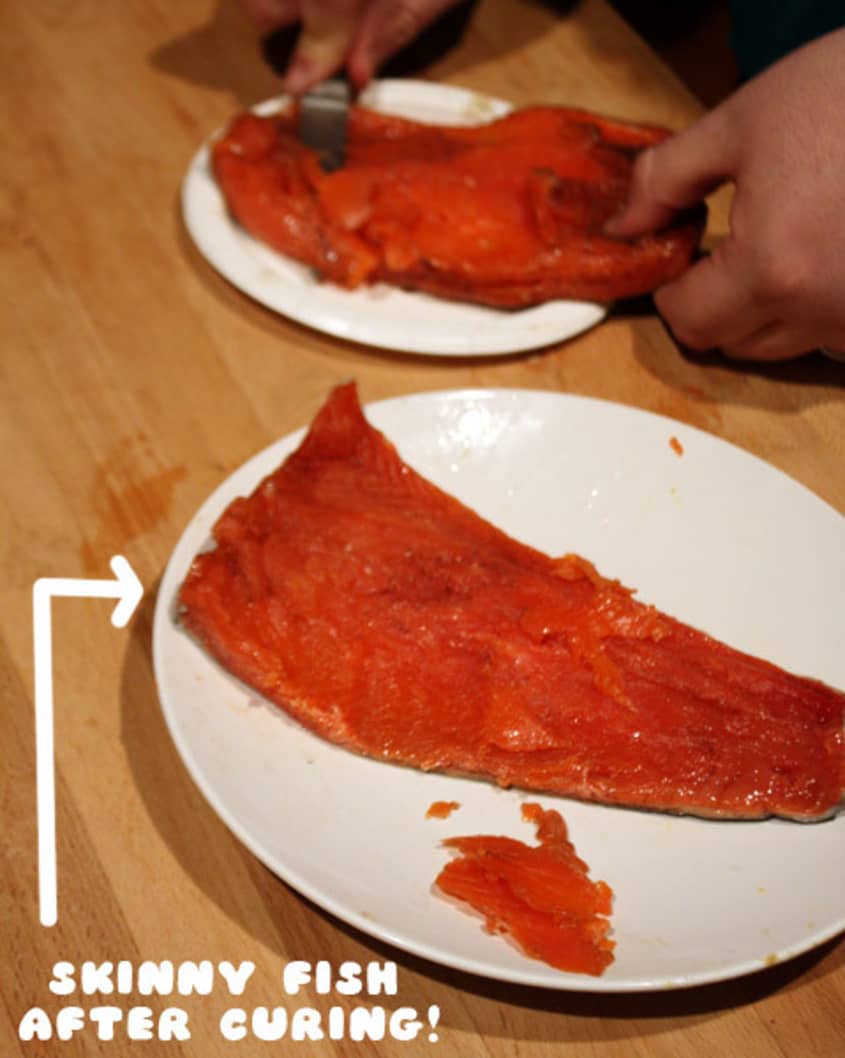
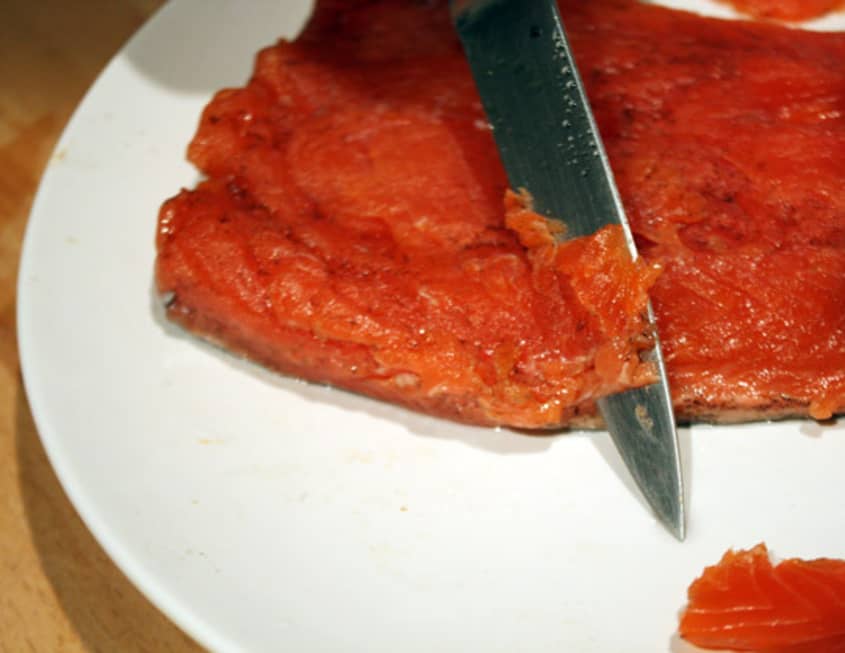
10. Slice and Enjoy!
With your longest, thinnest blade, slice layers off the top of your fish. Apply them to the vessel of your choice, if that’s a bagel, awesome, but you can also try cucumber, eggs or just eat it as is!
Further Notes On The Project
• The smoked salt used in this project is purely subjective. You can find all sorts of different flavors and strengths of this product. Remember less is more when using a smoked salt for the first time so your fish doesn’t end up tasking like a grill grate!
• The thicker the fish the better. Take the time to find the best quality fish in your area. Sure you can find half a fish for $5 at your local Walmart, but a big thick salmon fillet from a quality grocer will always provide tastier results as there’s physically more flesh to take on the ingredients you’re applying.
• The flesh of the fish will turn more vibrant and slightly darker in color as the water leeches out and the days go by. It will also get thick and the texture will change drastically. Don’t freak out, that’s a good (and tasty) thing!
• The total cost for this project is usually 1/4 of the price of store bought Lox and you can have it everyday for breakfast instead of just once a week or even less often!
Want more smart tutorials for getting things done around the home?
We’re looking for great examples of your own household intelligence too!
It’s Reader Request Week at The Kitchn! This post was requested by h speed.
(Originally published March 8, 2011)
(Images: Sarah Rae Trover)