
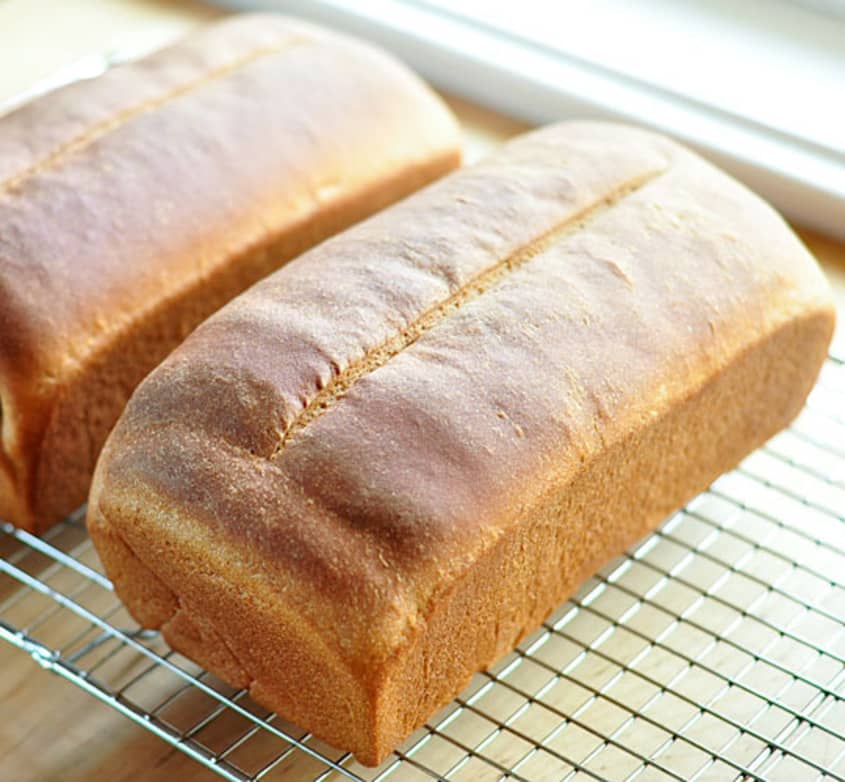
How To Make Whole Wheat Sandwich Bread

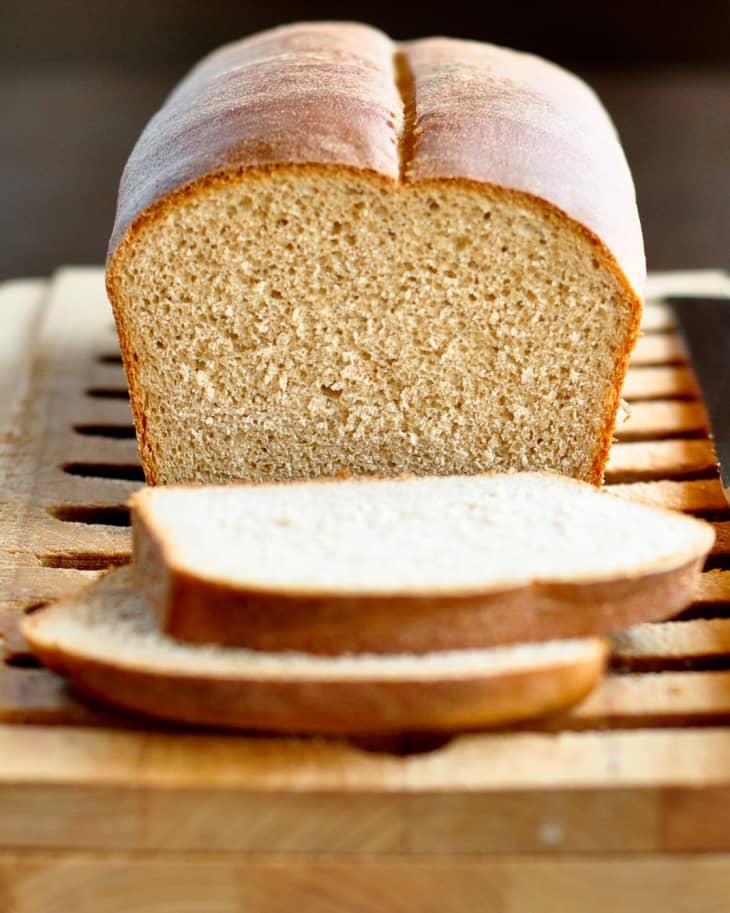
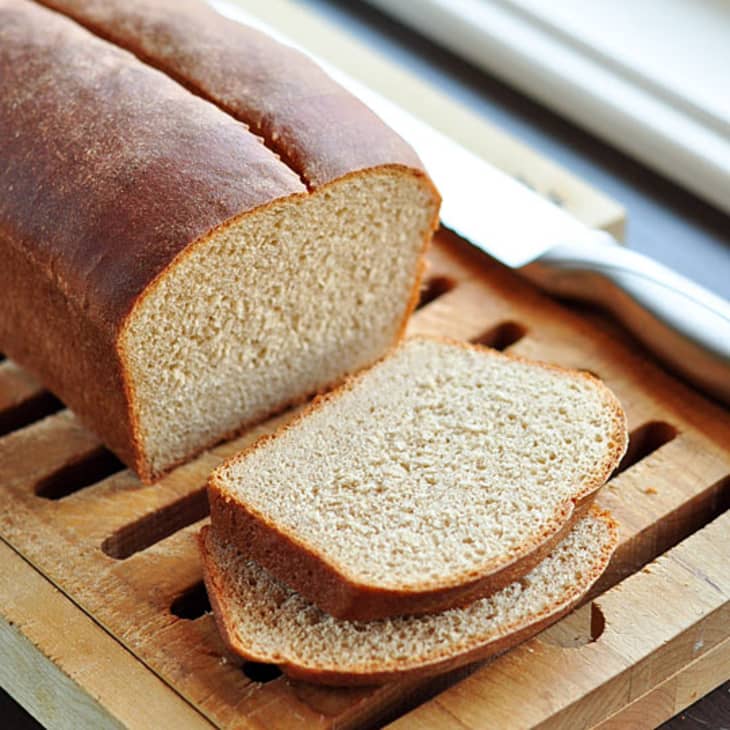
A loaf of whole wheat bread is a wonderful thing. Slices have a chewy texture with a deep nutty flavor, perfect for a tuna fish sandwich or an afternoon snack spread with peanut butter. Here is my favorite recipe to make at home.
Whole wheat breads have a reputation for difficulty, some of which is well-deserved. Whole wheat flour contains very little gluten, so recipes with a lot of whole wheat tend be dense and crumbly. Additionally, the flour itself has microscopically sharp edges that can actually cut through existing gluten strands while you’re kneading. Talk about a double-whammy!
Don’t be disheartened. Using a portion of all-purpose flour in the recipe helps give loaves the structure they need. I prefer a 50:50 blend of the two flours. Letting the dough rest for a few minutes before kneading also gives the flours time to absorb the liquid and makes the dough easier to work with. Adding milk and a little oil keeps the dough supple and soft, while a few spoonfuls of honey compliment the earthy flavor of the whole wheat.
If you’d like a loaf with a higher proportion of whole wheat, I’d suggest making this recipe as it’s written first. Then in subsequent batches, gradually cut back the all-purpose flour and add more whole wheat flour until you reach the balance of flavor, texture, and nutrition that you prefer.

How To Make Whole Wheat Sandwich Bread
Makes 2 loaves
Nutritional Info
Ingredients
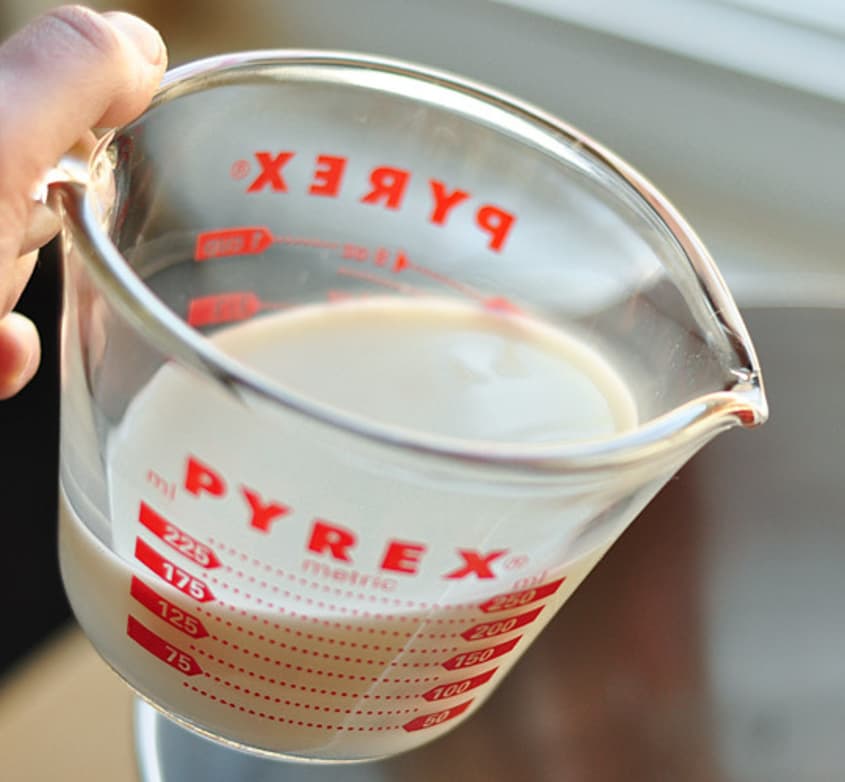
- 1 1/4 cups
(10 oz) warm (not hot) water
- 2 teaspoons
active dry yeast
- 1 cup
(8 oz) milk - whole, 2%, or skim
- 1/4 cup
(3 oz) honey
- 2 tablespoons
canola oil
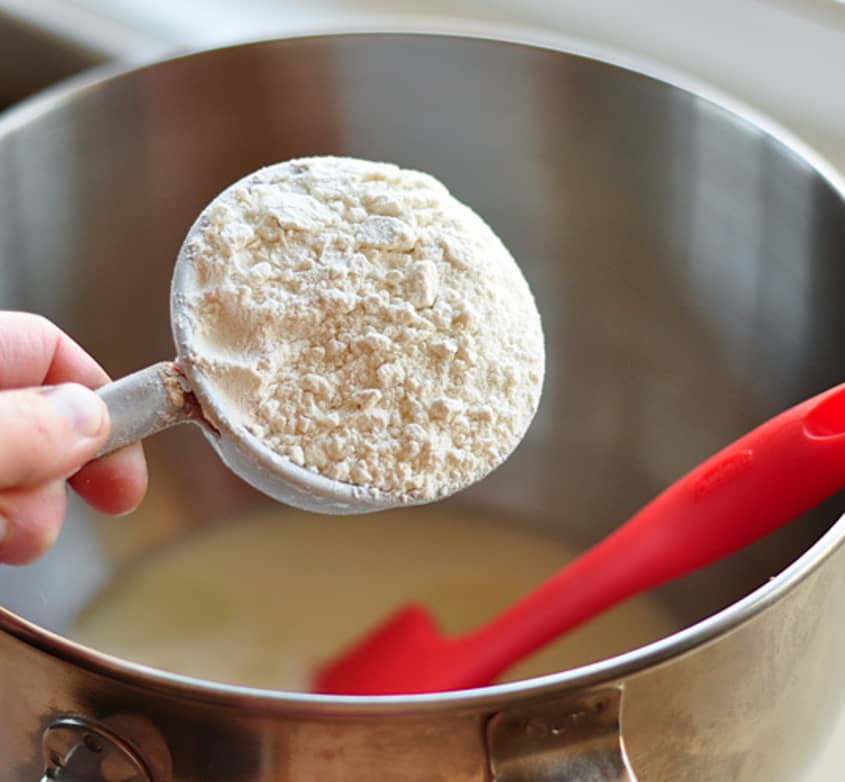
- 2 3/4 cups
(13 3/4 oz) all-purpose flour, plus extra for kneading
- 2 3/4 cups
(13 3/4 oz) whole wheat flour
- 1 tablespoon
salt
Instructions
Pour the water into the bowl of a standing mixer and sprinkle the yeast over top. Let this stand for a few minutes until the yeast has dissolved. Stir in the milk, honey, and oil.
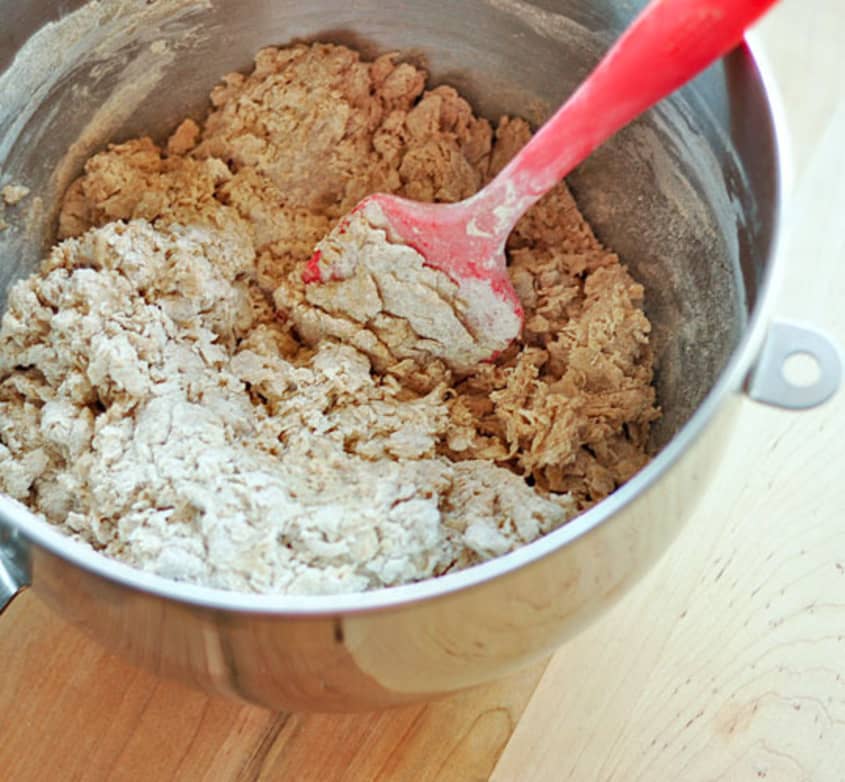
Add two cups of all-purpose flour and the salt, and stir to combine the ingredients. Add the rest of the all-purpose and whole wheat flours. Stir to form a shaggy dough. Let this stand for 20 minutes to give the flour time to absorb the liquid.
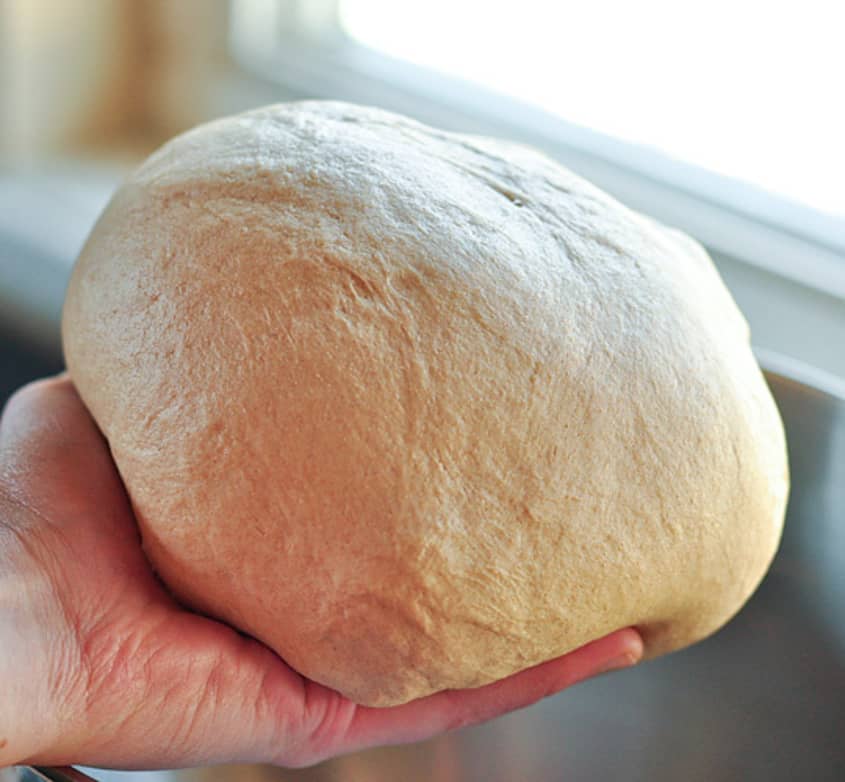
Using the dough hook attachment on a standing mixer, knead the dough for 8-9 minutes. Alternatively, knead the dough by hand against the counter. If the dough is bubble-gum sticky against the sides of the bowl or the counter, add extra flour a tablespoon at a time until it is no longer sticky. The dough is kneaded when it is smooth, feels slightly tacky, forms a ball without sagging, and springs back when poked.
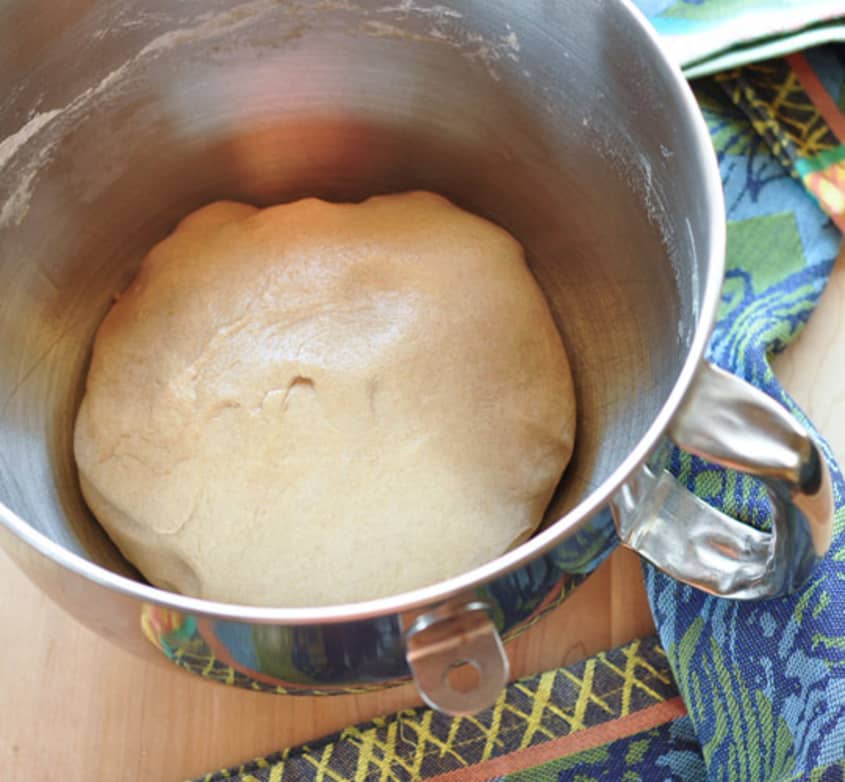
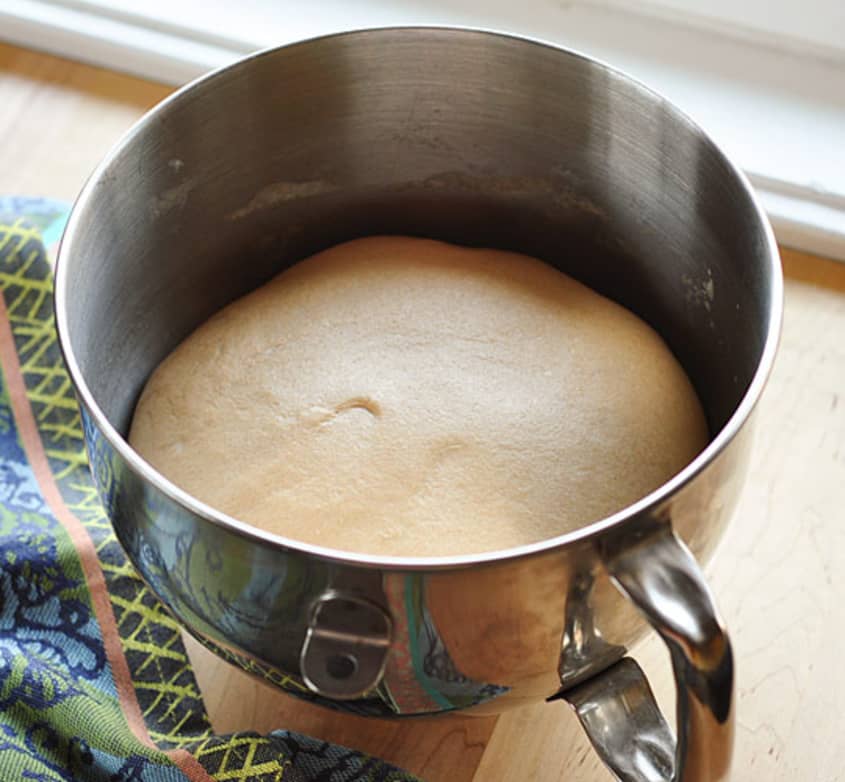
Clean out the mixing bowl and film it with a little oil. Form the dough into a ball and turn it in the bowl to coat it with oil. Cover the bowl and let the dough rise in a warm spot until nearly doubled in bulk, about 1 to 1 1/2 hours. This dough won't double quite as dramatically as other recipes, but the dough should look visibly puffed.
Sprinkle a little flour on the counter and turn the dough out on top. Divide the dough in two and shape each half into a loose ball. Let the balls rest for 10 minutes.
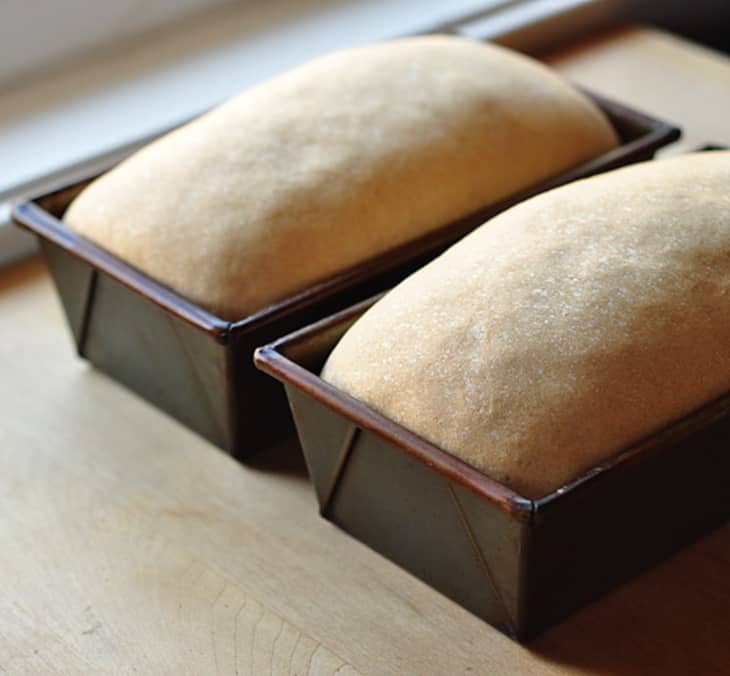
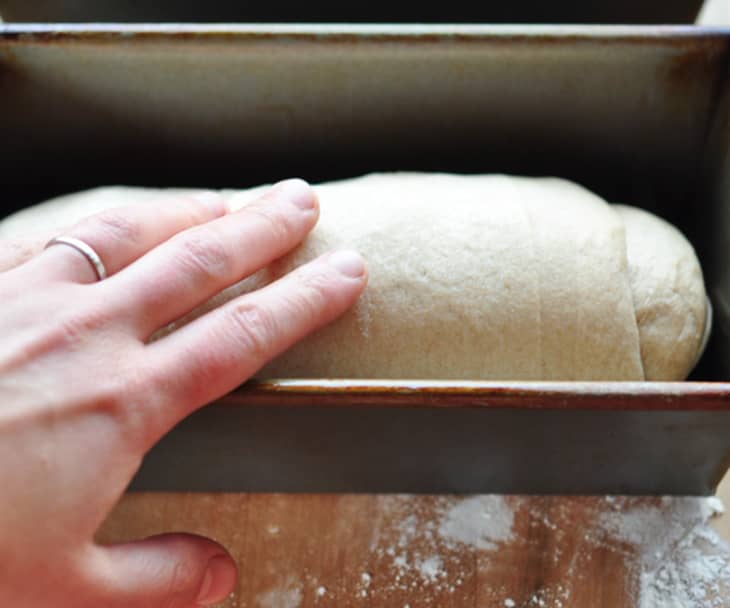
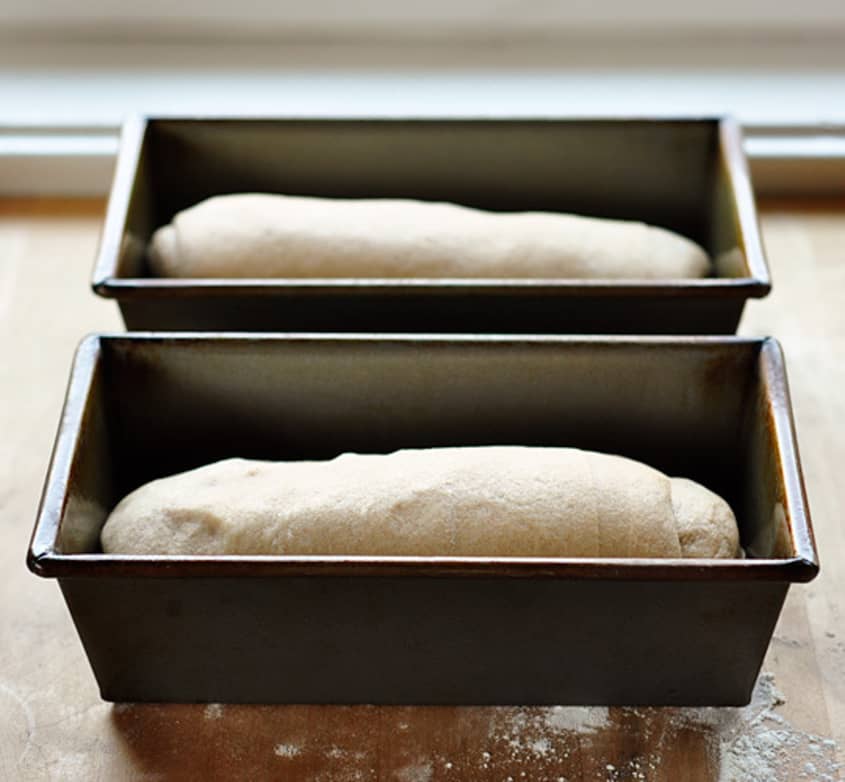
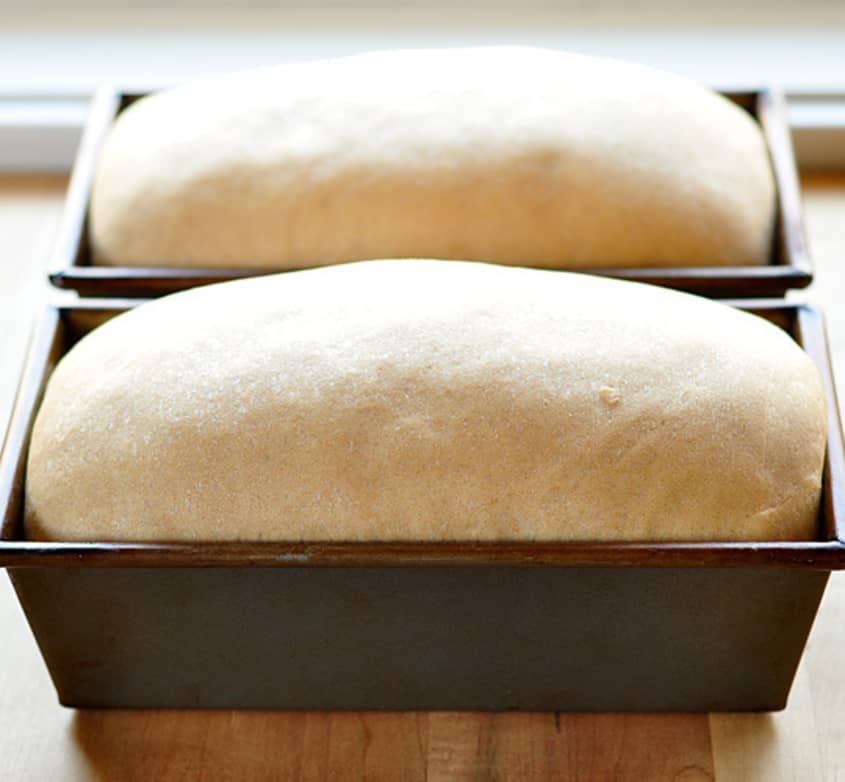
Grease two 8x4-inch (or 8 1/2 x 4 1/2-inch) loaf pans or film them with non-stick cooking spray. Shape each ball of dough into a loaf (see this tutorial for step-by-step instructions) and transfer to the loaf pans. It's important that the surface of the loaves be stretched taut; this helps them rise and prevents an overly-dense interior. Let the loaves rise a second time until they start to dome over the edge of the pan, 30-40 minutes.
Heat the oven to 425°F about halfway through the second rise.
Slash the tops of the loaves with a serrated knife and put them in the oven. Immediately turn down the heat to 375°F and bake for 30-35 minutes. Finished loaves will be dark golden-brown and sound hollow when tapped on the bottom. Remove the loaves from the pans and let them cool completely before slicing.
Recipe Notes
Storage: Loaves will keep at room temperature for several days. Loaves can also be wrapped in foil and plastic, and frozen for up to three months.