
How to Make a Lattice Pie Crust

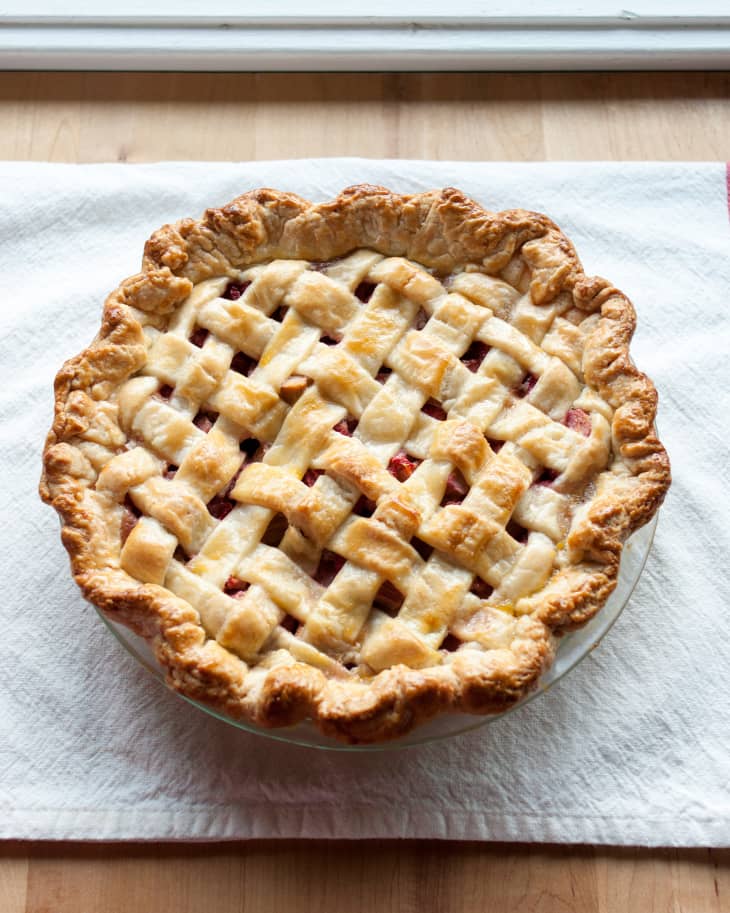
If you’re going to go to the trouble of making a pie, I say go all out. Lattice pie crust, for the win! Don’t be intimidated by the idea of making one yourself: it’s much easier than its jaw-dropping good looks would have you believe. Let’s walk through it one step at a time, shall we?


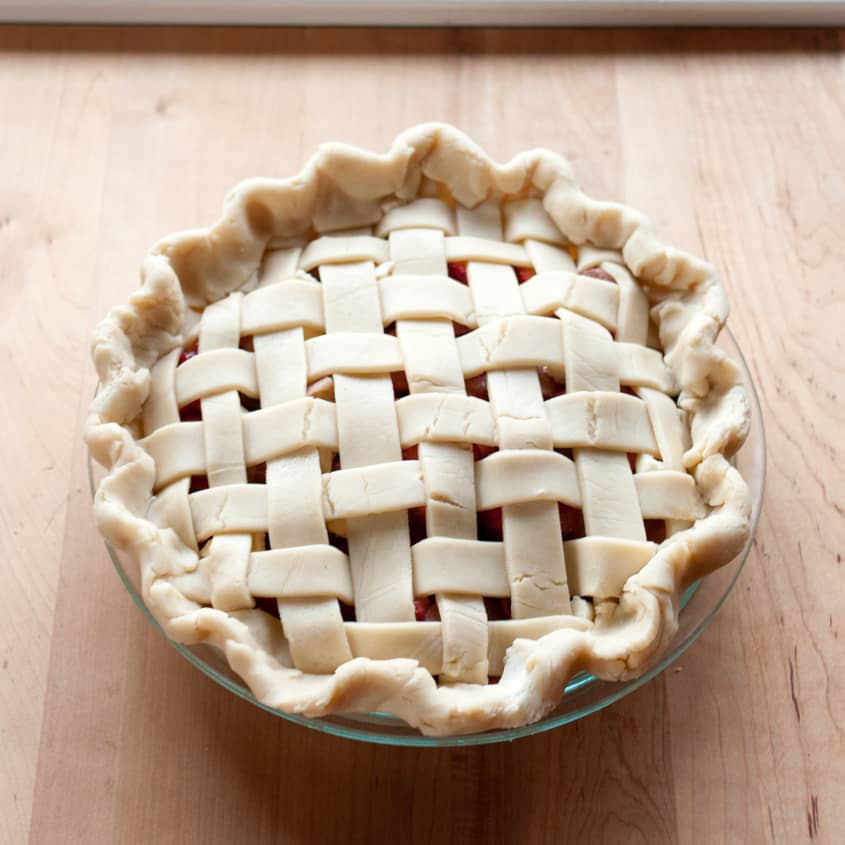
A lattice pie crust looks like you spent the afternoon carefully weaving delicate strips of pastry over-and-under themselves, but the trick is actually in folding and layering the strips. You lay all the horizontal strips first, then fold half of them back on themselves. Working from the middle of the pie out to the edge, you lay a vertical strip down then swap which horizontal strips are folded and which are flat. Continue on, and my friend, you’ve got yourself a lattice pie crust.
I feel like a picture is worth a thousand words with this particular technique, so if reading through these steps isn’t working for you, spend some time clicking through the image gallery. The folding/unfolding steps to create something that looks woven can feel counterintuitive to any of us who have been through Kindergarten Arts & Crafts — they certainly feel that way to me! Even now, when I make a lattice pie crust, I find that I have to turn off the over-thinking part of my brain and just follow the steps as they are laid out.
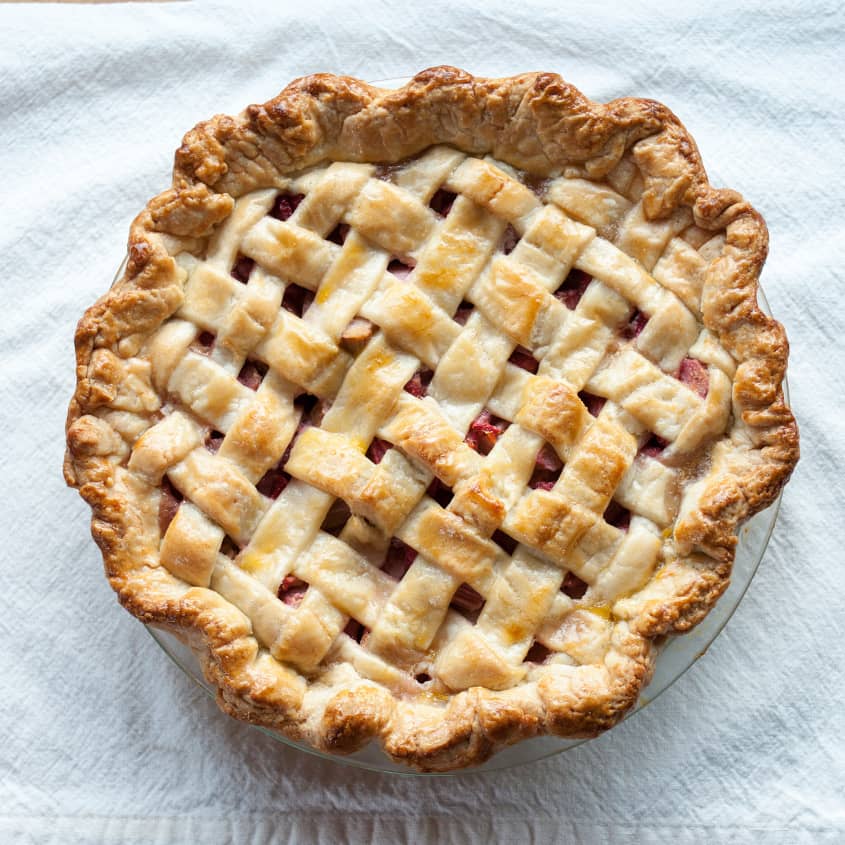
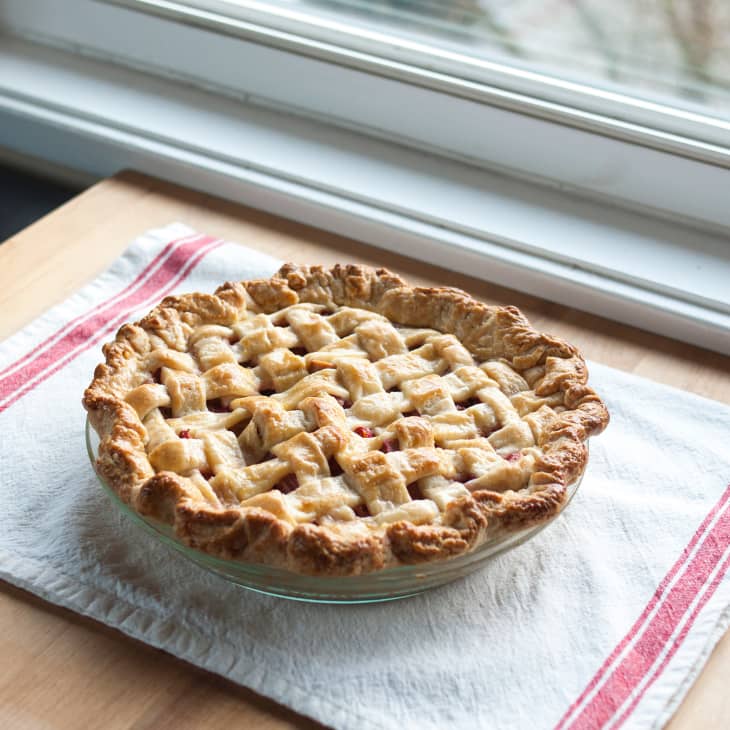
Have faith. Your pie crust will come together and it will beautiful. Pulling that gorgeous pie out of the oven and carrying it to the table is its own special reward.

How to Make a Lattice Pie Crust
Makes one pie
Nutritional Info
Ingredients
- 2 (9 inch) pie crusts
- Pie filling
Equipment
- Pie pan
- Pizza cutter or sharp knife
Instructions
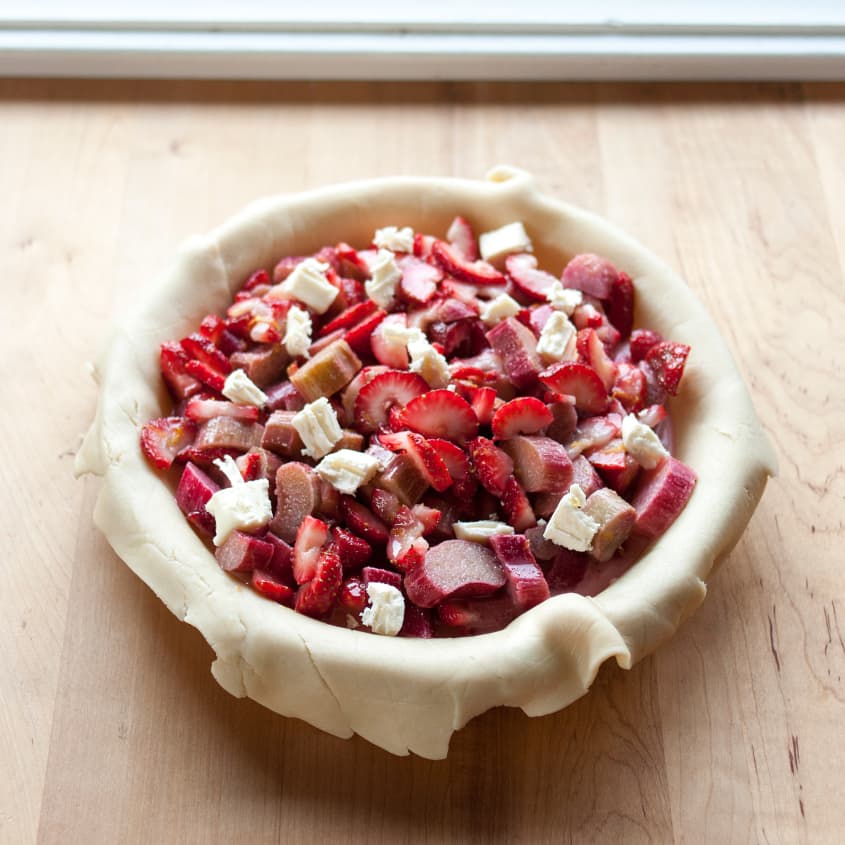
Prepare the pie: Roll one of the pie crusts out to a roughly 12-inch diameter and transfer it to your pie pan. Snug it against the sides and corners of the pan, letting the excess hang over the edges. Fill the pie with your filling.
Prepare the top lattice crust: Roll out the second pie crust to a roughly 11-inch diameter (slightly smaller than the bottom crust). Using a pizza cutter or sharp knife, cut the crust into even strips roughly 3/4-inch wide. (It's fine to make thinner or thicker strips if you'd like, but they should all be the same width.)
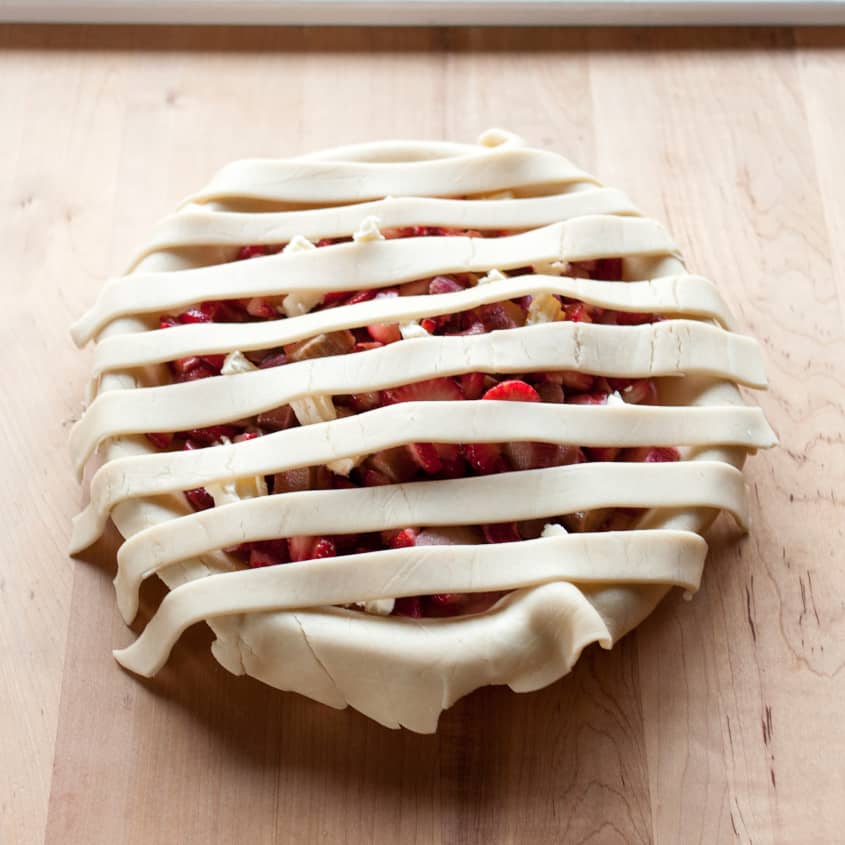
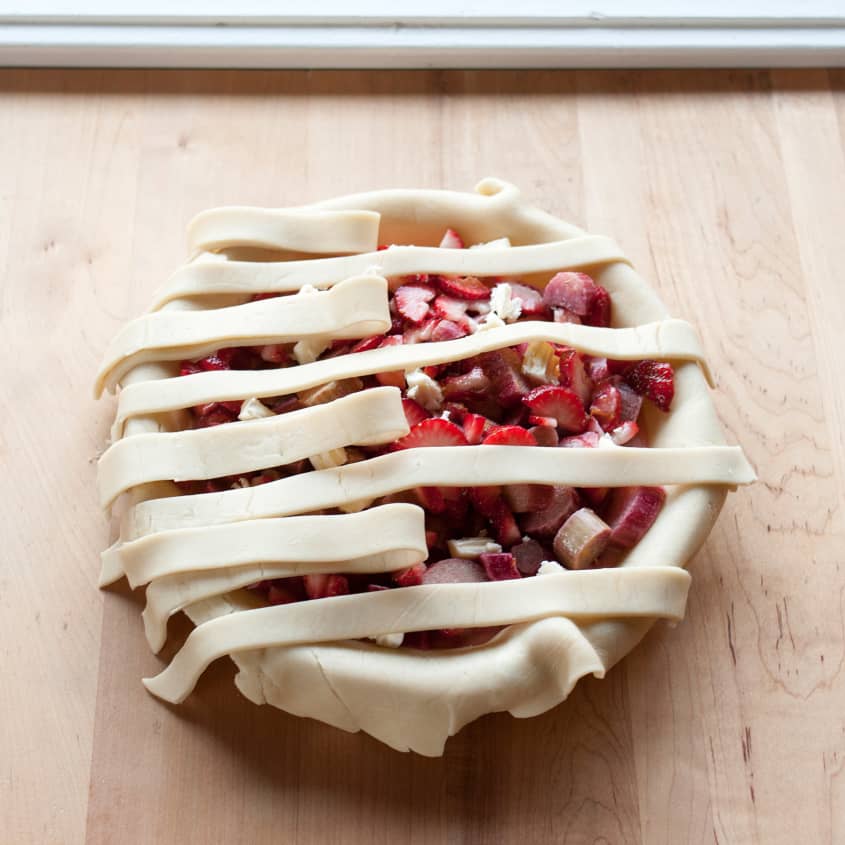
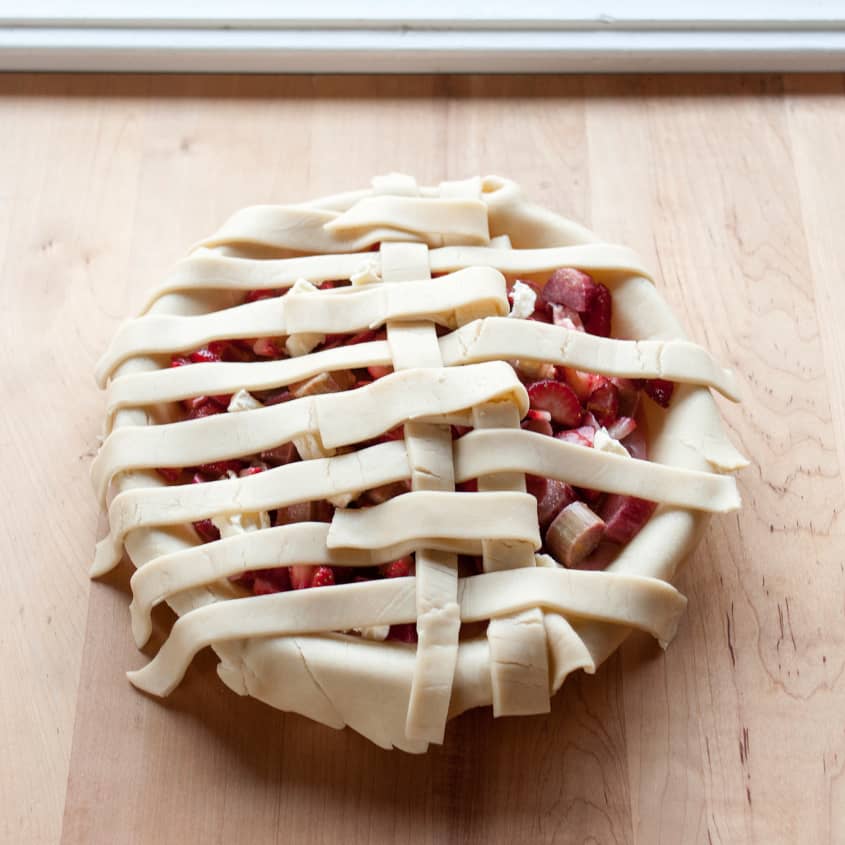
Lay half the strips horizontally across the pie: Lay half the strips horizontally over the pie, using the longer strips in the middle of the pie and shorter strips toward the edges. Space the strips a little apart.
Fold half the strips back on themselves: Fold every other strip back on itself.
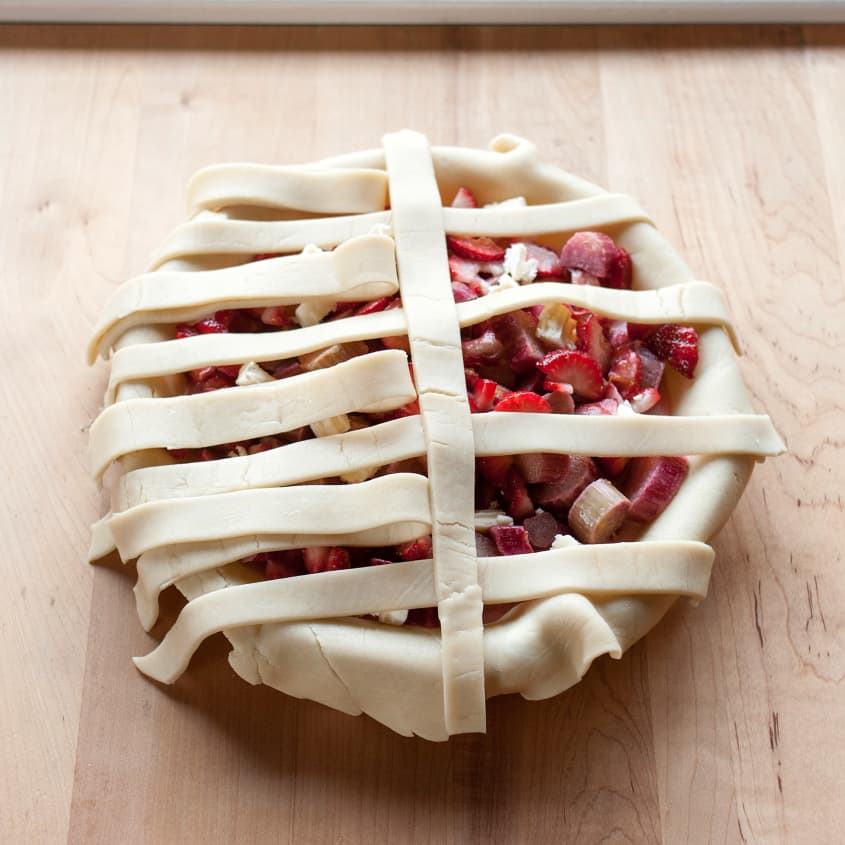
Lay one strip of pie crust vertically over the pie: Lay one of the remaining strips of pie crust vertically over the pie so that it lays across the unfolded horizontal strips. Snug it up against the folded strips.
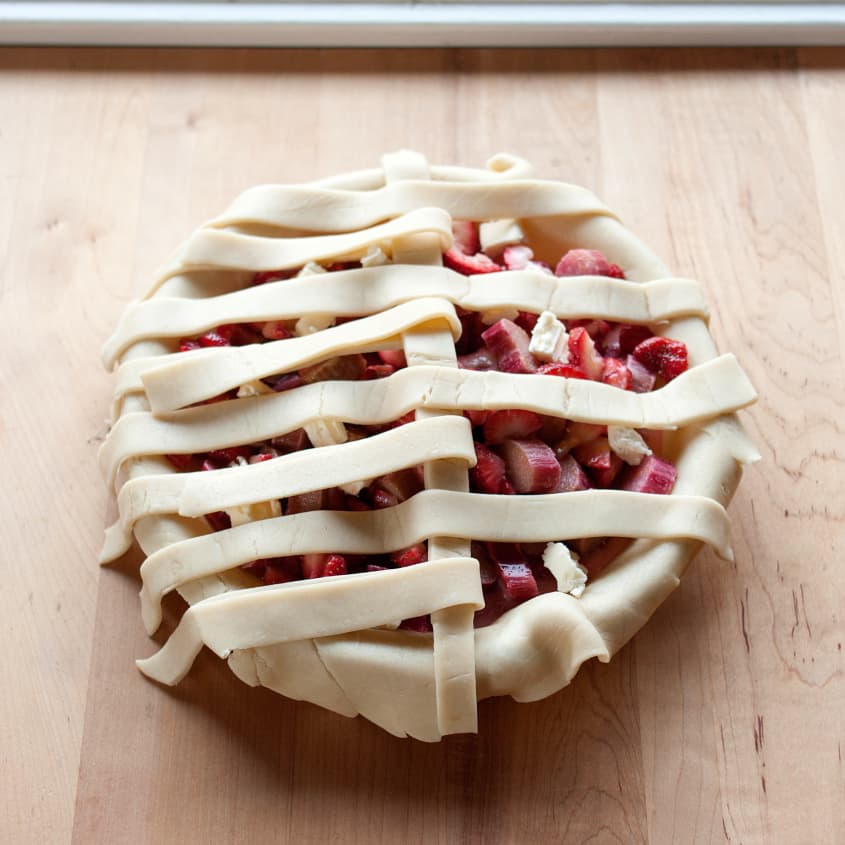
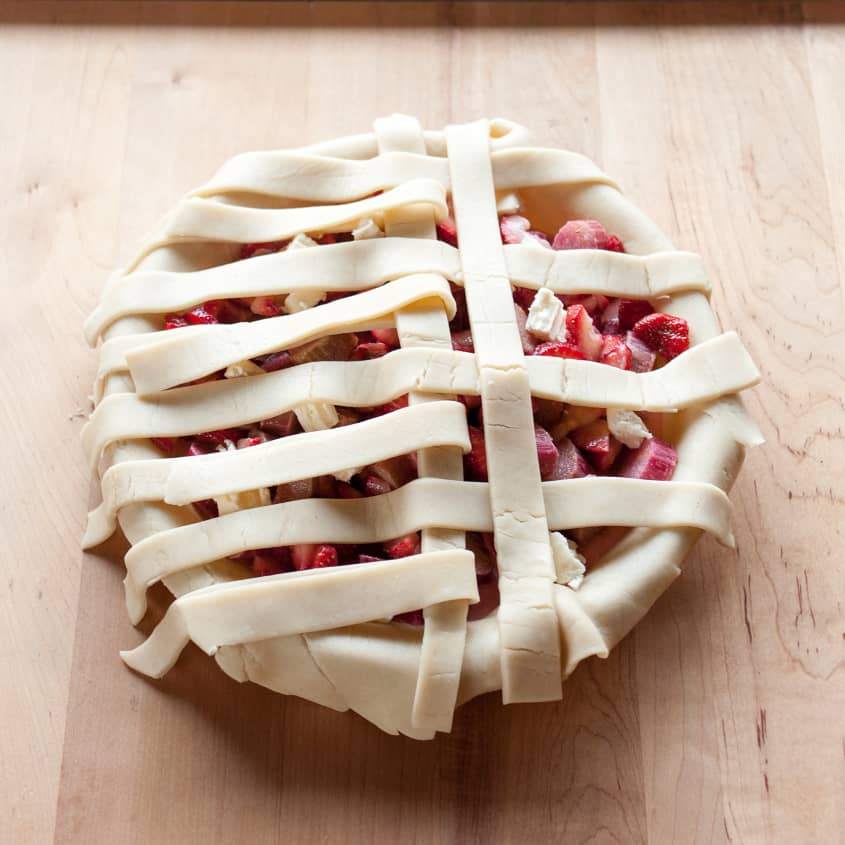
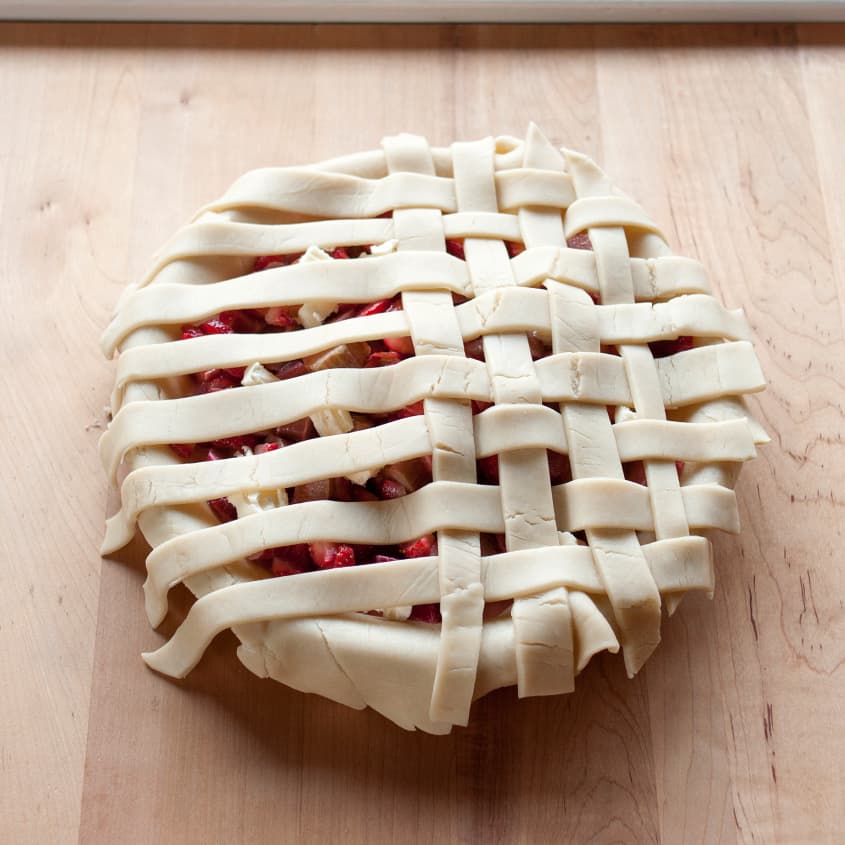
Begin latticing one side of the pie crust: Swap the folded and unfolded horizontal strips: unfold the folded horizontal strips so they lay over the vertical strip and fold the strips running under the vertical strip back over top. Lay another vertical strip of pie crust over the pie, snugging it up as closely as possible to the preceding vertical strip. Continue swapping the folded and unfolded horizontal strips and adding one new vertical strip each time. Continue until one half of the pie is completely latticed.
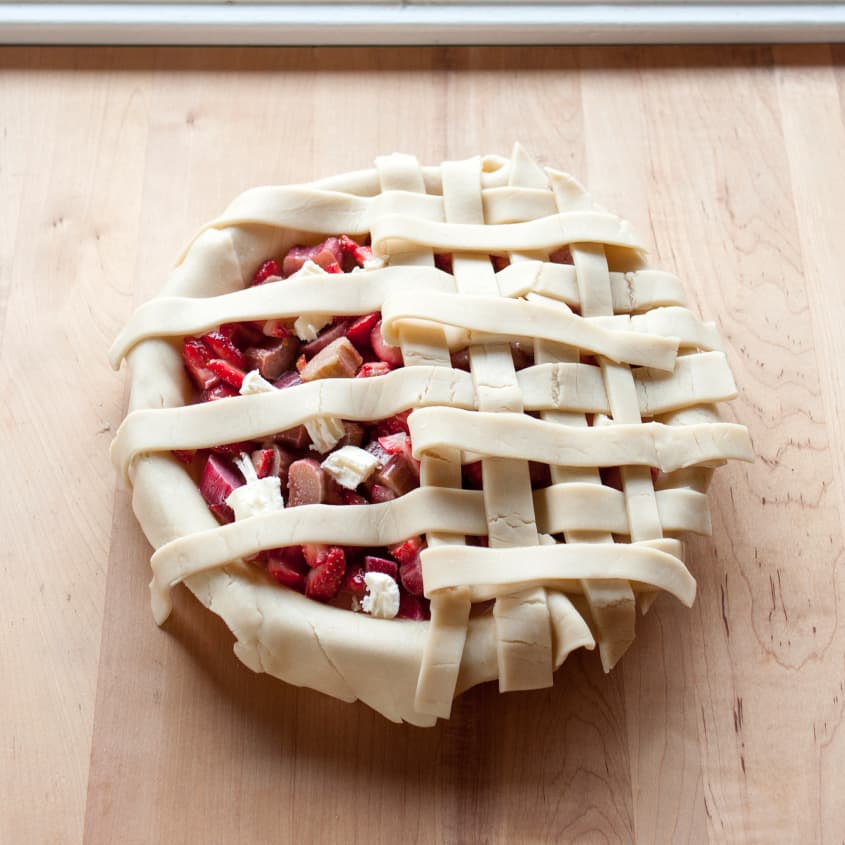
Lattice the second half of the pie: Lattice the second half of the pie following the same pattern. Use the longer strips of pie dough in the middle of the pie and save the shorter strips for the edges. If the crust starts to soften too much while you're creating the lattice, put the whole pie and any remaining strips of dough in the fridge for about 15 minutes to chill and firm up before continuing.
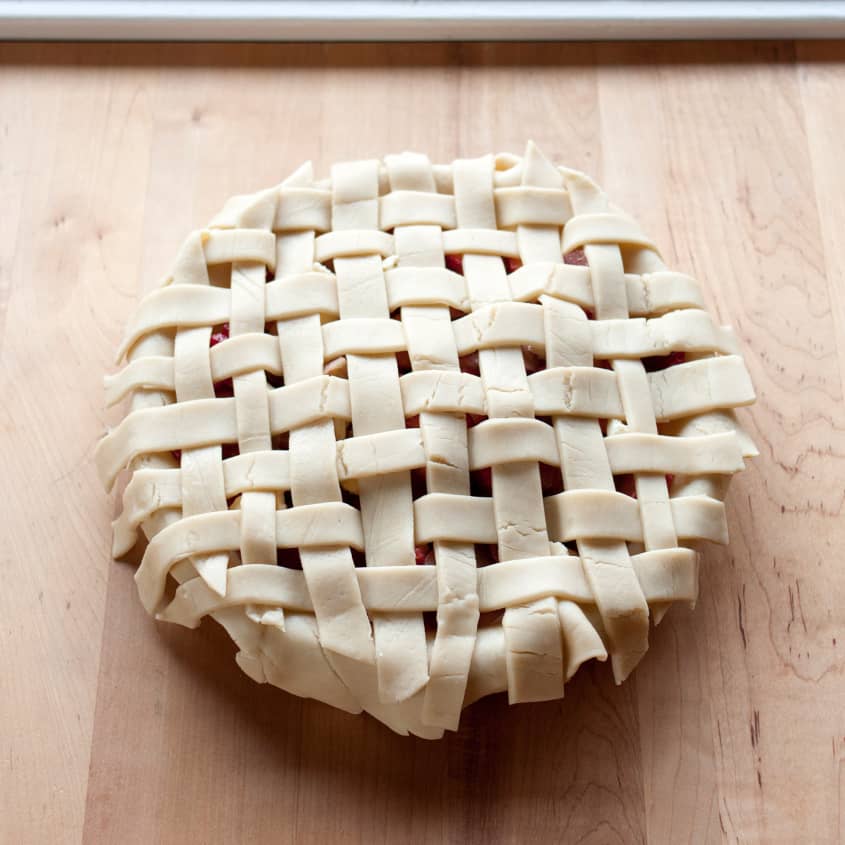
Crimp the edges: Trim the edges with a sharp knife if needed, then roll them inwards toward the center of the pie. Firmly crimp the edges to seal.
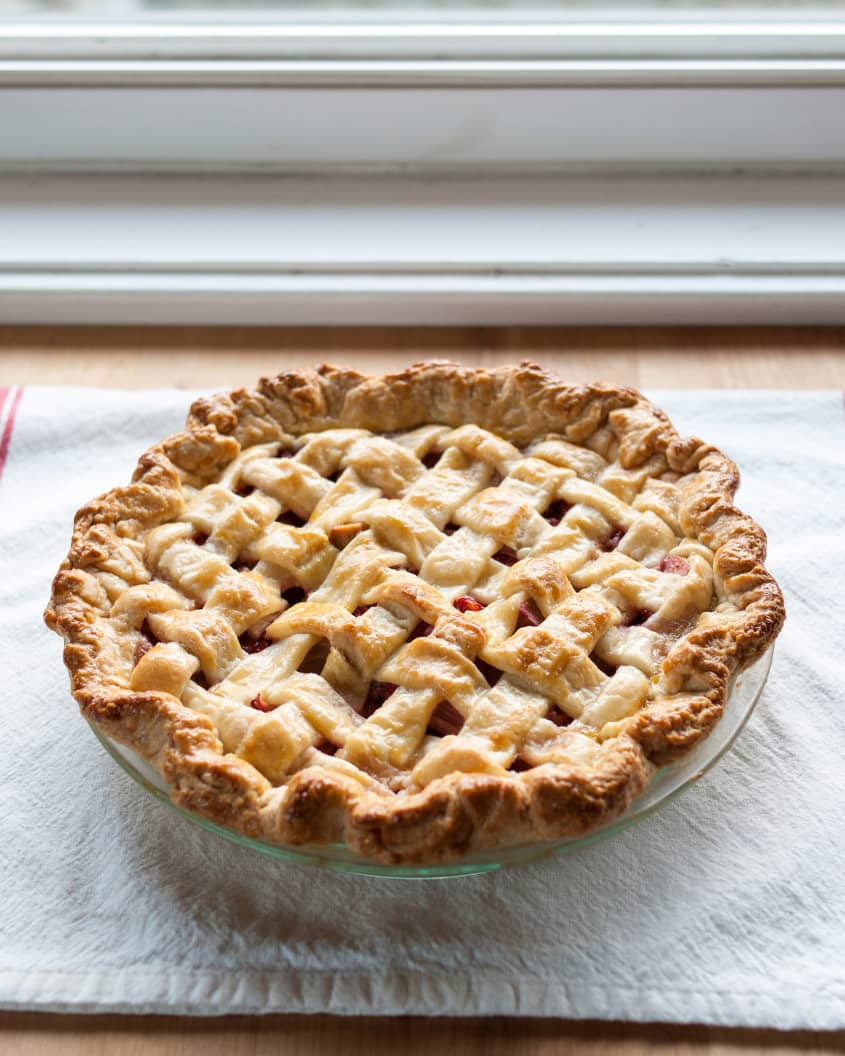
Bake the pie as normal: Brush the top of the pie with egg white, egg yolk, or milk and bake as directed in your recipe.
Want more smart tutorials for getting things done around the home?
See more How To posts
We’re looking for great examples of your own household intelligence too!
Submit your own tutorials or ideas here!
(Images: Emma Christensen)