
How To Freeze Cinnamon Rolls and Bake Them Later

It’s unfair. Fresh, hot, from-scratch cinnamon buns are a beloved treat, especially for tasty Christmas breakfast. Who doesn’t want to wake up to the smell of cinnamon and caramelizing sugar, or stumble down to the kitchen to find fresh-from-the-oven, slathered-in-icing cinnamon buns, just waiting for you to dive in?
But in order for those fresh, hot, from-scratch buns to make it out of the oven any time before noon, someone has to rise well before dawn in order to get the whole process rolling. Not very fun or fair for the breakfast cook!
Until now. Here is our method for how to par-bake and freeze your homemade buns in advance, allowing you to bake them off and ice them just in record time for a lovely breakfast.
You may be wondering “Why not use one of those tubes that you just thwack open on the counter?” You know the answer: nothing beats homemade, truly from scratch cinnamon rolls. Especially if you follow a recipe like Faith’s, which allows you to jazz up the cinnamon filling with crushed star anise, cardamom, and coriander.
Plus, have you ever looked at the ingredient list on those instant rolls? You’d need an advanced degree in chemistry just to figure it out. Ugh.
Our par-bake and freeze method is super simple, but the best news is that it allows you make your cinnamon buns weeks in advance. Just follow these the six easy steps below.
How To Freeze Cinnamon Rolls and Bake Them Later
Nutritional Info
Ingredients
- 1 batch
cinnamon rolls, like our Sticky Spicy Cinnamon Rolls
Equipment
- Cooling rack
- Plastic wrap, plastic bag, or aluminum foil
Instructions
Prepare your cinnamon rolls as usual: Follow your cinnamon roll recipe all the way through to the baking step.
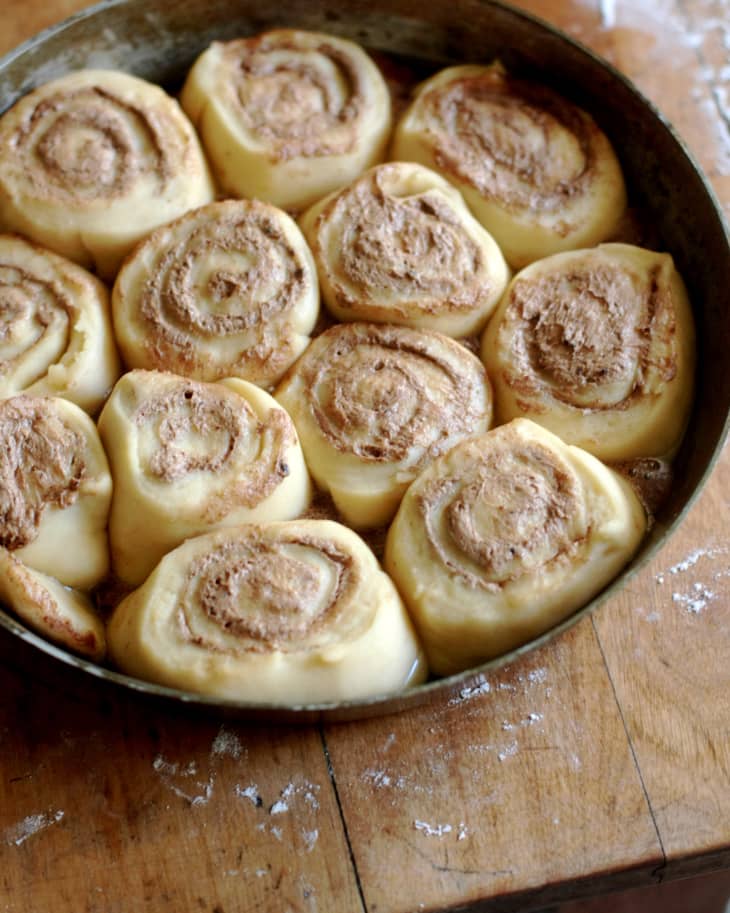
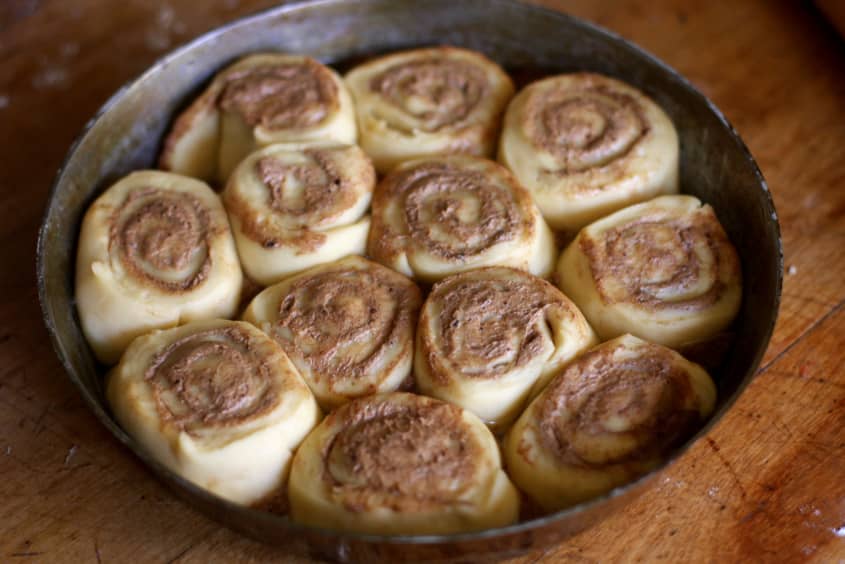
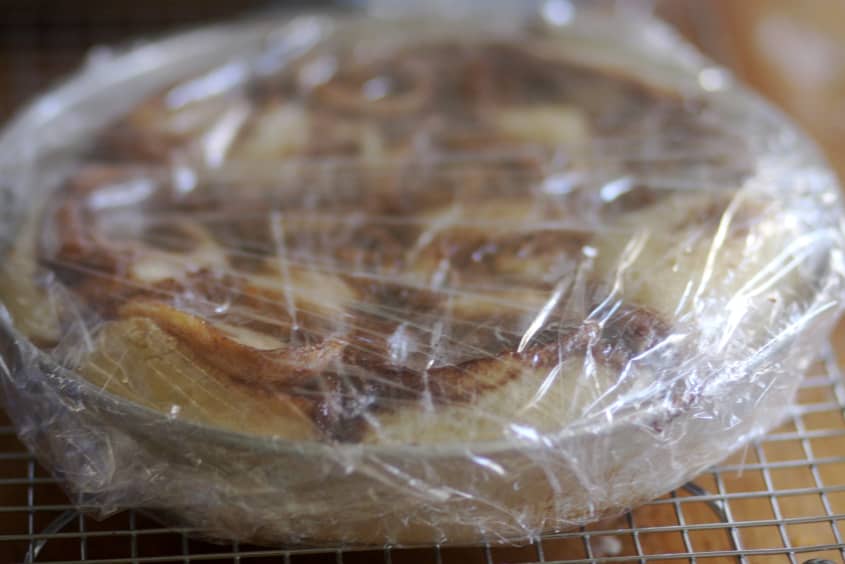
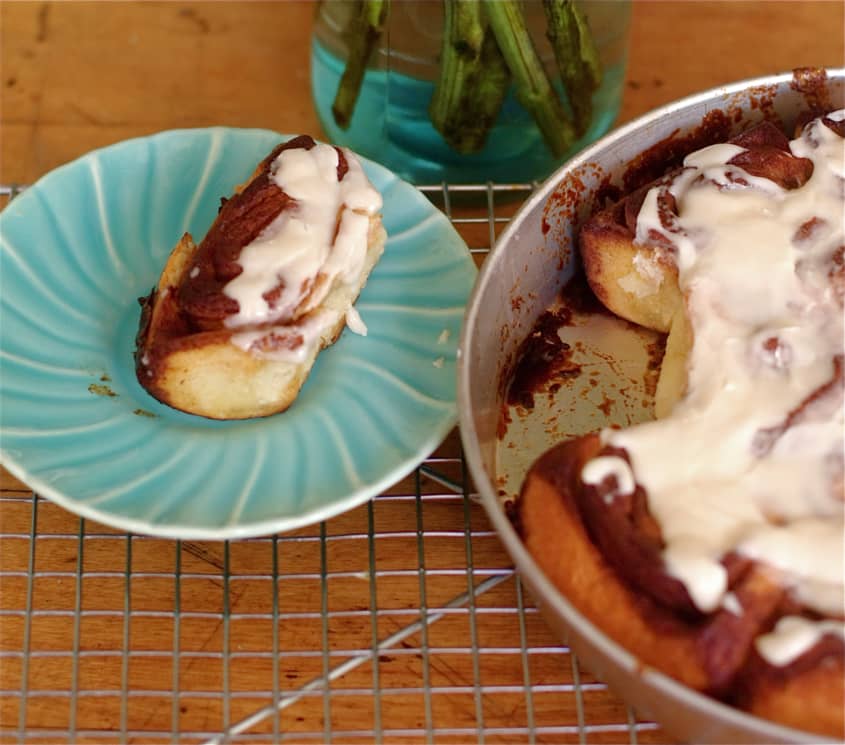
Par-bake the cinnamon rolls: Instead of baking the cinnamon rolls for the entire time, just bake them partway (par-baking) for 10 to 15 minutes. The rolls should be raised and set, but not totally browned. A few touches of brown here and there are fine. Check your rolls after 10 minutes — the rolls pictured here were ready after 10 minutes but ovens vary.
Cool completely: Remove from the oven and let the rolls cool completely in the pan.
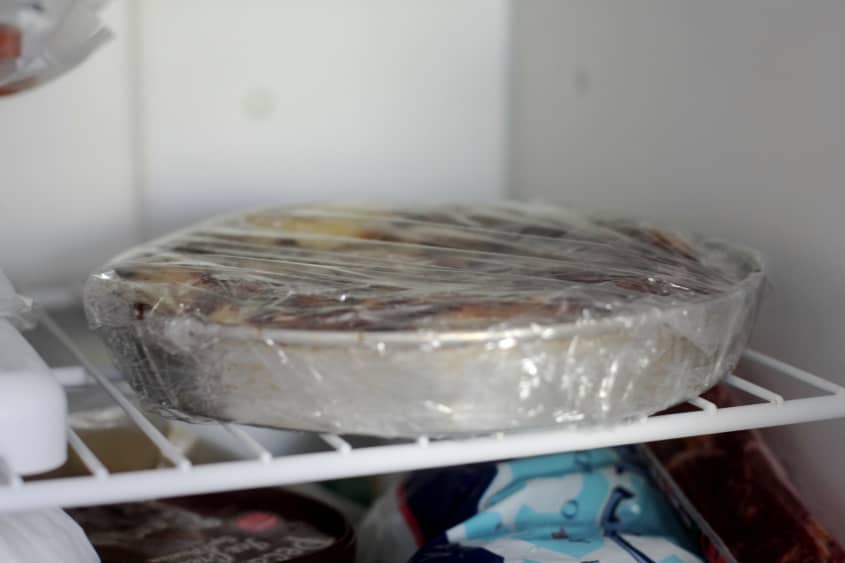
Wrap and freeze: Wrap the pan in two layers of plastic wrap or place them into a large plastic bag and seal. Freeze for 8 hours or up to 6 weeks.
Thaw in the refrigerator: The night before you want to serve the rolls, take them out of the freezer and place them, still wrapped, in the refrigerator. They will thaw overnight.
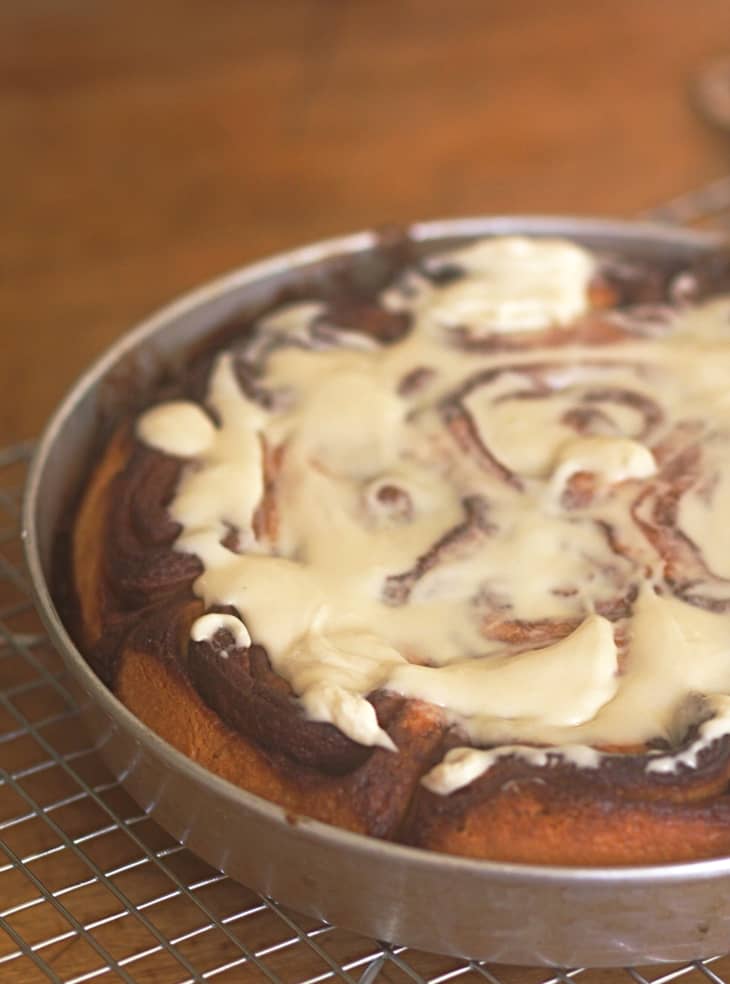
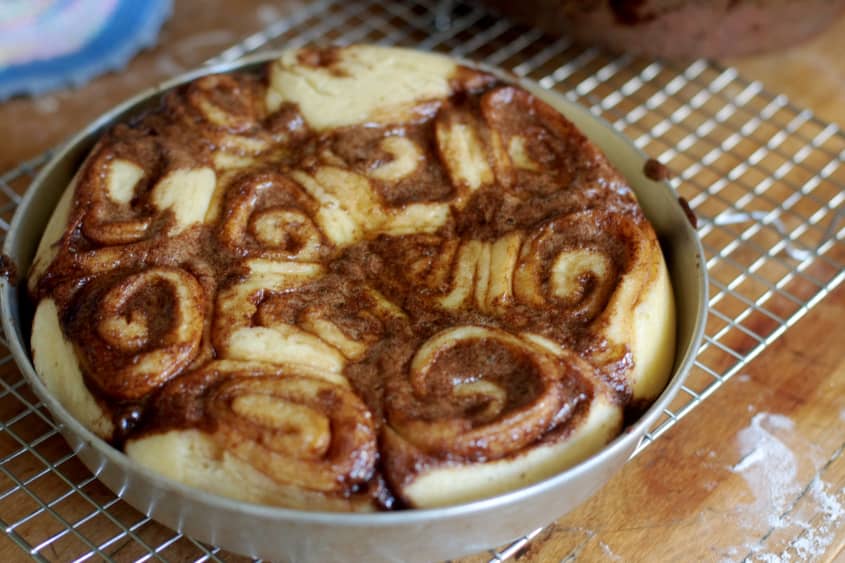
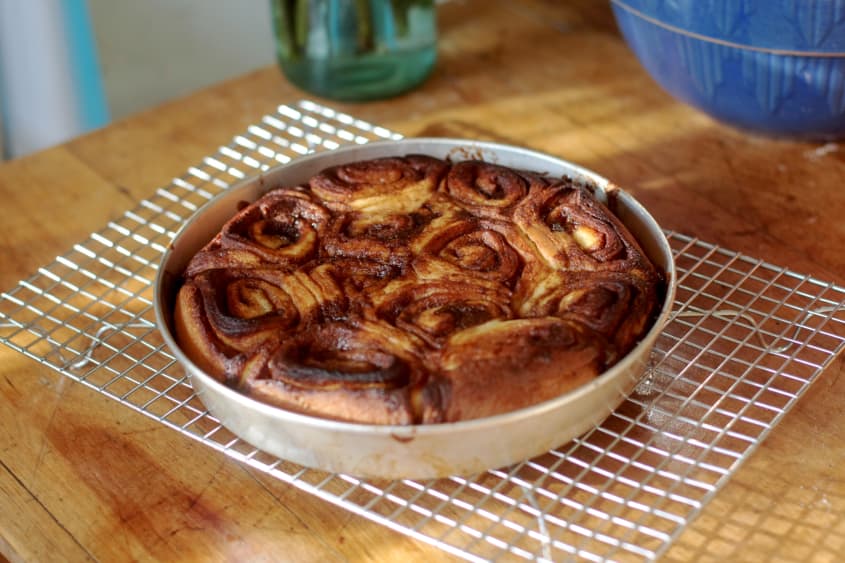
Bake the rolls: The next morning, get up and preheat your oven to 350°F. Unwrap the cinnamon rolls and bake them until they are completely done and a light golden brown all over, 10 to 15 minutes.
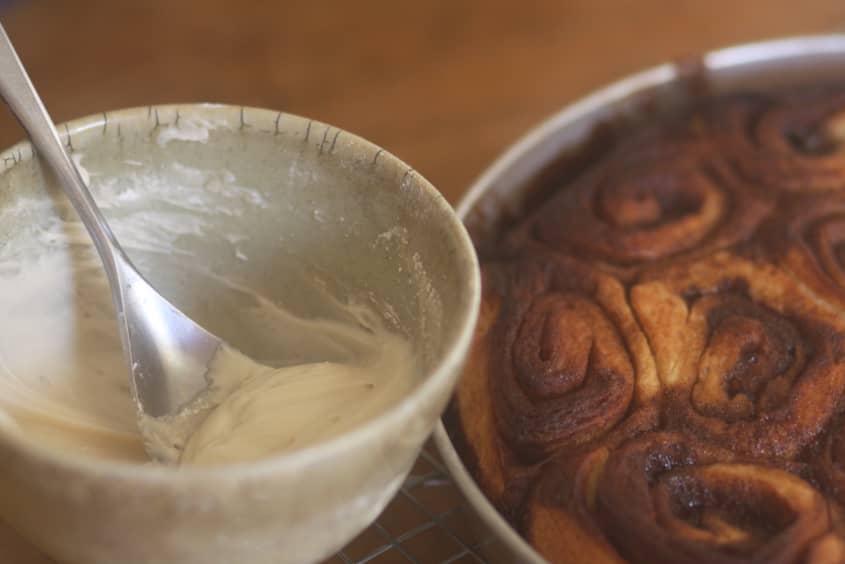
Frost and serve the rolls: If you are frosting your rolls, prepare the frosting according to your recipe instructions. Frost and proudly serve your fresh, hot, homemade cinnamon rolls to your loved ones, who will likely be circling the kitchen in anticipation at this point!
Recipe Notes
The easiest pan to use here is one of those disposable aluminum foil pans. That way you won't tie up your 9" pan while it's holding the cinnamon buns in the freezer.
Alternatively, you can freeze them in the pan, then remove the rolls from the pan, re-bag them, and place them back in the freezer. I find all that a little fussy and for this recipe — the filling is rather oozy, so I usually like to keep them in the pan they were baked in.
It's very important that you wrap the rolls very well to avoid exposure to freezer burn. If you don't have plastic wrap or plastic bags, use a double layer of aluminum foil.
The rolls won't last in the freezer forever. Use with in 5 to 6 weeks.

Want more smart tutorials for getting things done around the home?
See more How To posts