
How To Decorate Cookies with Icing
When memory making, not perfection, is your cookie decorating goal, reach for this easy 2-ingredient cookie icing and these ingenious tips.
If you covet those glossy, perfectly iced sugar cookies but don’t feel like your baking skills are quite up to par enough to do it yourself, we’re here to help. You don’t need any special ingredients or too many baking tools. Skip the meringue powder, the pastry bags, and the piping tips. Embrace your lazy inner baker. This is the simplest, most straight-forward way to decorate cookies with icing.
Use Squeeze Bottles to Decorate Cookies with Icing
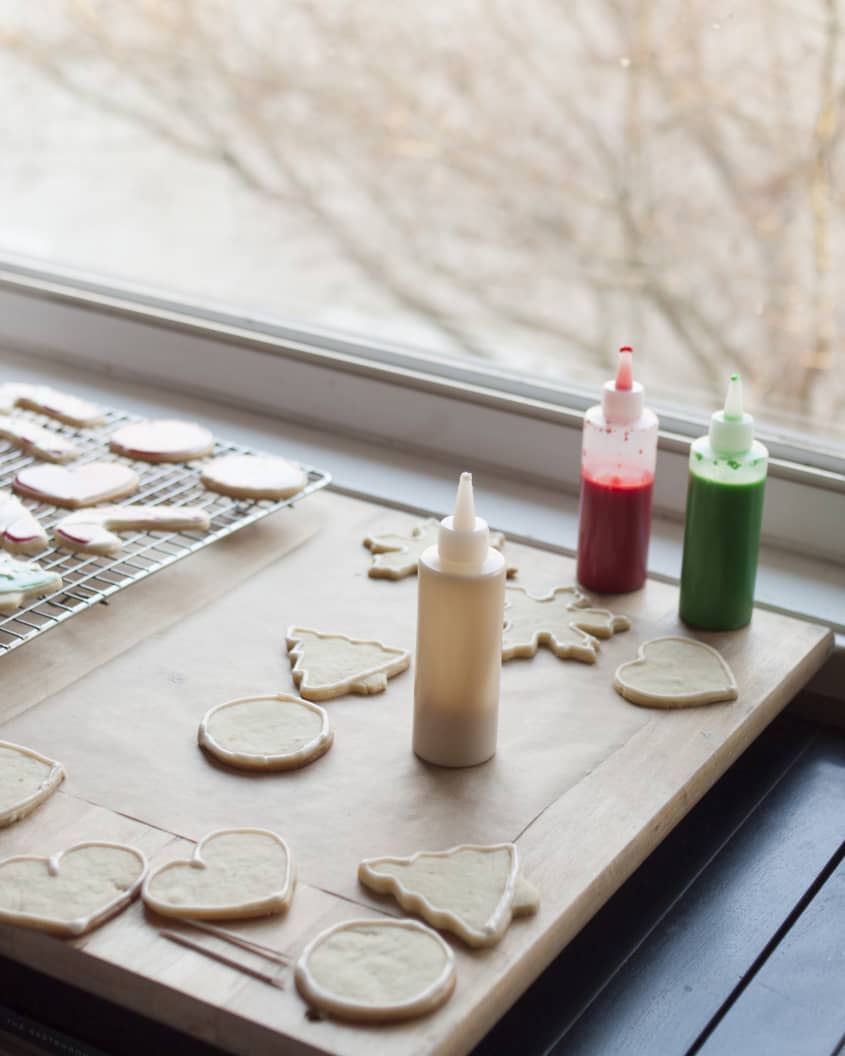
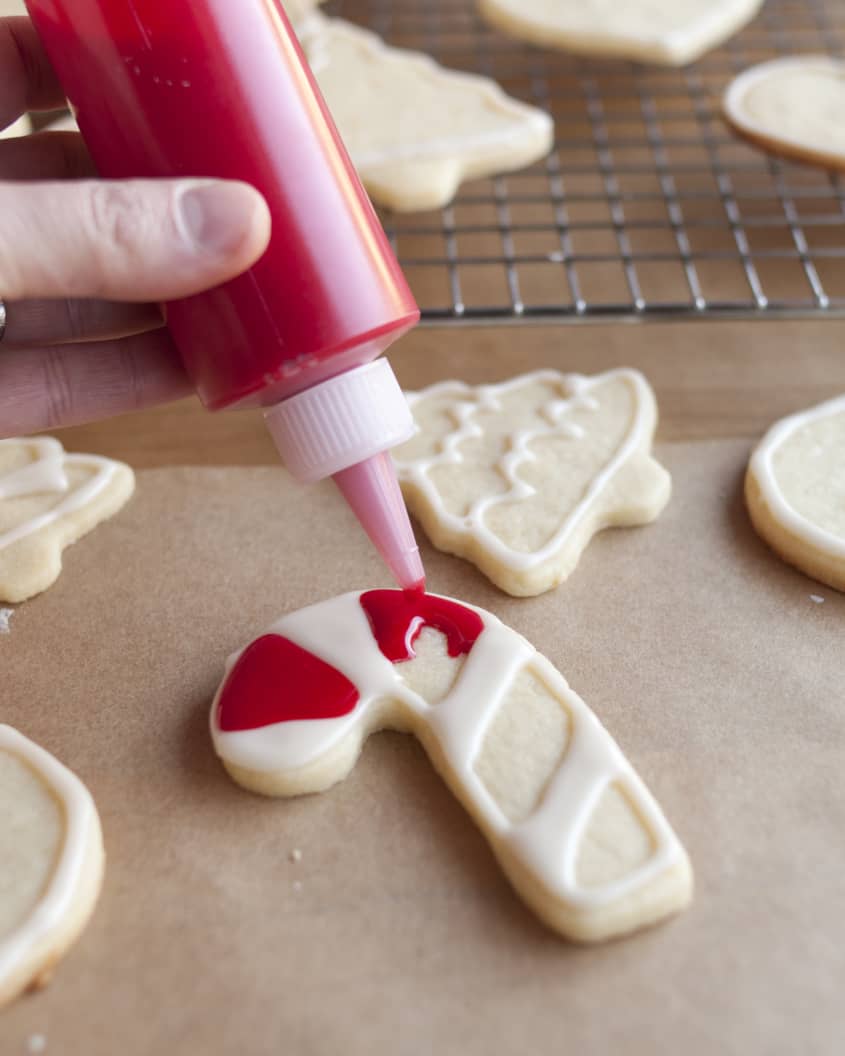
I am here to tell you that it’s entirely possible and perfectly legit to decorate cookies with a simple icing of powdered sugar and milk using squeeze bottles in place of piping bags.
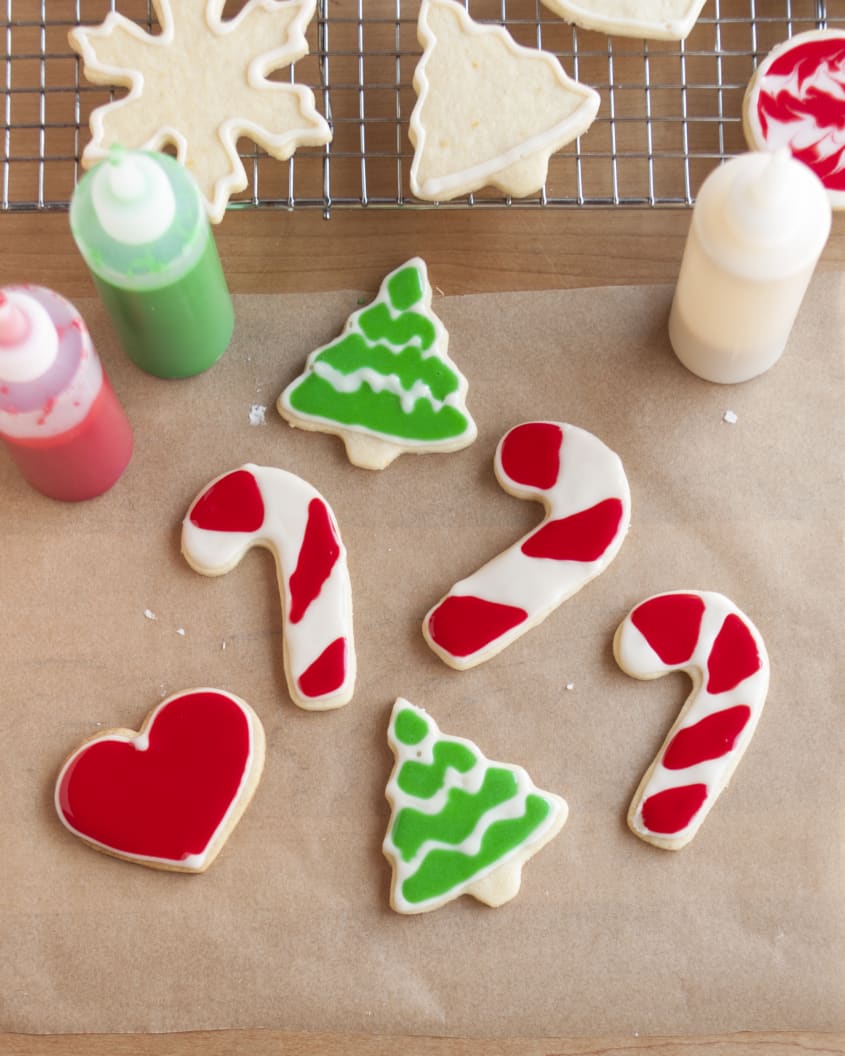
I find that squeeze bottles work just as well for decorating and are easier for us non-pro bakers to work with. Plus, they’re easy to clean! My favorites are little eight-ounce squeeze bottles that you can find at Michael’s and other craft stores. A small funnel makes it easy to fill them.
The Two Types of Icing for Decorating
There are some advantages to using the traditional royal icing, which I’ll talk about below, but for most of us home bakers — those of us who just want some pretty cookies to share with our friends and family — plain ol’ sugar icing works just fine. You’ll need to make two types of sugar icing for decorating.
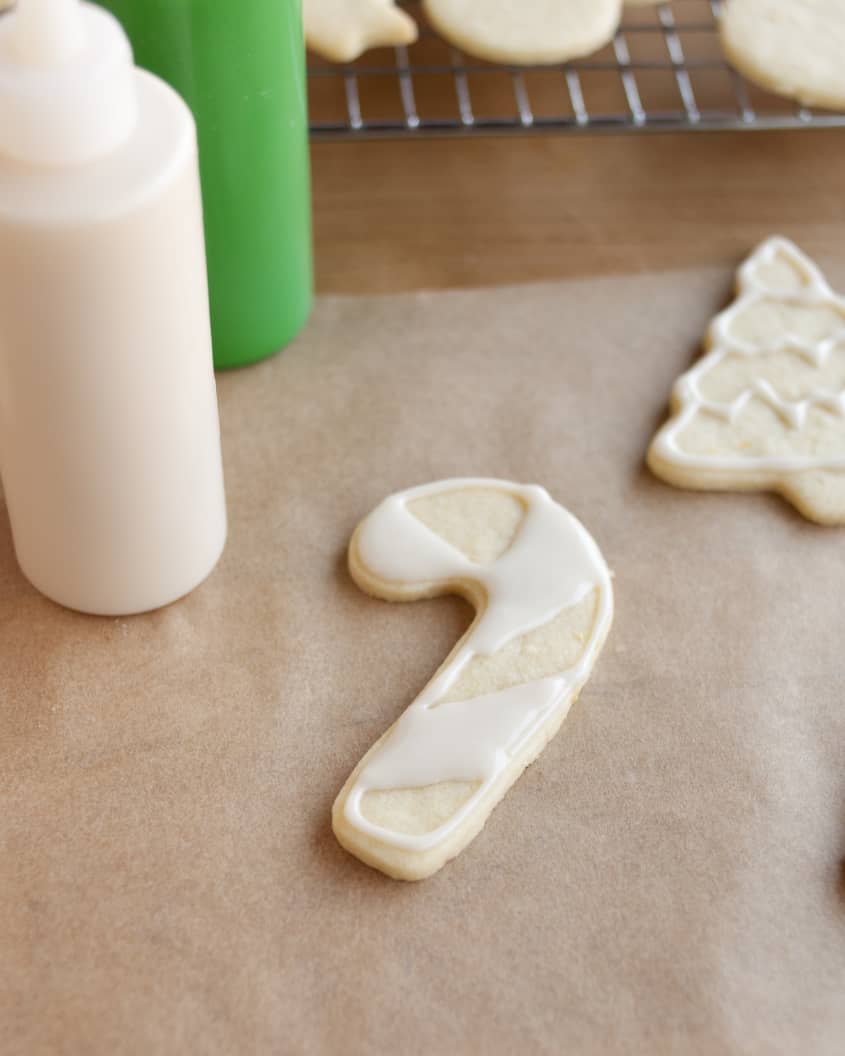
- Border icing: First you make a slightly thicker icing, called “border icing,” and use this to trace the outline around your cookie.
- Flood icing: Then you make a slightly looser icing, called “flood icing,” and fill in the area in the middle of the cookie.
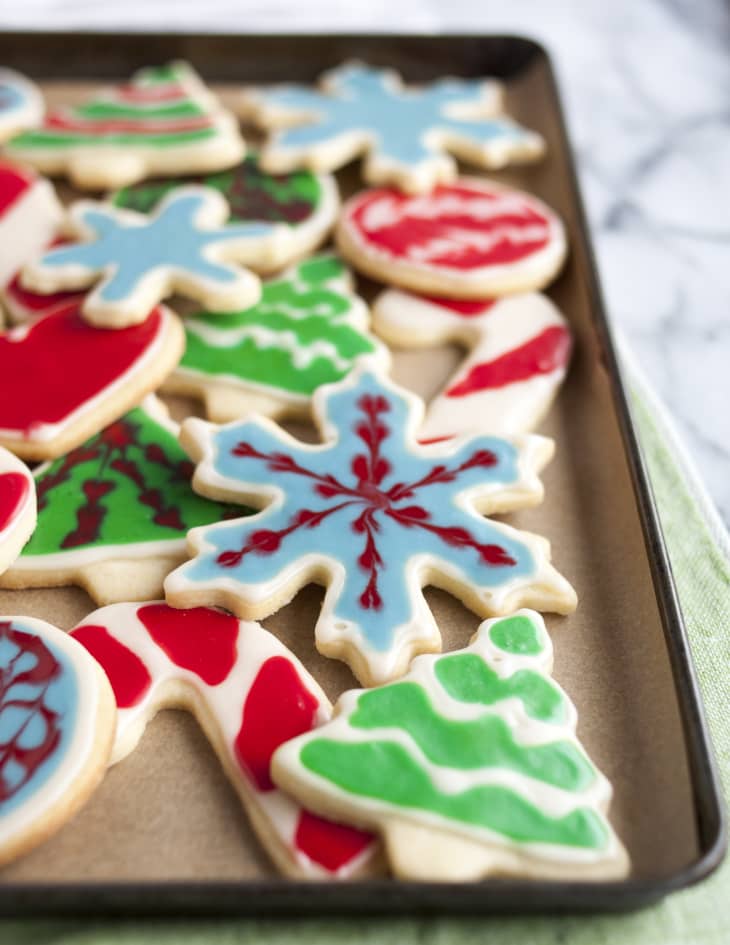
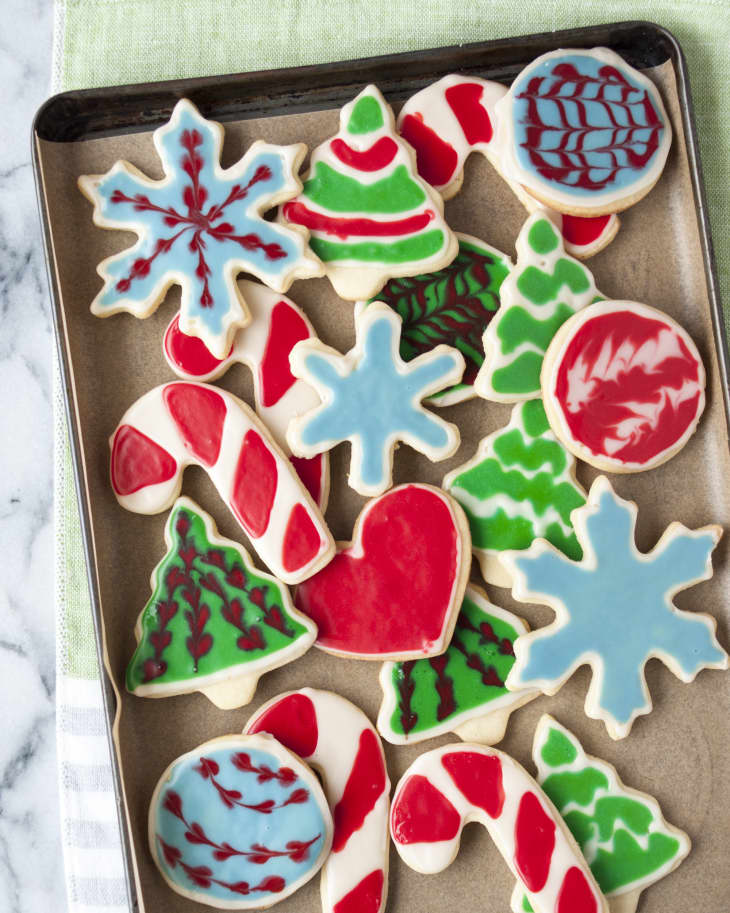
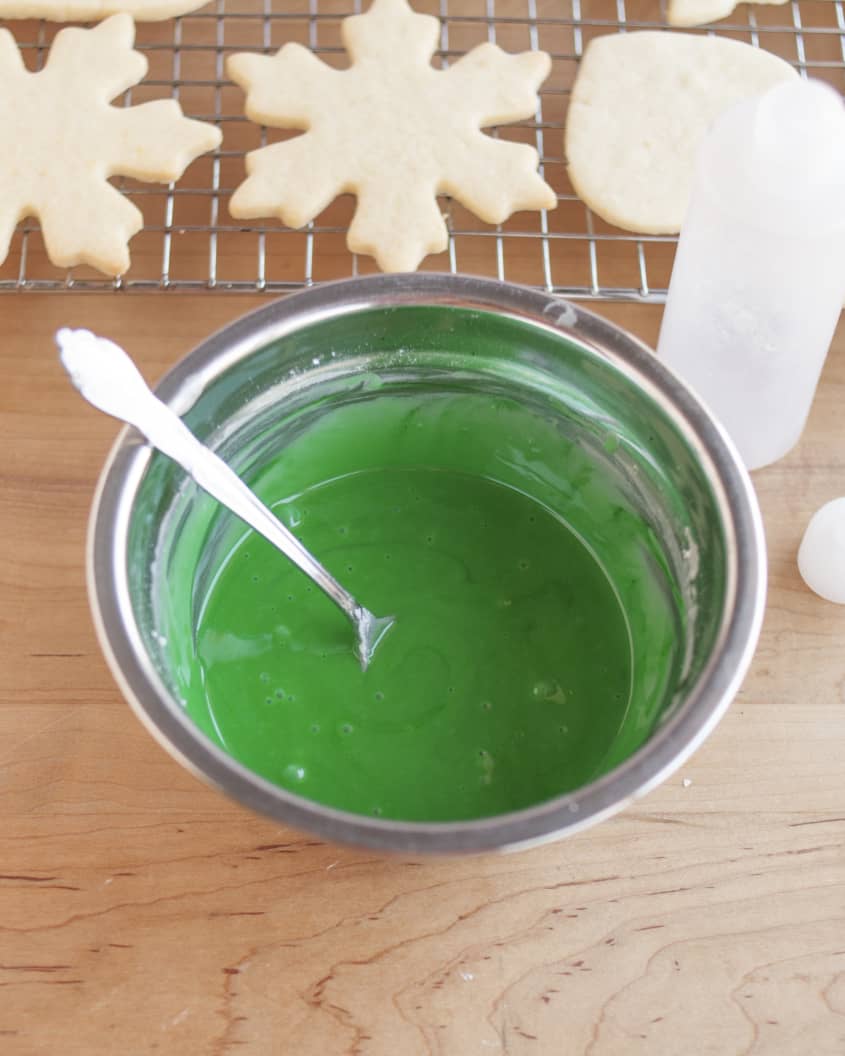
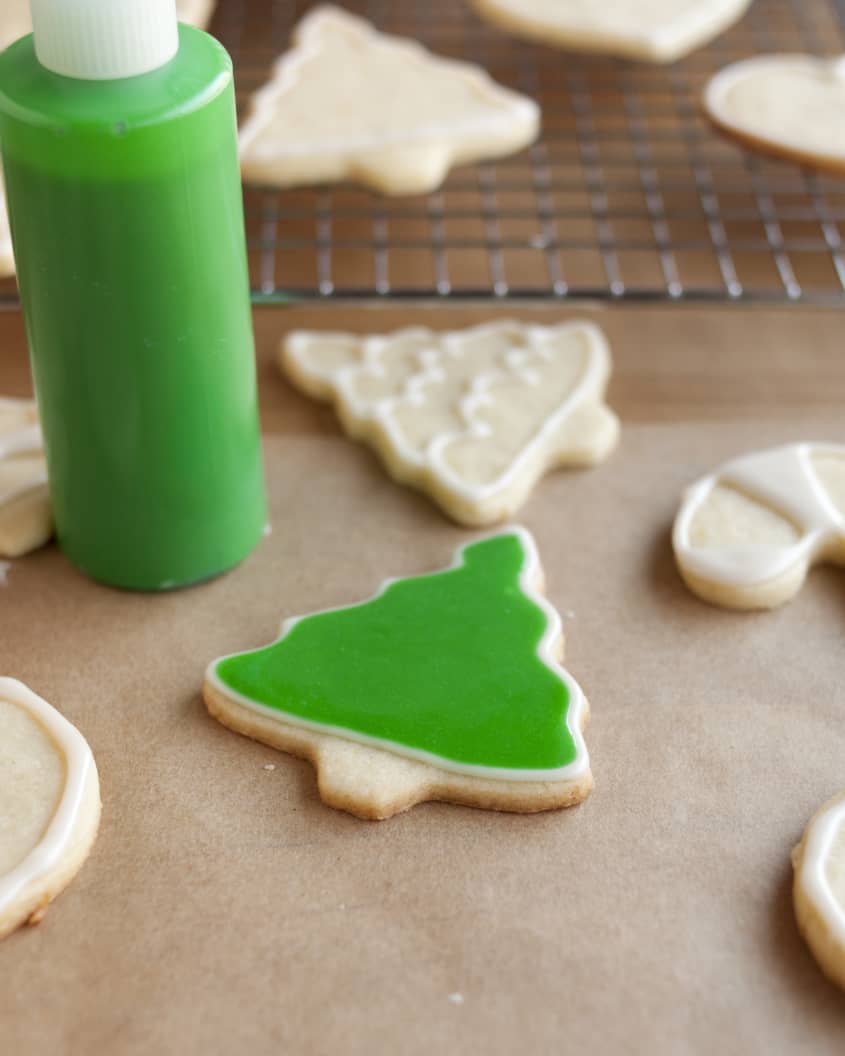
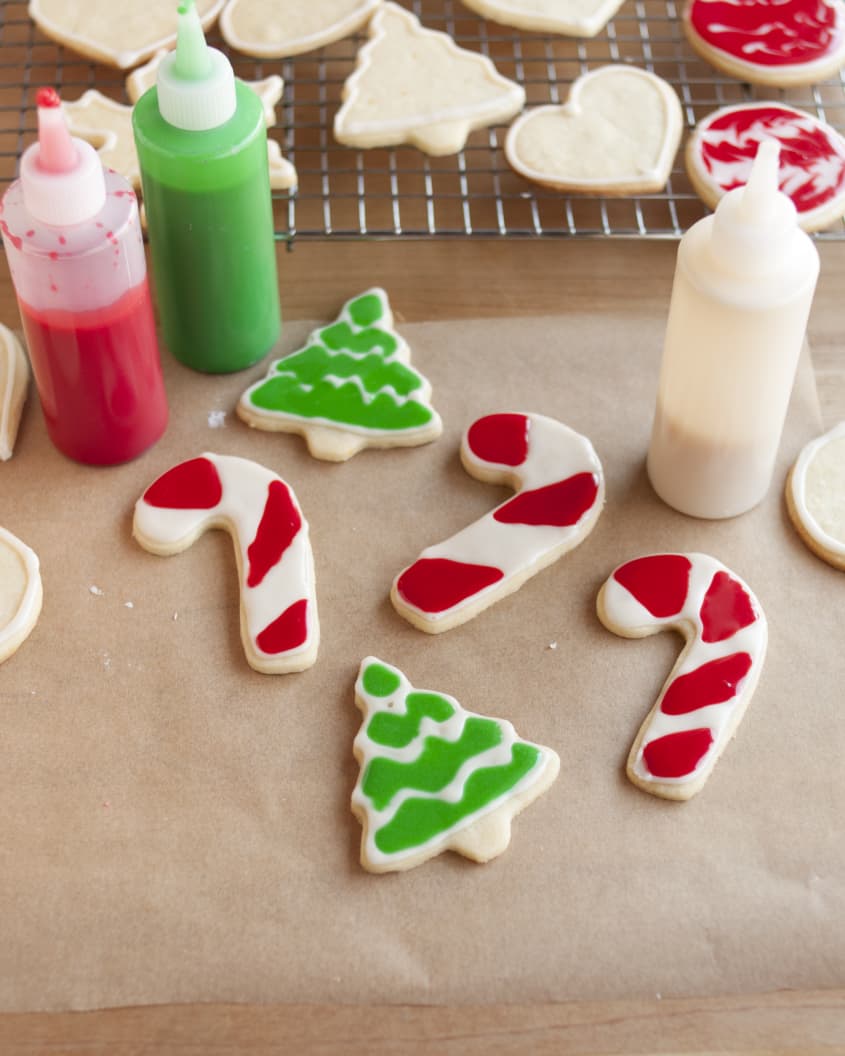
This is a two-step process. Border icing will work as a barrier to hold in the more liquidy flood icing, creating a completely smooth layer of icing over the cookie. You can color your border and flood icing with food coloring. I like plain white borders and vibrant centers, but you could color the border and the flood icing with the same color or use contrasting colors. You can also draw designs inside the cookies using either the border icing or by dropping a contrasting color of flood icing over the the cookie after you’ve finished flooding it.
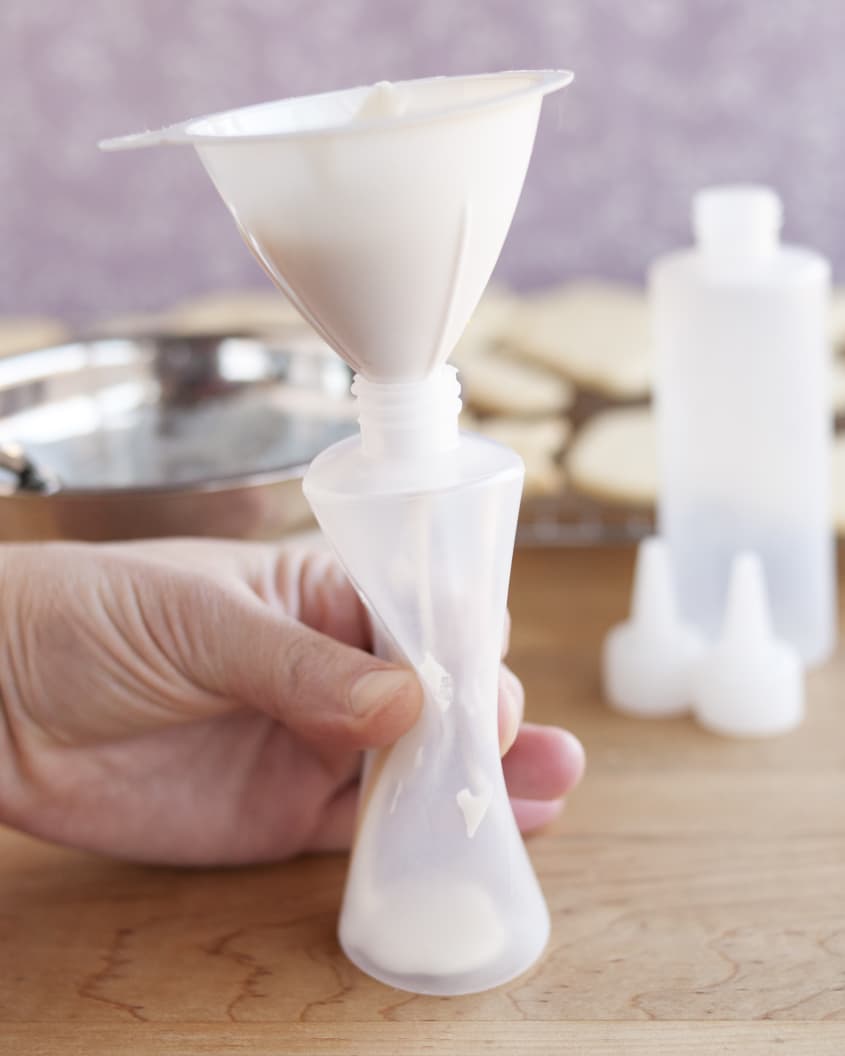
The thicker border icing sometimes needs a little coaxing to get into the squeeze bottle — squeezing the bottle creates some suction that will help pull the icing into the bottle (check out the photos in the slideshow).
Do I Need to Use Royal Icing to Decorate Cookies?
Royal icing is what professional bakers typically use for this kind of cookie decorating. It’s made with either whipped egg whites or whipped meringue powder along with powdered sugar and water, and it tends to be a little more stable and thicker than straight powdered sugar icing.
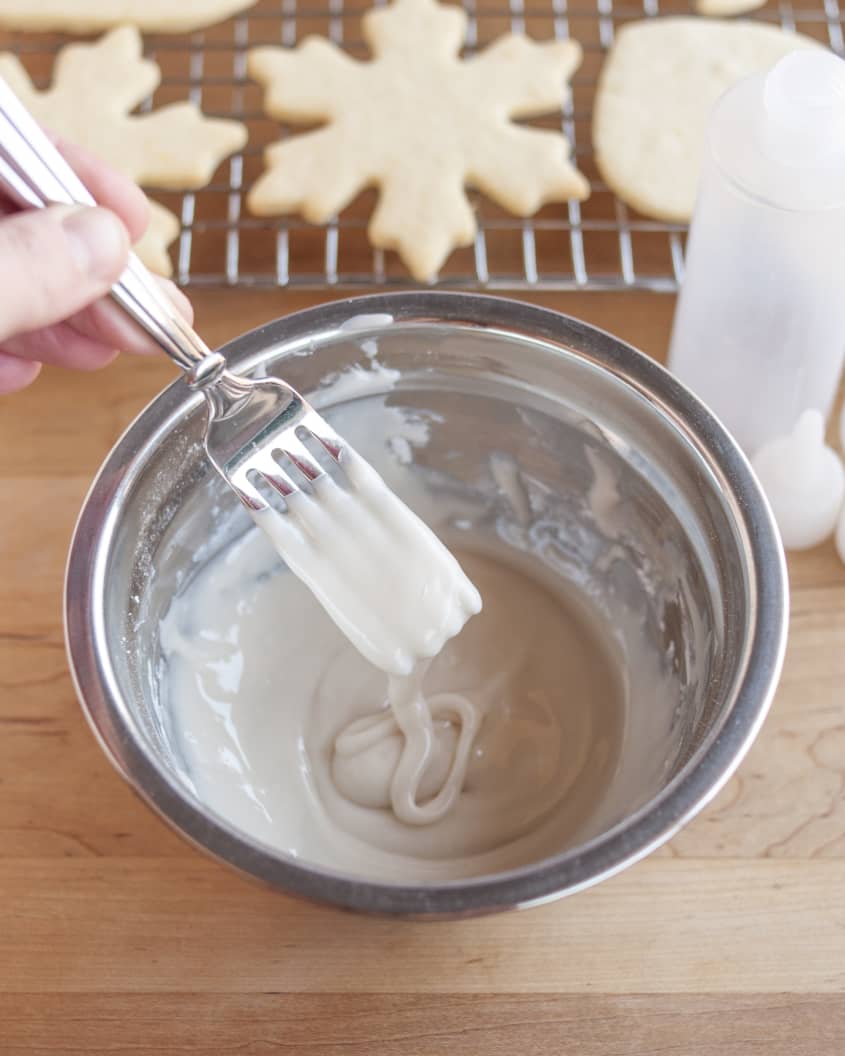
Royal icing is great for fine-detailed decorating work and Martha Stewart, but for the most part, I’m just not that fancy. I am totally happy with a cookie simply flooded with a layer of crunchy, sugary icing. I also like the fact that straight powdered sugar icing can be made with a fork and bowl in just a few seconds and doesn’t require any disclaimers about raw eggs when sharing the resulting cookies.
These cookies might not be quite what the pros would go for, but for friends and family, these fuss-free, homemade, hand-iced sugar cookies are a credit to the cookie tray.
If you are curious about royal icing, here are a few recipes and tutorials about working with it:
What Type of Cookies Should I Use for Decorating?
Thin, flat cut-out cookies like sugar cookies and gingerbread cookies are the best candidates for decorating with icing. These cookies are sturdy enough that they won’t crumble as you work with them and have large, flat areas that are just begging for a bit of decoration.
Tips for Decorating Cookies with Icing
- Cool your cookies completely. Make sure your cookies are completely cool before you start decorating or the icing will melt as you decorate.
- Bake the cookies in advance. I usually find it easiest to make the cookies on one day and decorate them the next.
- Set up a cookie-decorating station. Since the decorating itself is fairly time-consuming, I also sometimes set up a cookie-decorating station on my counter and decorate a handful of cookies at a time over the course of a day or two.

How to Decorate Cookies with Icing
When memory making, not perfection, is your cookie decorating goal, reach for this easy 2-ingredient cookie icing and these ingenious tips.
Nutritional Info
Ingredients
- 1 batch
sugar cookies, gingerbread cookies, or other cut-out cookies for icing
For the border icing:
- 1 cup
powdered sugar
- 1/2 teaspoon
vanilla or other flavoring extract
- 2 to 2 1/2 tablespoons
milk or water
Food coloring (optional)
For the flood icing:
- 1 cup
powdered sugar
- 1/2 teaspoon
vanilla or other flavoring extract
- 2 1/2 to 3 tablespoons
milk or water
Food coloring (optional)
Equipment
Small mixing bowls
Mixing utensils
Squeeze bottles - 1 for the border icing and 1 for each color of flood icing
Small funnel
Parchment paper
Instructions
Clear some counter space. Iced cookies need at least 24 hours to dry, so clear a good amount of counter space or table space where you can ice the cookies and leave them undisturbed. Cover the counter with parchment paper.
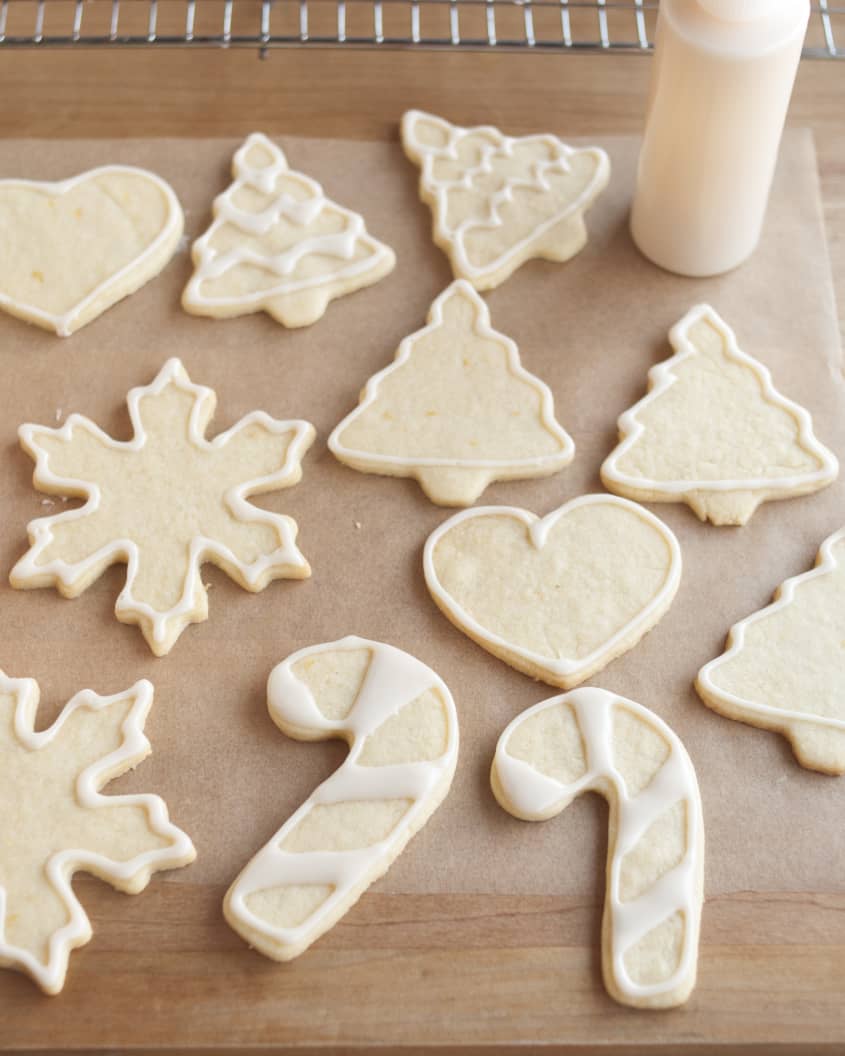
Arrange the cookies for icing. Let fresh-baked cookies cool completely, then arrange all your cookies over the parchment paper. You might find it helpful to leave a small workspace clear in front of you where you can move each cookie as you're working on it.
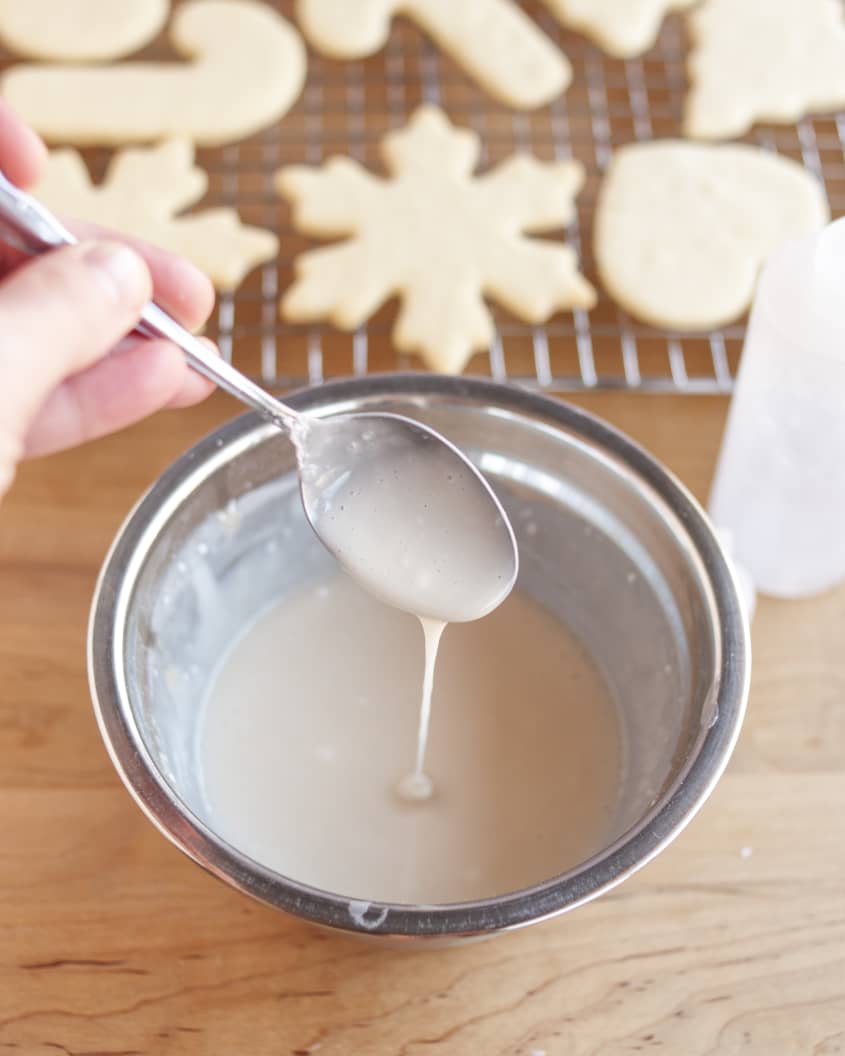
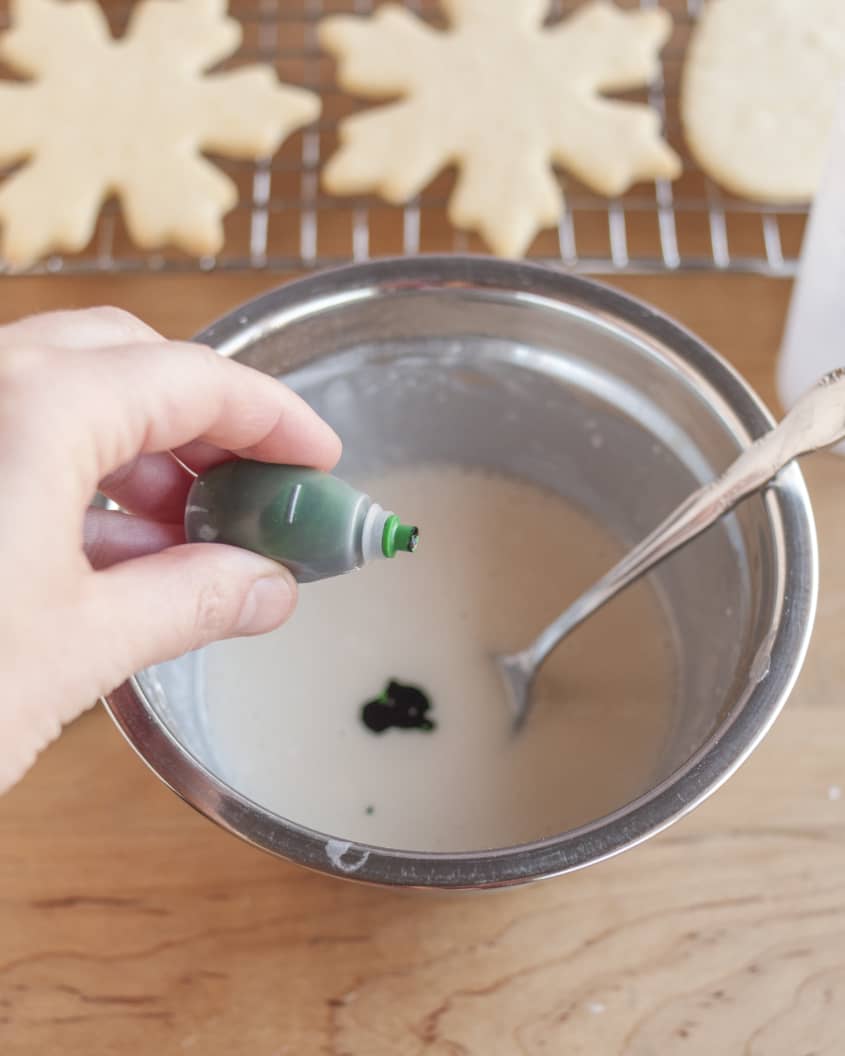
Prepare the border icing. Place the powdered sugar, vanilla, and 2 tablespoons of milk or water for the border icing in a medium bowl and stir together with a spoon or a fork until smooth. It should be quite thick, and if you drizzle a little from your spoon, the ribbon should hold for a few seconds before melting back into the icing. This border icing should be just thick enough to pour easily. If desired, add food coloring to this border icing now.
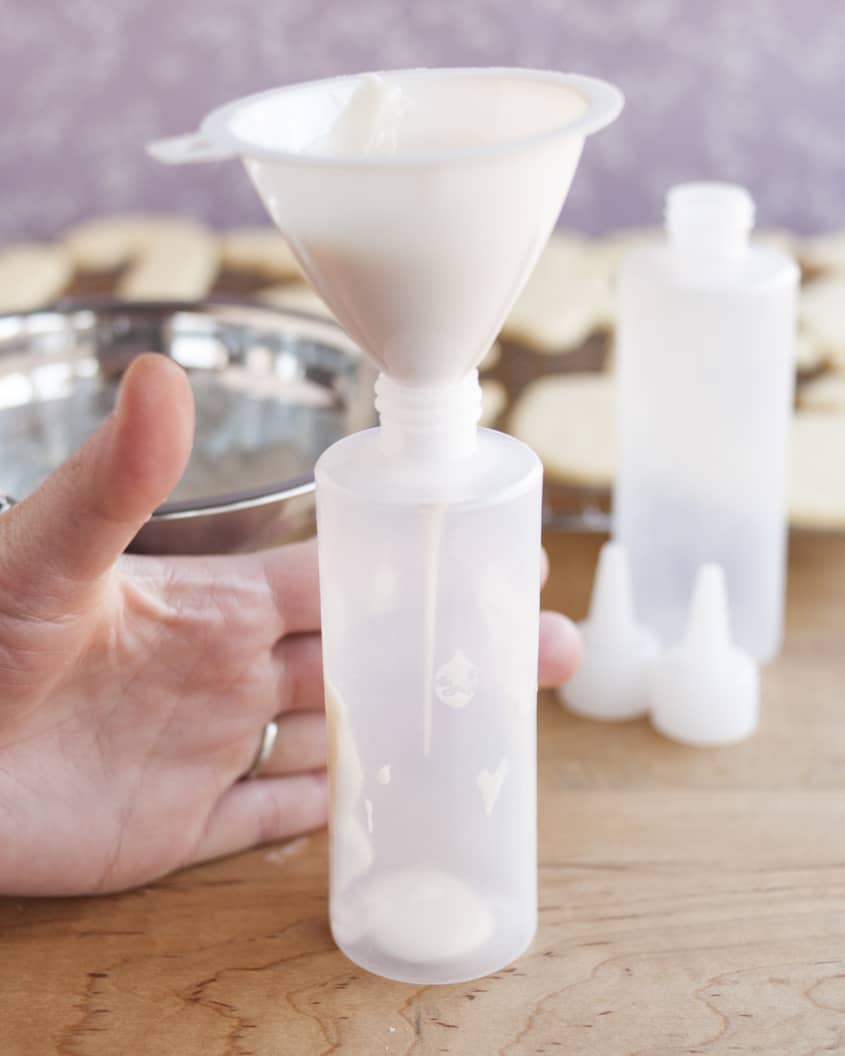
Transfer the border icing to a squeeze bottle. Insert a small funnel into the mouth of a squeeze bottle. Spoon some of the border icing into the funnel and let it drip into the bottle. Since this icing is so thick, it can be difficult to get it to drop into the bottle — you can squeeze the bottle to suction the icing and start it flowing. If it still won't start flowing, add more milk or water one teaspoon at a time until just barely thin enough to pour (be careful of adding too much or else the border icing will pool instead of maintaining a border). Once flowing, it can still take a few minutes for all the icing to funnel into the bottle. Prepare your flood icing while you wait.
Prepare the flood icing. Place the powdered sugar, vanilla and 2 1/2 tablespoons of milk or water for the flood icing in a bowl and stir together with a spoon or a fork until smooth. This icing should still be fairly thick, but it should drizzle easily and a bit of drizzled icing should sink immediately back into the icing. If desired, add food coloring to the flood icing now.
Transfer the flood icing to a squeeze bottle. Clean and dry the funnel and insert it into a clean squeeze bottle. Pour the border icing into the bottle; this icing should be thin enough to funnel easily into the bottle. If necessary, add milk or water 1 tablespoon at a time until a thin, pourable consistency is reached.
Prepare as many batches of flood icing as needed to decorate your cookies.
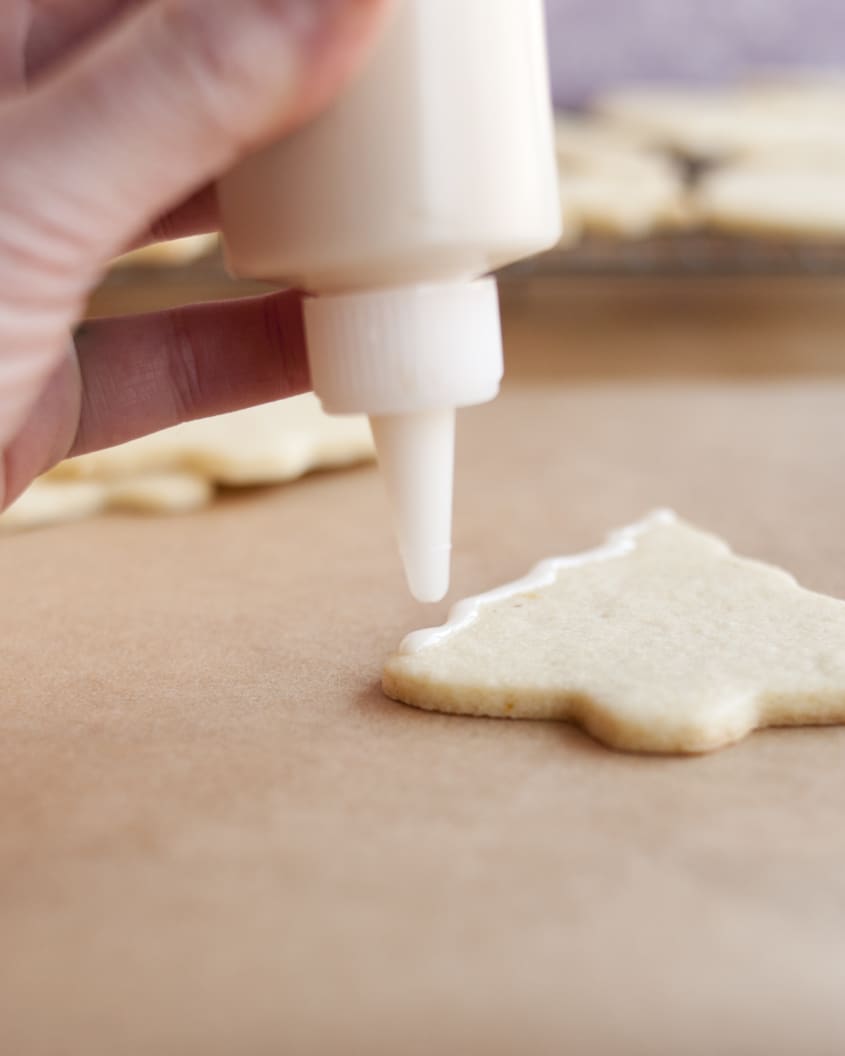
Draw the borders around the cookies with border icing. Begin with the border icing and trace the outline of each cookie with icing. Hold the bottle vertical with the tip of the bottle slightly above the cookie. Squeeze gently and with consistent pressure so the border is the same width all the way around. Think of this border icing like drawing lines with a pen. If desired, you can draw inside the cookie — thicker lines are better than thin lines for separating areas of flooded icing.
Allow border icing to dry slightly. The border icing doesn't need to be completely dry, but the next step (flooding the cookies with icing) works better if the borders are at least dry to the touch. If you draw the borders on all your cookies before moving onto flooding, the first cookies will be dry enough to start flooding once you finish drawing the borders.
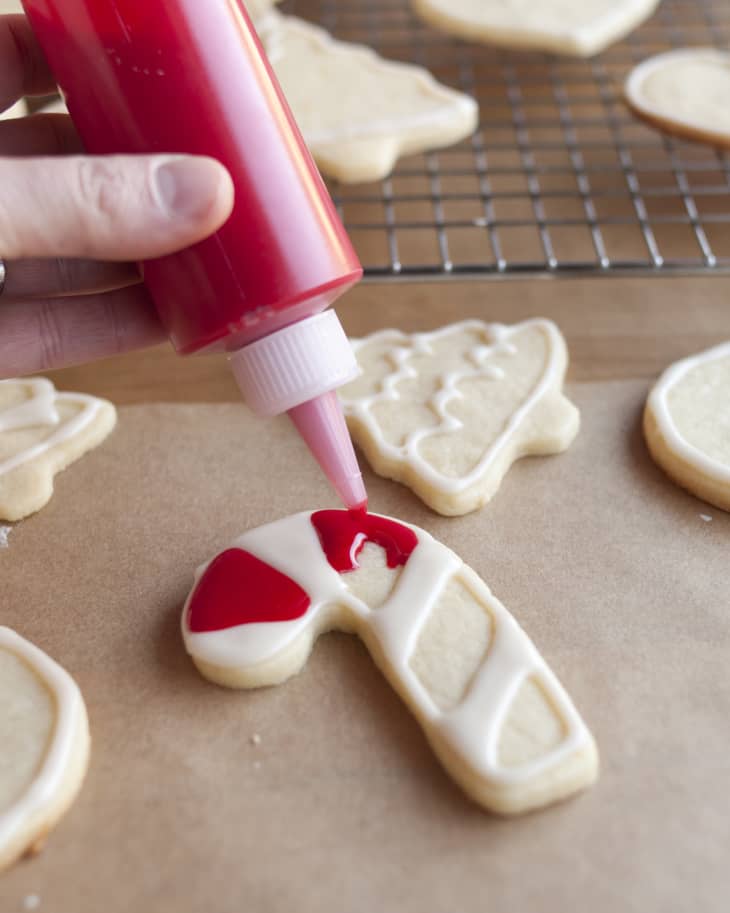
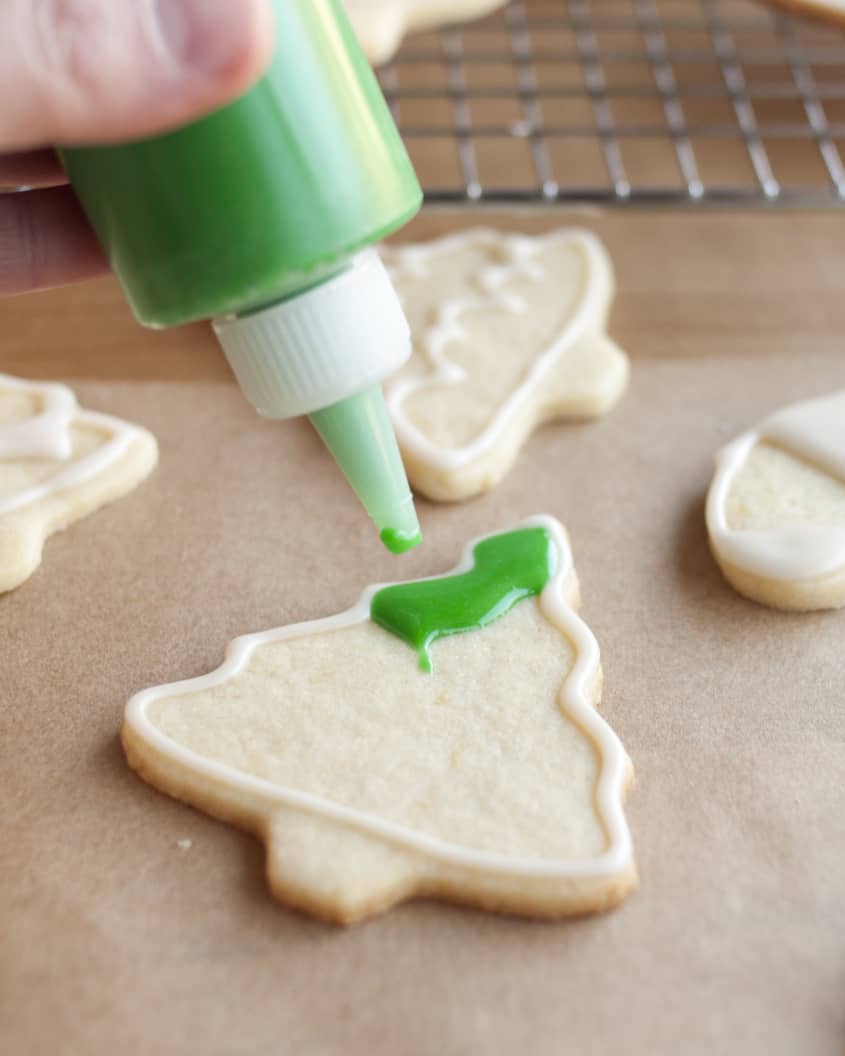
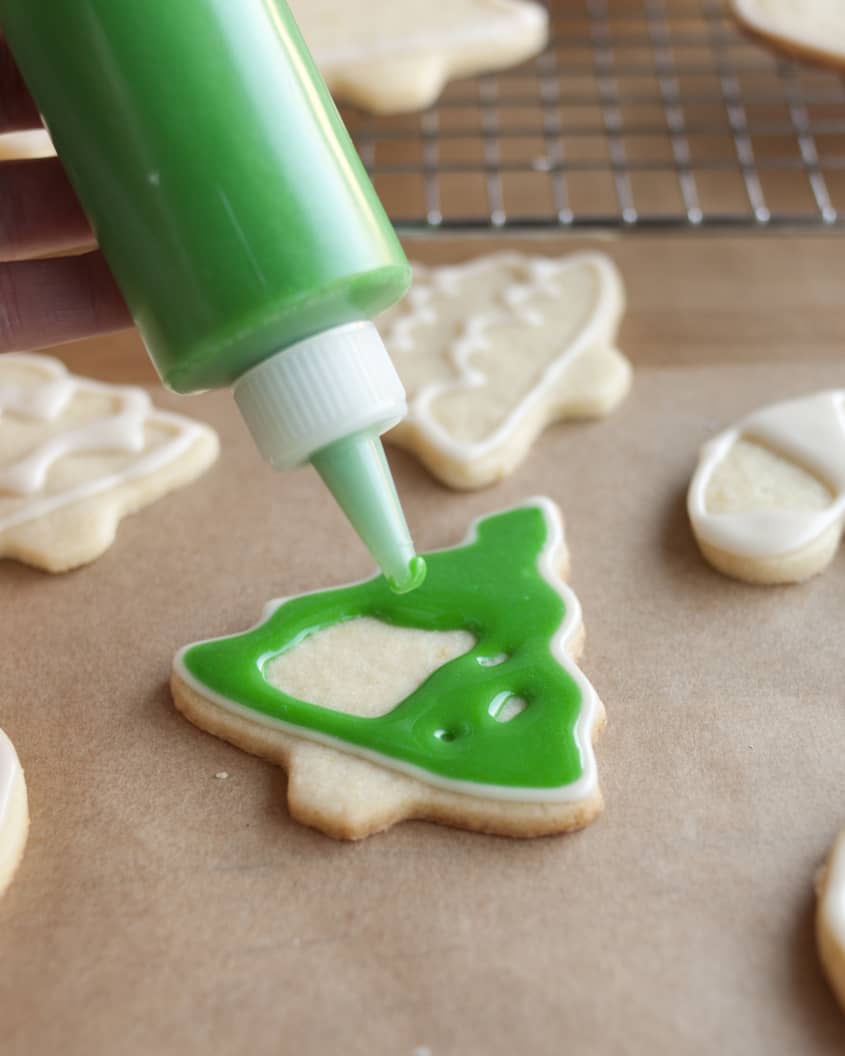
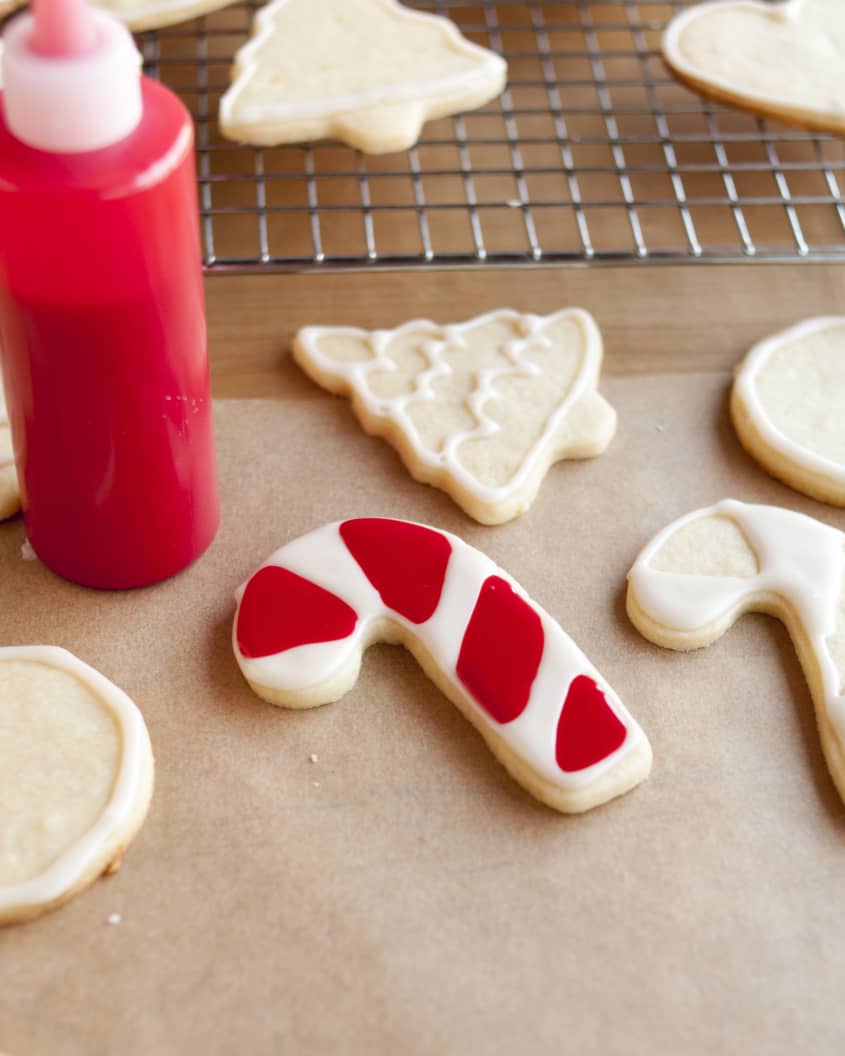
Flood the interior of the cookie with flood icing. Using a bottle of the flood icing, begin filling the interior of the cookie with icing. Use the nose of the bottle to push the icing into the corners and against edges. Think of this flood icing like using a paintbrush.
Allow the cookies to dry. Leave the cookies undisturbed for at least 24 hours to fully dry. Depending on the thickness of your icing and the layers on the cookie, it may take longer. When the cookies are dry, the surface of the cookies will be completely smooth, dry, and resistant to nicks or smudges.
Store the dried cookies. Once dry, you can stack the cookies between sheets of parchment paper in an airtight container at room temperature for several weeks.
Recipe Notes
Storing icing: The icing will keep for several days in the squeeze bottles. It's best to store unused icing in the fridge and let it warm to room temperature before using.
Spreading the work out: Since the icing keeps well, you can spread your cookie decorating over the course of a day or several days. I often create a station in my kitchen and ice a few cookies at a time over a day or two.
Marbleized icing: To make marbleized icing, flood the entire cookie with icing, then drop dots or draw a squiggle line over the top with a contrasting color. Run a toothpick through the contrasting icing to "marbleize." For more details, check out How To Create a Marbled Effect When Decorating Cookies.