
This DIY Caramel Apple Bar Is the Best Way to Serve Dessert on Halloween
We independently select these products—if you buy from one of our links, we may earn a commission. All prices were accurate at the time of publishing.
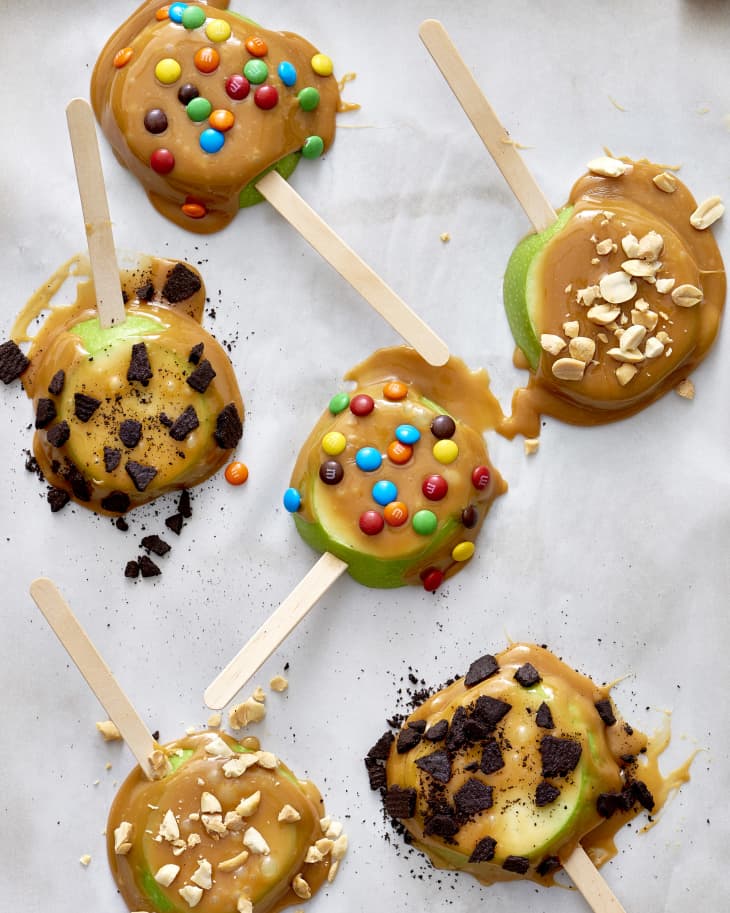
Credit: Joe Lingeman
Bobbing for apples at a Halloween party is so 2019 (hello, germs) — and it’s also a big, wet mess. Instead of getting water everywhere, opt for a beloved fall treat from childhood for kids and adults alike: caramel apples. For your next party, tap into your guests’ sense of nostalgia with a build-your-own caramel apple bar. From the supplies you’ll need to tips and tricks to prevent sticky messes, here’s how to do it — and be the host with the most this autumn:
What You’ll Need for a DIY Caramel Apple Bar

Credit: Kelli Foster
How to Set Up the DIY Caramel Apple Bar
- Decide where your caramel apple bar will go. I recommend a spot where food is normally served, because this has the potential to get a bit messy. You’ll need either a long table, or a round table — you’ll want to put a tablecloth or tarp on it regardless.
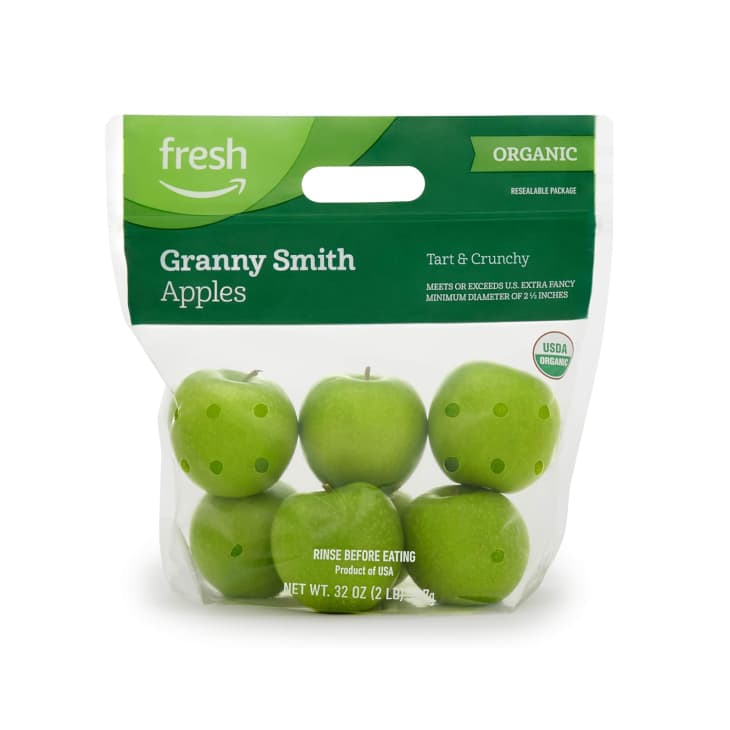
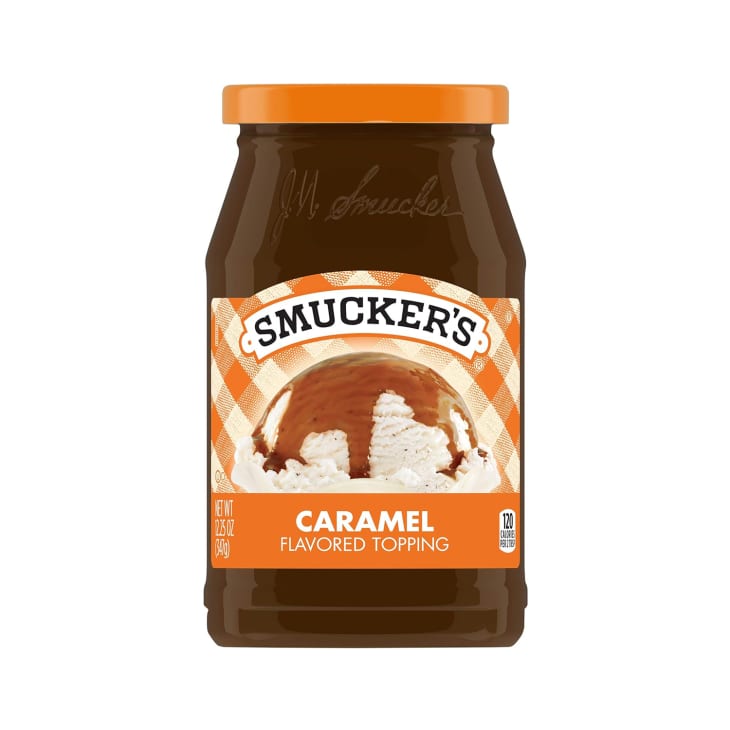
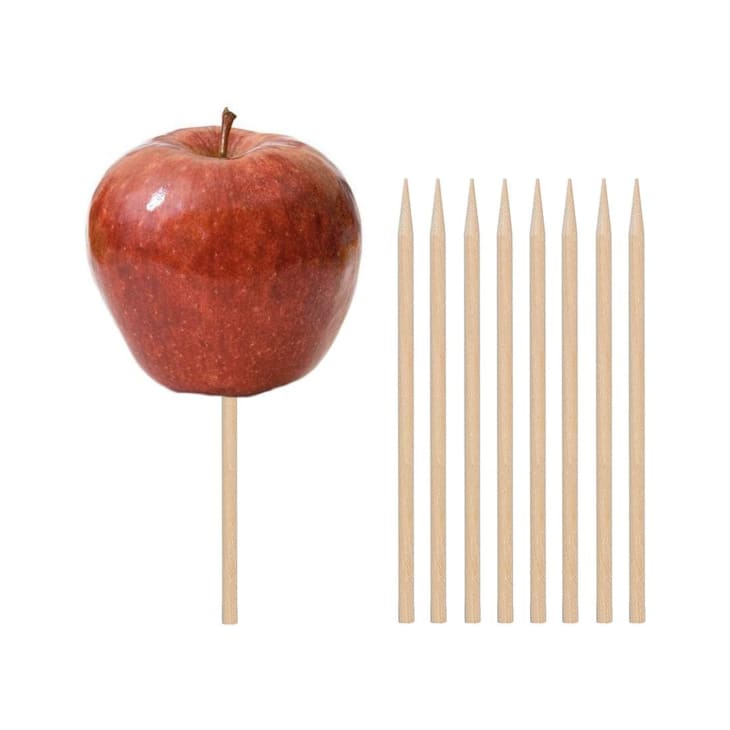
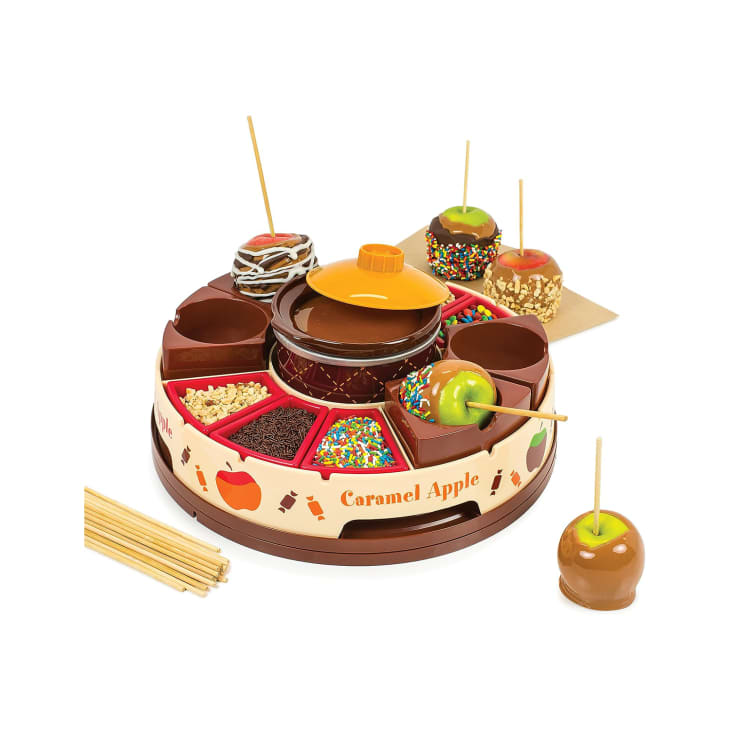
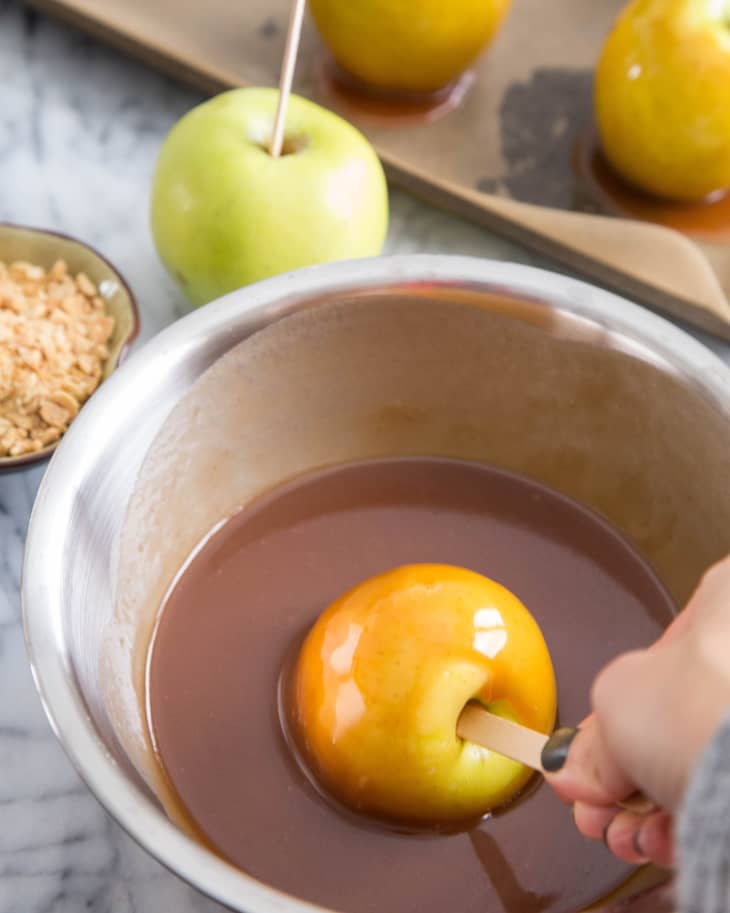
- Prepare your ingredients. If you’re using whole apples with metal skewers, skewer the apples in advance. If you’re using apple slices, put them all either on a plate or in a big bowl, and stand the wooden skewers up in a tall-sided glass. Gather your bowls and fill them with caramel sauce and your toppings — one bowl for each.
- Lay everything out for the party. With a long table, you’ll make an assembly line setup: apples on the left end, then the caramel sauce, then the toppings all in a row. For a round table, you’ll put the apples in the middle of the table and surround it with bowls of toppings. Separate the caramel sauce into two bowls and put them on opposite sides of the table.
- Place your Caramel Apple Bar sign next to or on the table, and it’s ready to go! You may want to do an example for your guests when they arrive, or just let them figure it out on their own — it’s pretty self-explanatory once it’s all set up, but it never hurts to have a sample to watch. You can also put brown craft paper on the table and write directly on it with instructions, ingredient explanations, dietary guidelines, etc., which makes for even easier cleanup.
Credit: Kelli Foster
DIY Caramel Apple Bar Techniques and Tips
In my years of hosting DIY caramel apple bars, these are a few best practices that can make this Halloween treat mess-free and more entertaining.
- Make sure that you have something for your guests to put their finished apples on, and to hold them during the process.
- You’ll want to use caramel that’s not excessively drippy, or it will slide right off the apples.
- Try setting out spoons next to each topping bowl. It works fine if everyone dips their caramel-covered apple into the bowls of toppings, but it could be less messy (and prevent cross-contamination!) if your guests just spooned the toppings over their apples.
- You could also try a combination of sliced apples and whole apples, just in case someone is totally feeling the caramel apple bar but isn’t in the mood for a whole apple (or they want to skip the toppings).
- Remember to supply napkins! Caramel apples can be messy — give everyone something to clean themselves up with, like hand wipes or kitchen towels. A few containers of hand sanitizer could also go a long way in keeping the stickiness away.
Did you try this for your Halloween party? Let us know how it went in the comments below!