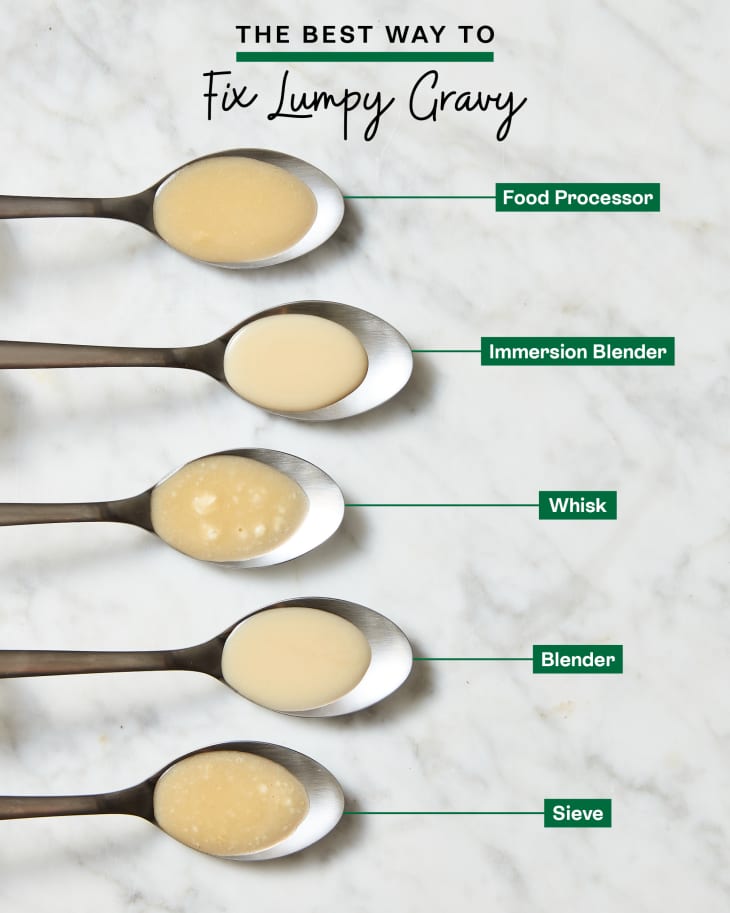
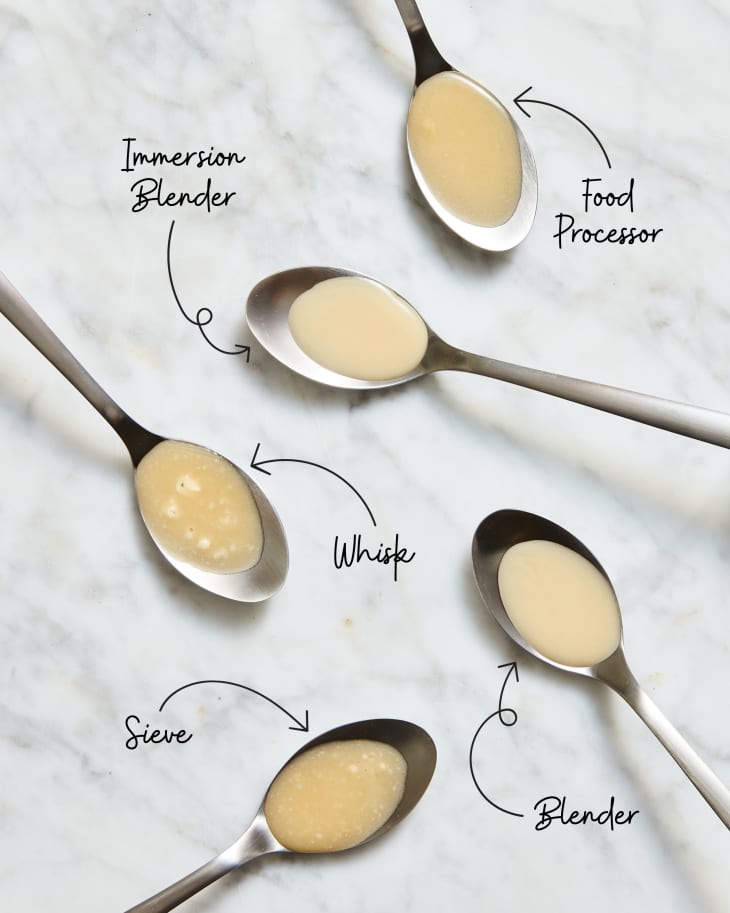
We Tried 5 Ways to Fix Lumpy Gravy and Found a Clear Winner — With Easy Cleanup
Man oh man, I am a bona fide gravy girl. I always have been. As a kid, my favorite food was mashed potatoes with gravy, which I would order off the kids’ menu at every restaurant (despite the global cuisine my parents were trying to get me to try). The potatoes were just a vehicle for the real star: the gravy. When I was pregnant with my twins, I had only one craving the entire time: french fries with brown gravy. Again, potatoes were there just to sop up all the good stuff.
Not everyone is as much of a gravy enthusiast as I am (it’s not in their weekly cooking repertoire), but there is one day when most people find themselves making it — and that day is Thanksgiving. Gravy is a crucial part of the meal, whether it’s enhancing perfectly cooked turkey and stuffing or moistening and saving dry, overcooked dishes. And if you’re not accustomed to making gravy — or, well, even if you are — you’ll sometimes end up with those dreaded lumps. Although I’ve known people who deliberately serve lumpy gravy to prove that it’s homemade, a smoother, silkier sauce is preferable.
If you end up with lumpy gravy, don’t worry — you don’t have to dump it out and start from scratch, and you don’t have to spend much time working the lumps out. I know this for sure because I did a deep dive into online lumpy gravy fixes and put five methods to the test. The good news is that almost all of them work very well; read on to learn more.
So, What Is the Best Way to Fix Lumpy Gravy?
Most of these methods worked very well, but for me, the easiest one — with the least amount of cleanup — was using an immersion blender. Just stick it right into the gravy pot — no need to get out an extra bowl or sieve or multi-part appliance. Read on to learn more about that method, plus others you might want to try if you don’t have an immersion blender.
A Few Notes on Methodology
The gravy: To test these methods, I made a double batch of turkey gravy, loosely following this gravy recipe (but subbing in turkey necks, which I happened to have on hand from my quest to find out the best way to get extra-crispy turkey skin). I half-thickened the gravy as the recipe directs, kept the gravy at a simmer, and then sprinkled flour directly into the simmering liquid to intentionally create lumps. Believe me — I got lots of them.
The tests: For each gravy-fixing method, I used 2 cups of gravy from the big batch I made.
The times: Every one of the methods I tested was quick, the longest taking just 3 minutes. I decided to include the time for each method so that, if nothing else, you’ll be bolstered by the knowledge that you can fix your own lumpy gravy in no time flat — no matter which route you take.
The ratings: Each method is rated on a scale of 1 to 10, with 10 being the perfect ideal. My ratings are based mainly on the texture of the gravy, but the ease of the method (including cleanup) came into play as well. After all, if this is happening on Turkey Day you’ll appreciate an easy fix that doesn’t add much to the massive cleanup you’ll no doubt face at the end of the feast.
Lumpy Gravy Fix: Whisk
Total time: 3 minutes
Rating: 3/10
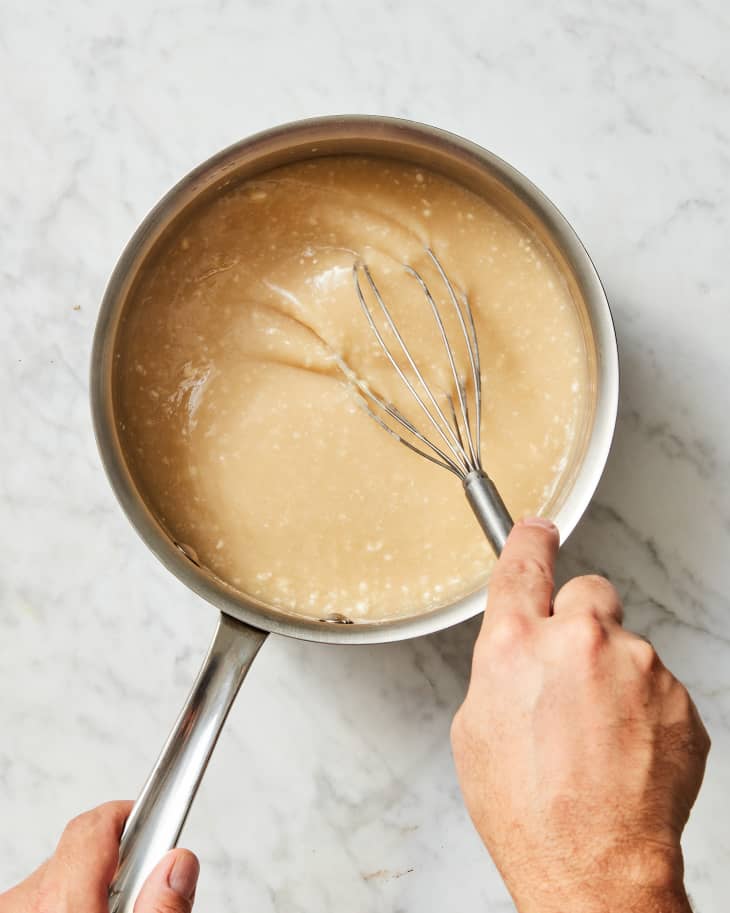
About this method: This technique, included in a roundup of gravy fixes from Real Simple, states that “a vigorous bout of whisking, getting into the edges of the pan” will coax the lumps into dissolving. I gave it a go, whisking for 3 full minutes. (I had to take a couple of 5-seconds breaks during that time to give my arm a rest.)
Results: Although I loved that this technique involved very little cleanup, it did not work well for me. The gravy was only slightly smoother than it was to begin with, and my arm was quite tired from its workout. As I whisked, I watched the lumps evade the whisk’s wires, slipping between them on nearly every beat. Perhaps someone with more stamina, who could whisk longer and/or faster, would have had better luck with this technique.
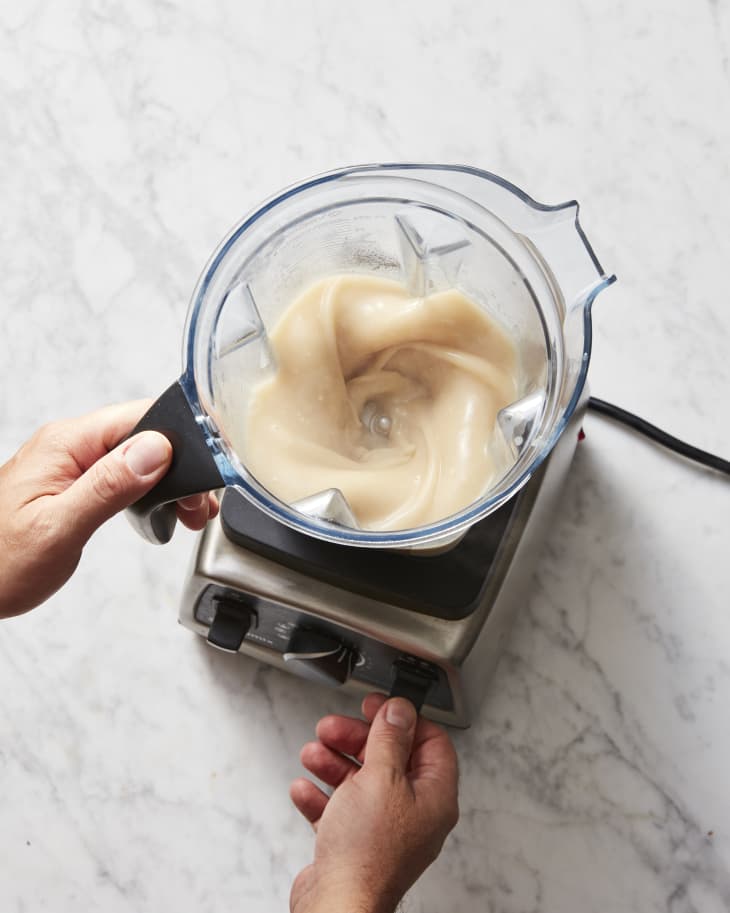
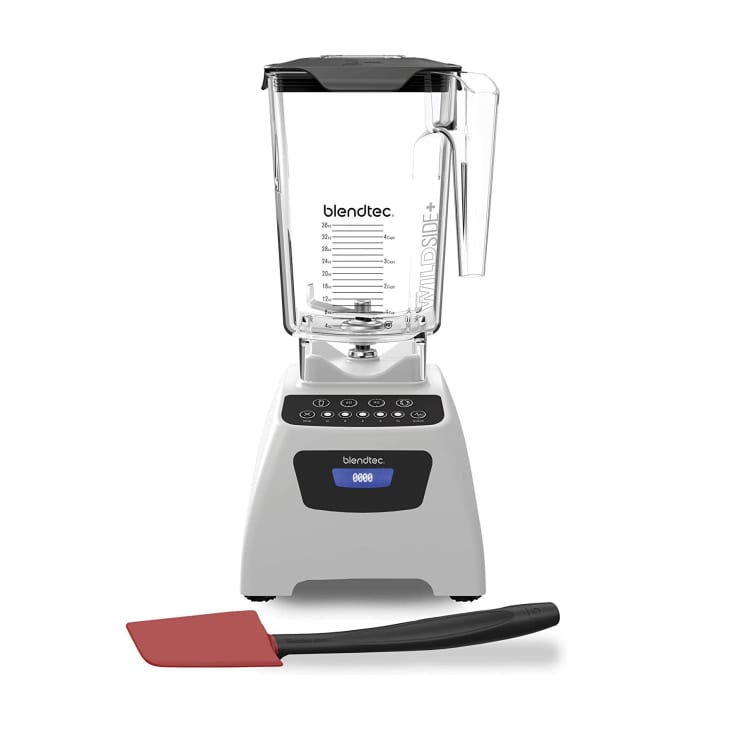
Lumpy Gravy Fix: Blender
Total time: 30 seconds
Rating: 7.5/10
Results: This method was incredibly fast and easy, but know that it might take longer in a blender that doesn’t have as much torque. You will be left with a few blender parts to wash, but that’s relatively easy, too. My gravy ended up completely smooth without any lumps in sight. It was, however, a little frothy after being blended, with an aerated texture that made the gravy seem less rich. After about 10 minutes, the gravy “settled,” but right out of the blender, it seemed too frothy.
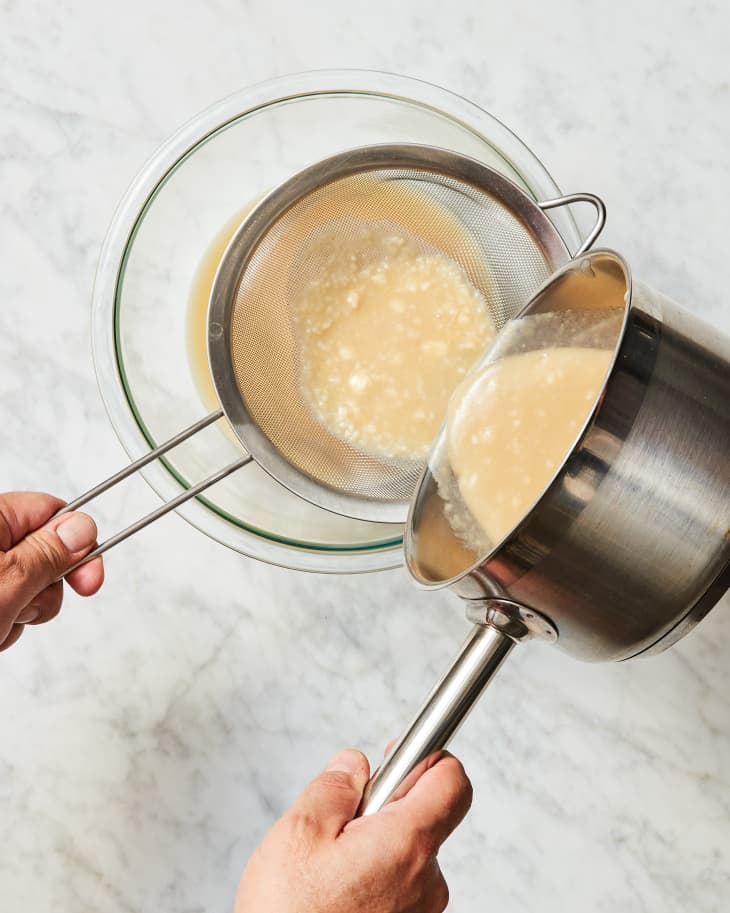
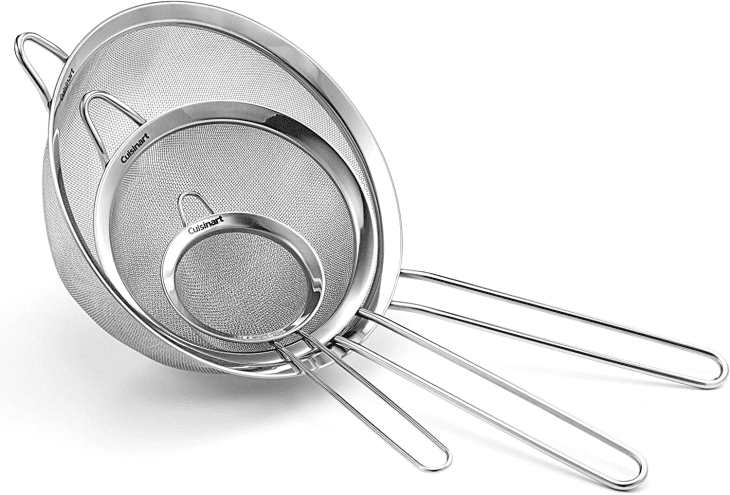
Lumpy Gravy Fix: Sieve
Total time: 1 minute
Rating: 8/10
About this method: This low-tech technique was touted by the folks at Epicurious: Simply pour the gravy into a sieve (a fine-mesh strainer) set over a bowl, and stir it around with a silicone spatula. When most of the gravy is strained through the sieve, discard the lumps left behind.
Results: This method is very easy and requires very little effort. I ended up with lots of solids to discard, and my strained gravy — which was very smooth — was a little bit less viscous than it was using some of the other methods. And that makes sense because you’re removing some of the thickener when you discard the solids. It wasn’t a deal breaker for me, as my gravy was still luscious and rich. Just know that you might need to add more thickener if you use this method (make a slurry first to avoid creating any more lumps). This method also creates a fair amount of cleanup. You’ll be left with a strainer, a bowl, and a spatula to wash — and fine-mesh strainers can sometimes stubbornly hang onto food.
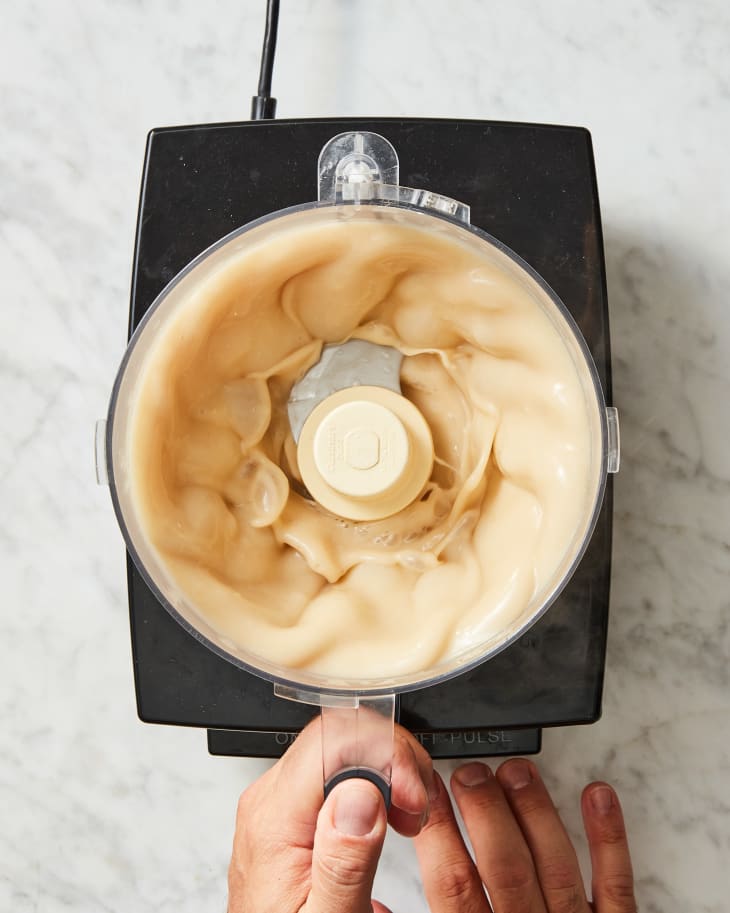
Lumpy Gravy Fix: Food Processor
Total time: 30 seconds
Rating: 9/10
About this method: In the same Real Simple roundup referenced earlier, a food processor method was listed as a good fix for lumpy gravy. Add the lumpy gravy to the processor, and process (don’t pulse) on high speed.
Results: After processing for just 30 seconds in my Cuisinart food processor, I ended up with silky-smooth gravy with no lumps. Unlike with the countertop blender, the gravy puréed in the food processor did not get overly aerated; it maintained its rich, weighty mouthfeel. Cleanup was a little more involved, with more parts to wash, but the results were worth it.

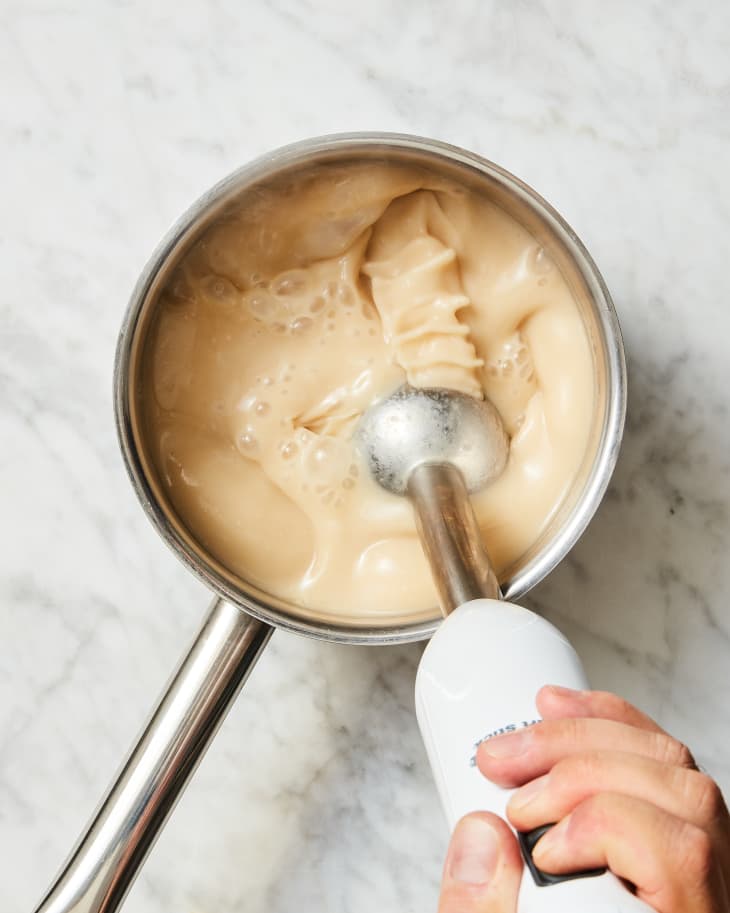
Lumpy Gravy Fix: Immersion Blender
Total time: 1 minute
Rating: 10/10
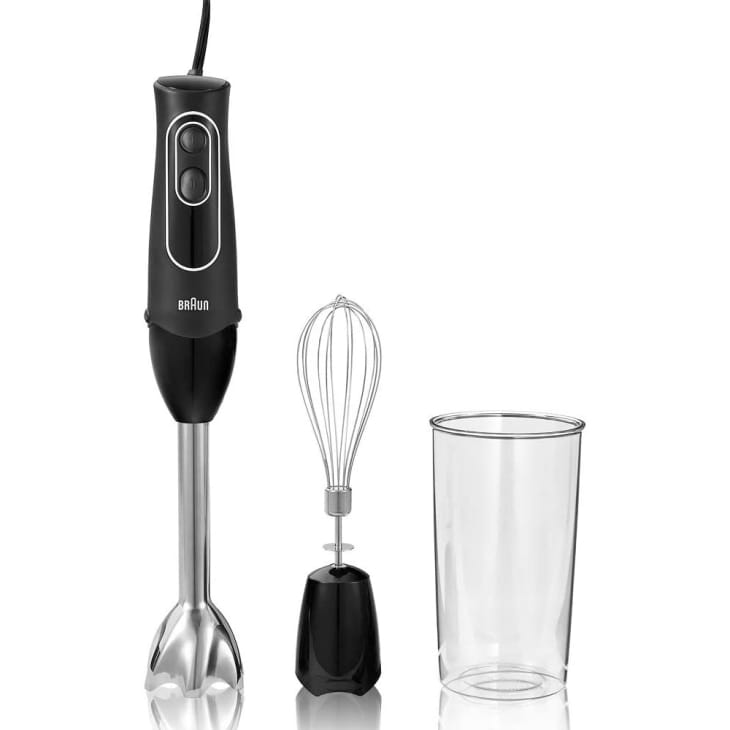
About this method: The top remedy recommended in the Chow video was using an immersion blender: Simply stick it down into the pot of gravy and go around the whole pot. I pulled out my Braun immersion blender and gave it a go.
Results: For me, this was the clear, hands-down winner. The texture of the blended gravy was very smooth — not a lump to be found. It didn’t get overly aerated, so it remained rich and luscious. The method was dead simple — just plug in the blender and stick it right into the gravy pot. And this technique had the quickest cleanup. No extra bowl or machine parts, just the little stick blender itself. Oh, I should note that my immersion blender isn’t a new, souped-up model; it’s at least 20 years old, and it still worked great.
Final thoughts: If you have an immersion blender, I cannot recommend this method highly enough. If you don’t, just know that the food processor and sieve work quite well, too; they’ll just leave you with a little more cleanup. And if you want to use a countertop blender, just know that you’ll need to give your frothy gravy a few minutes to settle down, so you might need to reheat it.