

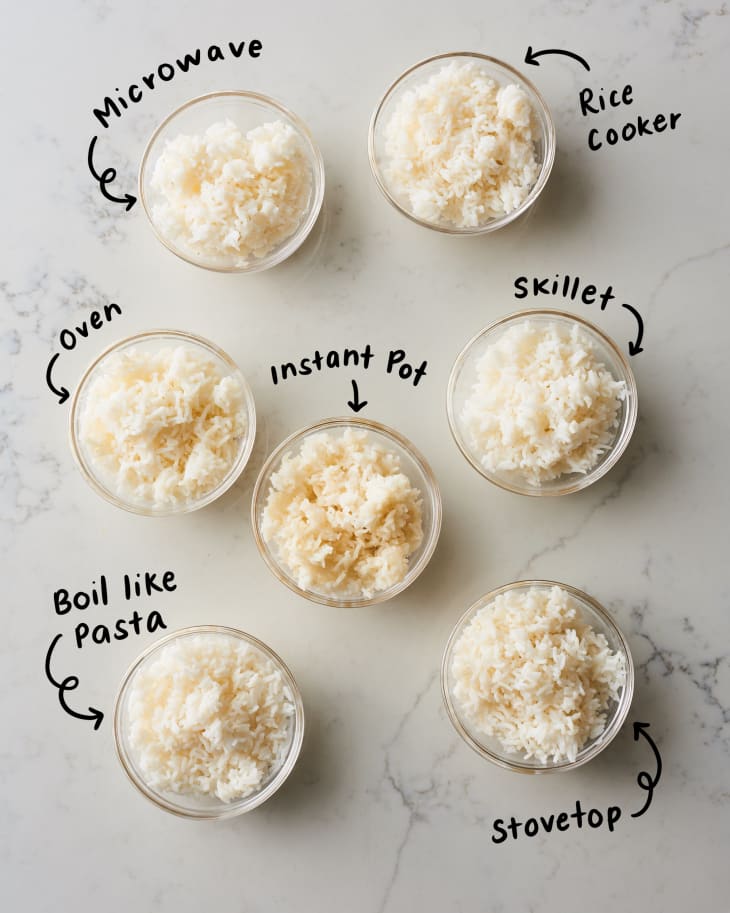
We Tried 7 Ways of Making Long-Grain White Rice — And the Winner Genuinely Surprised Us!
When I was a kid, we ate a lot of rice. See, my mom is Korean, so even though we lived in Mississippi, we had rice nearly every day. It was always an East Asian short-grain white rice — the soft, sticky kind — which my mom would cook in a rice cooker. What we called American-style rice — fluffy long-grain white rice — was completely exotic to me. I would sometimes order it at cafeteria-style restaurants and marvel at the way the the grains were so separate.
When I grew up and began cooking for myself, my go-to rice was the same short-grain variety, cooked in a simple little rice cooker my mom sent me to college with. I was always intimidated by long-grain white rice and had lackluster results when I did try to cook it. Sometimes I’d follow the package directions and it would come out okay. Other times it would be crunchy and chalky. Even worse, I’d sometimes produce a pot of gummy, mushy, overcooked grains. All these years later, I’ve remained intimidated by long-grain rice. I never landed on a consistent, reliable method for cooking it well.
There are, of course, no shortage of methods online purporting to help you get fluffy, tender, perfectly cooked rice — and to cook it faster, or easier, or with less effort. So I decided to test several of the most popular cooking methods to see which ones deliver and which ones fall flat.
For this test, I went with what my kid-self called American-style rice: the long-grain white variety found in most grocery stores. Other varieties of rice (brown, short- or medium-grain, even long-grain jasmine or basmati) might perform very differently under each set of instructions. Luckily, I found that most of the methods worked quite well — great news for rice lovers — and a couple of unexpected methods were real standouts.
A Few Notes About Methodology
The Rice: When I went shopping for long-grain white rice, I quickly discovered that nearly every option was labeled “extra long-grain.” So I went with one of those, a nationally distributed, U.S.-grown brand called Riceland.
Tests: For each test, I cooked one cup of long-grain white rice (about four servings, cooked). I tasted the rice immediately when it was done and then again after it had cooled for about 10 minutes. I measured the yield of each test (for kicks), coming up with between 3 and 3 1/4 cups for each method.
Time: The time specified includes every part of the process — from rinsing the rice, preheating the oven, bringing water to a boil, letting the rice stand after cooking, and so on.
Ratings: I rated each method of a scale of 1 to 10, with 10 being perfection. The ratings are based on a combination of taste, texture, and the ease or difficulty of method.
Method: Skillet
- Total Time: 33 minutes
- Rating: 3/10
About This Method: The instructions, from Livestrong, state that “[t]he shallower depth of a skillet allows more of the rice to cook at an even pace.” I was curious to see if the wider surface area of a skillet would make a difference. Other than the vessel, however, the method is relatively straightforward. Livestrong recommends you rinse the rice if it’s imported. (Mine wasn’t, so I didn’t.) Then combine 1 part rice and 2 parts water (1 cup rice and 2 cups water), bring the water to a boil, stir, reduce heat to low, cover, and simmer for 15 minutes. At this point the liquid should be absorbed and you can fluff the rice with a fork.
Results: After 15 minutes, my rice wasn’t cooked, and there was still water standing in the bottom of the pan. I covered the pan and let it stand for another 10 minutes off the heat to see if the rice would absorb the remaining water. It did, but the texture was confounding. It was both mushy and crunchy at the same time — the grains were overly soft on the outside, with a hard, chalky core.
My Takeaway: In theory, this technique seems similar to cooking in a saucepan (described later), but it just didn’t work well for me. It could’ve been the liquid-to-rice ratio, the fact that the rice wasn’t rinsed, the larger surface area, or all of the above. Whatever the case may be, this method is one I won’t use again.
Method: Rice Cooker
- Total Time: 55 minutes
- Rating: 7/10
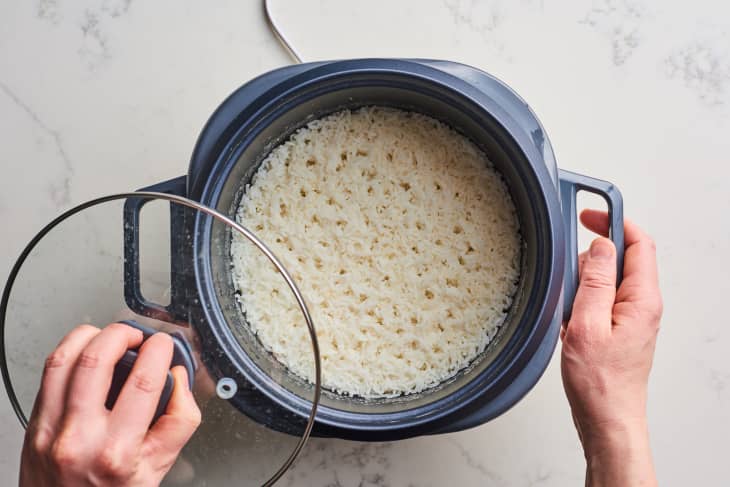
About This Method: Honestly, I had a hard time finding online instructions for cooking long-grain white rice in a rice cooker, which is more typically used for short-grain Asian rice. But WikiHow pops up at the top of search results for many such cooking queries. That made it worth a look. The instructions state that if your rice cooker has a nonstick pot (mine does), you should rinse the rice (which I did). A chart offered water-to-rice ratios for different types of rice, listing 1.75 cups of water for long-grain white rice. You can presoak the rice if you’d like, but I skipped that step and simply set the rice cooker — a Sanyo ECJ-S35K — for white rice and waited for it to beep that it was done.
Results: The rice was very soft and tender, with an almost springy texture. It was not fluffy and separate; it stuck together quite a bit more than with other methods.
My Takeaway: Although this method took the longest, it was hands-off and freed me up to do other things. I really liked the rice, I think because it reminded me of the rice my mom cooked when I was a kid. I understand that this means the rice’s sticky texture was more akin to East Asian rice, so not what you might expect for a typical long-grain rice — so I docked a few points for that, despite really enjoying it.
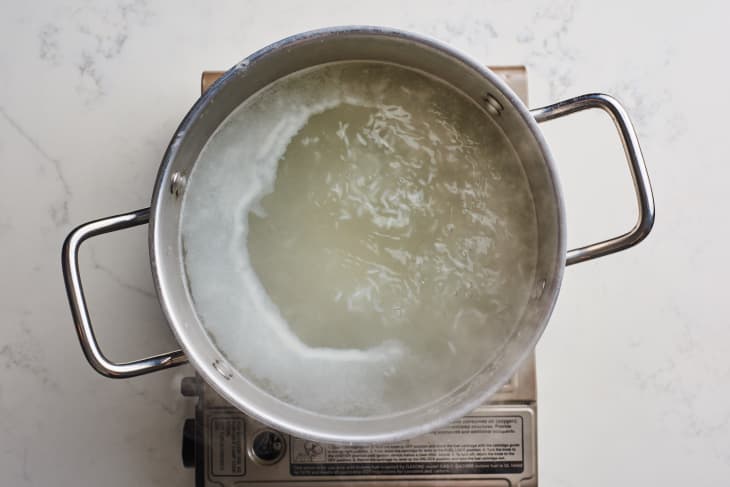
Method: Boil Like Pasta
- Total Time: 36 minutes
- Rating: 7.5/10
About This Method: For this technique, I followed the method detailed by The Splendid Table. It starts by bringing 3 quarts of salted water to a boil in a large pot (for me, this took 15 minutes), then adding the rice (mine was unrinsed) and cooking 8 to 10 minutes or until slightly underdone. You then drain the rice, return it to the pot, cover it, and let it stand for 5 to 10 minutes (I left it for the full 10).
Results: The grains were fluffy and separate, with the teensiest bit of al dente firmness in the middle. Rice cooked this way achieved the most separateness (was least sticky), but it tasted just a little flat.
My Takeaway: If you are rice-challenged, this is a great method for you. You don’t really have to measure the water precisely, or at all! Just taste and drain it when it’s just shy of perfect doneness; the rice will absorb however much water it needs.
Now, I know that rice is mild, but this rice tasted less rice-y than the rest. I don’t want to say it was watered down. That’s not exactly right — it was just a little flat. Perhaps this is because the excess water washed away some of the starches on the grain, however.
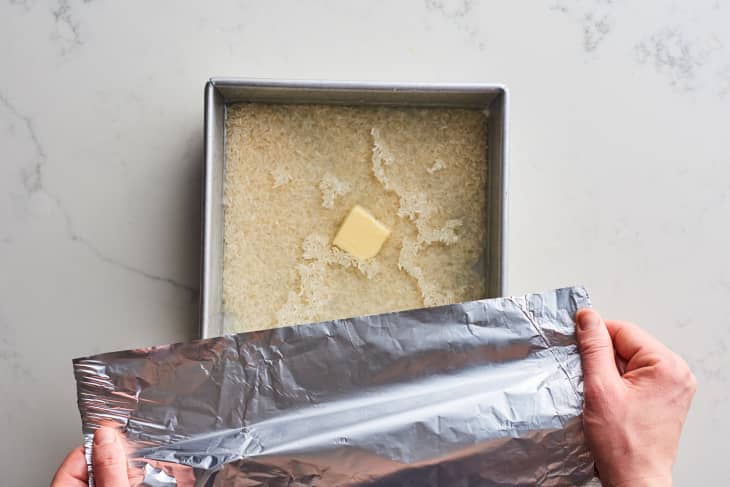
Method: Oven
- Total Time: 47 minutes
- Rating: 8/10
About This Method: I went with the directions from Spend with Pennies for oven-baked rice: In a 2-quart baking dish, you combine 1 cup rice, 1 3/4 cups boiling water, 2 tablespoons butter, and 1 teaspoon salt. You then cover the dish tightly with foil and bake at 375°F for 22 to 27 minutes (I went with 25). Let the pan rest for 5 minutes, uncover, and fluff with a fork.
Results: The method worked great, producing fluffy, tender, almost pilaf-like rice. This was the only method that required butter, and the taste was deliciously prominent.
My Takeaway: At first, I wondered if it would be worth the effort to separately bring water to a boil. But I used my electric kettle, and it took just 4 minutes for the water to reach boiling. The hands-off ease once the rice is in the oven made the tiny bit of front-end work worthwhile. And something about the heat surrounding the rice on all sides allowed for very even cooking. Another advantage: if you have a lot of simmering and sautéing happening on your stovetop, cooking rice in the oven is a great option.
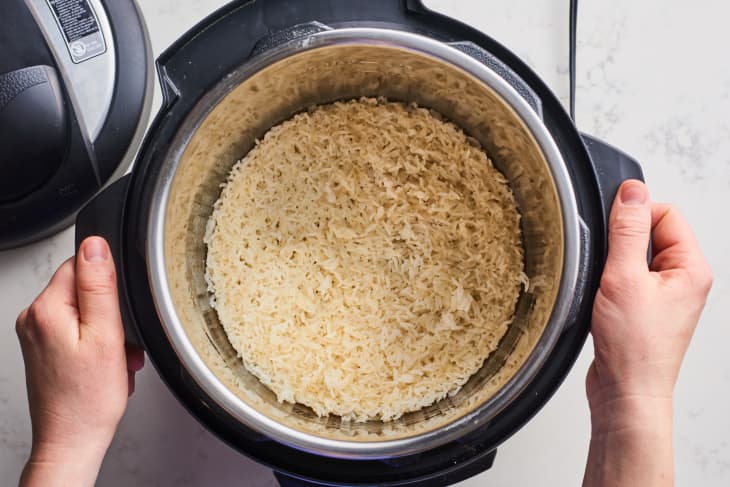
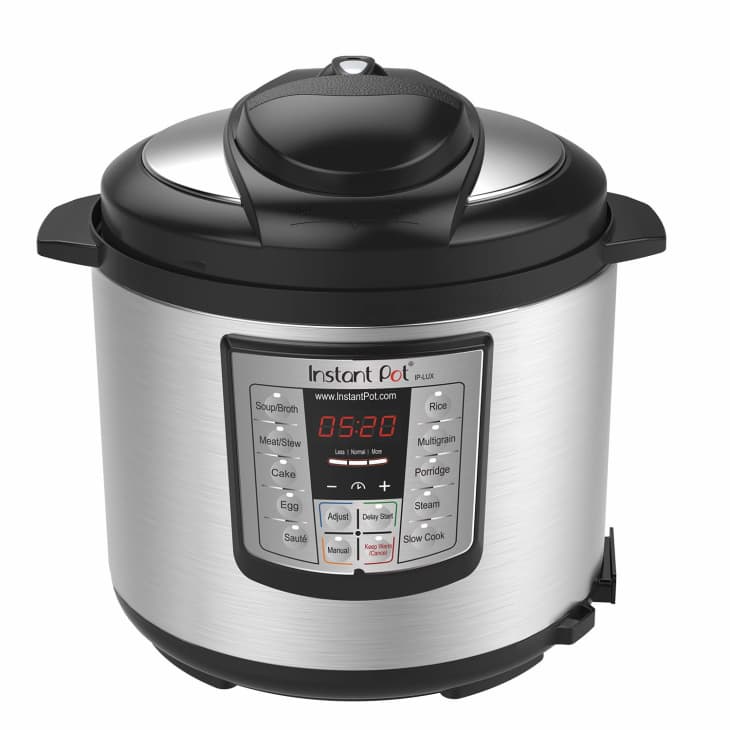
Method: Instant Pot
- Total Time: 33 minutes
- Rating: 8/10
About This Method: Food Network’s method for making rice in the Instant Pot calls for 2 cups of rice and 2 cups of water, but I scaled it down to 1 cup of each to keep the testing consistent. I rinsed the rice first, then combined it with water and salt in my Instant Pot. I locked the lid in place and set to high pressure for 10 minutes, then allowed the pot’s pressure to release naturally before removing the lid and fluffing the rice.
Results: The 1:1 rice-to-water ratio worked incredibly well, yielding an ideal tender-but-not-mushy texture. The rice was a touch sticky but not at all gummy. The rice did stick to the bottom of the pot — not in a yummy bottom-of-the-paella or stone-pot bibimbap kind of way, but in a more frustrating scrub-the-pot kind of way. Thankfully, a 30-minute soak in sudsy water made cleanup easy.
My Takeaway: Do note that this method does not have you use the rice function on the Instant Pot but instead to cook for a set time at low pressure. It’s a pretty quick method that offers you walk-away convenience and solid, delicious results.
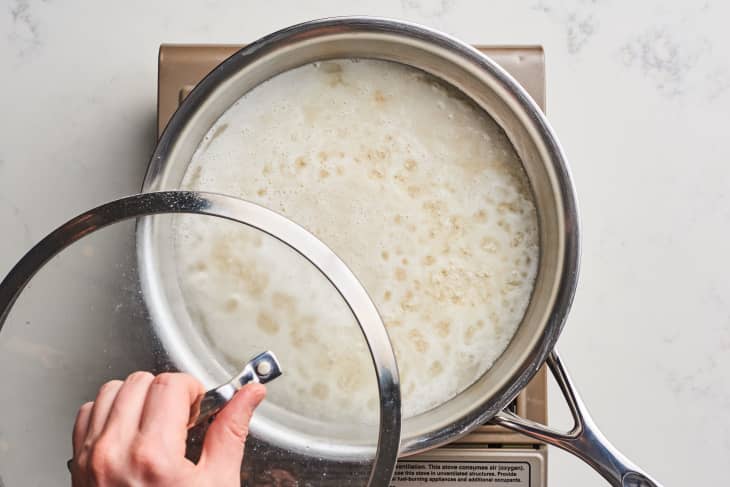
Method: Stovetop
- Total Time: 40 minutes
- Rating: 9/10
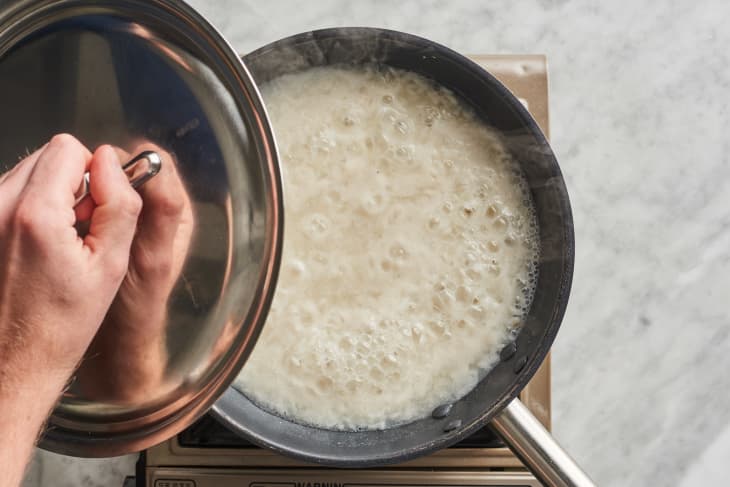
About This Method: Bon Appetit’s method begins by rinsing the rice in a sieve, then combining the drained rice with a little salt and 1 1/4 cups water in a medium saucepan. You give the rice a quick stir, bring the water to a boil, cover the pan, reduce the heat to low, and cook for 18 minutes. After that, you remove the pan from the heat and let it stand, covered, for 15 minutes. Then you fluff the rice and serve.
Results: The grains were wonderfully fluffy and generally separate; some did stick together just a little bit, but not in a way that would make me describe the rice as sticky. They were tender, with a little bit of firmness in the center of some (but not all) grains.
My Takeaway: There’s a reason this method is the standard. It’s easy and mostly hands off, and it requires no special equipment. Most importantly, it produces reliable results.
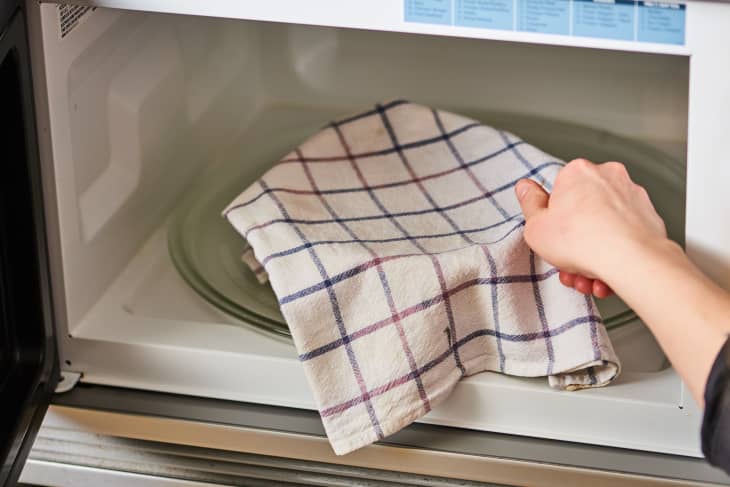
Method: Microwave
- Total Time: 27 minutes
- Rating: 9.5/10
About This Method: Following the directions from Serious Eats, I started by thoroughly rinsing the rice with warm water, draining it well, and placing it in a microwave-safe glass bowl (I used a wide glass bowl with an 8-cup capacity). I then added 2 cups plus 2 tablespoons water to the bowl, since the directions state to “add the amount of liquid as directed on the package” and then top off with “an extra splash of water — about 2 tablespoons — to account for the additional evaporation that occurs in the microwave versus a tightly covered pot or rice cooker.” Then I covered the bowl with a 100% cotton dish towel and microwaved on High for 10 minutes, then on medium (power level 5) for 15 minutes, using my 1100-watt microwave.
Results: The rice was surprisingly good: incredibly fluffy and separate. It was fully cooked without being mushy and without any trace of chalkiness at the core. Though each grain was fully tender, it still had a lovely resilience to the bite.
My Takeaway: OK, I am bracing myself for the emails I’m going to get on this one. My mother might disown me, as might some of my cooking buddies. But I have to report the truth, and this method simply worked beautifully.
I thought it might be a fluke, so I tried it again. And then again, and then a fourth time. (And then I tested it three more times — see below.) I think I was hoping that something might go wrong so I wouldn’t have to admit that this method worked best for me. But it did! The rice was perfectly cooked. It looked like the type of rice you see in a commercial. And this was the fastest method I tried. I am sure the success has everything to do with covering the bowl with something breathable, which, as the article states, “absorbs excess steam, preventing the rice from growing soggy while also keeping the top layer of rice from drying out.”
Now, I have note of warning: The technique detailed by Serious Eats states that you can cover the bowl with a kitchen towel or paper towel. Apparently, there is a lot of debate about the potential for danger when microwaving a dry towel — though very little clear research on the subject. I experienced no issues the four times I made rice this way, using a 100% cotton dish towel. Nevertheless, I tried the technique again three times using a paper towel instead, which is considered safe, and the results were the same.
The only thing that kept this method from receiving a perfect rating was that the rice left a starchy film on the bowl, which I had to scrub to get clean — it was not a big deal, just a minor hassle. I can anticipate what some of you are thinking, and so if you don’t have a microwave, no worries: There are five other methods here that work well, too.