
Baking School Day 11: All About Yeast and Baking

The Kitchn’s Baking School Day 11: All about yeast and baking.
Join The Kitchn’s Baking School: Sign up and see all The Kitchn’s Baking School assignments
When we mention the word “yeast,” how many of you instantly think of the daunting tasks of kneading, proofing, and rising? Best leave it to the professionals, right? Wrong!
If you’ve ever torn a crispy, chewy piece off the end of a homemade sourdough loaf or smelled fresh cinnamon rolls baking from the comfort of your own home, then you know making your own breads and sweet doughs is totally worth a lesson on yeast. Let’s change our anxious thoughts about yeast and turn them into wonderful, comforting feelings of fresh-baked bread and breakfast goods!

Yes, yeast is alive! But wait, don’t be scared — turning yeast into beautiful loaves of bread does not need to be as scientific or scary as you might think. Truth be told, there is a lot science in all baking, but let’s not let yeast and bread-making shy us away from learning something new when the results are so rewarding.
What Is Yeast?
Baker’s yeast is a strain of yeast that is responsible for leavening bread. Here’s what happens, step by step:
- Through fermentation, yeast turns sugars into carbon dioxide.
- Through kneading, a web of gluten is developed and the gas excreted by the yeast fills it up like a dough balloon as it proofs.
- When the dough bakes, the gas leavens the bread.
In more succinct terms: Yeast is awakened by water (or other liquids), it metabolizes the sugar, and then releases carbon dioxide into the dough.
The Relationship Between Yeast and Gluten
Yeast and gluten development contribute to the maturation of dough. In other words, both are needed to create the structure of bread and other yeast-leavened doughs. Water hydrates the proteins in flour and begins gluten development, and kneading and mixing strengthens the web of gluten by exposing new surfaces of protein particles to absorb and distribute the water.
The more dough is mixed, the stronger the gluten becomes. This is why with other batters and doughs (like cakes and cookies) we are always cautioned not to overmix. They are usually leavened with other sources of carbon dioxide (baking powder, baking soda) and they are supposed to be tender, without the robust “balloon” of gluten to hold the carbon dioxide generated by yeast.
But with yeast-leavened doughs, adequate distribution of gluten is needed to create a strong structure to hold and trap the gasses expelled from the yeast.
What Is “Proofing” Yeast?
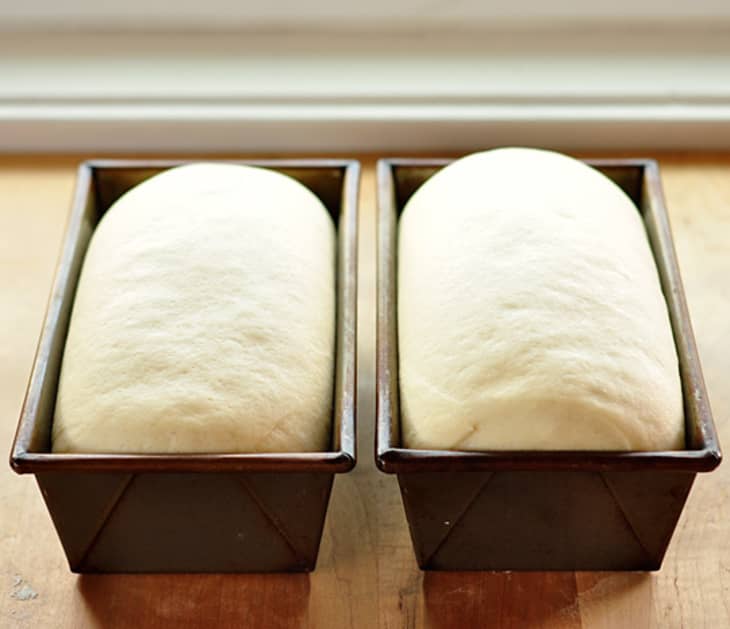
Proofing (or fermentation) occurs after the gluten has been developed (through kneading). It is now time for the yeast to get to work — feeding off the sugars in the starchy flour and expelling gas into the web of gluten. In most recipes, you will want the dough to rise until it doubles in size.
By the time the dough hits the oven, the gluten and yeast have had several rounds to proof and develop. During the first several minutes of baking, all the gas that we’ve been working to create will rapidly expand within the dough while any water content turns into steam. Both the steam and the expanding gas inflate the dough and give the bread its final rise.
Types of Yeast
Before commercial baker’s yeast, you had to buy yeast from brewers (yeast is responsible for brewing beer, too!) or capture and cultivate your own. Now, yeast is readily available to purchase at nearly any grocery store. Here is a quick overview of the different types of yeast.
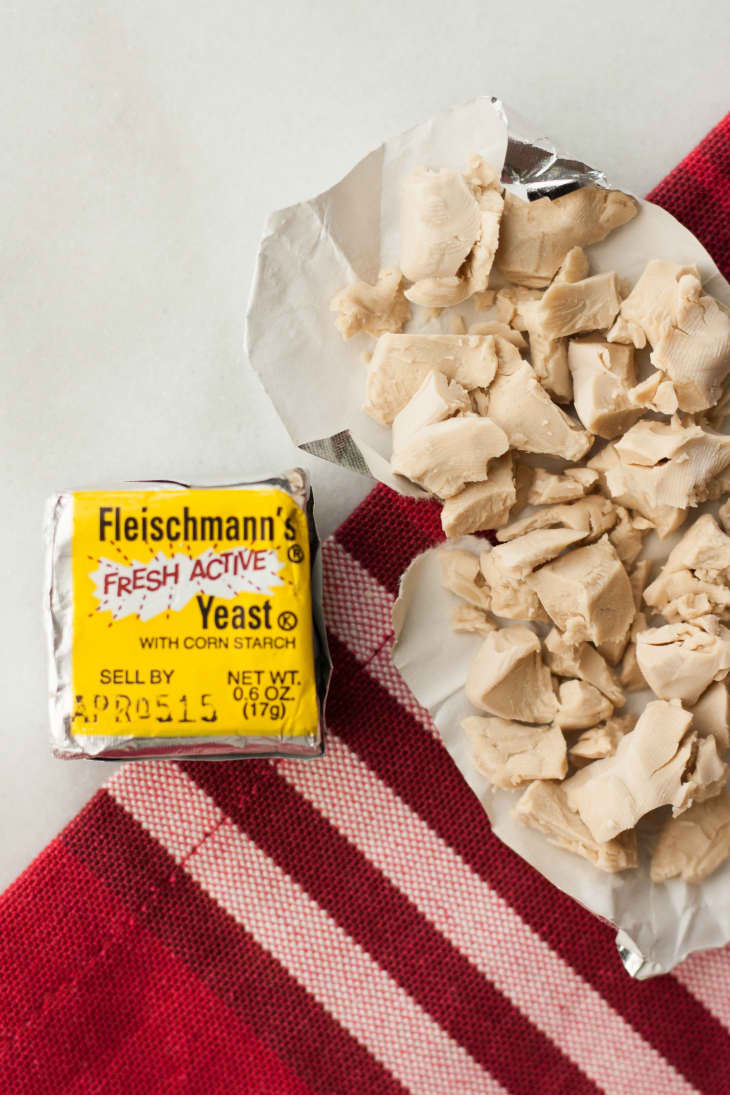
Fresh Yeast
Fresh yeast, or compressed yeast, is sold in moist cakes or blocks and is the type of yeast commercial bakeries tend to use. It is wide awake and ready to go! It should easily crumble; have a pleasantly sweet, yeasty aroma; and be uniformly pale in color. If it turns gummy, gray, or smells off, it is probably past its prime. It should be proofed before it is used to determine its viability.
- When to use fresh yeast: Because of its short shelf life, it is usually only ideal for frequent bread bakers and professionals who use yeast every day. However, do not let this stop you from purchasing some fresh yeast if you’d like to check it out.
- How to work with fresh yeast: If you decide to try it out, use twice as much fresh yeast as dry yeast in a recipe.
- How to store fresh yeast: Store fresh yeast wrapped well in the refrigerator for up to about two weeks.
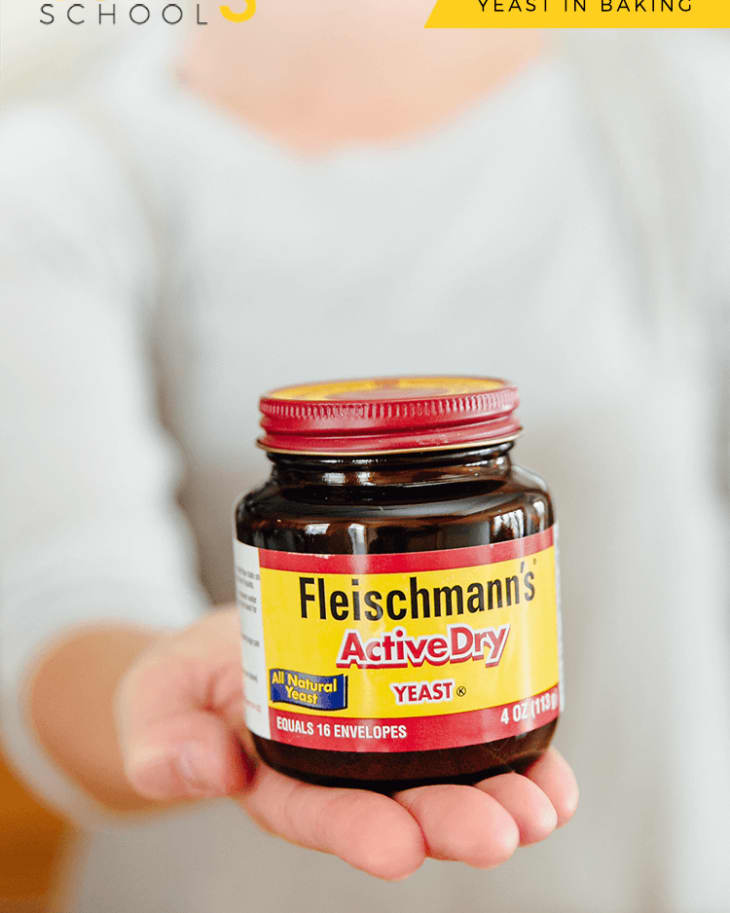
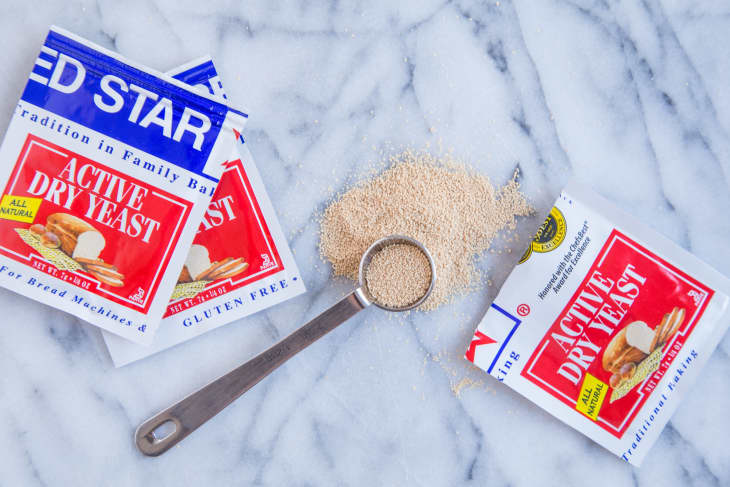
Active Dry Yeast
Dry yeast is the result of dehydrated fresh or compressed yeast. It is dry, granular, and usually sold in small jars or vacuumed-sealed packets.
- How to use active dry yeast: Since the yeast cells are dormant (still alive — just sleeping) after drying, they must be rehydrated before use by dissolving in a few teaspoons of warm water. Within a few minutes, it should foam and give off its typically yeasty aroma; if not, the yeast has probably expired. The harsh treatment the yeast goes through to dehydrate it kills of a majority of the yeast, which may result in the yeast needing a longer rise time.
- How to store active dry yeast: To increase its shelf life, store active dry yeast in an airtight container in the fridge or freezer.
Instant Yeast
Indicative of its name, instant yeast can be instantly added to the rest of your dough ingredients and does not need to be hydrated beforehand. The process used to create instant yeast is gentler than that of active yeast, making this type ideal for home bakers. It may be used interchangeably with active dry yeast.
- How to store instant yeast: Unopened yeast can usually be stored at room temperature up to a year. If opened, store in an airtight container in the fridge or freezer.
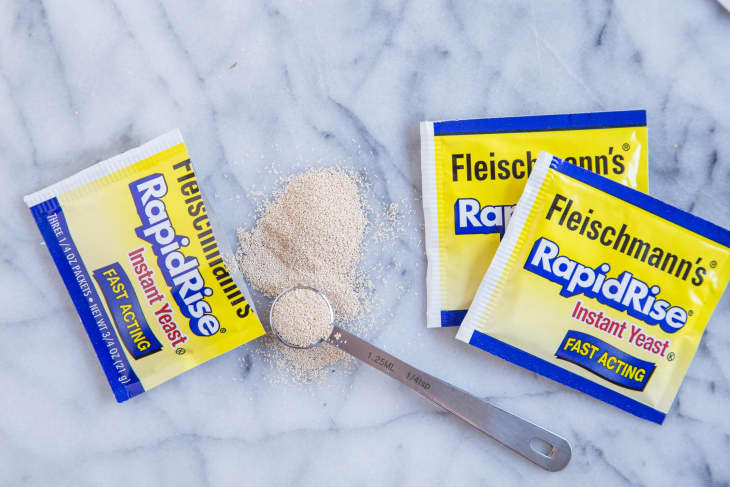
Rapid Rise Yeast
Faster is better, right? Well, not always. Rapid rise yeast does work fairly quickly, but almost too fast. Using this type of yeast might not allow the dough to rise long enough, thus missing out on crucial flavor and texture development.
- How to store rapid rise yeast: Store unopened packets of rapid rise yeast at room temperature.
Wild Yeast
Yeast is all around us. Before you could buy yeast at the store, you had to capture this yeast and give it a home — a sourdough starter. Basically, water and flour are combined and left out for a few days, soaking up yeast and bacteria from the surface of the flour and the air flowing into the container. Coincidently, the more you make bread at home, the more yeast will be available in your kitchen! Starting with this method is necessary for making breads like sourdough.
Because different environments have different types of yeast and bacteria, these dough starters create breads with different flavors throughout the world, like the way San Francisco is famous for its sourdough. The bread using a starter from that particular region has a favorable flavor derived from the particular strain of bacteria that only live in San Francisco.
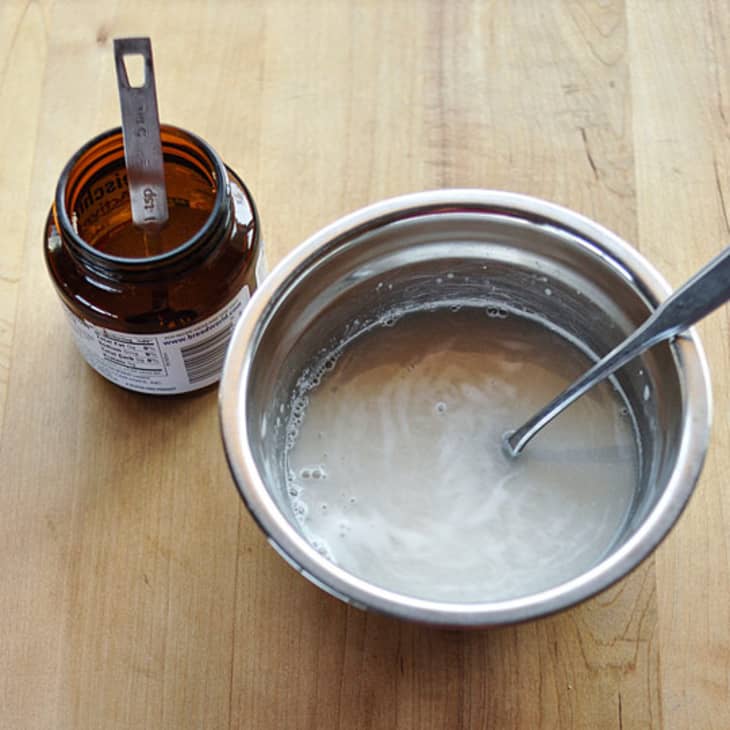
Why Proof Yeast: It Proves It’s Ready to Go
To proof yeast, simply mix it with the water from the recipe (warmed to about 75°F) and a pinch of sugar, and then wait. Over the course of a few minutes, the yeast will begin to metabolize the sugar and release gas. If you see tiny air bubbles coming to the surface of the liquid, then the yeast is active.
Is this necessary? No, not always. If you are unsure of how fresh your yeast is and want to “prove” that it is still viable, then you can always feel free to proof the yeast before getting started.
What Affects Yeast’s Fermentation?
Yeast is needy, sensitive, and can be quite temperamental. Different ingredients and environments affect its ability to ferment. Let’s take a closer look at the different conditions that speed or slow down yeast development.
Temperature
Yeast is very sensitive to temperature. Yeast itself is dormant in cold temperatures (around 34°F). It is activated at about 50°F and the rate of fermentation increases with each degree beyond that. The optimal temperature for yeast to feed and reproduce is between 70°F to 80°F. On the other end, it begins to slow at 120°F and dies off at about 140°F.
Remember this: When activating dry yeast and mixing it into a dough, be sure to use warm water. Too-hot or boiling water will kill yeast right off the bat.
Sugar
As mentioned, yeast loves and essentially feeds off simple sugars. You don’t actually need to add any real “sugar” to the bread — the starches in the flour are a form of complex sugar and the yeast eats this happily, if a bit more slowly since the complex sugars take longer for the yeast to break down. Adding actual sugar to a dough will speed up the rise; these sugars are easier to break down, so the yeast eats those first. However, there is such a thing as too much of a good thing — doughs with a lot of sugar content will again be slow to rise, as the yeast struggles with digesting the greater amounts.
Besides granulated sugar, you can also use honey, maple syrup, malt syrup, molasses, and fruit juice to both feed the yeast and sweeten your doughs. Different types of sugar ferment at different rates. While sucrose, glucose, and fructose ferment rapidly, maltose ferments slowly.
Salt
For as much as yeast loves sugar, it hates salt. Salt, by itself, inhibits yeast fermentation. Flour should always be either mixed with yeast first or with the salt separately.
Salt plays its own role in bread, however, so don’t leave it out. Without a little bit of salt, breads taste bland, lack color in the crust, and have a less-sturdy crumb.
Fat
Fat is added to bread in the form of butter, oil, and eggs. In small amounts, fat can yield a bread with a better rise and crisper crust. Alternatively — like in rich, sweet doughs — large amounts of fat will yield a bread that is lower in volume and softer in texture since high percentages of fat slow down fermentation.
Dairy
Lactose, the sugar in milk, is not fermented. Dairy itself slows down yeast activity.
Beyond Bread: Yeast in a Recipe
So when do we use yeast? We’ve hinted at a few different things so far, but we know it can still be a bit confusing. As opposed to quick breads (that just rely on baking soda and baking powder to make them rise), artisan bread, bread loaves, sandwich bread, and rolls use yeast. And as we will delve into later this week, sourdough bread uses a particular type of yeast.
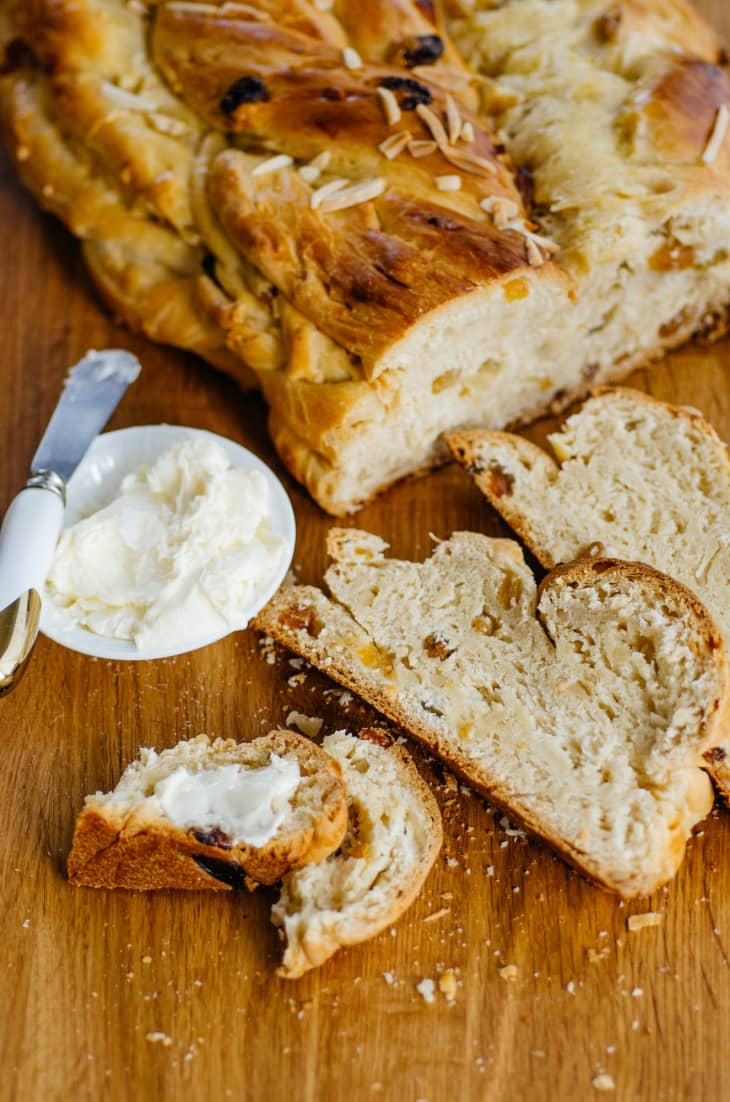
Although the end products can be quite different, pastries that use rich and sweet doughs (like cinnamon rolls, brioche, and challah) and those that use laminated doughs (like croissants and danishes) use yeast as well.

Every lesson has three homework options. Maybe you’ve already got one down, or you just have time for a quick study session. So pick one, and show us by tagging it with #kitchnbakingschool on Instagram or Twitter.

Read one of these two things on baking with yeast:

Check the expiration date on your yeast, and check that you’re storing your yeast correctly. Buy a new packet of yeast if you need to.

Practice proofing yeast. Tell us how it’s going on Twitter with the #kitchnbakingschool hashtag.
Join The Kitchn’s Baking School!
SIGN UP
SHARE YOUR PROGRESS
- Follow and show your progress on Instagram, Pinterest, Facebook, and Twitter! Make sure to use the #kitchnbakingschool hashtag.