
Where I Cook: Jesa’s Incredibly Well-Organized Kitchen

Who cooks and eats here: Jesa Henneberry, a personal chef and competitive athlete, and her husband
Where: Bay Ridge, Brooklyn, New York
Rent or Own? Own
Jesa, a trained chef, spends her days working in other people’s kitchens. She prepares their meals, organizes their weekly meal plans, helps them with portions, and makes sure they eat well. Along the way, she’s also learned what makes for a smartly designed and well-thought-out kitchen space, which came in handy when she finally had the opportunity to renovate her kitchen.
Check out her beautiful kitchen space below, as well as her tips for organizing a kitchen.

Jesa is a well-put-together, organized, no-nonsense person, so she wanted the same from her kitchen. For her kitchen renovation, she worked with an architect to review every detail of the conversion of what was once the bedroom of a ground floor apartment. Jesa believes the key for productive and efficient food prep and cooking is ease of access without too much thinking or moving around, so her new kitchen had to have ample storage space and lots of open cabinets.
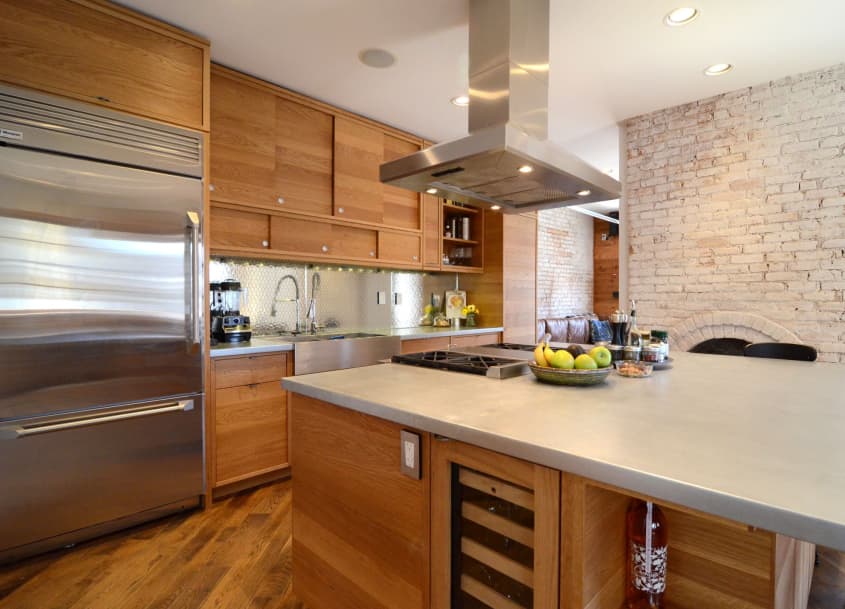
The Look of Jesa’s Kitchen
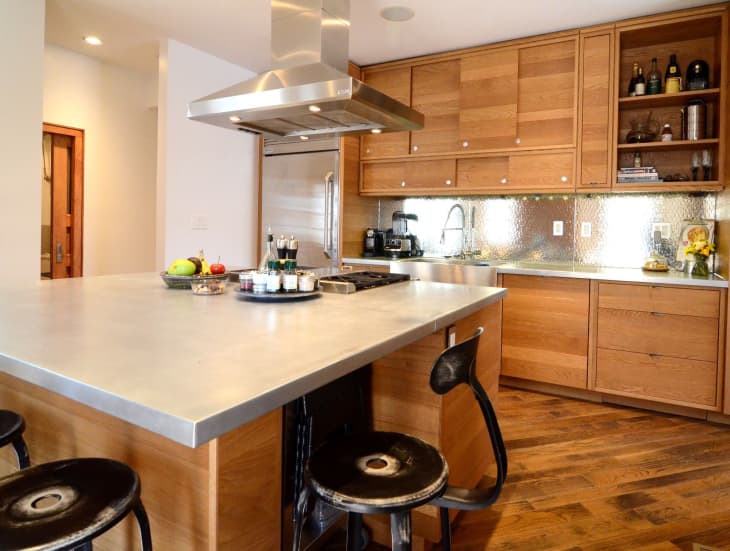
She opted for an industrial yet modern look, and chose zinc countertops which naturally weather over time, oak wall detailing and cabinetry, and stainless steel accents in appliances and trim. Jesa also knew she wanted a powerful stove and oven and its positioning was crucial. By placing it in the island across from the sink and refrigerator, she created the ideal three-point work space. (A good chef’s aim while cooking is to make as few extra movements as possible. Keeping everything at arm’s reach is therefore crucial.)
How Jesa Organized Her Kitchen
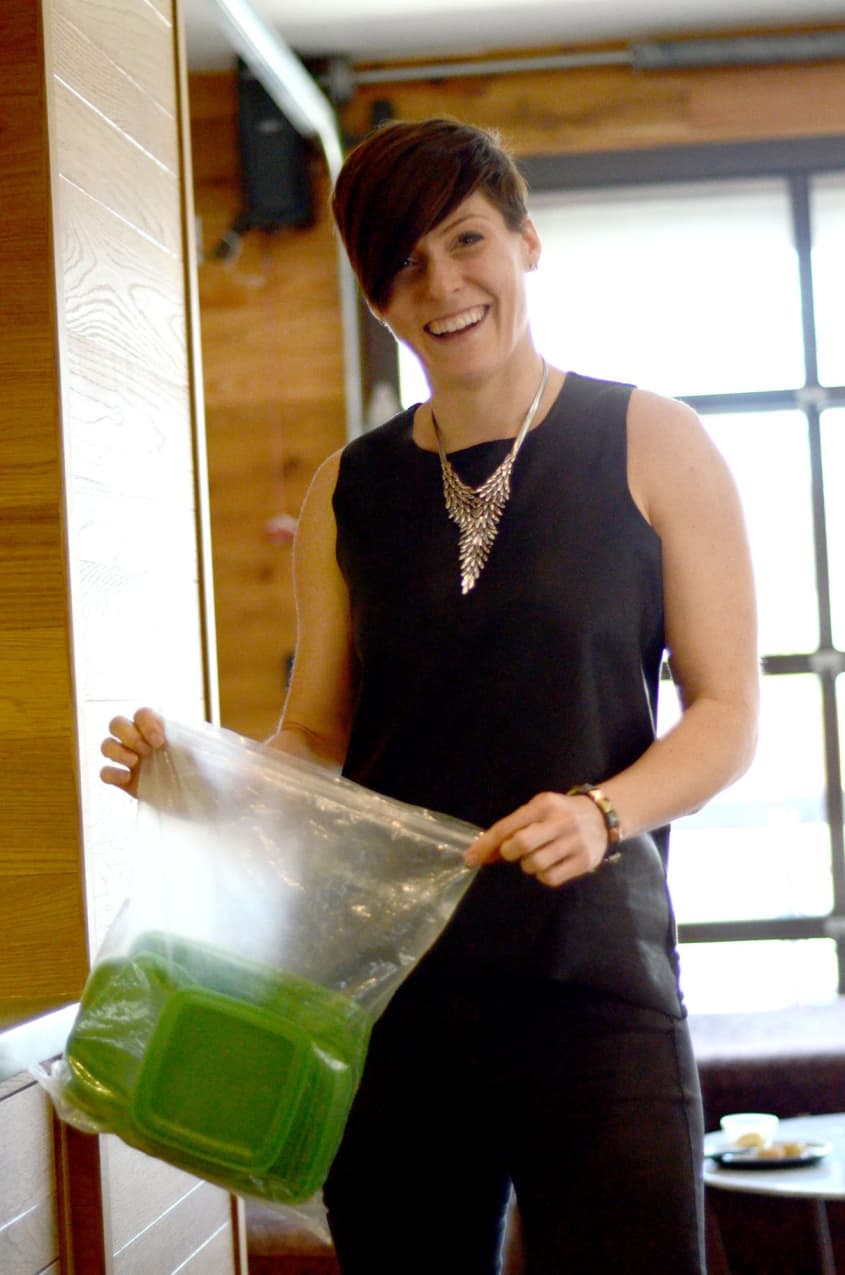
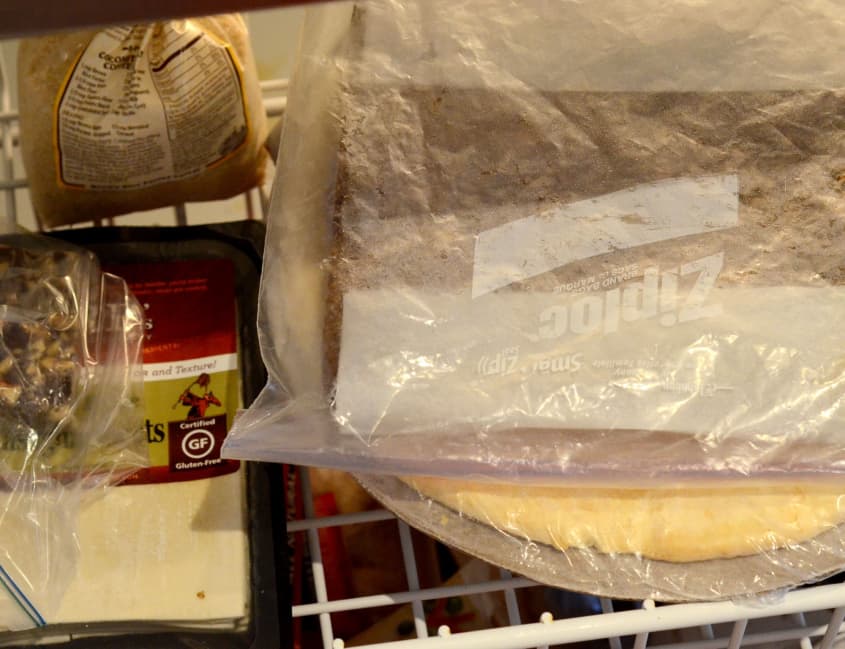
Jesa keeps her most important organizing elements next to the sink, which include dozens of Tupperware containers in graduating sizes with respective lids stored separately in size-designated Ziploc bags. She’s also emphatic about only using square containers so that they all fit well in one drawer. (Round containers disrupt the stackability and waste precious drawer space.)
Opening this drawer, one has the instant motivation to prep lunches for the next 30 days, freeze dinners for the next three months, or chop and save garnishes for a small wedding reception. This drawer practically commands order and advanced planning!
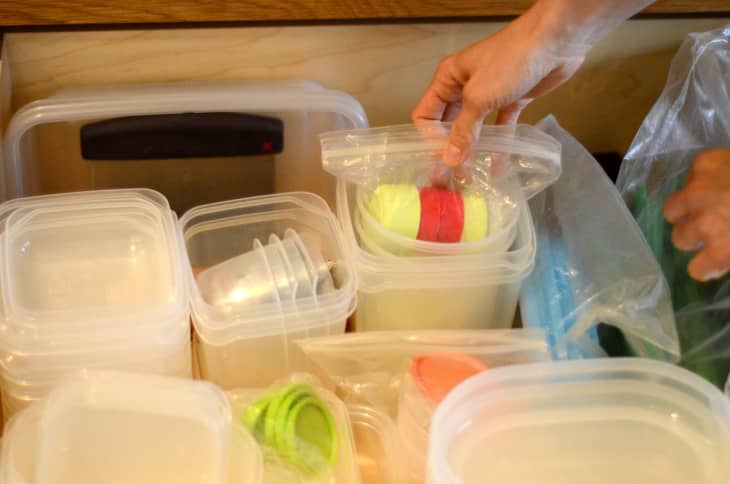
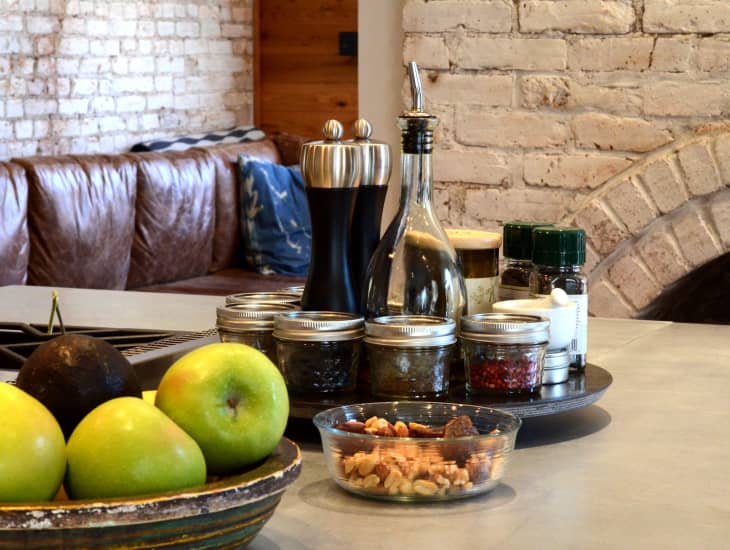
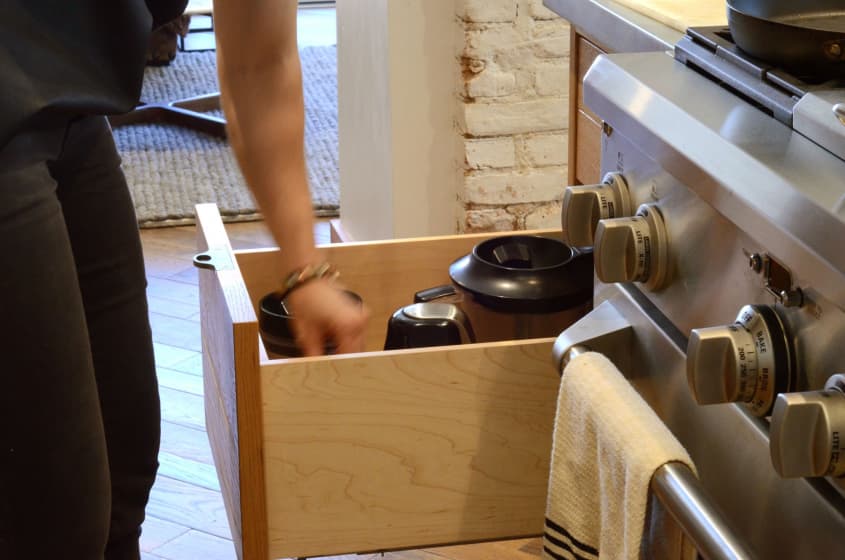
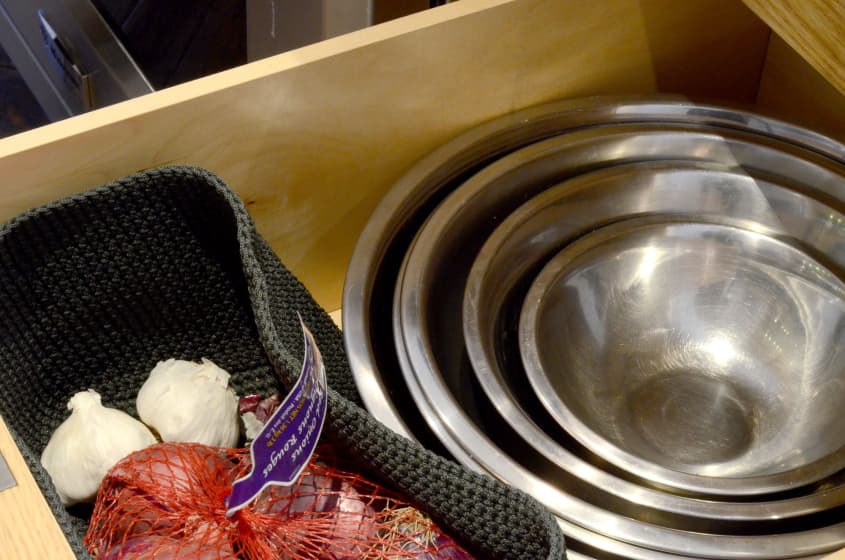
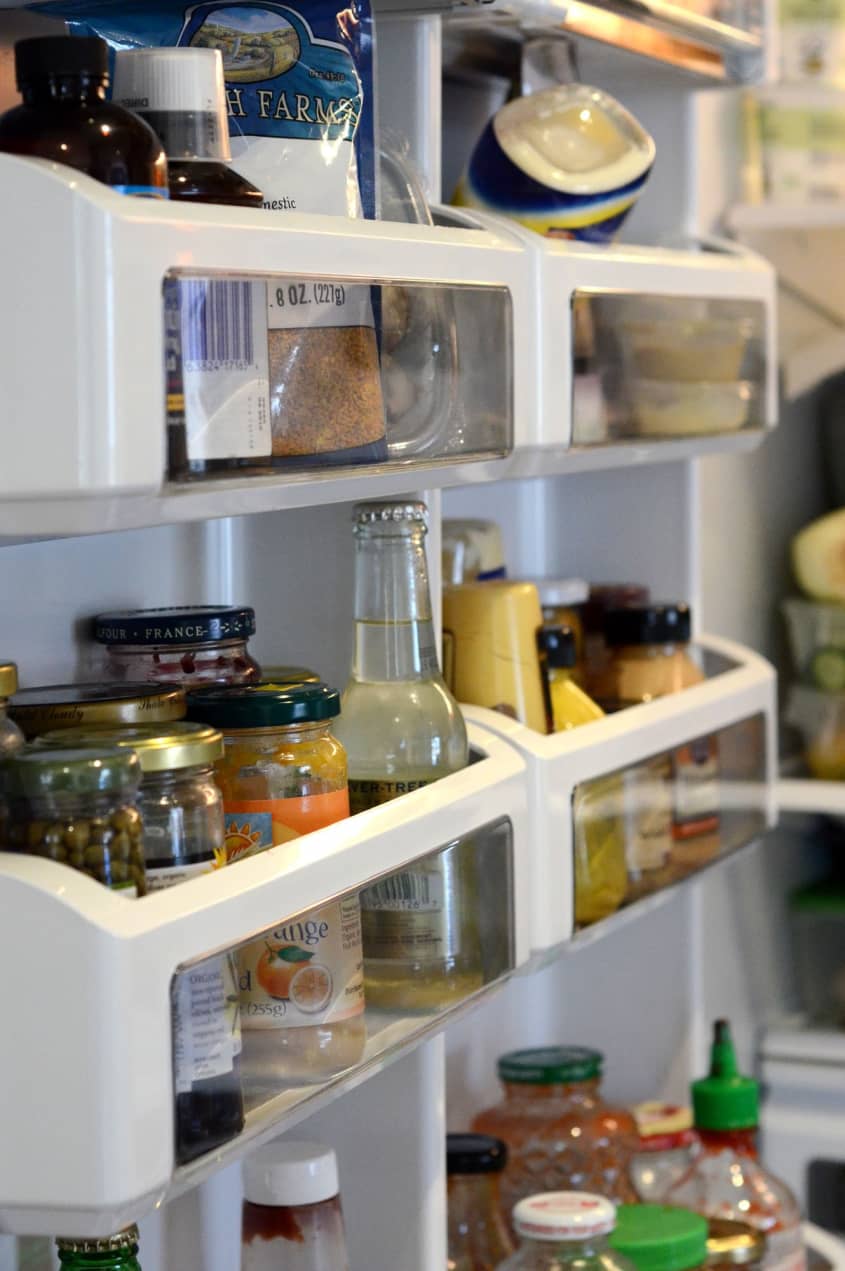
There is also a nut drawer; a drawer dedicated to specialty vinegars and oils; spices neatly arranged and labeled; a drawer full of onions, garlic and potatoes in dry sacs and woven baskets; and right alongside the stove, serving bowls and utensils — which means as soon as Jesa finishes a dish, she can plate it and serve it instantly and effortlessly.
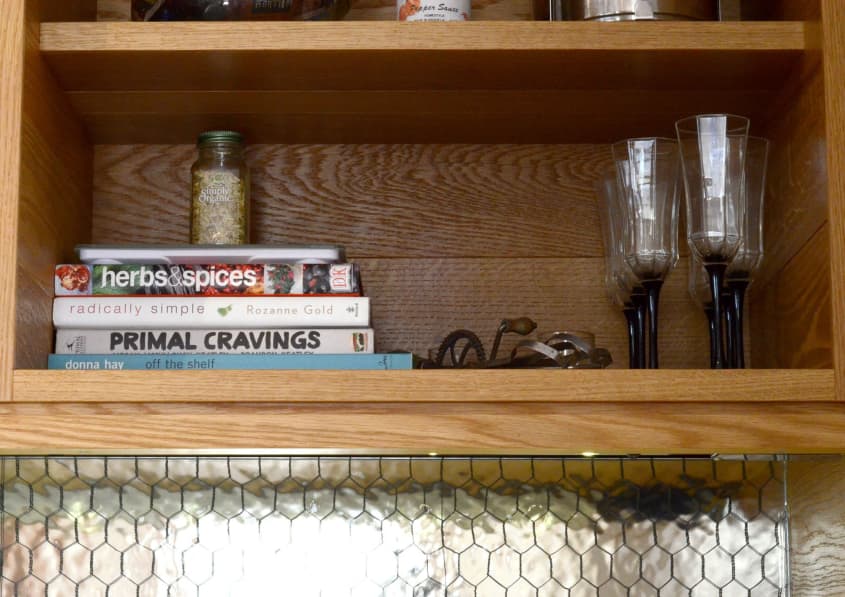
Jesa’s Countertop Clipboard
Alongside the sink and countertop is a clipboard with Jesa’s latest magazine clipping or favorite recipe. She tries to swap these out on a weekly basis to try something new. Her favorite magazines from which to cull are BBC Good Food, Eating Well, Food and Wine, Clean Eating, and Bon Appetit.
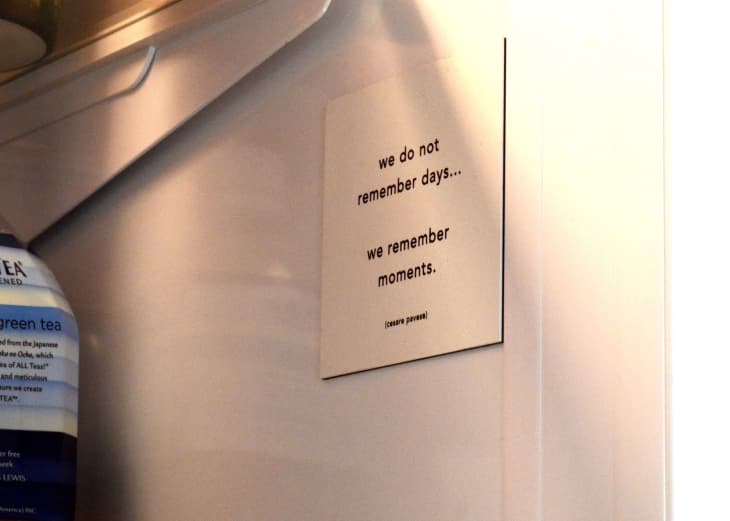
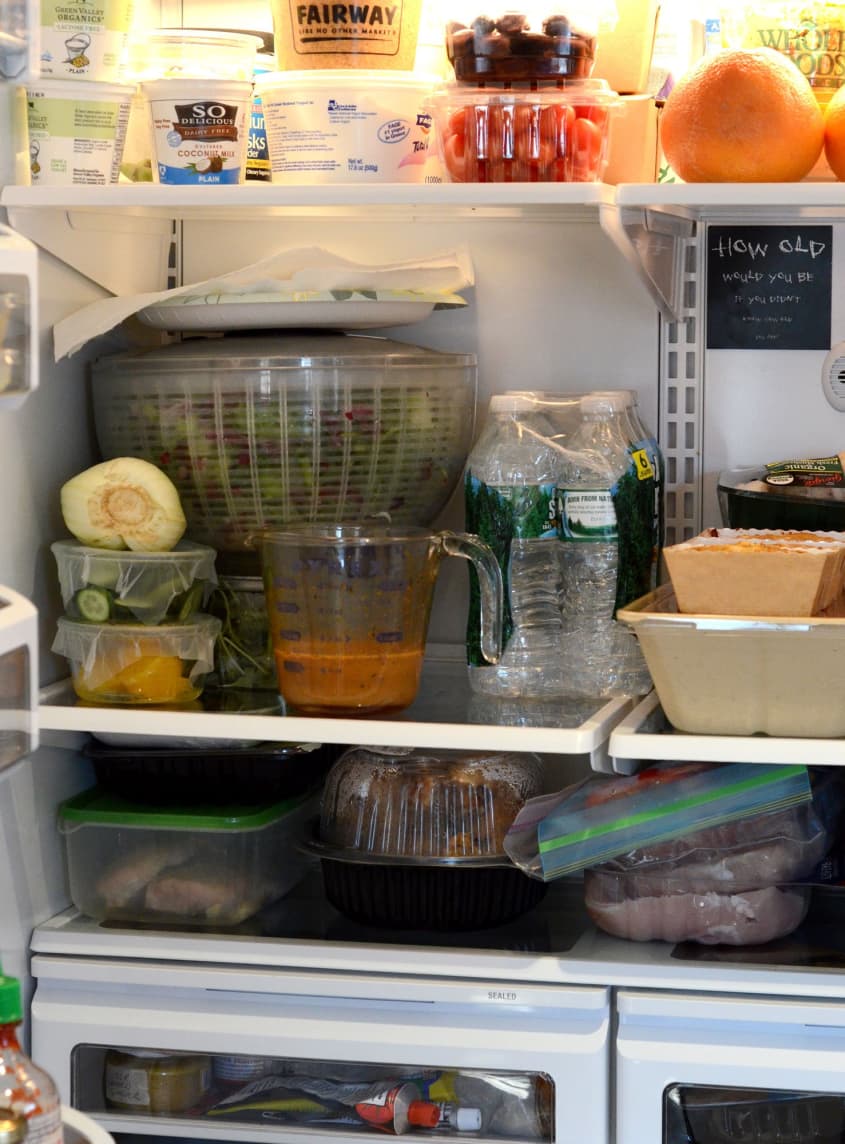
Inspiration is ongoing for Jesa, including the aphorism magnet on the interior wall of her refrigerator. Rather than clutter the outside of the fridge, Jesa keeps it inside. There’s no question she will still see it over and over again!
Jesa’s 9 Tips For an Organized Kitchen
- If you have the opportunity to redesign your kitchen, be sure to create a 3-point (triangle) workstation consisting of refrigerator, sink, stovetop.
- Keep utensils and serving platters next to the stovetop.
- Store onions, garlic and potatoes in a cool, dark place, preferably in a cloth or woven basket.
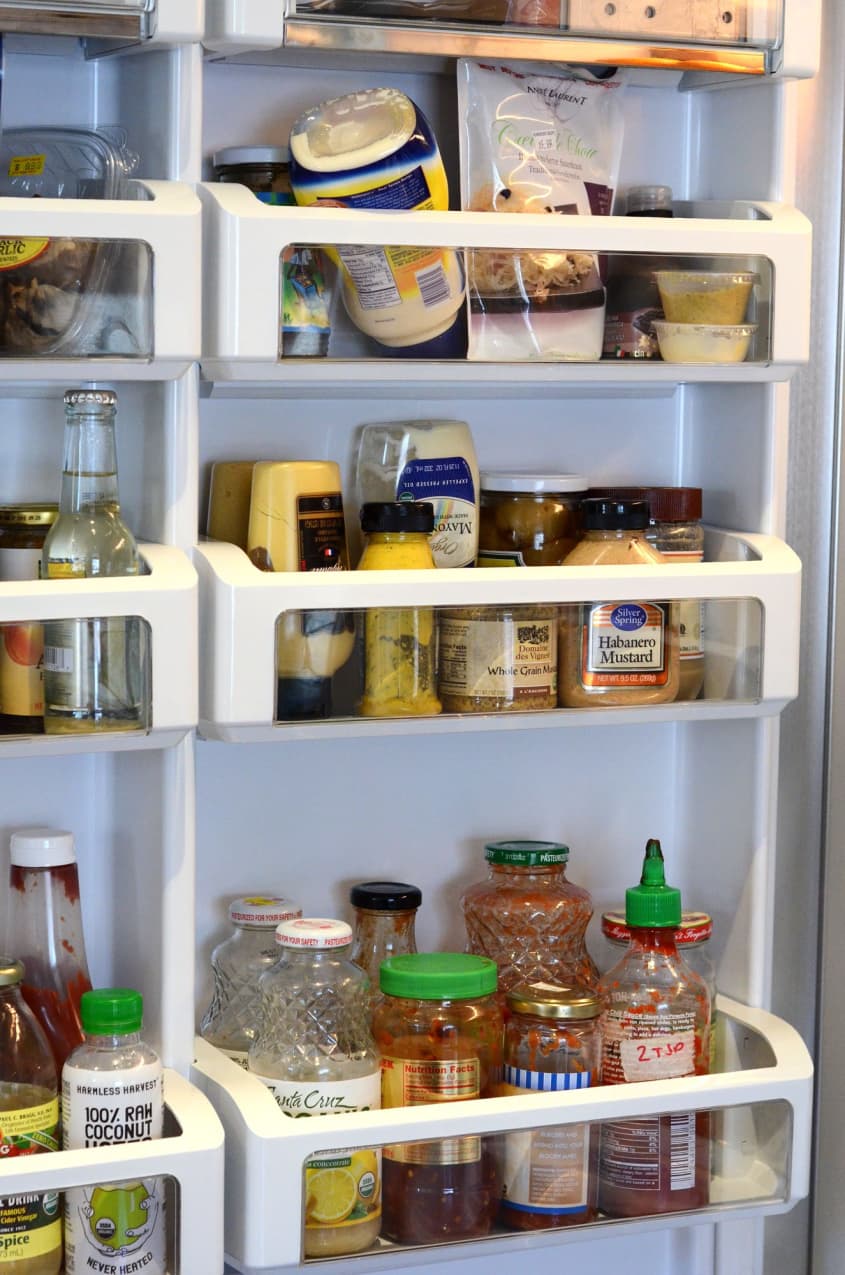
- Keep like items with like items to prevent unnecessary duplication. So, for example, put all the condiments together—mustard, vinegars, oils, pickles, sauces, etc.
- Get stackable square or rectangle, glass or plastic storage containers.
- Keep container lids by size, in separate Ziploc bags.
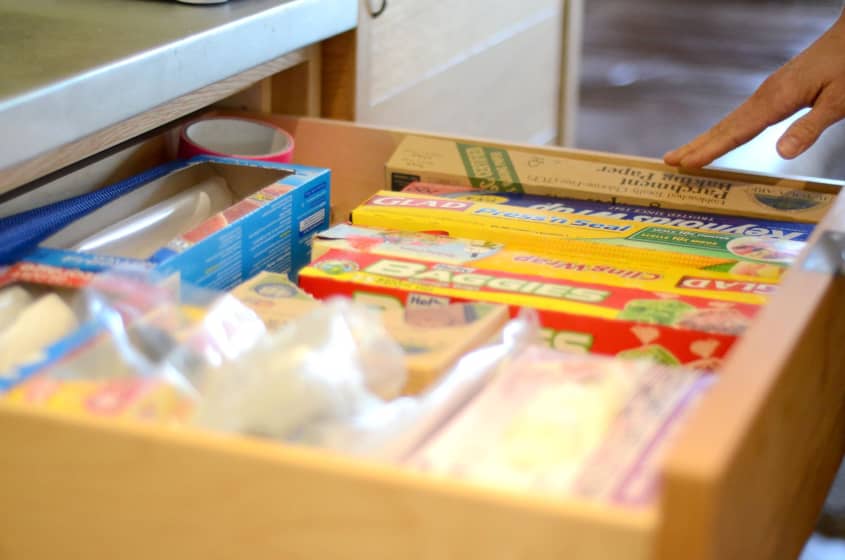
- Put all Saran wrap, tin foil, parchment paper easily at hand (waist height) so as to make putting away leftovers or prepping for future meals very easy.
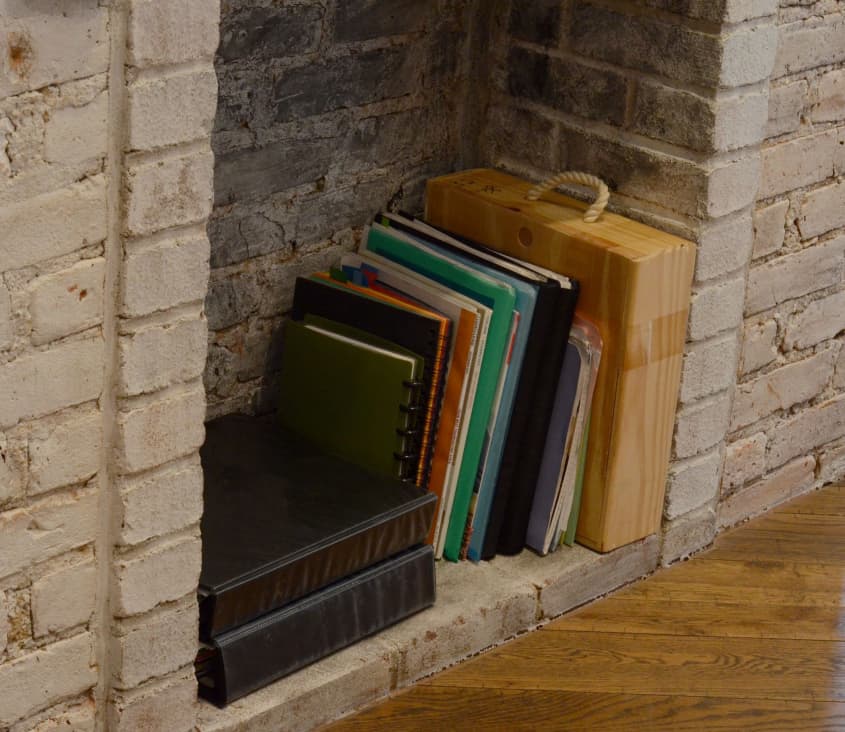
- Keep all saved recipes together. If a digital archive, consider printing current favorite and displaying it near your prep area.
- Clean as you go as much as possible so that the aftermath of meal prep isn’t so bad as to preclude trying it again.


Thank you so much for letting us peek into your kitchen!
Share your own kitchen renovation or improvement!
We’re always looking for real kitchens from real cooks.
Show us your kitchen here!