
The Easiest Vegetable You Can Grow Indoors
What if I told you that you could grow your own salad (or, at the very least, a leafy base of arugula) inside the comforts of your kitchen? It’s true, you can! Usually when it comes to indoor gardening, people tend to think of herbs or, well, just succulents. But it’s actually super easy to grow arugula on your windowsill.
Here’s what you need to know.
First, the Basics
A member of the Brassicaceae or mustard family, arugula is considered a cold-weather crop and does well in the cooler temperatures of early spring and fall. People often ask me why their arugula didn’t do well; more often than not, it’s because they waited to long to sow seeds and the weather was already too warm. If it’s already hot where you are, consider bookmarking this story and revisiting it in the fall.
Arugula excels in north-facing windows — a rare trait for a house plant. The cooler temps keep arugula from bolting or going to seed. In the winter, move the container to sunnier spot in a south-facing window, but be sure to keep planters away from heat sources which will dry out the soil and stress the plant.
Planting Arugula
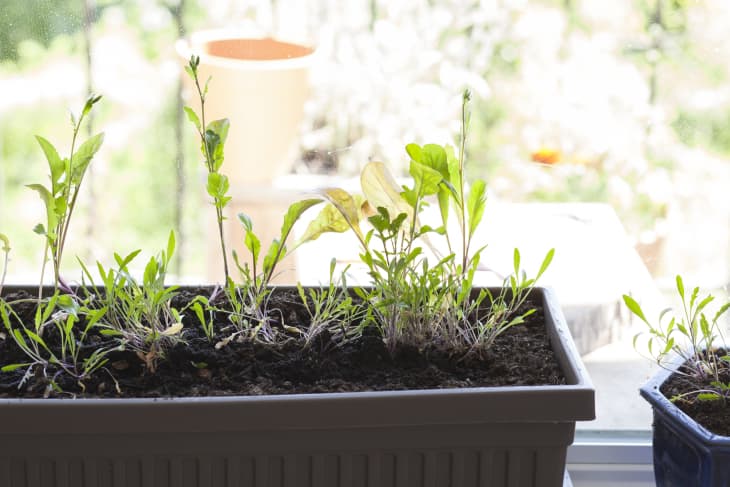
If given the room, arugula plants can grow to well over two feet. In a small container, however, the leaves grow to the perfect size for salad. I like to use a long, narrow planter for growing arugula. This type of container fits perfectly on a windowsill or ledge and does well for any shallow-rooted salad green.
Arugula does not need deep soil to grow, although the deeper the soil the larger the leaf. If you have a container that is at least four inches deep, that will work and produce baby arugula leaves — the same size you usually find in bagged salad bags at the grocery.
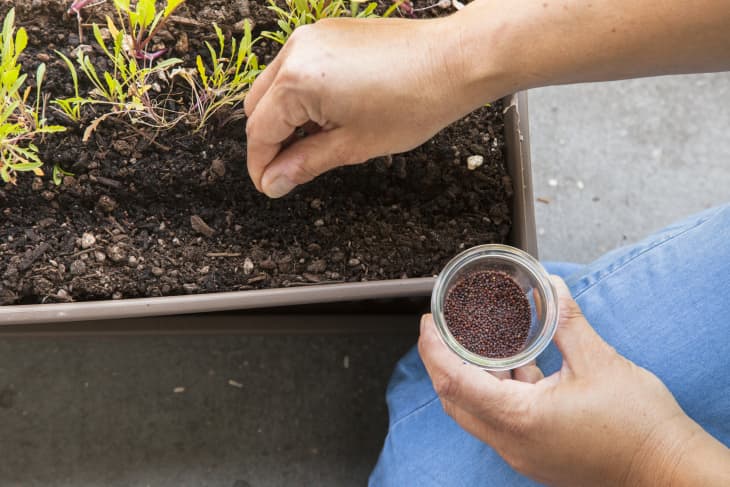
Sow (plant!) arugula seeds in the top layer of potting soil starting as early as February and all through early summer. Again, if it’s pretty hot where you are, hold off until late August, September, or October. If you’re using starts (mini plants that have already been started for you), transplant them into the pot, leaving about one inch between each plant.
Fun tip: With arugula, I like to use seeds and starts, sprinkling the seeds on the top layer of the potting soil around each plant start. (See the photo above.) This fills in the gaps and ensures a continuous harvest. If you want to impress your friends, this is technically called succession planting.
Harveting Arugula
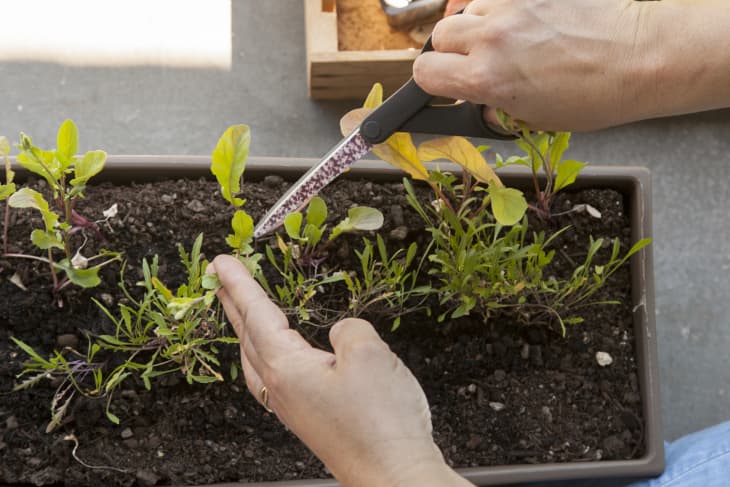
Each arugula seed produces one thin stem, which leaves grow out from. You can further your crop by cutting them back — the leaves will regenerate once or twice before getting too spicy, woody, or bitter.
To harvest, cut arugula at the base of each leaf off the main stem. You can decide for yourself when the leaf is big enough. For a mellow, spicy flavor and a tender green, harvest when the leaves are young — about three to four inches. If you prefer a stronger flavor and a thicker, crunchier stem, allow them to grow to five to six inches and cut the entire stem at its base. Arugula will grow back once cut, so don’t pull the stems.
Remember, arugula bolts (goes to flower) quickly in the heat. If this happens, strip the stem of its leaves and use both the leaves and flowers in your salads. The stems can be chopped and used to make a pesto.
Arugula is an annual plant and will need to be planted year after year, which means you’ll get plenty of practice at least!
Arugula Recipes We Love
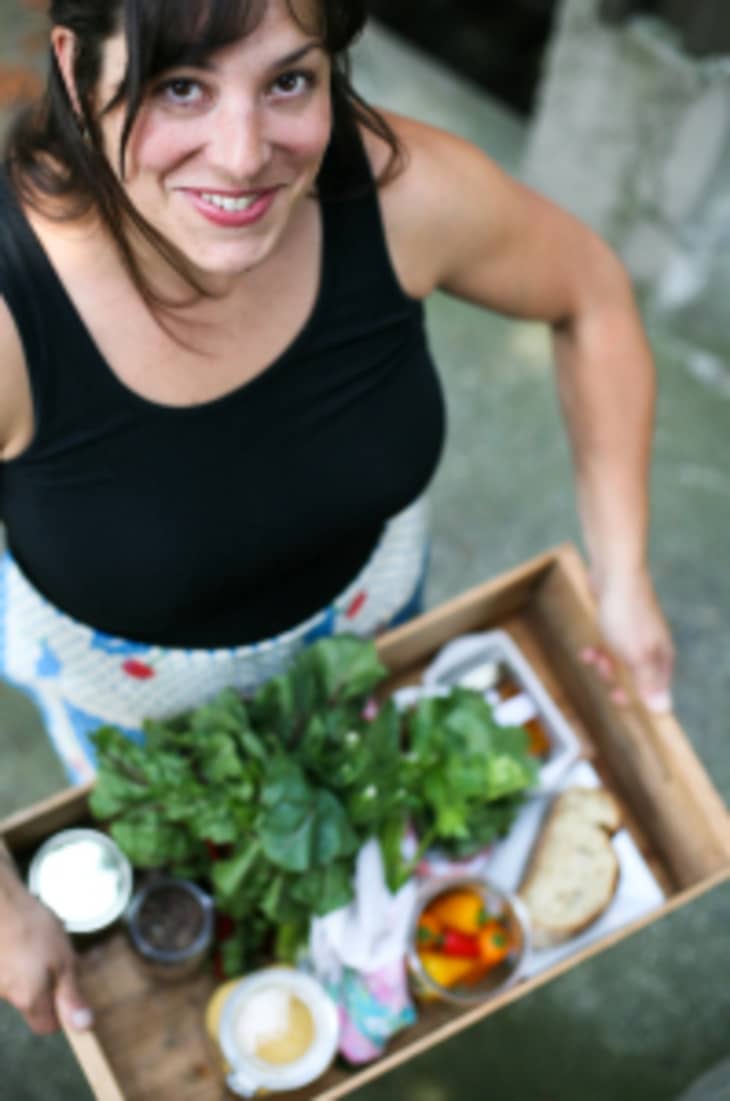
About me: I’m a cook and urban farmer, and I wrote a book called Apartment Gardening. I believe that growing your own food is a natural extension of eating healthy and eating well — and that anyone can do it, no matter how little space you have.