
How To Make the Very Best Vegetarian Chili

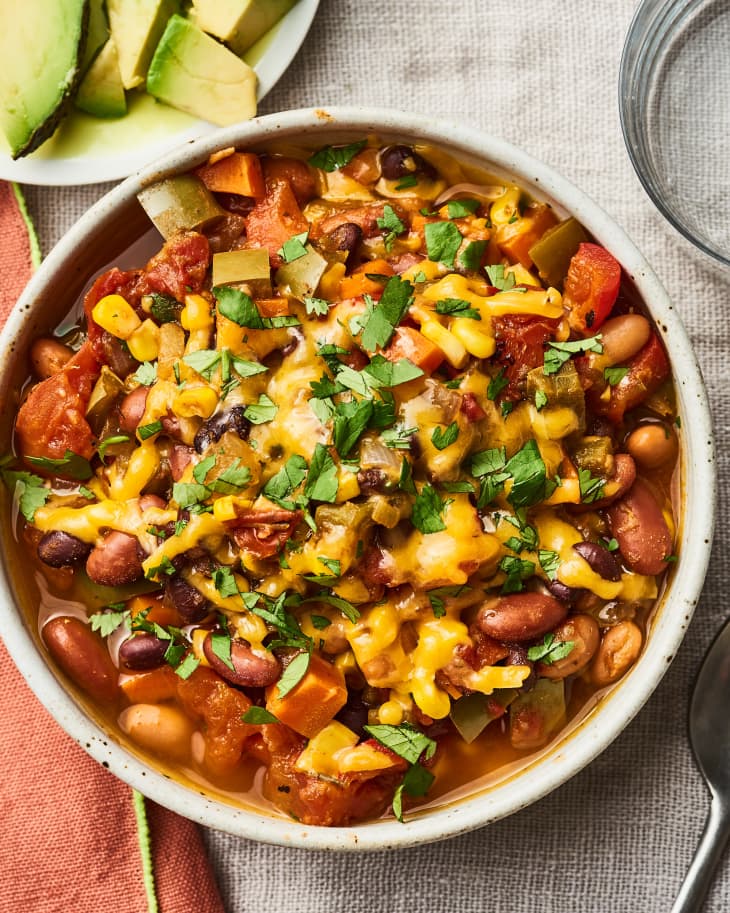
A simple combination of veggies, beans, and spices transforms into an easy, flavorful vegetarian chili.
Serves8 to 10
Prep20 minutes
Cook40 minutes to 50 minutes
This recipe is part of Kitchn 100 — the hundred recipes you need right now. Check out all of the amazing dishes, from Kitchn and beyond, here.
As a lifelong vegetarian, veggie chili has always been one of my go-to meals. Thanks to creamy beans, tender vegetables, and stewed tomatoes, it provides all the hearty satisfaction of a meat-heavy dish, sans the meat.
Whether you’re already a member of the veggie chili fan club and need a new go-to recipe, or you’re trying it out for the very first time, this easy recipe is for you.

Why Make This Vegetarian Chili?
- Perfect bean-to-veggie ratio: Veggie chili recipes with too much veg and broth taste like minestrone soup. Too bean-heavy, and you’re guaranteed a stomachache. This recipe boasts just the right ratio, leaving you with a fresh-yet-hearty chili, packed with nutrients, fiber, and protein.
- Pantry staples only: Many chili recipes call for beer or wine as the cooking liquid, or ask you to soak dried beans overnight. This one calls for pantry staples only, so you can make it on a weeknight without a trip to the store. Plus, it’s cooked in just one pot, and is ready in less than an hour.
- Completely customizable: Not only can you use any canned beans or canned tomatoes you have on hand, but you can also serve and top this chili any way you like (more on that below).
The Basic Formula for the Best Vegetarian Chili
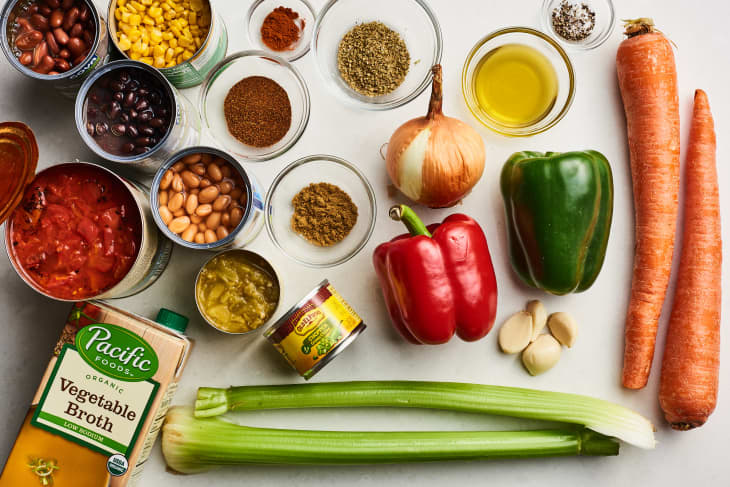
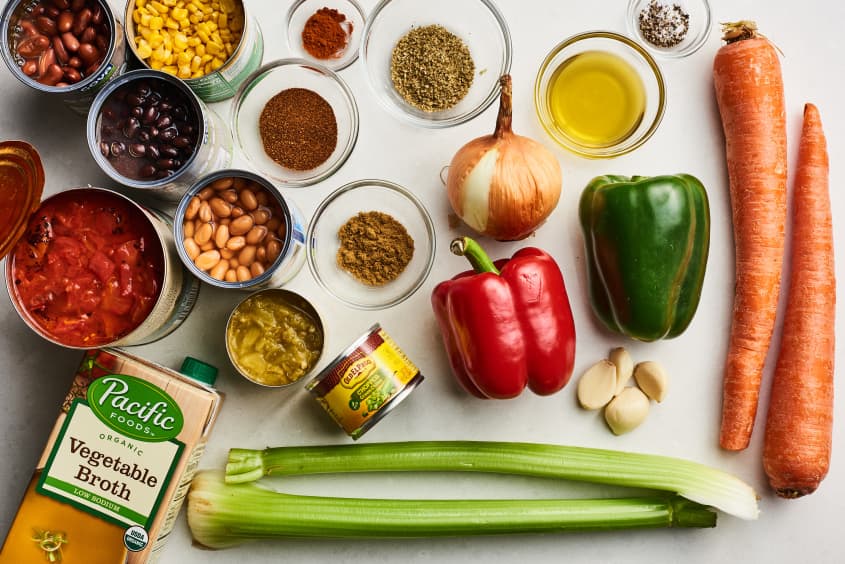
I’ve made a lot of vegetarian chili recipes over the years, and have determined the best veggie chili is a simple combination of fresh and canned vegetables, dried spices, canned tomatoes, canned beans, and vegetable broth.
What don’t you need? Soy crumbles, which lack flavor and contain a laundry list of ingredients (plus, the beans add enough “meatiness”). And instead of beefing up the chili with bulgur or lentils — which I don’t always keep on hand — I serve this chili over whatever grain I do have on hand, such as elbow noodles or quinoa.
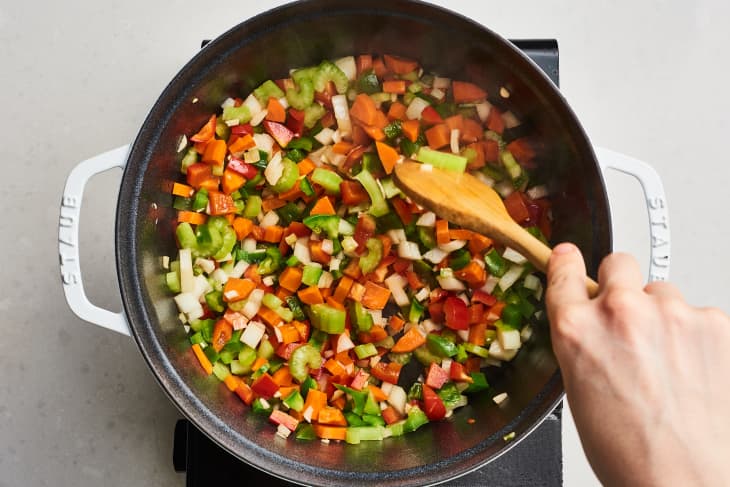
The veggies: You’ll start by sautéing onion, bell pepper, carrot, celery, and garlic until tender. Feel free to use a shallot or scallions instead of a yellow onion, parsnip or sweet potato instead of carrot, or another chili pepper (such as a poblano) instead of bell pepper. Hate celery? Omit it altogether.
The spices: This recipe calls for standard chili spices: chili powder, ground cumin, dried oregano, kosher salt, black pepper, and a bit of cayenne pepper. This combo makes for a slightly spicy chili. For a mild, kid-friendly version, decrease the chili powder and omit the cayenne. For a super-hot chili, increase the cayenne and top the chili with fresh jalapeño. For a smokier chili, add a dash of smoked paprika.
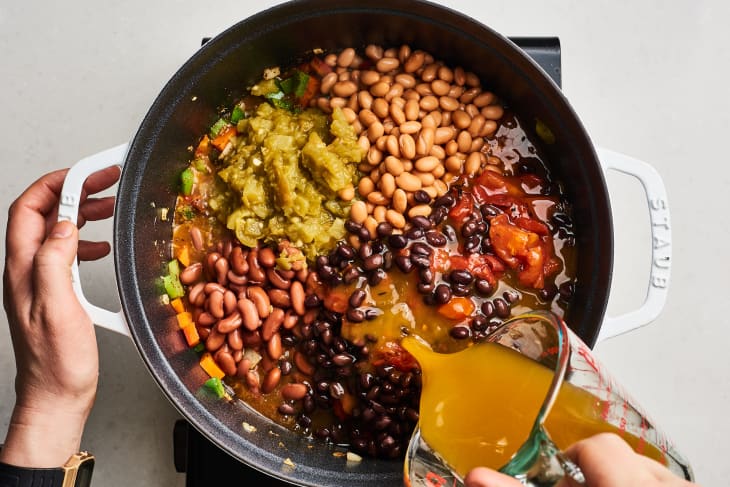
The cooking liquid: After coating the veggies in the spices, you’ll add the cooking liquid. Using only canned tomatoes and their juices makes for a too-thick, acidic, tomato-forward chili. That’s why I combine it with green chiles and their juices (which lend a mild heat) and vegetable broth (or water), which you’ll add in two additions to control the thickness of your chili.
Diced tomatoes give you small, distinct pieces of tomato in every bite (and fire-roasted adds a boost of smoky flavor). But you can substitute the same amount of crushed tomatoes, tomato purée, or even whole peeled tomatoes (crush them between your fingers as you add them in) if that’s what’s in your pantry.
The beans: Three cans of beans lend just the right heft to this chili. Pick and choose from kidney, pinto, black, garbanzo, cannellini, great Northern, or even lima beans or black-eyed peas.
How Do I Control the Thickness of My Chili?
The best veggie chili recipes leave room for you to control the thickness. That’s because if you’re serving it straight-up, you’ll want a thicker chili. If you’re serving it over pasta or rice, you’ll want a slightly thinner chili, so that the grain can soak up some of the flavorful liquid.
You’ll start by adding just 1 cup of the broth before the chili simmers. The longer it simmers, the thicker it will get. Just before serving, you can stir in more broth to thin it out, if you like.
Another way to thicken chili is to crush some of the beans with a fork or potato masher before stirring them in, which releases starch into the cooking liquid. This works best with softer beans, such as kidney.
Lastly, if you decide you want a thicker chili just before serving it, transfer some of it to a blender (or use an immersion blender) to purée some of the chili before returning it to the pot.
How Do I Serve Vegetarian Chili?
I like to serve this chili over cooked quinoa, cooked couscous, or cooked elbow noodles (hey, I’m a Cincinnati girl at heart). Then, I’ll set out a variety of toppings so everyone can customize their bowls. My favorites are sliced jalapeño, sliced radishes, pickled red onion, fresh cilantro leaves and tender stems, toasted pumpkin seeds, shredded cheddar cheese, lime wedges, and diced avocado.
At Kitchn, we know how important it is to find recipes that are worth your time. That’s why every tutorial — like this one — features recipes that have been tried and tested by our team of developers and at-home cooks from across the country. Questions or feedback for us? Say hello: recipes@thekitchn.com.


How To Make the Best Vegetarian Chili
A simple combination of veggies, beans, and spices transforms into an easy, flavorful vegetarian chili.
Prep time 20 minutes
Cook time 40 minutes to 50 minutes
Serves 8 to 10
Nutritional Info
Ingredients
- 2 tablespoons
olive oil
- 1
large yellow onion, diced
- 2
large bell peppers, diced
- 2
medium carrots, diced
- 2 stalks
celery, diced
- 4 cloves
garlic, minced
- 2 tablespoons
chili powder
- 1 tablespoon
ground cumin
- 2 teaspoons
dried oregano
- 2 teaspoons
kosher salt, plus more to taste
- 1/2 teaspoon
freshly ground black pepper
- 1/4 teaspoon
cayenne pepper
- 1 (28-ounce) can
diced tomatoes, preferably fire-roasted (do not drain)
- 2 (4-ounce) cans
roasted green chiles, undrained
- 3 (15- to 15.5-ounce) cans
beans, such as pinto, black, kidney, cannellini, or garbanzo, drained and rinsed
- 1 to 2 cups
low-sodium vegetable broth, divided
- 1 (15-ounce) can
whole kernel corn, drained
Serving suggestions: sliced avocado, lime wedges, shredded cheddar cheese, toasted pumpkin seeds, cilantro leaves and tender stems, pickled red onion, sliced jalapeño, sliced radishes
Equipment
Large pot
Fine-mesh sieve or strainer
Instructions
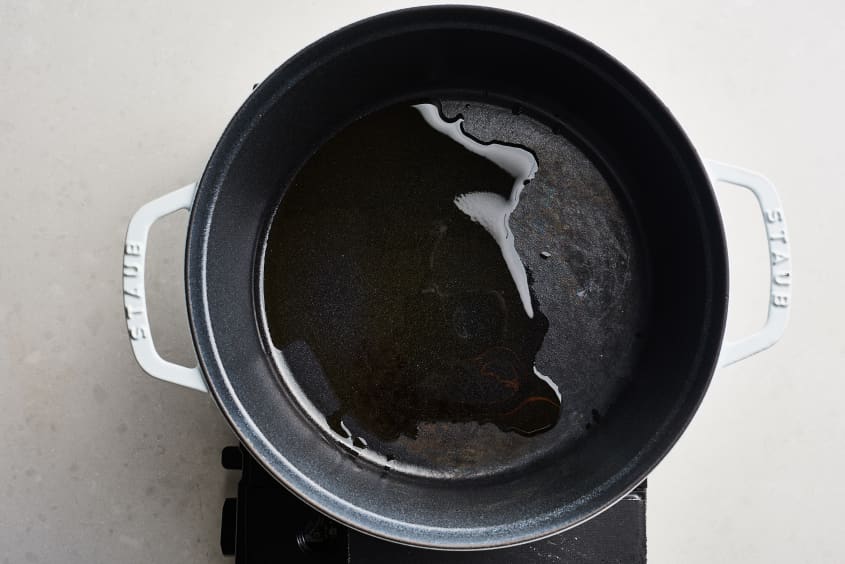
Heat the oil. Heat the oil in a large pot over medium heat until shimmering.
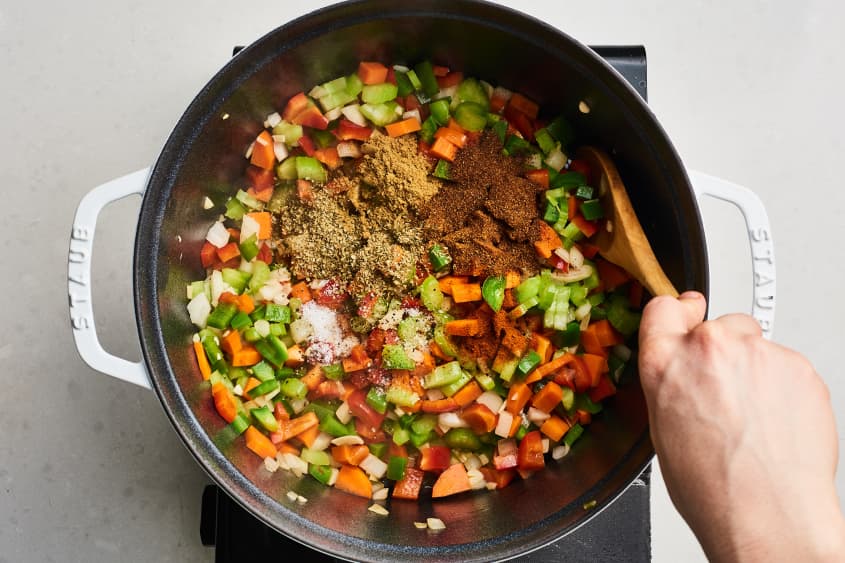
Add the veggies. Add the onion, bell peppers, carrot, celery, and garlic. Cook, stirring, until just tender, 8 to 10 minutes.
Add the spices. Add the chili powder, cumin, oregano, salt, black pepper, and cayenne pepper and stir to coat veggies.
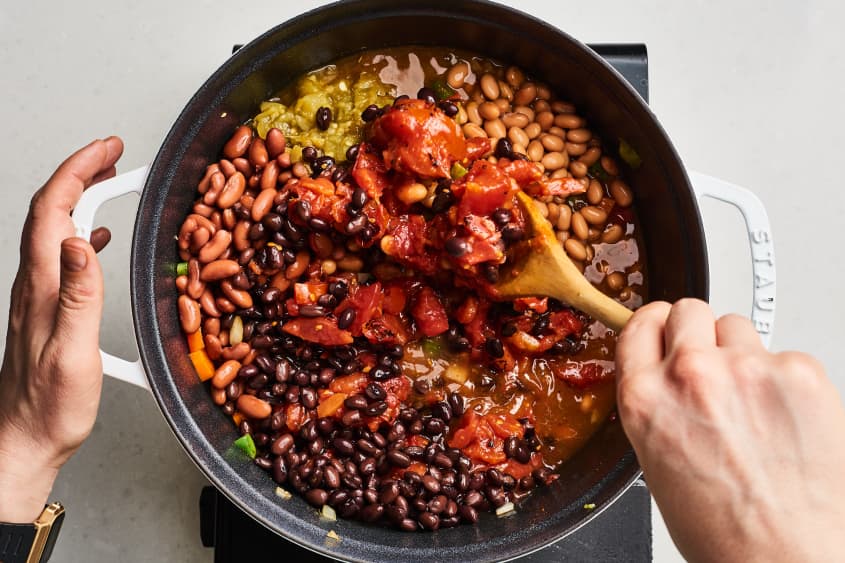
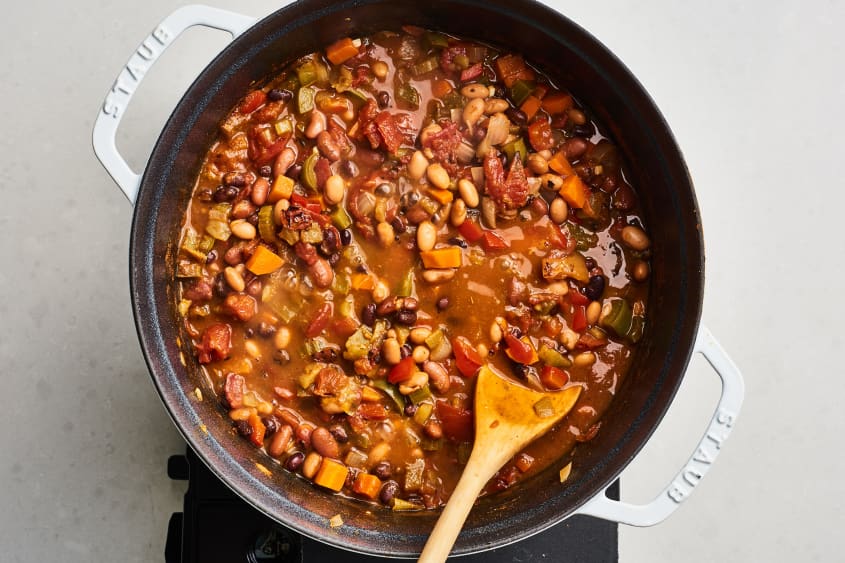
Add the tomatoes, chiles, beans, and broth. Add the tomatoes and their juices, green chiles, beans, and 1 cup of the broth. Stir to combine.
Bring to a boil, then simmer 30 to 40 minutes. Bring to a boil. Reduce the heat as needed and simmer uncovered until the chili thickens to your liking, 30 to 40 minutes. If you prefer a looser chili, add up to 1 cup more broth.
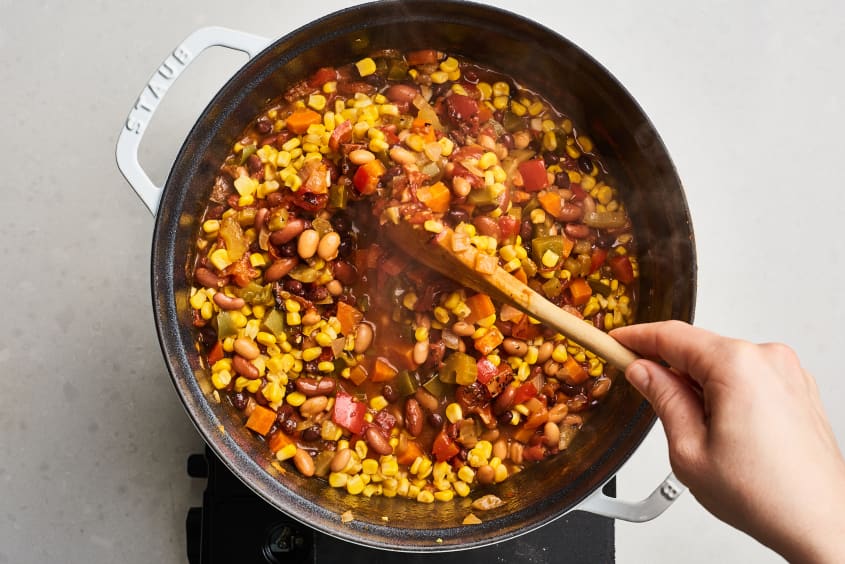
Stir in the corn. Add the corn and stir to combine.
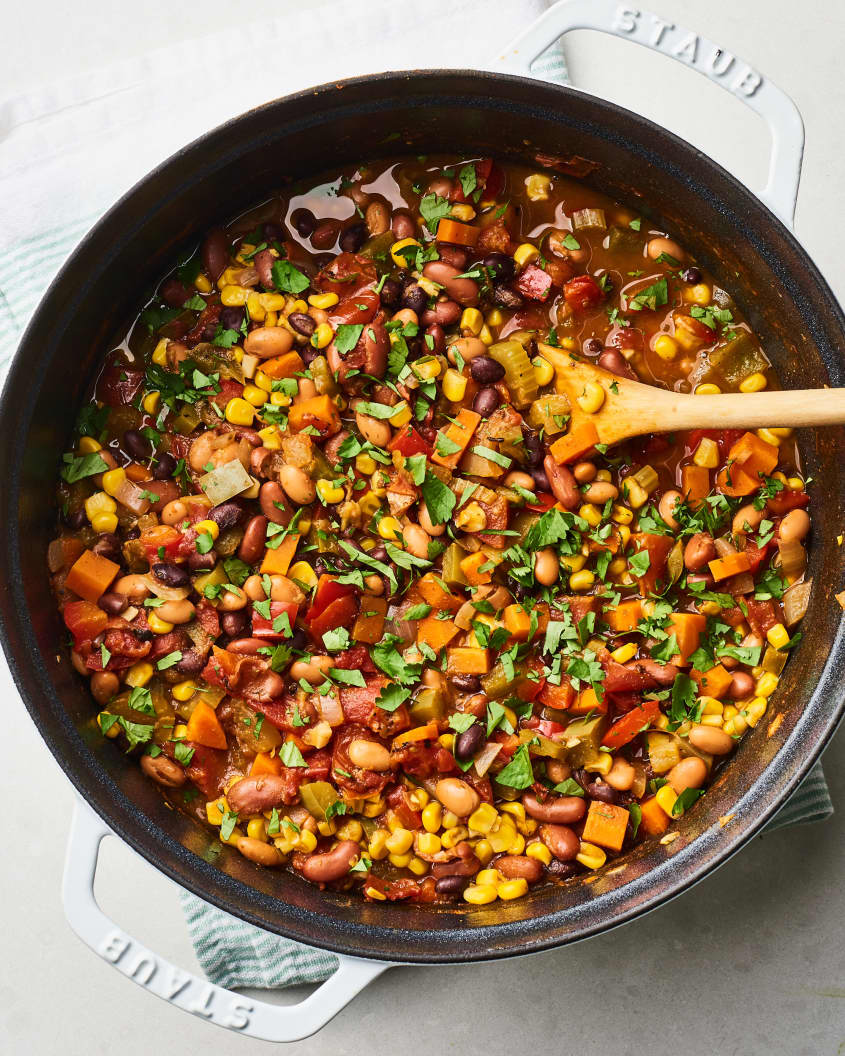
Serve with toppings of your choice. Ladle the chili into serving bowls and serve with the toppings of your choice.
Recipe Notes
Storage: Leftovers will keep for up to 4 days stored in an airtight container in the refrigerator or up to 3 months in the freezer.