
Recipe: Pressure-Cooker Hawaiian Kalua Pig

Once a year, our family escapes to Hawaii — our home away from home. I love everything about the islands: the friendly people, the unhurried pace, the balmy climate, the sweeping beaches, the glorious sunsets, and the comforting local food.
Foremost among the Hawaiian dishes I crave? Kalua pig.
What Is Kalua Pig?
Often the headlining dish at a lu’au, kalua pig is the epitome of slow-roasted porky goodness. A few years back, when I found myself back on the mainland and yearning for a messy pile of kalua pig, I came up with a less labor-intensive recipe for this traditional dish. All you need is a big pork shoulder roast, bacon, Hawaiian sea salt, and a pressure cooker. (If you have a little more patience, you can also make Slow-Cooker Kalua Pig!)
To replicate the smokiness from cooking the pork for hours in an imu — a big underground pit oven — I line the bottom of the pressure cooker with a few slices of bacon. And by the way, if you don’t have any Alaea red sea salt on hand, any coarse salt will work. For kicks and variety, I often use a smoked sea salt in place of the red stuff.
Tester’s Notes
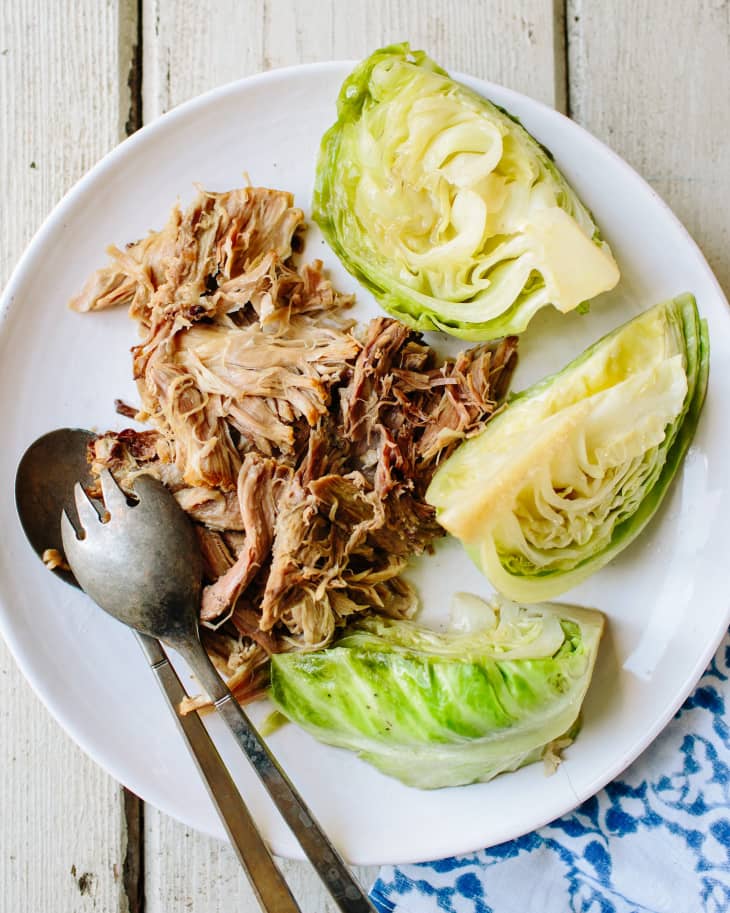
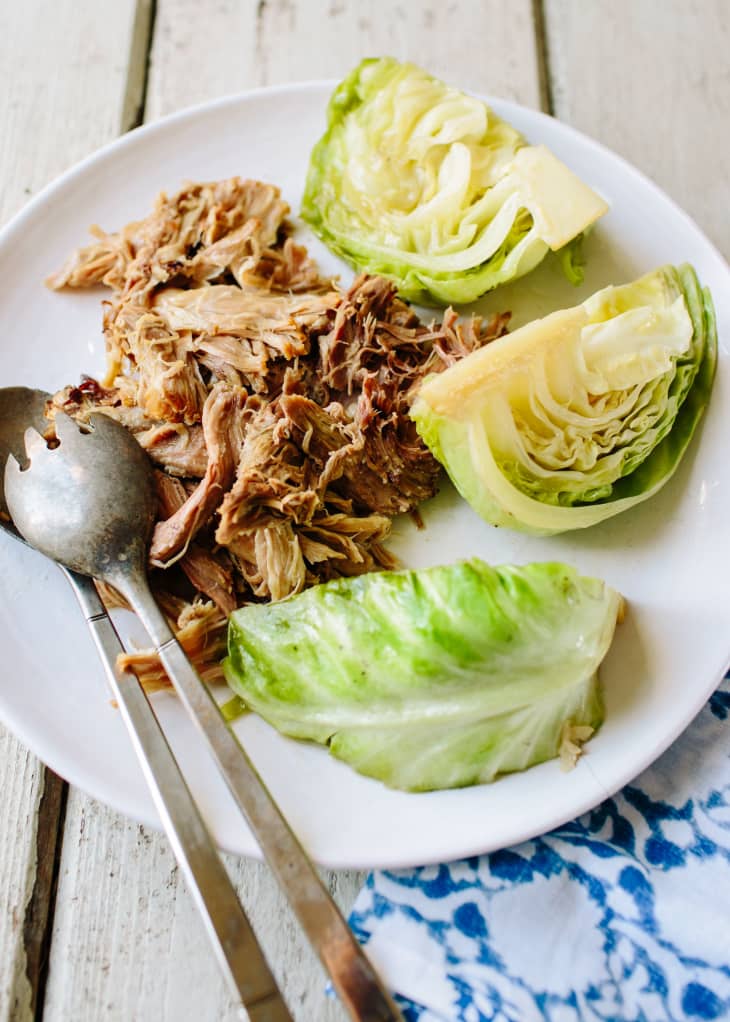
I was amazed that this recipe was so easy to make, yet still came out so tasty! The smoky bacon really permeated the pork and reminded me of eating in Hawaii. Letting the cabbage cook in the pork juices at the end meant that none of the deeply flavored cooking liquid was wasted.
The leftovers also freeze beautifully and can be used to bulk up stir-fries or other dishes that can use a hit of savory, meaty flavor.
– Christine, May 2015
Pressure-Cooker Kalua Pig
Serves 8
Nutritional Info
Ingredients
- 3
slices bacon
- 1
(5-pound) bone-in pork shoulder
- 5
cloves garlic, peeled (optional)
- 1 1/2 tablespoons
kosher or coarse salt, such as Alaea Red Hawaiian Coarse Sea Salt or smoked salt (or 1 tablespoon of Alaea Red Hawaiian Fine Sea Salt)
- 1 cup
water
- 1
medium green cabbage, cored and cut into 6 wedges
Instructions
Whether you use an Instant Pot, a stovetop pressure cooker, or an electric one, the process is pretty much the same. The only difference is that the cooking time will be slightly shorter with a stovetop cooker than with an electric cooker (75 minutes vs. 90 minutes).
Drape the bacon in a single layer on the bottom of a pressure cooker. Press the "Sauté" button (if your cooker has one) and in about a minute, your bacon will start sizzling. (If you're using a stovetop pressure cooker instead, line it with 3 pieces of bacon, crank the burner to medium, and start frying your bacon.)
Cut the pork shoulder into 3 equal pieces. I normally cut out the piece with the bone first, and then cut the 2 other pieces to match the first.
If you've got some garlic on hand, use it! With a sharp paring knife, stab a few slits in each piece of pork, and tuck in the garlic cloves.
Sprinkle the salt evenly over the pork. As you're seasoning the pork, you'll hear the bacon sputtering in the pressure cooker. Don't forget to flip the slices, and turn off the heat when the bacon is browned on both sides.
Place the salted pork on top of the bacon, keeping the meat in a single layer. Pour in the water.
Do not forget this step: With a pressure cooker, you have to add some liquid for it to work properly. Check your manual to see what the minimum amount of liquid is for your particular model, and adjust accordingly. (After some digging and experimenting, I discovered that 1 cup of water is perfect for this recipe in my Instant Pot.)
Next, cover and lock the lid. If you're using an Instant Pot, select the "Manual" button and press the "+" button until you hit 90 minutes. For an electric pressure cooker, set it for 90 minutes a high pressure. If you're using a stovetop pressure cooker, you won't have to worry about pressing all those fancy buttons. Just cook on high heat until high pressure is reached. Then, reduce the heat to low to maintain high pressure for about 75 minutes.
When the pork is finished cooking, the Instant Pot or electric pressure cooker will switch automatically to its "Keep Warm" mode. If you're at home, press the "Keep Warm/Cancel" button to turn off the cooker and let the pressure come down naturally quicker. If you're using a stovetop pressure cooker, remove the pot from the heat. In either case, let the pressure release naturally (which will take about 15 minutes).
Once the cooker is depressurized, check that the pork is fork-tender. If the meat's not yet fall-apart tender, you can always cook the pork under high pressure for another 5 to 10 minutes to get the right texture.
Transfer the cooked pork to a large bowl and taste the cooking liquid remaining in the pot. Adjust the seasoning with water or salt if needed.
Add the cabbage wedges to the cooking liquid. Replace the lid and cook the cabbage under high pressure for 3 to 5 minutes. When the cabbage is done cooking, activate the quick-release valve to release the pressure.
While the cabbage is cooking, shred the pork. Once the cabbage is cooked, pile it on your shredded pork.
Recipe Notes
Slow cooker directions: (Get the full recipe here.) Line the slow cooker with the raw bacon. Prepare the pork as directed above and place in the slow cooker. Don't add any water! Cook on low for about 16 hours. (Note: Newer slow cookers are hotter and may only require 9 to 12 hours on the low setting.) Remove the finished pork from the slow cooker, add the shredded cabbage, and let the cabbage cook while you cool and shred the pork.
Oven or stovetop directions: Prepare the pork as for Slow-Cooker Kalua Pig, but in a large Dutch oven or heavy stockpot with a lid. Place the pot in a 300°F oven or over the lowest burner heat on the stovetop until fork-tender.
Storage: Leftovers can be stored in an airtight container in the refrigerator for up to 4 days. Freeze the pork (but not cabbage) for up to 3 months.