
Before & After: This Pantry Got a Cute Farmhouse-Style Makeover in Just 2 Weeks
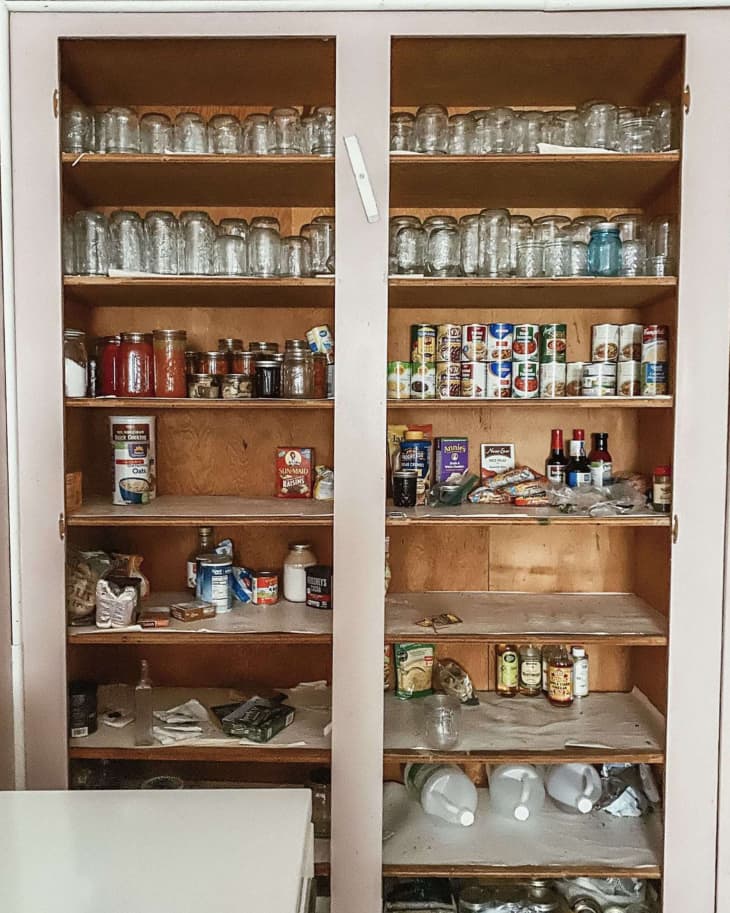
When Kaylene Chittenden and her husband moved into an old homestead in the Pacific Northwest, they knew they we were going to have to redo the entire farmhouse, room by room. (“My dream come true!” she says.) High on the list? The pantry. She’s a baker and her husband loves to cook — and the existing space just wasn’t cutting it for them. “The original pantry was a built-in cabinet made out of plywood, it took up a lot of space and was outdated,” Kaylene says. “It also had very deep shelves that were not spaced apart well. I was constantly moving things around to see to the back, which made it hard to keep organized.”
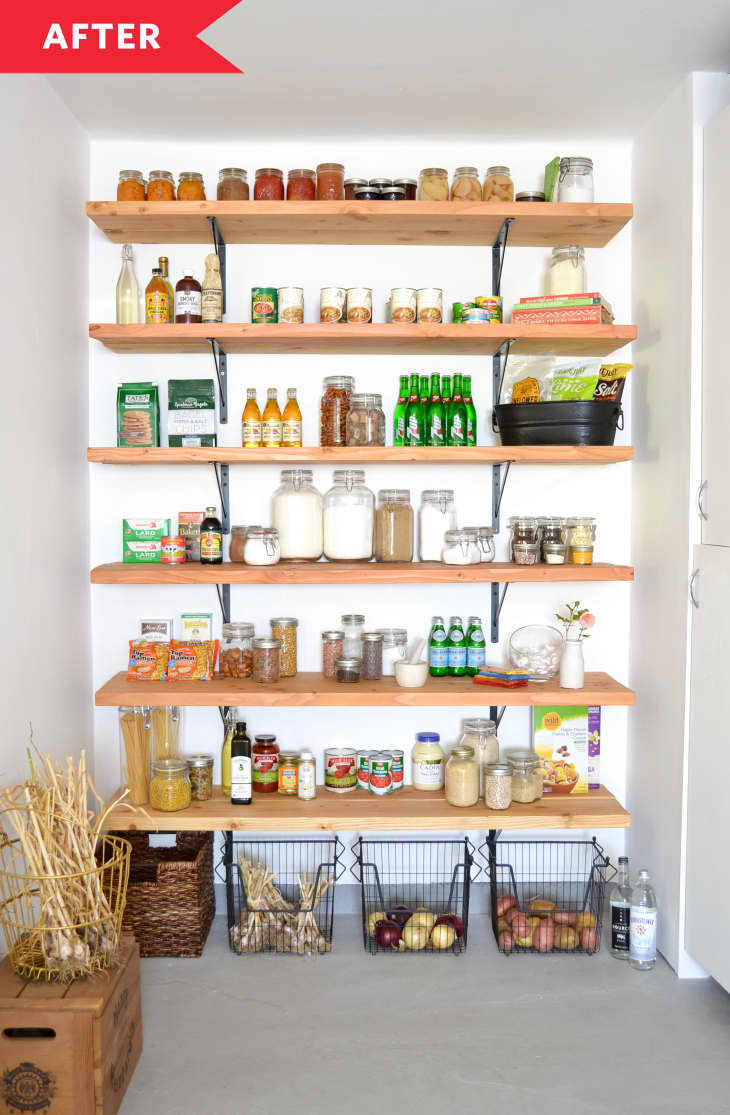
Luckily, Kaylene knew what she wanted instead: “When I pictured my dream pantry, it always involved open shelving. A minimalist, rustic style is my favorite and I am a sucker for wood against bright white walls. I also wanted to make the mudroom look bigger, and open shelving is great for that.” (The pantry is in the mudroom, which is right next to the kitchen. Kaylene says this location is great because it doesn’t take up room in the kitchen, and is still close enough that she can quickly grab things.)
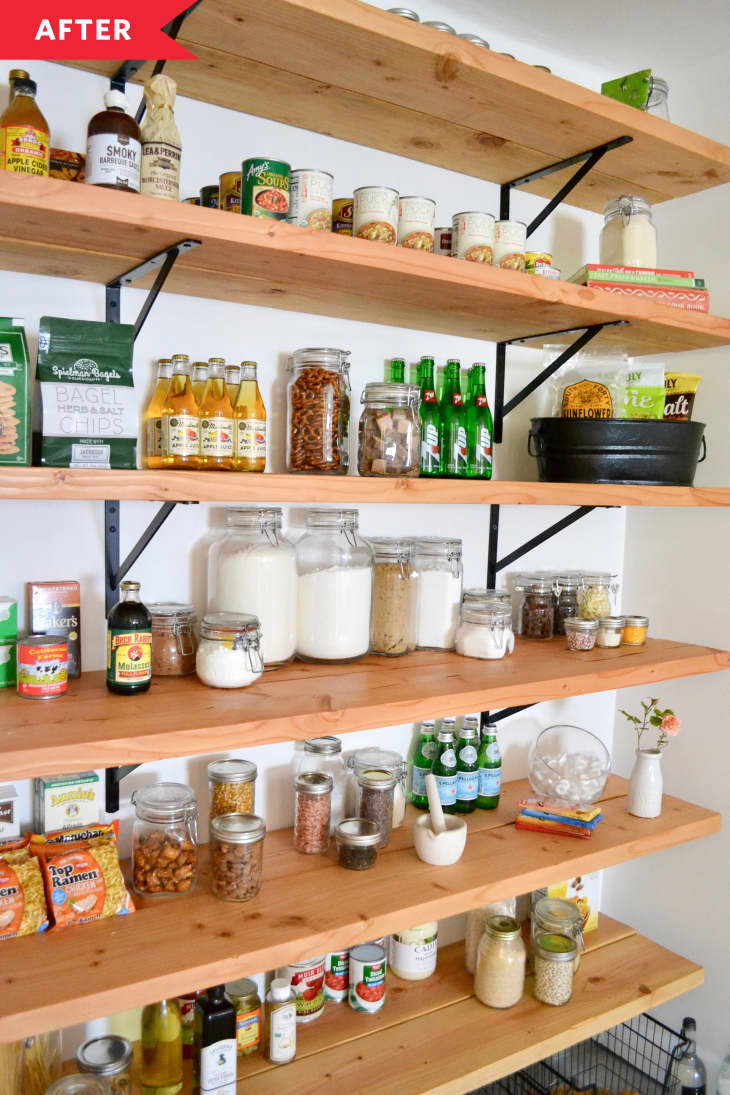
The couple started by removing the existing cabinetry to open up the space. They had to build a small wall on the right to hide the breaker box and patch a few holes, and then it was time for shelves. “The shelves are simple, 2-by-8 pine boards from our local hardware store that we sanded down until smooth and stained a light pecan color,” Kaylene explains. “We used simple-but-strong black brackets to attach the shelves to the wall.”
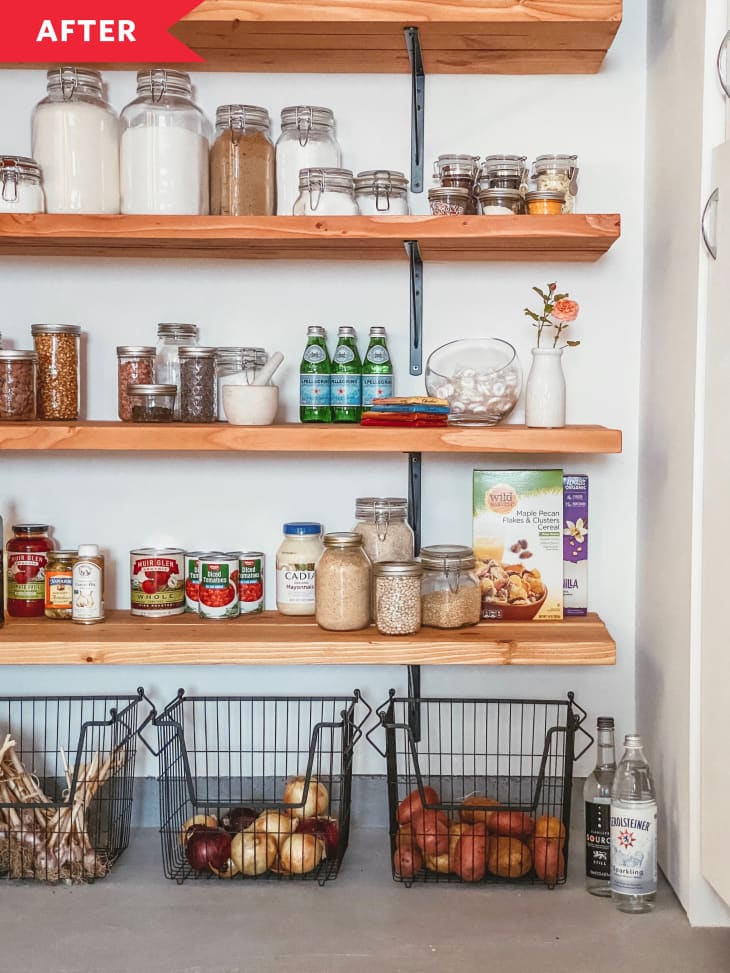
Next came the best part … filling the pantry! Kaylene loaded up on sleek airtight jars for dry ingredients and lots of baskets and bins for produce and snacks. “The end result was exactly what we wanted,” she says. “A functional pantry with style! This pantry project took about two weeks and several trips to the hardware store to complete, but the best part is that is cost less than $500 to complete.”
The majority of the budget went towards the shelves and the heavy-duty brackets, which would be sure to hold a lot of weight. “After the wood, stain, and the brackets. we still only spent about $300. The other $200 went to paint, organizers, and building that wall.”
Of course, open shelving always begs one key question: How do you keep things looking display-worthy? Especially when we’re talking about a pantry, which can easily become unwieldy after a heavy baking session or a trip to the grocery store. “Keeping the pantry organized was one of my main concerns when planning it,” Kaylene says. She has a great solution, though: “I keep things in close organized groups so, even if it gets a little overcrowded, it still looks nice. Plus, the open shelves make it easy to see everything so I don’t have to move things around which keeps it looking nice.”
Kaylene says she couldn’t be happier with her new pantry and that she wouldn’t change a thing. Honestly, neither would we. Unless we could change its location to being in our house instead of hers!
Thanks for sharing, Kaylene!