
I Seasoned My Cast Iron Pan with Flaxseed Oil, and Here’s What Happened
A few years ago I heard that flaxseed oil — not vegetable oil or shortening — was the best oil for seasoning cast iron. I’d always wanted to put that theory to the test, but decided to wait until I’d sufficiently neglected my own cast iron skillets to warrant a full re-seasoning. (It was bound to happen at some point.)
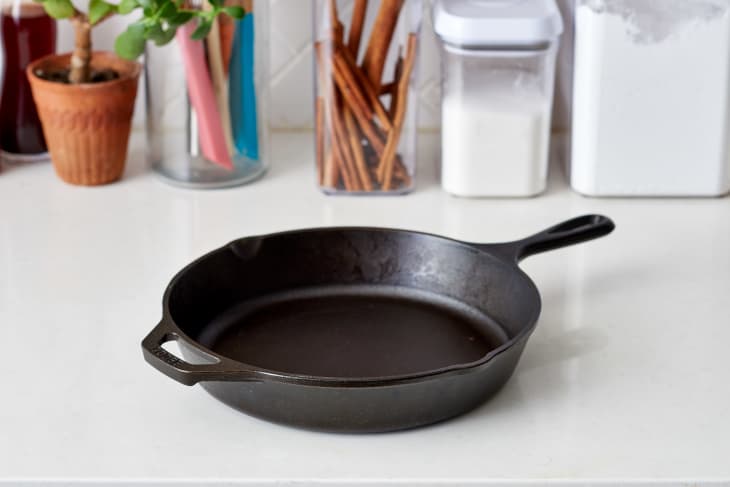
That day came eventually: Thanks to my lazy maintenance, the seasoning on my 12-inch Lodge skillet had become patchy, rough, and sticky. But this time around, instead of coating it in vegetable oil and heating the pan in the oven for an hour, as is the norm, I decided to spend 18 hours baking six coats of flaxseed oil into it.
Here’s how it went.
Why Flax Oil?
Many years ago, web developer and blogger Sheryl Canter wrote a post claiming flaxseed oil was the best oil for seasoning cast iron. You can read her post for the specific points on the science behind fat polymerization, but the gist is this: Vegetable oils and shortening leave cast iron soft and prone to scratching and wear and tear, but flaxseed oil — which is essentially the food-grade equivalent of linseed oil, the drying oil that painters and woodworkers use to create a tough, protective layer on their work — makes cast iron surfaces smooth, hard, and even.
Read the article: Chemistry of Cast Iron Seasoning: A Science-Based How To by Sheryl Canter
Cook’s Illustrated gave Canter’s method a try, and the results amazed them: “The flaxseed oil so effectively bonded to the skillets, forming a sheer, stick-resistant veneer, that even a run through our commercial dishwasher with a squirt of degreaser left them totally unscathed,” they wrote. Impressive!
Read more: The Ultimate Way to Season Cast Iron at Cook’s Illustrated
With such a stellar recommendation in mind, I was ready to give this flaxseed re-seasoning a try. But first I had to strip the skillet.
Why I Stripped My Skillet Before I Started
As I mentioned earlier, my 12-inch Lodge cast iron skillet had seen better days. The surface had become rough and uneven, with sticky spots and a little rust. The usual scrub-and-oil wasn’t making things better, so I decided if I was going to re-season, I was going to do it right and start with the raw iron. That meant I needed to strip my pan of all the remaining seasoning.
According to Cook’s Illustrated, the easiest way to strip a cast iron pan of its seasoning is to run it through your oven’s self-cleaning cycle. There are other methods you can use — scrubbing with oven cleaner, a lye bath, electrolysis — but those all seemed too scary and involved for me. I was nervous about using my oven’s self-cleaning cycle, too (that can also be a bad idea), but figured it was my best option.
To strip the pan, I put my skillet upside-down on the bottom oven rack, and set my oven to a three-hour cleaning cycle. When the (hot and very smoky!) cycle finished, my pan was gray and splotchy. I then scrubbed it vigorously with soap and hot water, and set it on a low flame to dry out.
Okay! I was ready to start the flaxseed re-seasoning process.
The Right Kind of Flaxseed Oil for Re-Seasoning Cast Iron
If you read Sheryl Canter’s post, you’ll see her requirements for flaxseed oil are very specific, and for good reason: Use the wrong kind of flax oil — which is usually flax mixed with something else — and the re-seasoning won’t work. It may flake off the first time you wash it, for example (because, not being pure flax oil, it didn’t bond to the pan in the first place). So, it pays to pay attention here!
The flaxseed oil must…
- Be made of 100% flaxseed: There should be no other flavors, additives, and especially no oils to prevent oxidation among the listed ingredients. (You want the oxidation in this case!) The only exception here is if the label includes the words “flaxseed particulate” or “lignans.” Those are still part of the flaxseed, so they’re fine and still count as pure flax oil.
- Require refrigeration, because it’s an omega-3 supplement and goes rancid quickly. If you buy a bottle of flax oil that doesn’t need to be refrigerated, you bought the wrong thing.
- Be organic, because “you don’t want to burn toxic chemicals into your cookware to leach out forever more,” Canter writes.
- Be unfiltered, although filtered is also probably fine: Canter doesn’t specify if the oil should be filtered or unfiltered. I’ve heard of people using both, and it worked fine. The bottle she links to in her post is unfiltered, so that’s what I went with as well.
- Be expensive: Well, it doesn’t have to be expensive, per se, but if you’re buying the right thing, it probably will be. Think around $17 or $20 for a 16-ounce bottle.
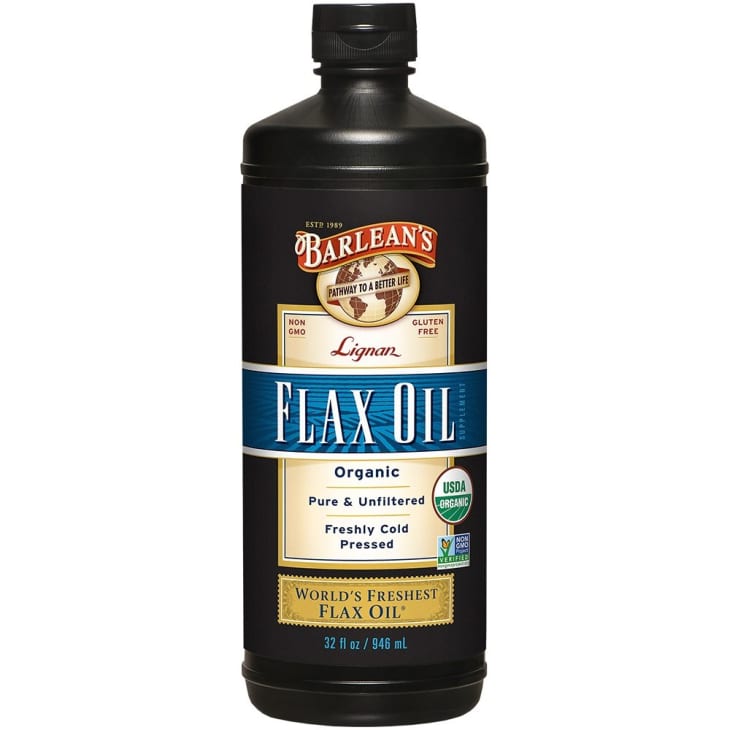
Canter specifically suggests a bottle of Barlean’s Organic Flax Oil. You can buy a 16-ounce bottle for $25. I ended up buying a 16-ounce bottle of Whole Foods’ 365 Unfiltered Organic Flax Oil, which met all the requirements and set me back $13.

The Re-Seasoning Process
- Total project time: Three days, including a day for stripping the cast iron pan.
- Total oven time: 18 hours, including six hours of actual baking time, and 12 hours of cooling time.
- Number of flaxseed oil coats: Six.
The first thing you should know about this particular re-seasoning process is that it takes approximately 18 hours to complete. Most of that is hands-off oven time, but it’s still an investment. You can read the full instructions on Sheryl Canter’s website, but here’s the overview:
- Pour flaxseed oil into the pan: A little goes a long way, so you can start with a teaspoon. Add more as needed.
- Rub the oil into the pan: This is best done with your hands. Make sure to cover every part of the pan, including the inside, sides, bottom, and handle.
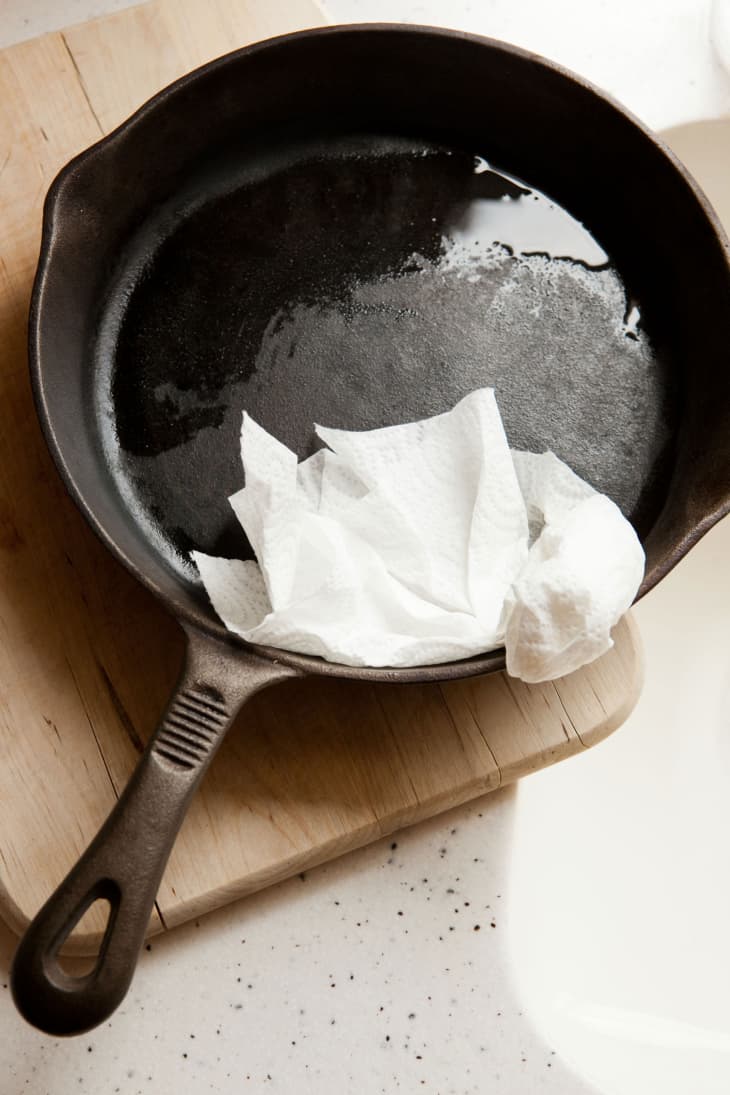
- Wipe off the oil: Wipe off the oil with a paper towel. You want a very, very thin layer of oil, which basically means removing as much of the oil as you can with a paper towel until it looks like there is nothing left on the pan. (There is still oil there, but only a very thin layer — just what you want!)
- Place the skillet in a cold oven: Place the skillet upside-down on a middle oven rack in a cold oven.
- Turn on the oven: Set the oven for its highest temperature (I did 500°F), and let the pan preheat with the oven.
- When the oven is hot, set a timer: When the oven is preheated, set a timer for one hour.
- Make sure the area is well-ventilated: Open all the windows, turn on the fans, and exit the kitchen, since hot flax oil will smoke a bit and smell like fish while it’s burning off.
- After an hour, turn off the oven, and let cool: After an hour, turn off the oven, but don’t open the door! Leave the pan to cool inside the oven, untouched, for an additional two hours.
- Remove and repeat: After two hours (three since you started), remove the pan from the oven. It should be cool enough to touch. If it’s still too warm, allow it to cool a little more on the countertop. Once you can handle the pan with your bare hands, repeat the whole process (steps one through nine).
- Repeat: Do this whole process for a total of six times.
Like I said, a bit labor-intensive. Was it worth it? Let’s find out.

The Results
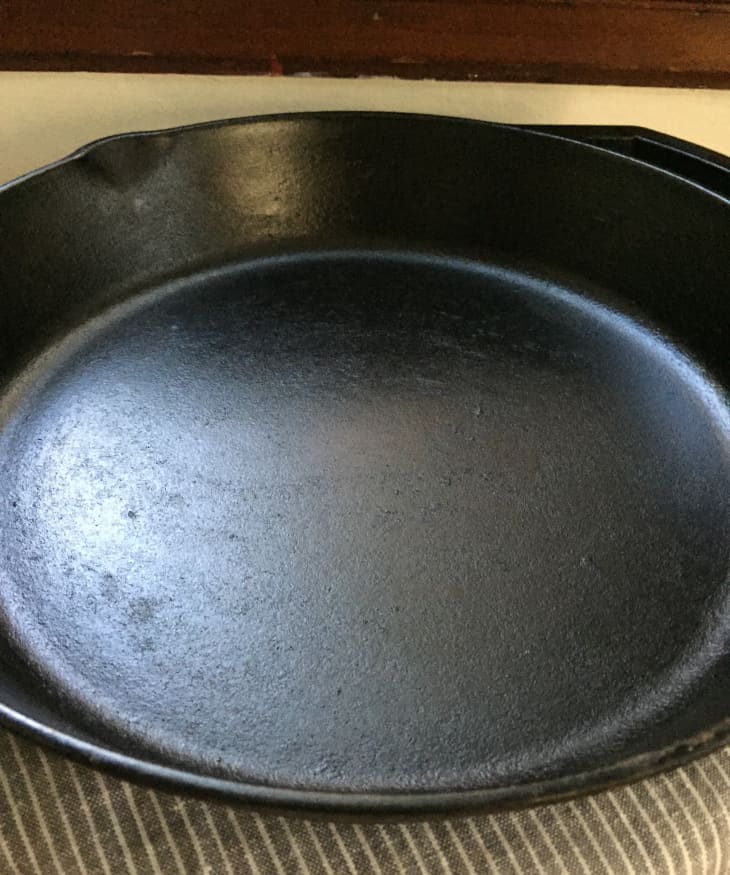
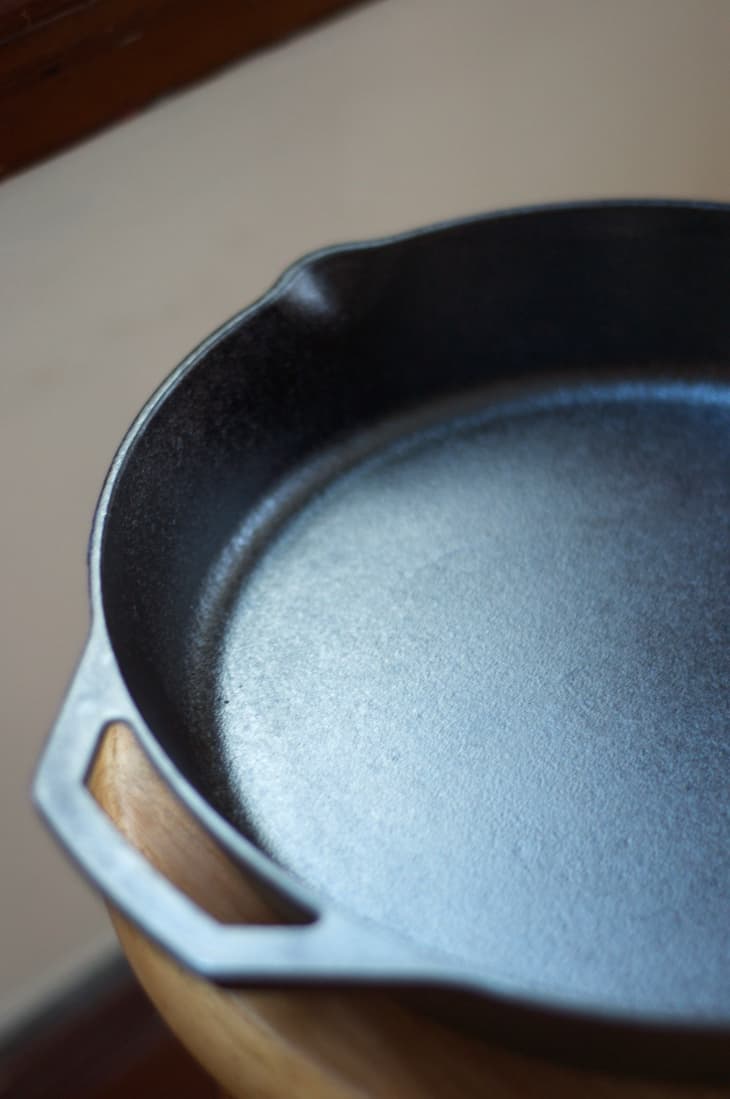
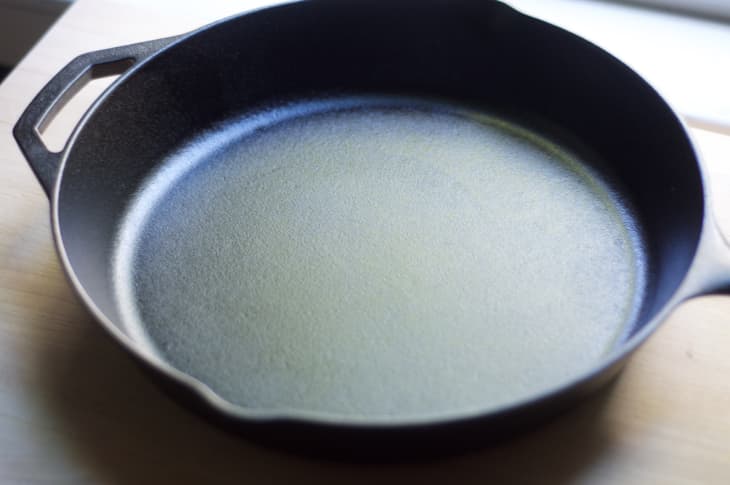
After the first seasoning, my pan had definitely developed a matte black finish. It was looking better, but nothing special. With each successive seasoning, though, the pan’s finish got sleeker. By the sixth and final seasoning, the finish was the smoothest I’d seen since I bought the pan years ago. It was like it was brand new! There were no bumps or sticky spots, just an even surface that looked and felt like it a had a tough, sheer coating on it. I was really impressed!
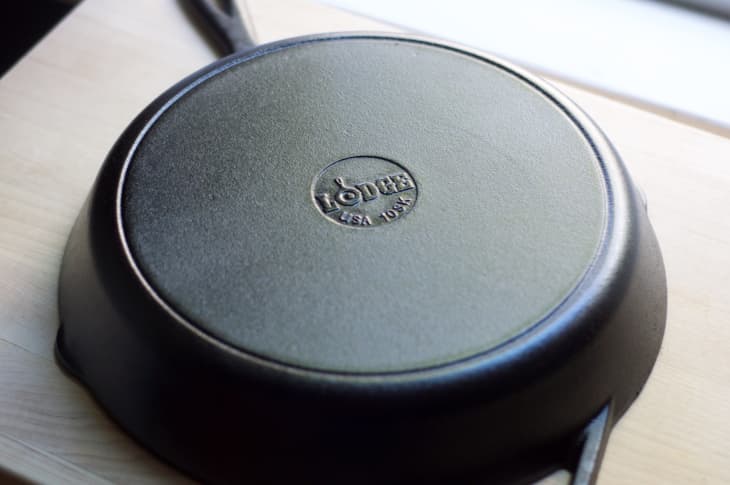
One caveat: As you can see in the photos above, there is what looks like a little dent or ridge in the bottom of the pan. I’m not sure how that got there — did my pan always have that ridge? Was that the result of a little pool of oil? — but it hasn’t affected the pan’s performance thus far.
How It Cooks with the New Seasoning
The whole point of this was to make the pan better for cooking, so while it may look great, that’s not worth much if it doesn’t cook well, right?
There are a few important things to consider first: Did this technique give my pan a totally nonstick, Teflon-like surface that requires no oil whatsoever? No, but it wasn’t supposed to! As Canter specifically notes in the comments section of her post, this whole process is a preliminary seasoning, which will improve over time. You will still need to use a little oil when cooking, particularly if you’re cooking eggs. But as with all cast iron, the more you use it, and the more you oil it post-use, the more nonstick it will become. Her technique is just a great foundation.
With that in mind, I set out to cook a few eggs. One commenter on her post (which has 492 comments, by the way!) offered some really great cooking advice for post-seasoning:
“The final thing I do for skillets after seasoning is to cook some “throw-away” eggs in olive oil. Scrape them around the entire bottom of the skillet with a good stainless steel spatula. I use a Dexters (which are collectables in their own right and made in the USA!). The eggs will stick at first. Scour the skillet with kosher salt and oil. Repeat two or three more times. After that you’ll find the eggs slide around like teflon. Fantastic!”
This is exactly what I did. I whipped a couple eggs together, poured a little olive oil into the pan, and then poured the eggs into the skillet (and they stuck a little bit as I moved them around). I took them out after awhile, scoured the pan with coarse salt and oil, then rinsed it with very hot water.
And this is where the magic happened, where this new seasoning really convinced me of its worth: The pan was so easy to clean! I didn’t have to use a super-scrubby brush; I just used the mildly textured side of my dish cloth, and the egg residue came right off. I really felt the slick surface in this case. After rinsing, the pan was so smooth. I dried it on the stove, and then wiped it down with a little flaxseed oil while it was still warm (but not hot) — although I’m not even sure that was necessary! The pan was still smooth without the oil.
Would I Do It Again?
I have two other cast iron skillets — another Lodge, and one vintage — and I’m planning on stripping and re-seasoning both of them with this method.
Yes, flaxseed oil is expensive, so if you’re thinking of re-seasoning a small Lodge pan (which you can buy new and pre-seasoned for $15), it may just be worth it to get the new skillet instead. But if you’ve picked up some vintage cast iron at a flea market, or you have cast iron-enthusiast friends who would love to use some of that flaxseed oil you purchased on their own pans, this is how I’d season them.
There is one school of thought out there that says it’s not the flaxseed oil but the method that makes this work. In other words, season a cast iron pan six times for 18 hours with any oil and you’ll get a hard, slick surface. Has anyone done this? I’d be curious to know the results.
Otherwise, I’m sticking with Cook’s Illustrated, and saying that flax is king.
More on Caring for Cast Iron
Have you ever seasoned your cast iron pans this way? If you have any tips or tricks to offer, do tell!