
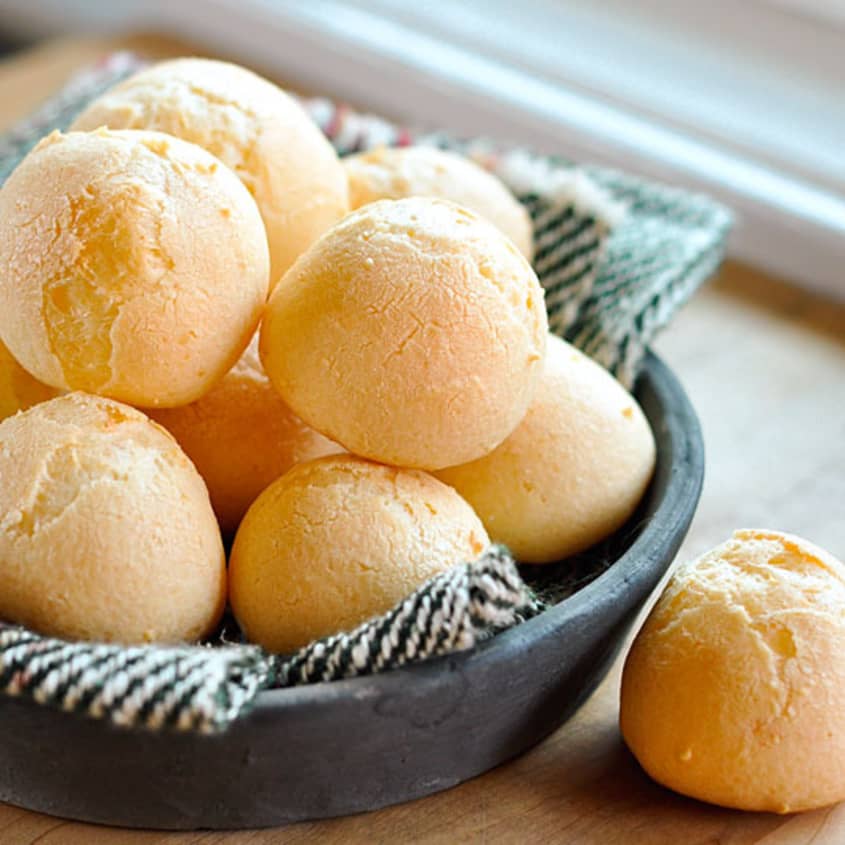
How To Make Pão de Queijo (Brazilian Cheese Bread)

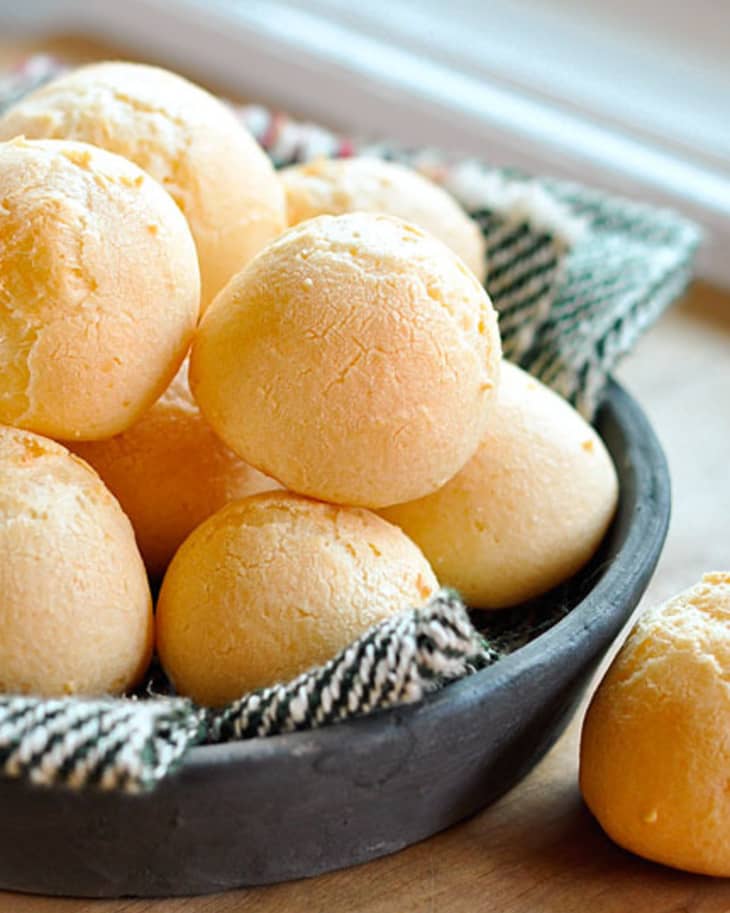
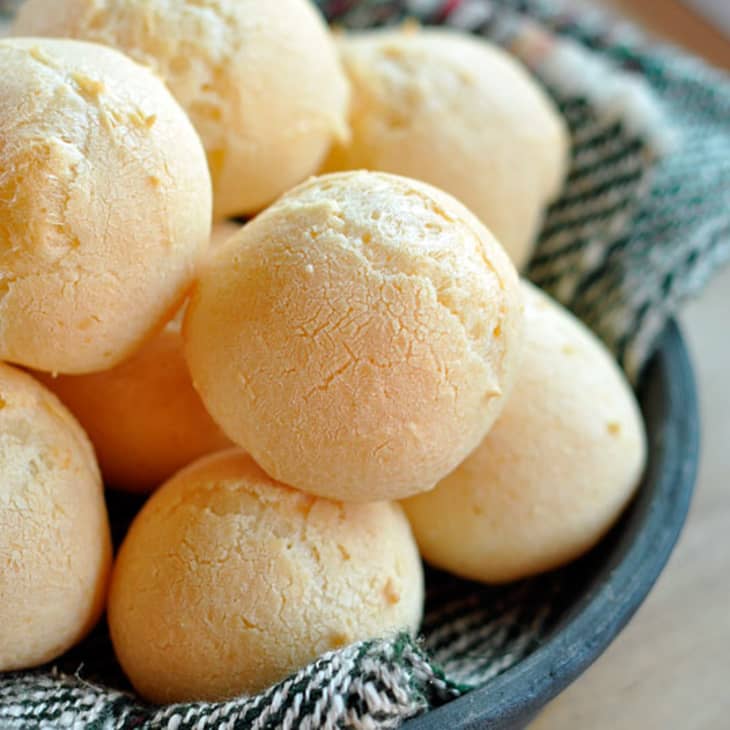
I had my first pão de queijo at a Brazilian restaurant in Atlanta over five years ago, and I still dream about it. It was crispy outside but amazingly soft and chewy inside, and its cheese flavor was so haunting that I had to eat several more just to fix it in my mind.
Well, I’m in trouble now because I just discovered how to make these little cheese puffs. With their addictive cheesiness? They are super easy to make at home.

What is Pão de Queijo and What is It Made of?
Pão de queijo are essentially a version of French gougères. Like gougères, the dough for pão de queijo starts on the stovetop and eggs are beaten in one at a time. Also like gougères, the end result is a tray of crispy, hollow puffs. The biggest difference is that pão de queijo are made with sour cassava flour or tapioca flour instead of all-purpose flour.
Tapioca flour is decidedly strange stuff. When mixed with the hot milk in these pão, it turns gelatinous and sticky, closer to wallpaper paste than something you’d put in the oven. It requires a leap of faith and a bowl of water for dipping your fingers and spoons to prevent sticking.
What These ‘Puffs’ Should Taste Like
Keep going with the recipe and you’ll be rewarded with these puffs. They’re chewier and more bread-like than their gougère cousins—not to mention being gluten-free! Pão also have a very mild cheesy flavor thanks to the use of Parmesan cheese, though you could substitute any other cheese you’d like for a more pronounced or different cheese flavor.
Pão de queijo are at their crispiest best when they’re still warm from the oven. This said, the will soften over night and make excellent sandwich bread the next day.
How to Make Pão de Queijo (Brazilian Cheese Bread)
Makes 24 (2-inch) puffs
Nutritional Info
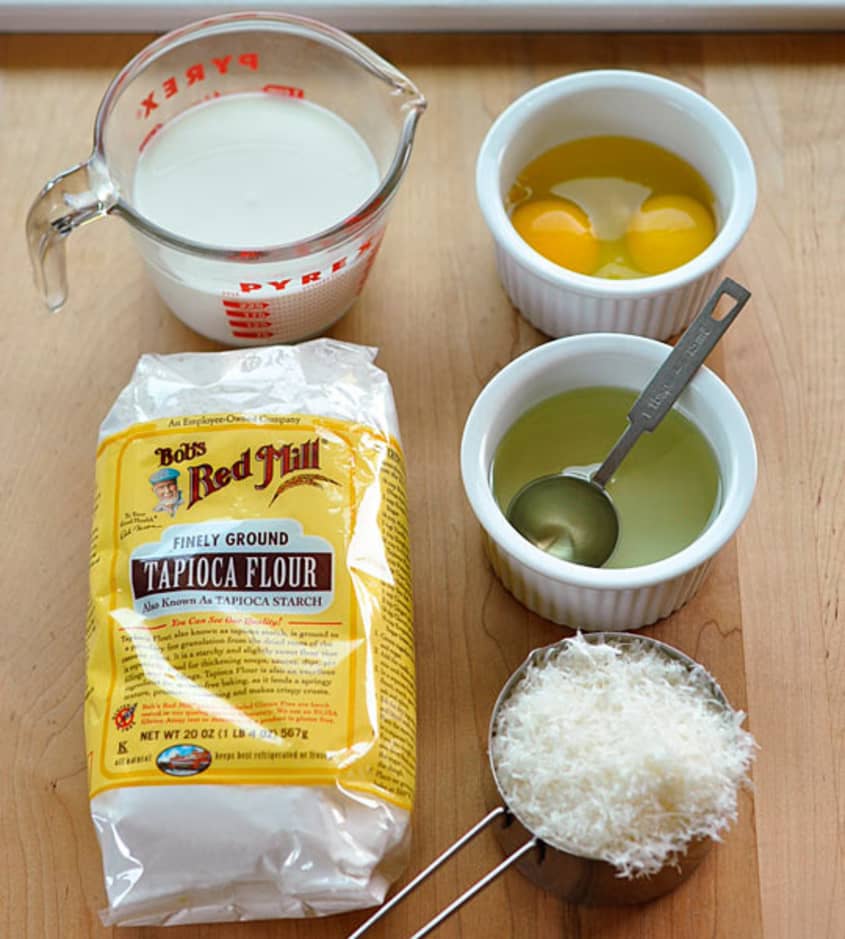
Ingredients
- 1 cup
whole milk
- 1/2 cup
vegetable oil
- 1 teaspoon
salt
- 10 ounces
tapioca flour or sour cassava flour (about 2 cups)
- 2
large eggs
- 1 to 1 1/2 cups
grated Parmesan cheese
Equipment
Medium saucepan
Wooden spoon
Standing mixer with paddle attachment (or mixing bowl and elbow grease)
- 2
baking sheets
Parchment paper or silicone baking mats
Instructions
Heat the oven: Arrange 2 racks to divide the oven into thirds and heat to 450°F. Line 2 baking sheets with parchment paper or silicone baking mats.
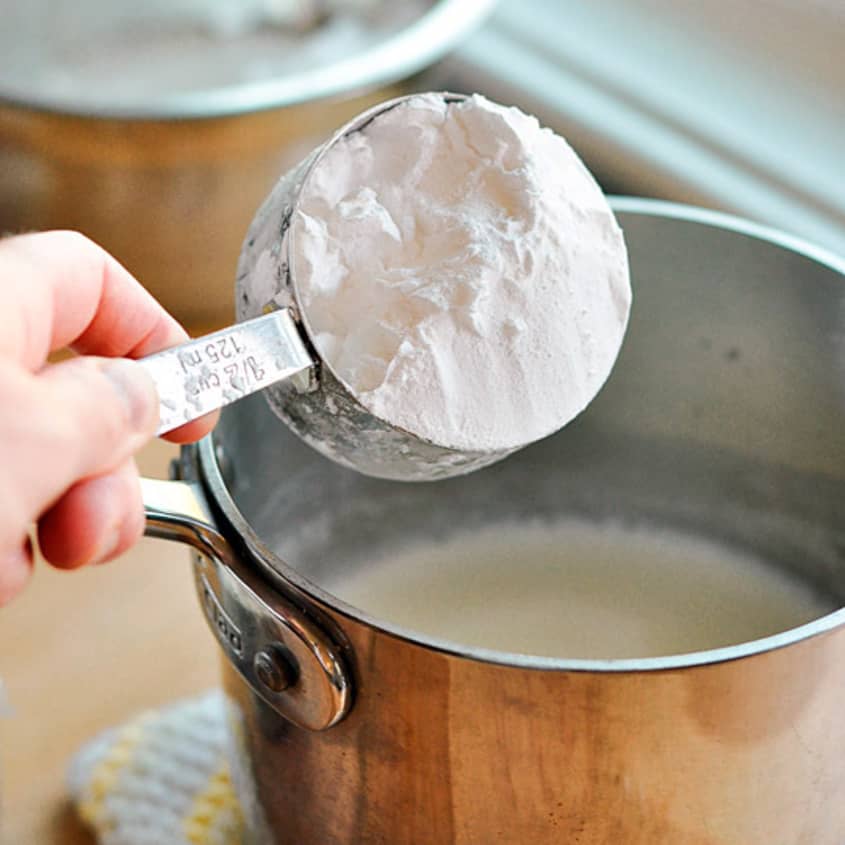
Boil the milk and oil: Place the milk, oil, and salt in a medium saucepan and bring to a gentle boil over medium heat, stirring occasionally. Remove from heat as soon as you see big bubbles coming through the milk.
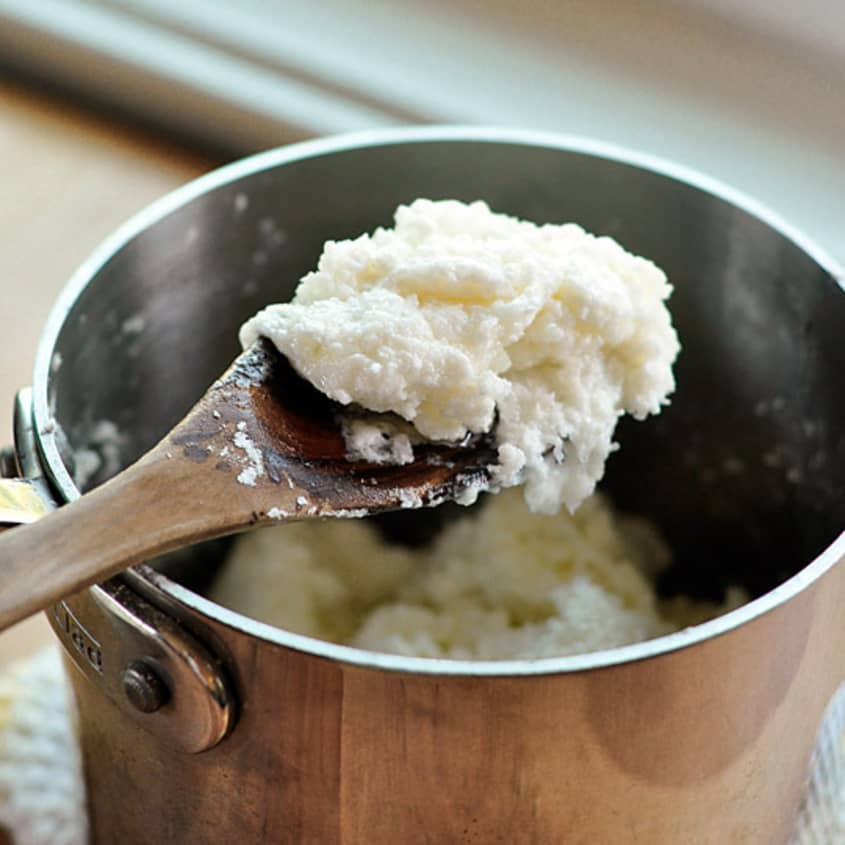
Add the tapioca flour: Add all of the tapioca flour and stir with a wooden spoon until you see no more dry tapioca flour. The dough will be grainy and gelatinous at this point.
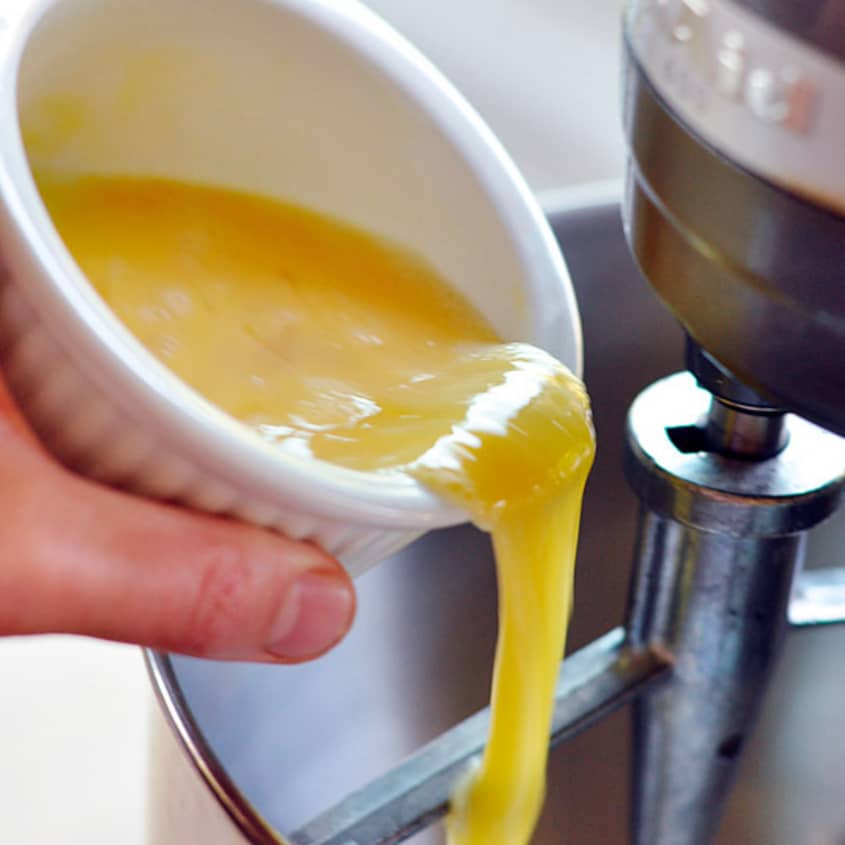
Cool the dough: Transfer the dough to the bowl of a standing mixer fitted with a paddle attachment. (Alternatively, you can finish the dough by hand. Be prepared for a work-out.) Beat the dough for a few minutes at medium speed until it smooths out and has cooled enough that you can hold your finger against the dough for several seconds. There may be an oily slick that is not fully incorporated.
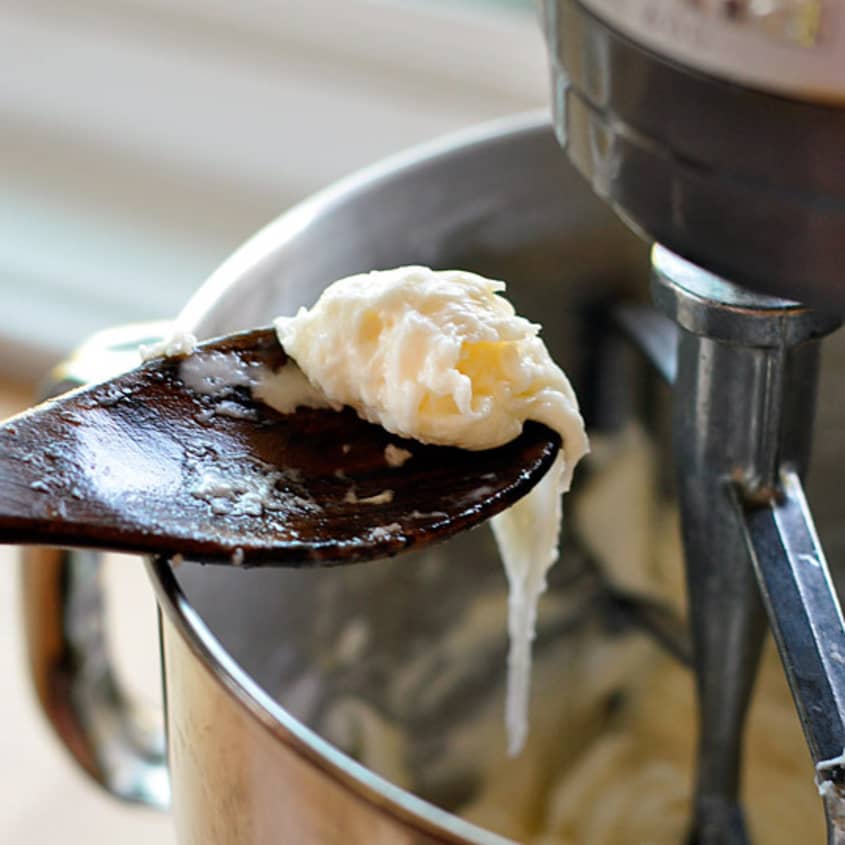
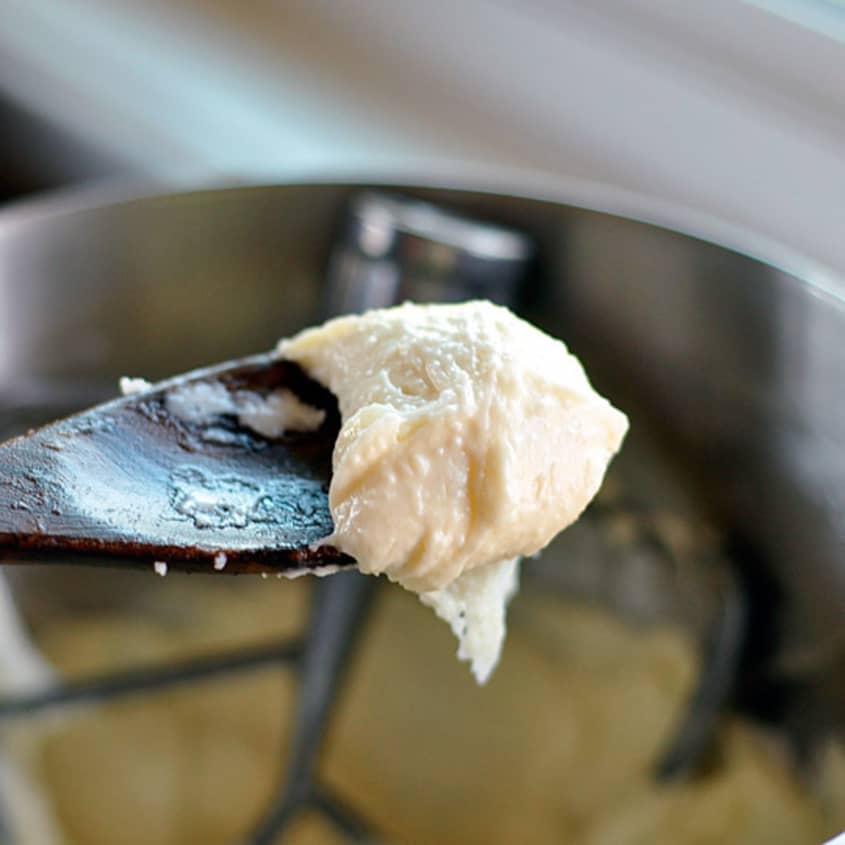
Beat in the eggs: With the mixer on medium speed, beat the eggs into the dough one at a time, waiting until the first egg is fully incorporated before adding the second. Scrape down the sides of the bowl as needed.
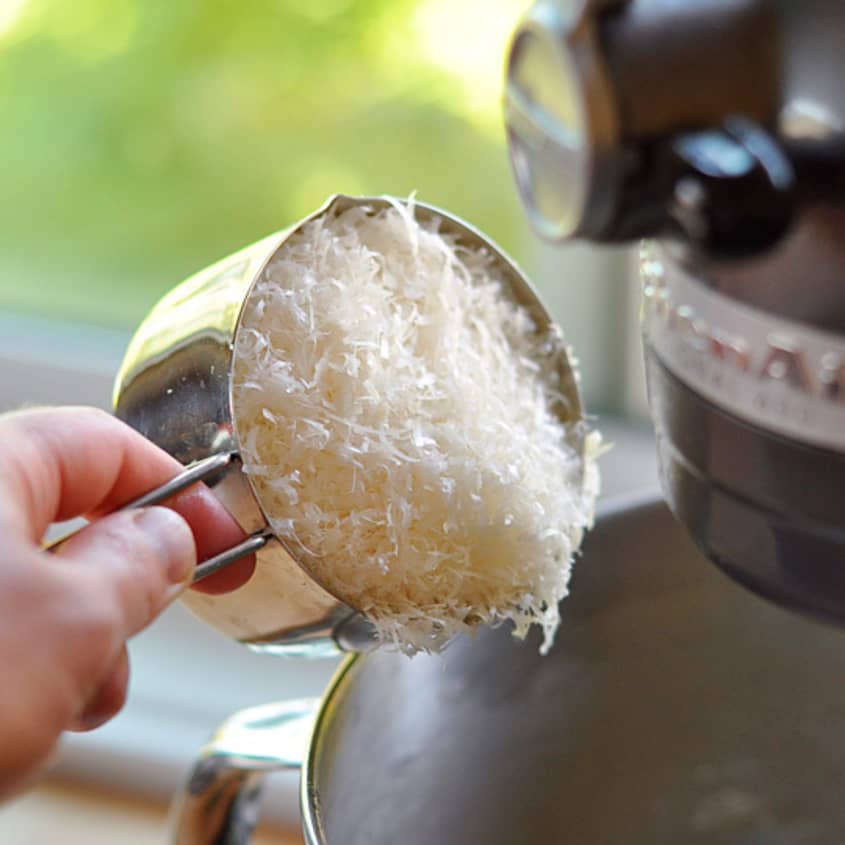
Beat in the cheese: Beat in the cheese on medium speed until fully incorporated. The resulting dough will be very sticky, stretchy, and soft with a consistency between cake batter and cookie dough. It will not be completely smooth.
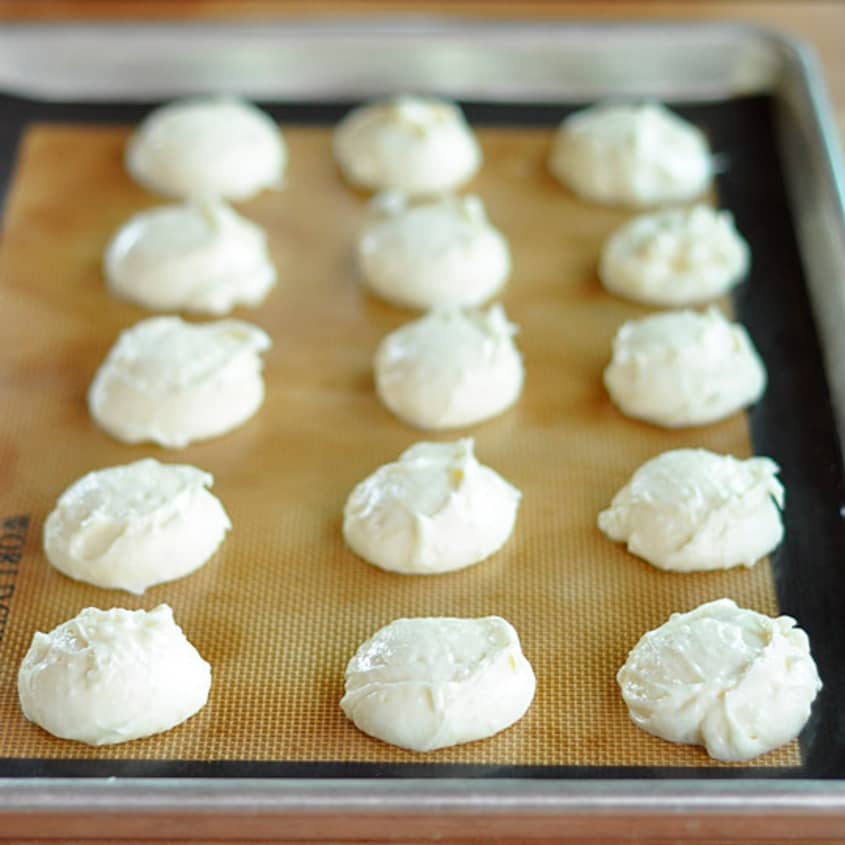
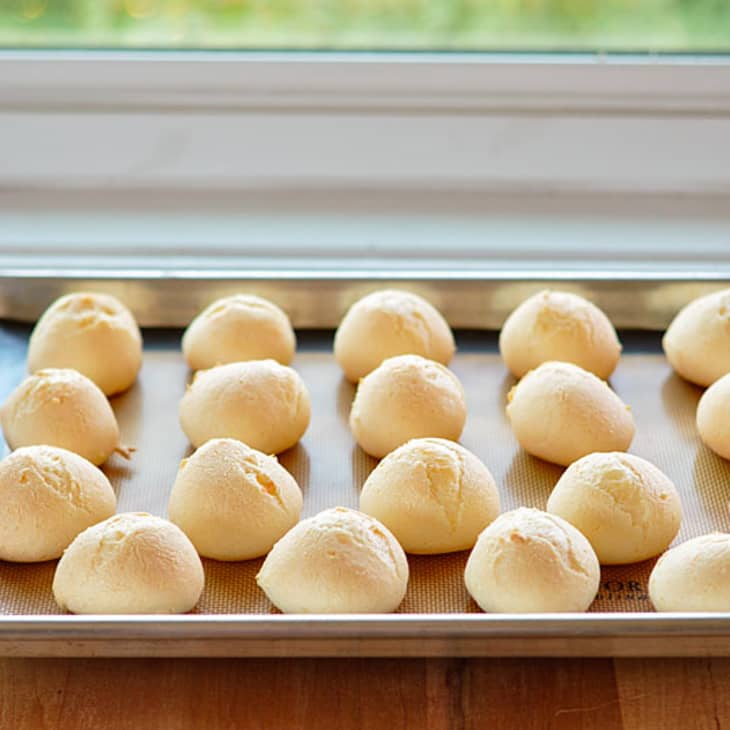
Portion the puffs: Have a small bowl of water ready. For small puffs, scoop the dough by level tablespoons onto the baking sheets, spacing them about 1 1/2-inches apart (24 per baking sheet). For larger puffs, scoop the dough with a small (1 ounce or 2 tablespoon) ice cream scoop, spacing them about 2-inches apart (12 per baking sheet). Dip your scoop in water between scoops to prevent sticking.
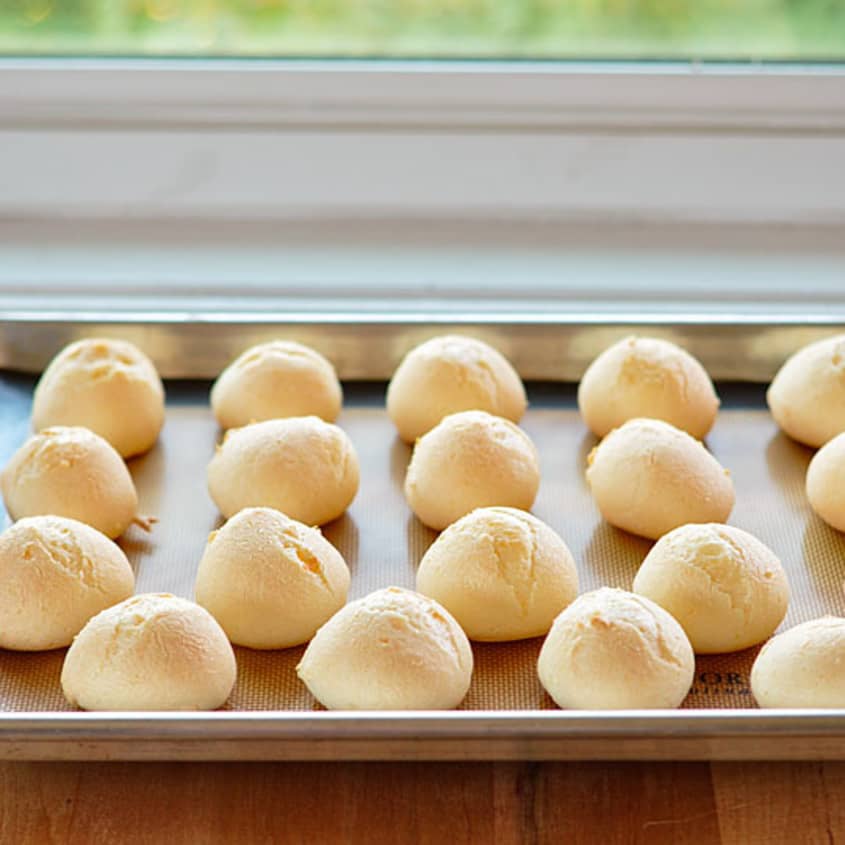
Bake the puffs: Place the baking sheets in the oven and immediately reduce the heat to 350°F. Bake for 15 minutes. Rotate the baking sheets between racks and from front to back. Bake until the puffs have puffed, the outsides are dry, and they are just starting to turn golden-brown on the bottoms, 10 to 15 minutes more. (The tops will not brown much.) Cool for a few minutes and eat warm.
Recipe Notes
Tapioca flour: Sour cassava flour or sour tapioca flour can be tricky to find in the United States. Look for it at Latin American markets. Plain tapioca flour lacks the slight sour, fermented flavor, but makes a fine substitute. You can find plain tapioca flour from Bob's Red Mill at most natural foods stores.
Storage: Leftover puffs can be kept in an airtight container in the refrigerator for up to 1 week and re-crisped in a warm oven or toaster oven.
Freezing: Portion the dough onto the baking sheets and freeze until solid. Transfer to resealable freezer bags and freeze for up to 1 month. Bake frozen for the same amount of time.
Want more smart tutorials for getting things done around the home?
We’re looking for great examples of your own household intelligence too!
(Images: Emma Christensen)