
How To Make Dried Pineapple Flowers

Does the toughest part of making a cake come at the end, just when you think you’re done? That cake is out of the oven, cooled, and frosted — but how to finish it off in a pretty way? For those of us with all thumbs and no pastry school degree, this is the last hill to climb. If you don’t care to decorate with artificially colored icing or candy, then it’s all the more challenging.
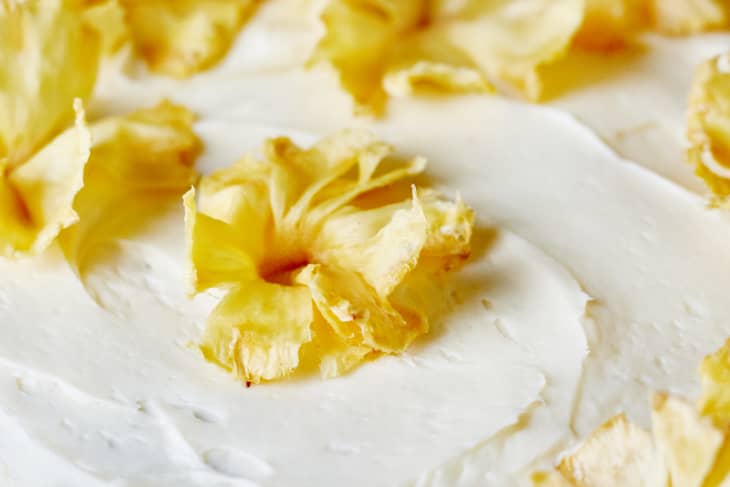
Southern bakers have a little trick that I’d love to teach you — a lovely, all-natural garnish for the classic hummingbird cake, but one that can also pretty up so many other things from cupcakes to cocktails. Here’s how to make dried pineapple flowers — the sweetest way to decorate a cake.
Dried pineapple flowers are a beautiful bakery trick that you can easily replicate at home with a warm oven and few pieces of equipment. This garnish takes sweet pineapple to a crispy, chewy, sweet, tart, next-level garnish.
Dried Pineapple Flowers: Three Steps
Pineapple flowers are an edible garnish, but ones that taste as good as they look. The thin edges crisp lightly in the oven, while the middle becomes chewy and the pineapple’s tart-sweetness concentrates to a candy-like confection.
So how do you make dried pineapple flowers and not just plain ol’ dried pineapple slices? There are three steps.
- Thinly slice the pineapple.
- Oven-dry it rather than dehydrate it.
- Shape the flowers while the pineapple slices are still warm from the oven.

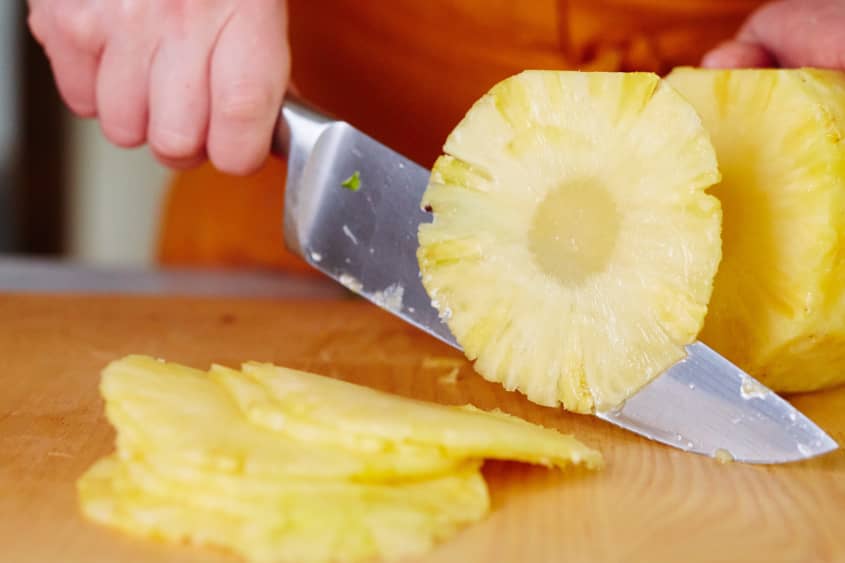
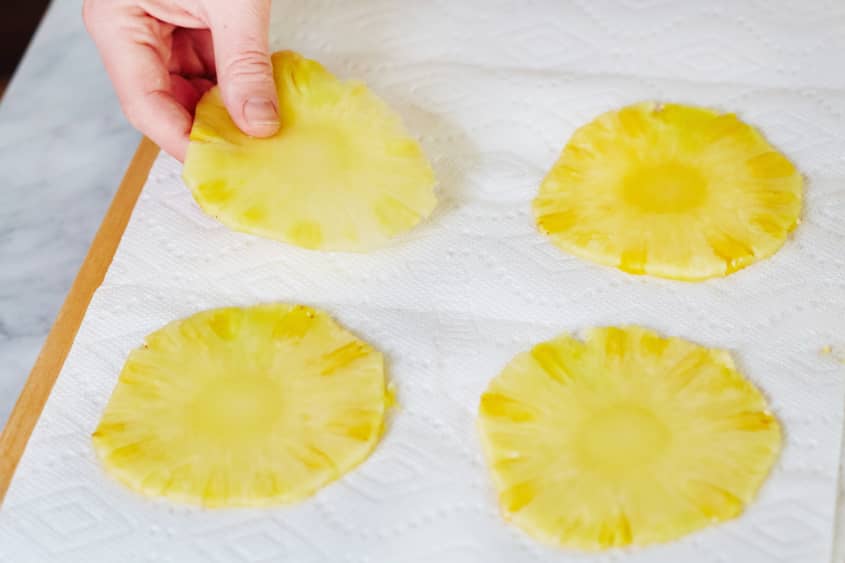
Use fresh pineapple and slice it thinly: Don’t be tempted to buy the pre-cut pineapples from the grocery store (you need the pineapple’s core intact) or canned pineapple for making pineapple flowers. Canned pineapple has too much sugar and won’t dry to the same pliable consistency. Grab a fresh pineapple instead and slice it thinly yourself.
Pineapple flowers are oven-dried: Rather than dehydrating the pineapple slices to make them chewy and pliable, use the dry heat of the oven to wick away moisture. The oven will be low and slow, and the pineapple will dry over two hours.

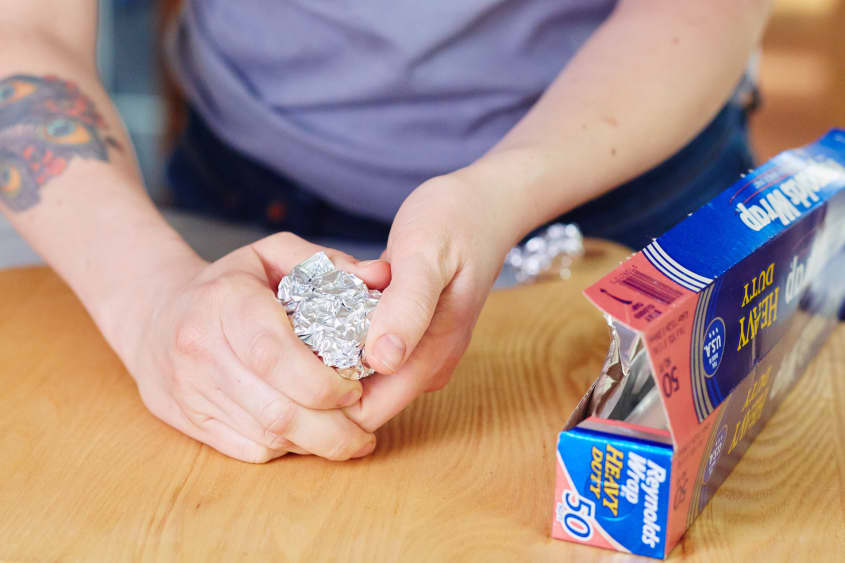
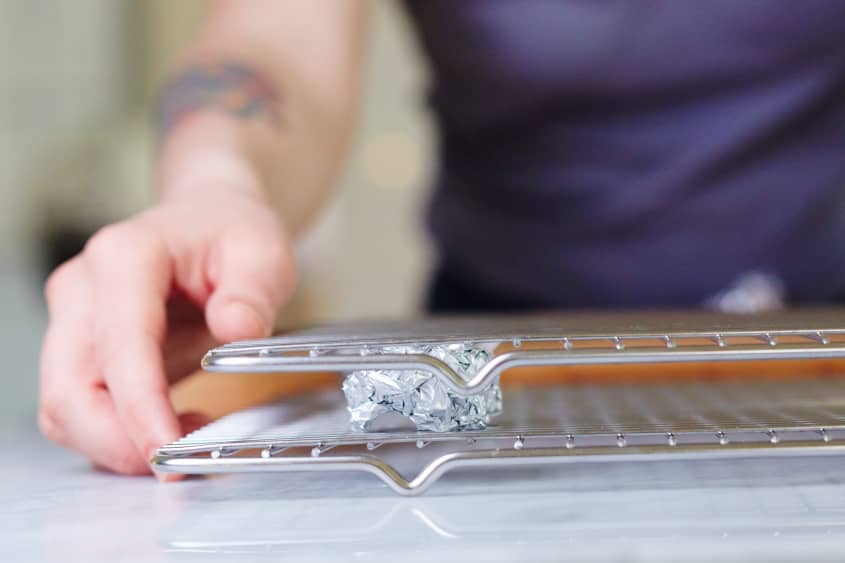
A cooling rack hack dries the slices faster: A fresh pineapple will yield 24 to 30 slices, too many to fit on a single sheet pan or cooling rack, so we call for stacking several cooling racks using aluminum foil balls as risers. The cooling racks allow the oven’s warm air to circulate around the flowers and dry them faster.

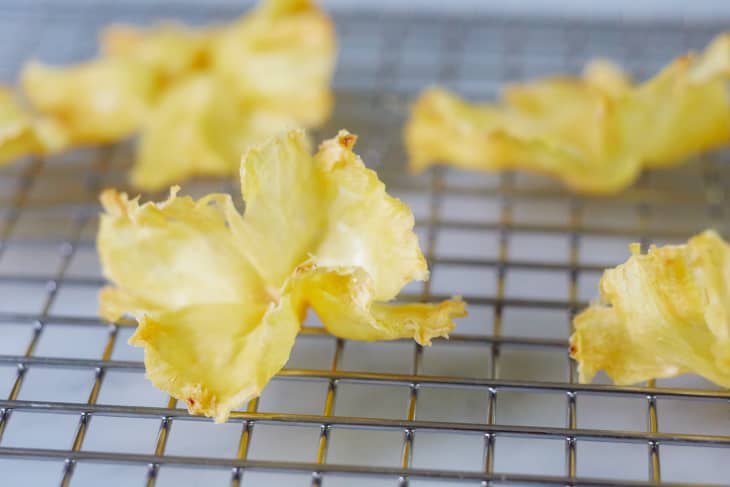
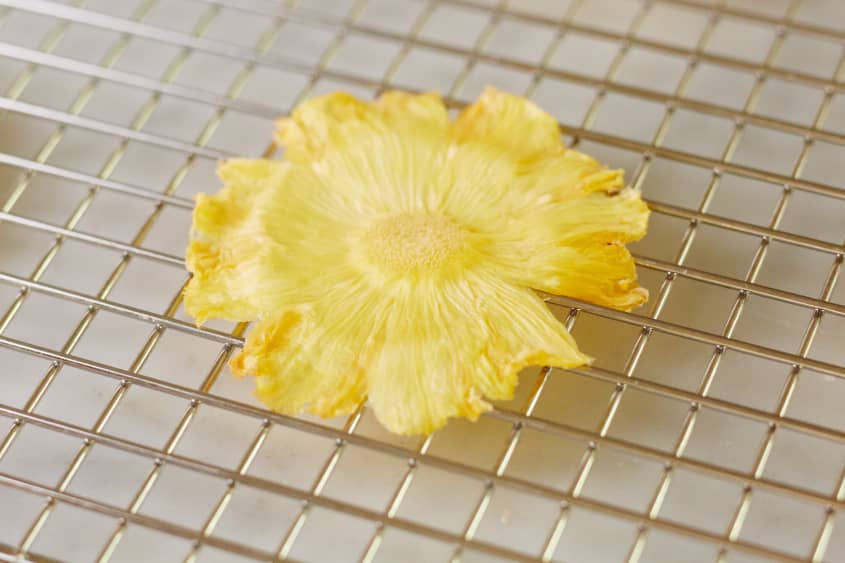
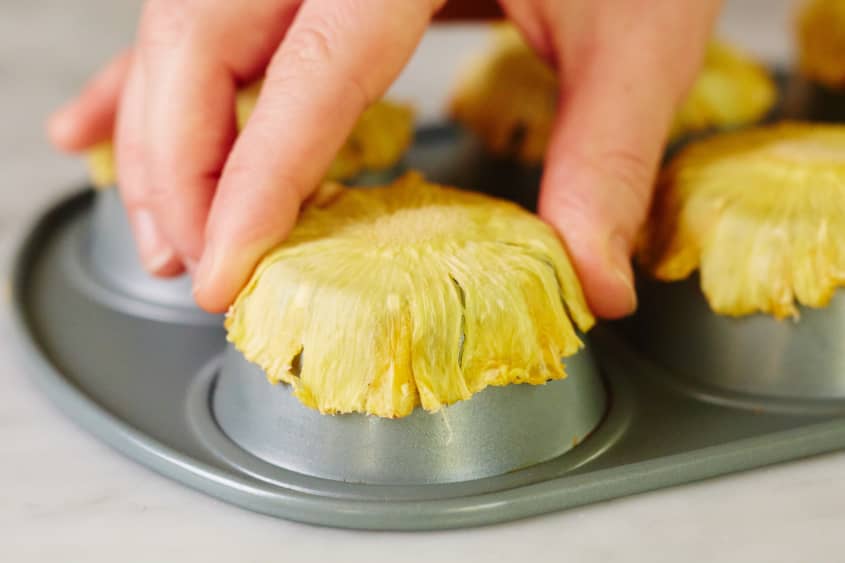
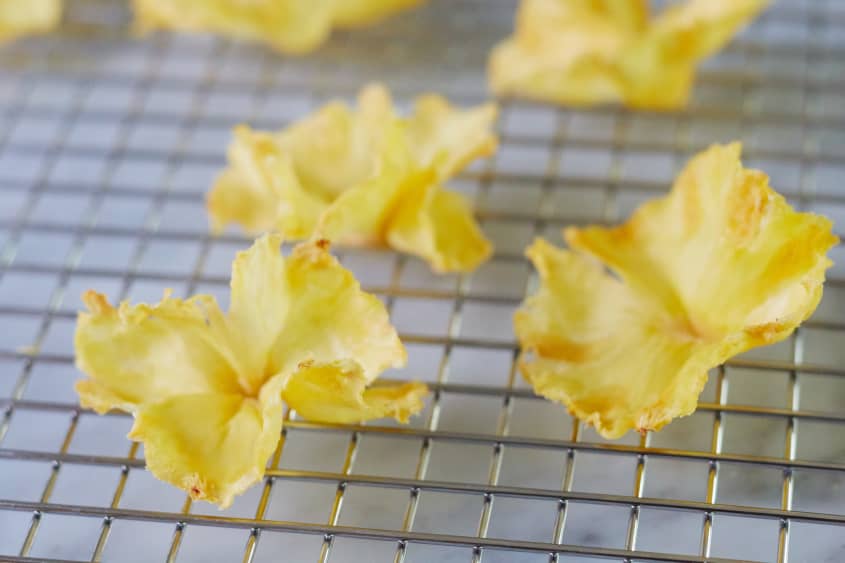
Shape the flowers while they are still warm: Once the pineapple slices are dried but still warm, you want to shape them into flowers. They will have naturally curled a bit in the oven and can be beautiful just as they are, or you can drape them over the bottom of a glass or muffin tin for a more cup-like shape.
Store them in an airtight container: These pineapple flowers are prone to becoming floppy if left out too long, so make them the day you plan to use them, or store them in an airtight container for up to two days.
You can use your pineapple flowers to garnish any number of desserts or cocktails. We use them to decorate our classic hummingbird cake.
How To Make Dried Pineapple Flowers
Makes about 24 pineapple flowers
Nutritional Info
Ingredients
- 1
large pineapple
Equipment
Chef's knife
Paper towels
- 2 to 3
wire cooling racks
Aluminum foil
Rimmed baking sheet
Muffin tin or glass
Instructions
Set up your oven for drying: Arrange a rack in the lowest part of the oven, remove all the other racks, and heat to 200°F or its lowest setting. Make 12 aluminum foil balls, each about the size of a golf ball, and flatten slightly.
Peel and thinly slice the pineapple: Place the pineapple on its side on a cutting board and cut off the top and bottom. Set the pineapple upright. Working your way around the pineapple, cut off the rind in strips. Cut deep enough to remove the "eyes," but save as much of the flesh as possible. When you're done, trim off any eyes or bits of rind you may have missed. Thinly slice the pineapple crosswise into 1/8-inch-thick rounds.
Dry the pineapple slices on paper towels: Lay the pineapple slices in a single layer on paper towels and pat dry with additional paper towels.
Move the pineapple slices to the drying racks: Lay the pineapple slices in a single layer on 2 to 3 wire cooling racks, making sure they do not touch. Stack the racks on a rimmed baking sheet, using the foil balls as spacers in each corner between the racks.
Dry the pineapple: Move the whole setup to the oven. Dry until the slices are dried but still pliable, 2 to 3 hours.
Shape the flowers: While the slices are still warm, drape them over the back of a muffin tin or glass to form a cup shape and cool completely.
Recipe Notes
Storage: These pineapple flowers are prone to becoming floppy if left out too long, so make them the day you plan to use them, or store them in an airtight container for up to 2 days.