
How To Make Dairy-Free Coconut Yogurt

After trying a pot of super creamy, slightly tangy coconut yogurt from the supermarket, I started to wonder how it was made — and if I could make it myself. A bit of research and experimentation later, I discovered it’s not hard at all! As soon as you’ve gathered a few supplies, you’ll be well on your way to making (and falling in love with) this delicious dairy-free yogurt.

How Is Coconut Yogurt Made?
Regular cow’s milk yogurt relies on bacteria to thicken the yogurt, give it a tangy flavor, and add some beneficial probiotics. Because coconut milk has a very different structure, we have to use other methods to turn it into creamy, spoonable yogurt: probiotic powder for the health benefits and flavor, and agar agar or tapioca starch for the thickener.
Where to Find the Probiotics
For the probiotics, I use probiotic capsules that are certified vegan and gluten-free. If you’re the UK, go with these. If you’re in the US, try these capsules or this yogurt starter culture packet. Check the list of probiotics on the packet — you want a few of the following: Lactobacillus acidophilus, Bifidobacterium bifidum, Bifidobacterium lactis and Streptococcus thermophilus. You can also add a few tablespoons of store-bought coconut yogurt or vegan soya yogurt with live cultures. If you’re not bothered by dairy, you can use normal cow’s milk yogurt, too.
The Best Way to Thicken Coconut Yogurt
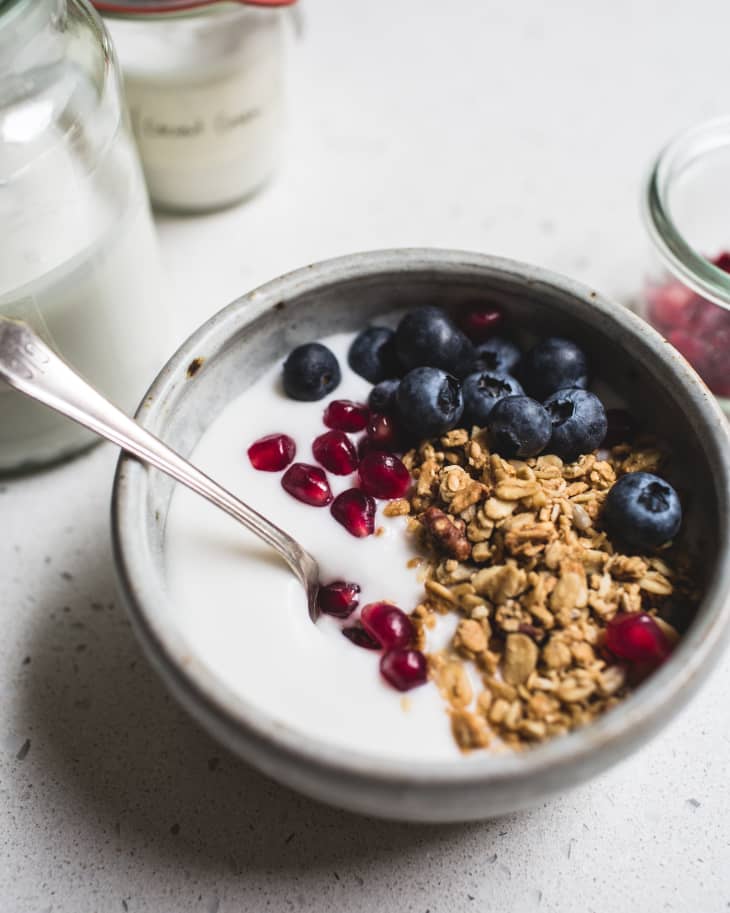
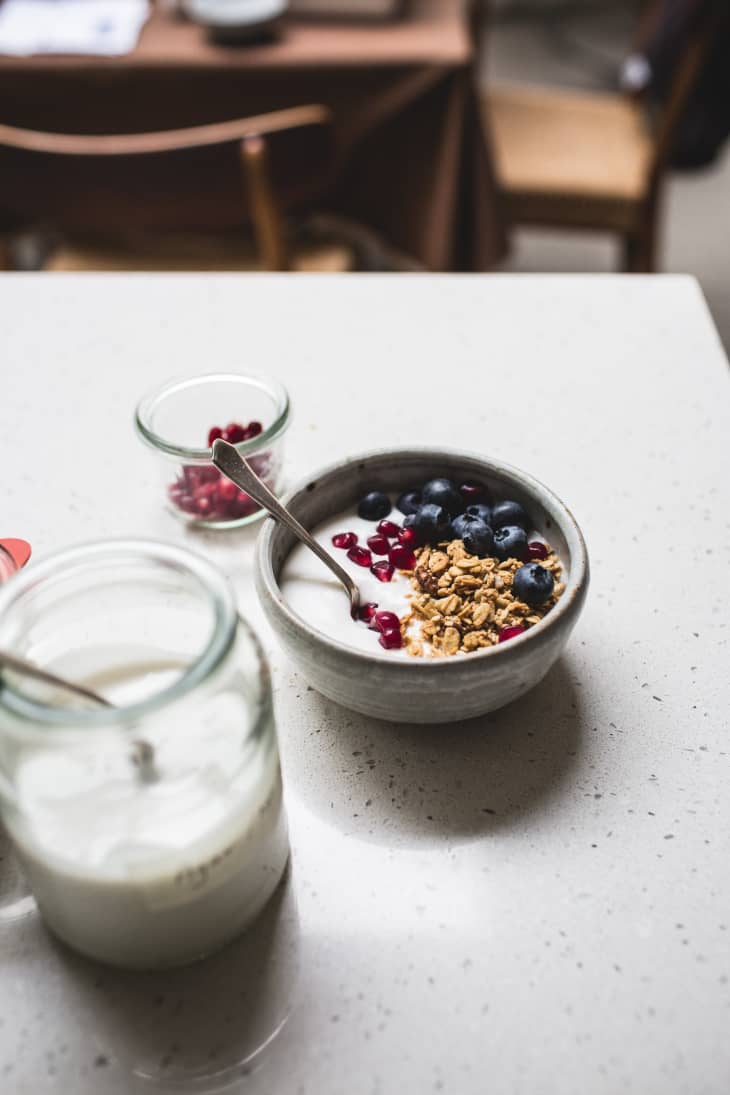
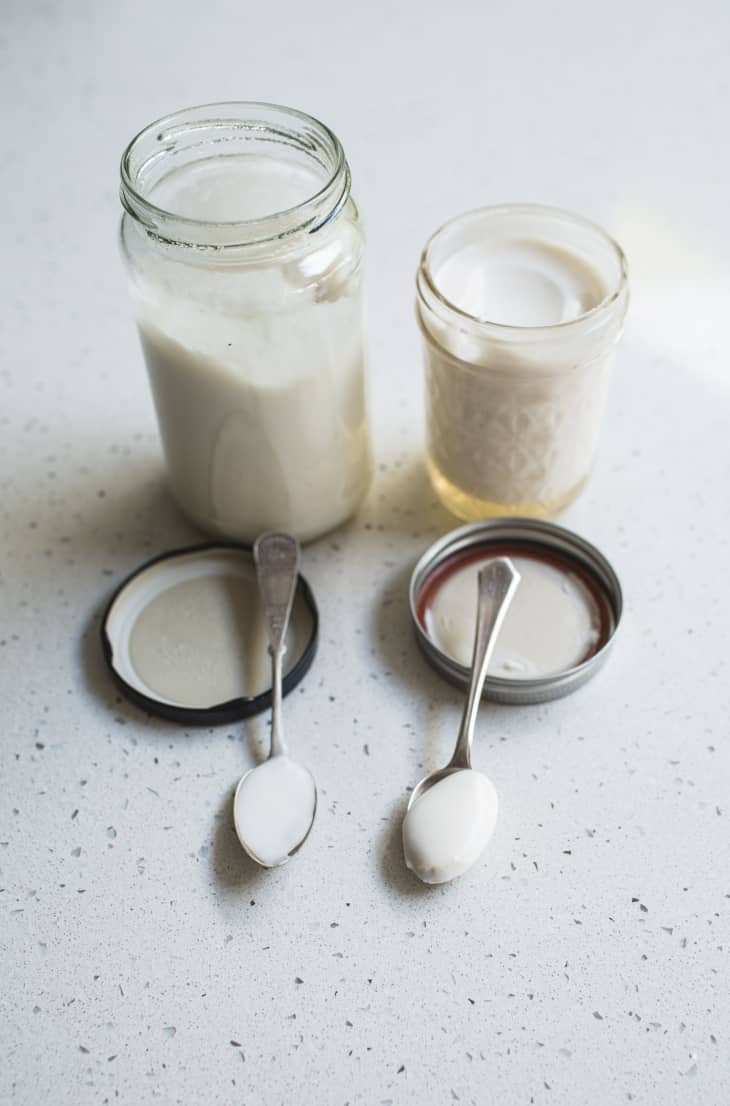
I recommend using either agar agar (a vegan alternative to gelatin) or tapioca starch to thicken the coconut yogurt. Most store-bought coconut yogurt that I’ve seen use tapioca starch. Both of these thickeners are easy to work with and produce reliable results: a pourable yogurt, similar in texture to the low-fat plain yogurt I usually buy for baking, making smoothies, and eating with granola or muesli.
You can also make a fairly thick yogurt without using any thickener at all. Instead of using the whole can of coconut milk, just use the extra-thick creamy layer that rises to the top. To do this, refrigerate the can of coconut milk overnight, open up the can, and scoop the layer of thick white cream off the top. It’s naturally thick, so there’s no need to add thickening agents to it, and you can also skip the heating step (which makes the process quicker). The only downside is that this yogurt is incredibly rich, so it’s better as a topping for pancakes or desserts, in my opinion.
One final option for making Greek-style yogurt is to make tapioca- or agar agar-thickened yogurt and then strain it through cheesecloth overnight. This also produces a fairly sweet and rich yogurt, though nicely thick.

How To Make Dairy-Free Coconut Yogurt
Makes about a quart
Nutritional Info
Ingredients
- 2
(14-ounce) cans coconut milk
- 2 teaspoons
agar agar flakes, or 2 tablespoons tapioca starch (see Recipe Notes)
- 4
probiotic capsules, or 4 tablespoons store-bought coconut yogurt
- 2 tablespoons
raw sugar or maple syrup, optional
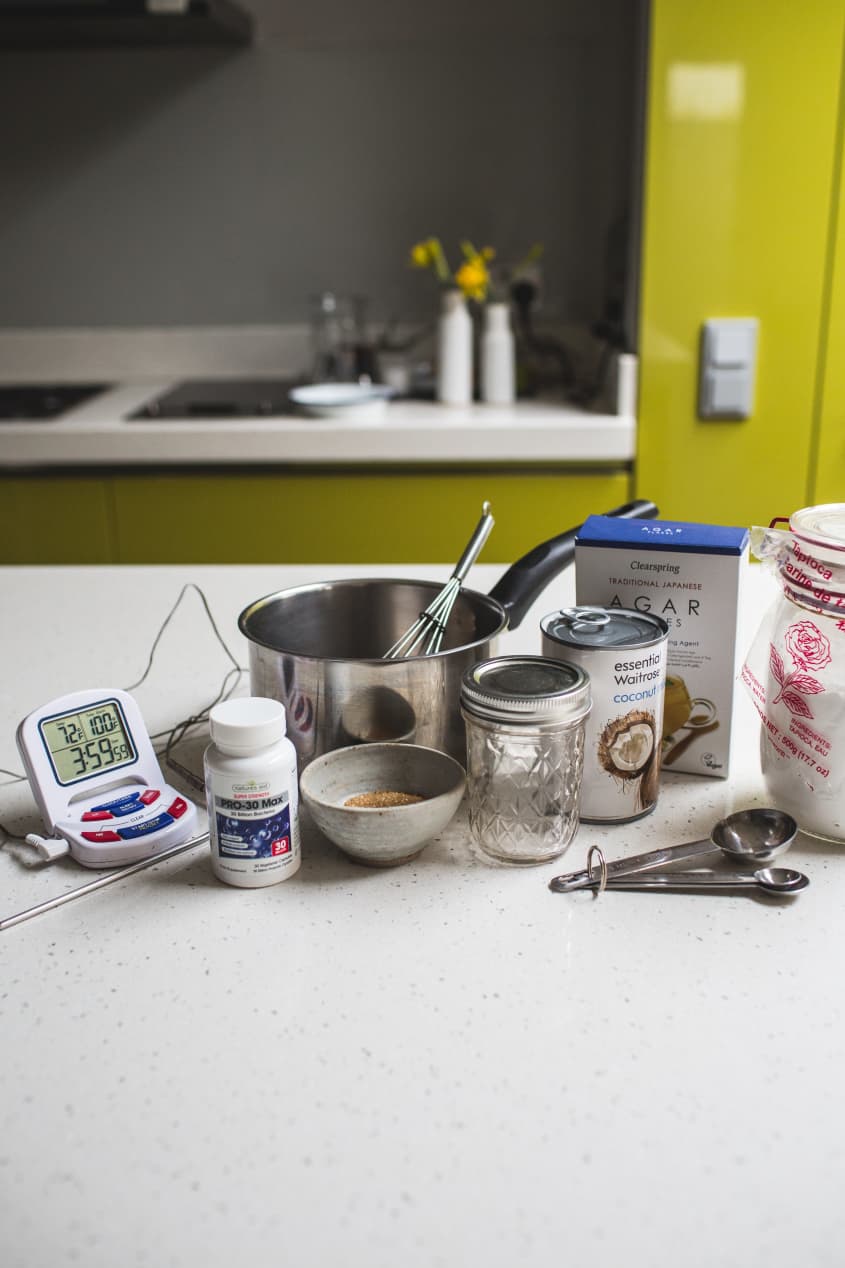
Equipment
Glass jars with lids, for storing the yogurt
Measuring spoons
Medium saucepan
Whisk
Thermometer, optional
Instructions
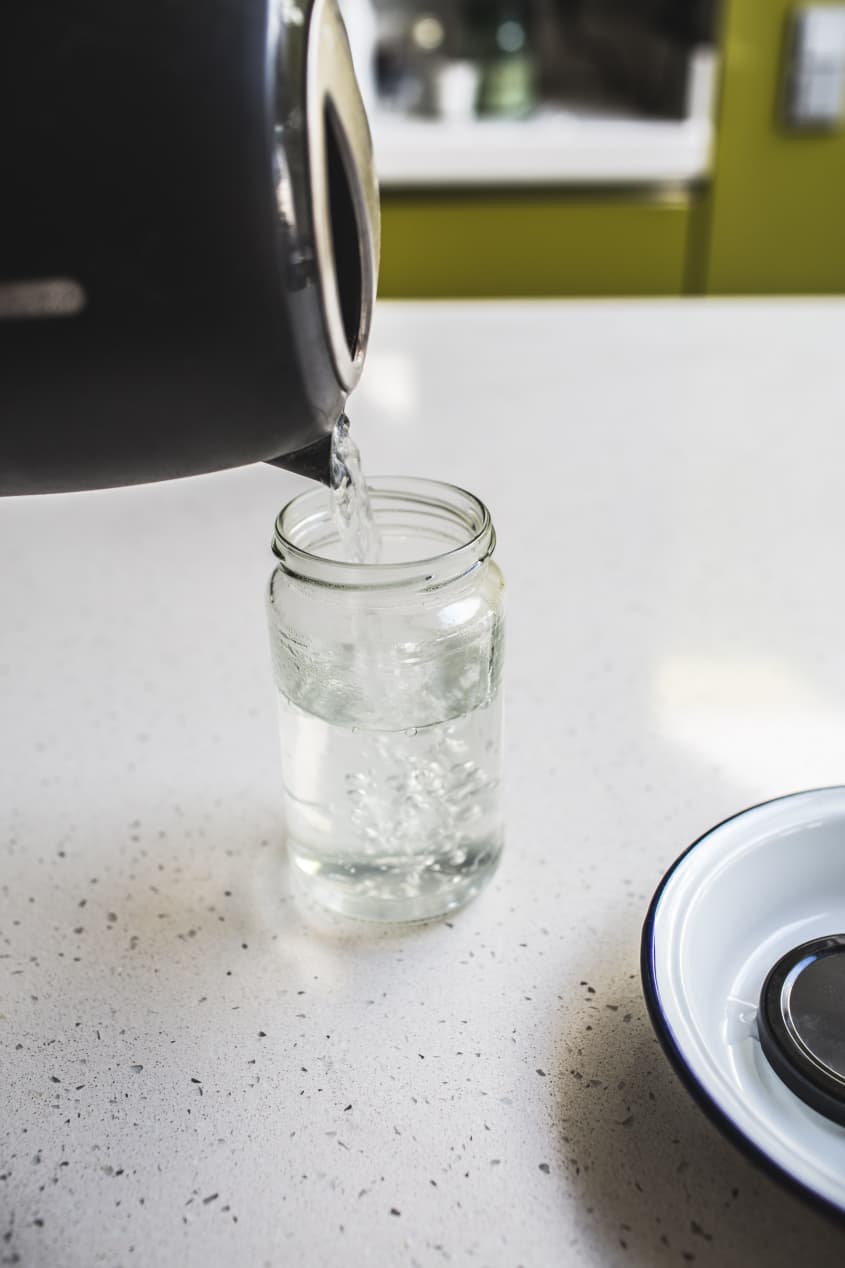
Warm the oven and sterilize the jars: Warm the oven for about 5 minutes, until it reaches about 100°F, then turn off the heat — leave the light on to help keep the oven warm. Fill the jar(s) you'll use for storing the yogurt with boiling water to sterilize them. Let stand a few minutes, then pour the water out. Alternatively, you can run the jars through the dishwasher.
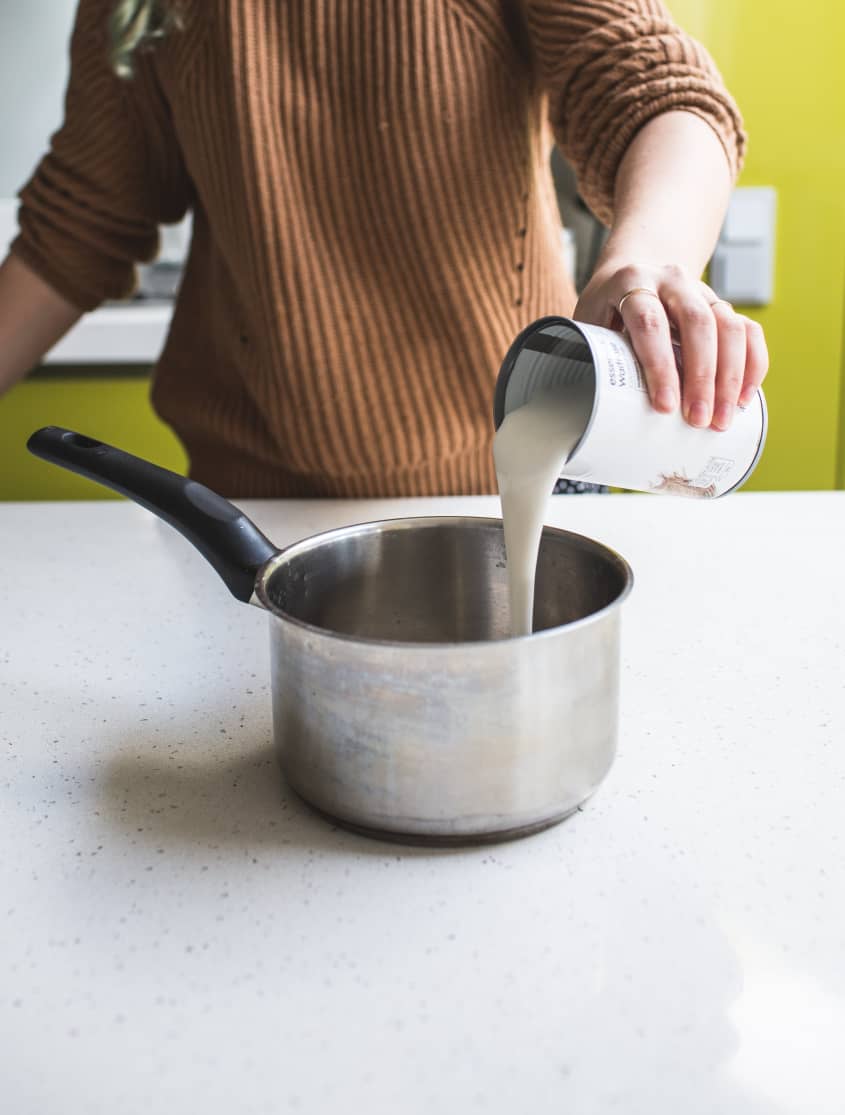
Pour the coconut milk into a saucepan: Shake the can of coconut milk, open it, and pour it into a medium pot. Whisk until the milk is smooth and uniform.
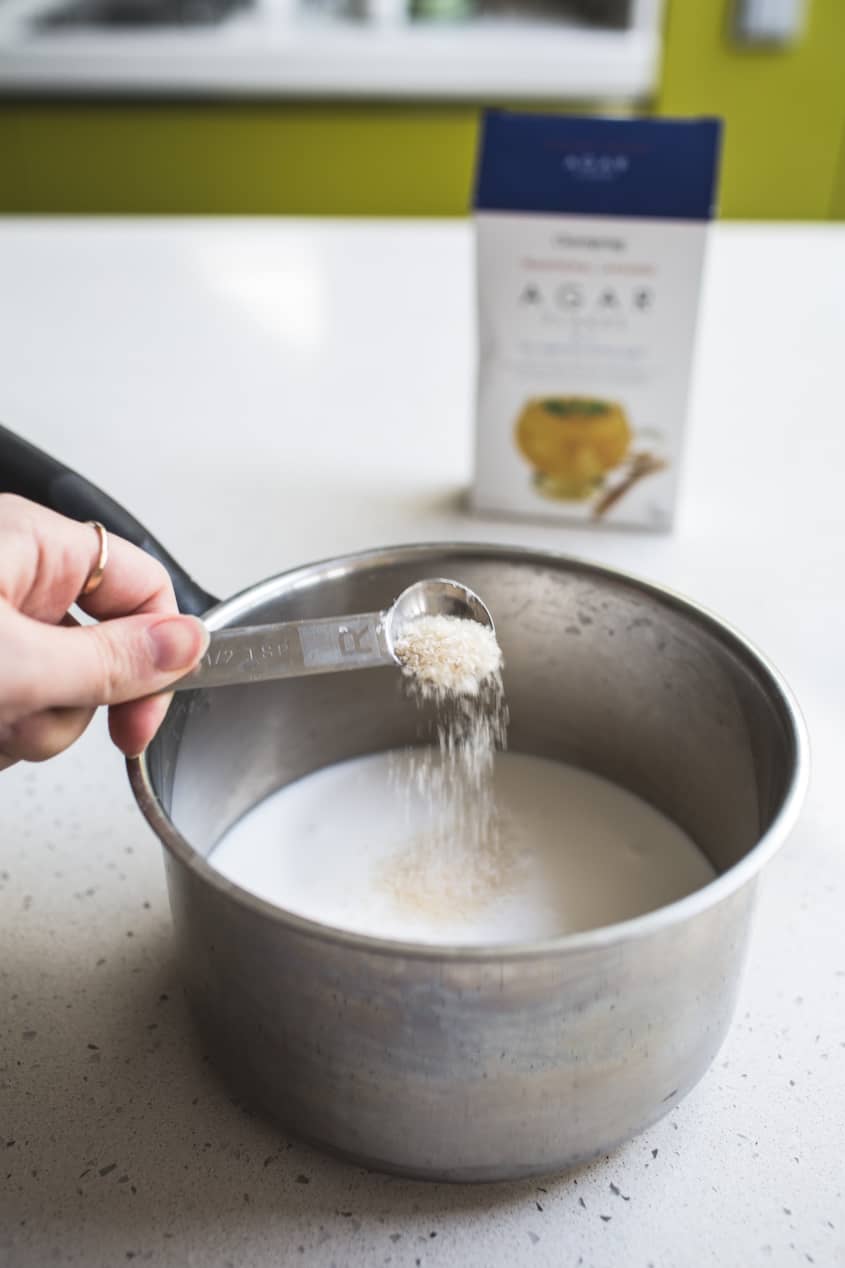
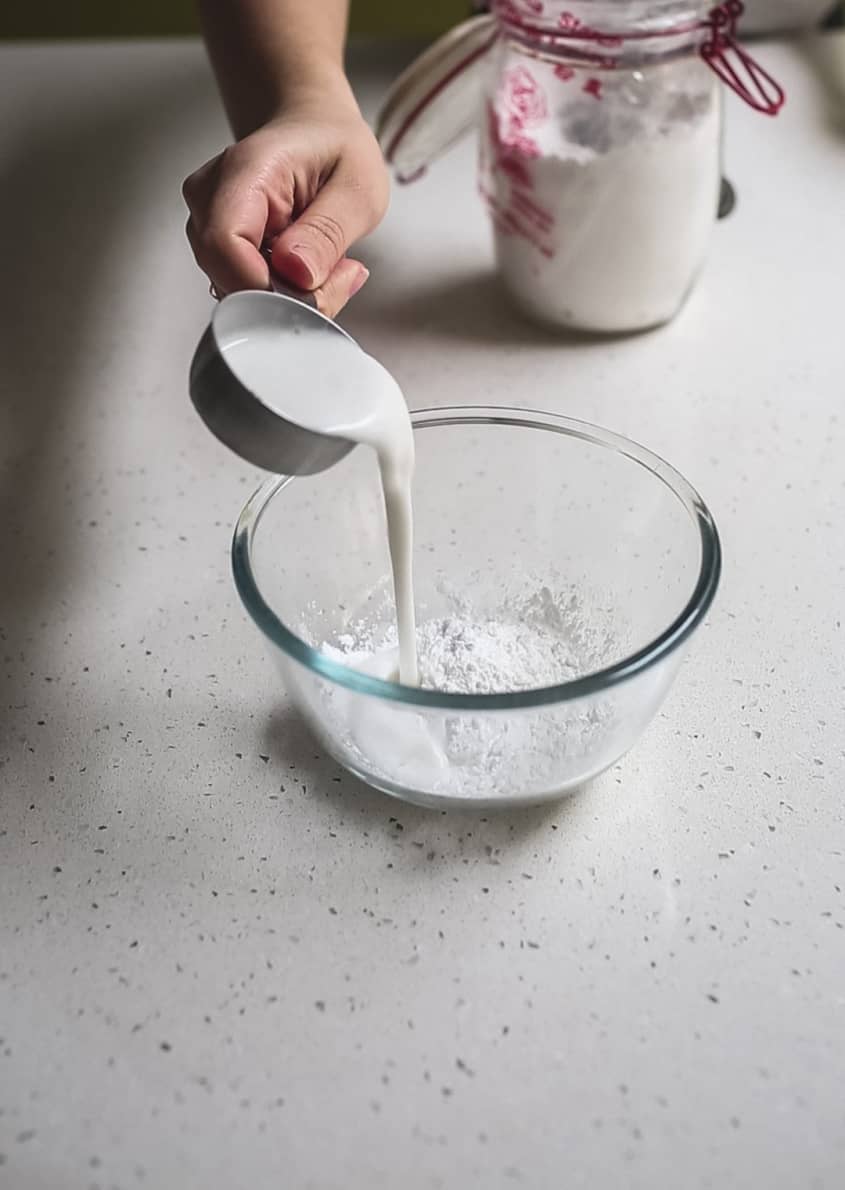
Add the thickener: If you're using agar agar, sprinkle 1 teaspoon of agar agar flakes into the pot over the coconut milk — but don’t stir! If you're using tapioca starch, scoop out roughly 1/3 cup of the coconut milk and transfer to a bowl with the starch. Whisk this together until the starch is dissolved, then pour back into the pot.
Warm the coconut milk: Place the pan on the stove over medium heat and warm until the coconut milk starts to simmer. (The agar agar will also start to melt together.) Whisk the milk and turn down the heat to low. Continue cooking on low, whisking occasionally, for 5 to 10 minutes, until the agar agar flakes are fully dissolved or the tapioca starch has thickened the mixture.
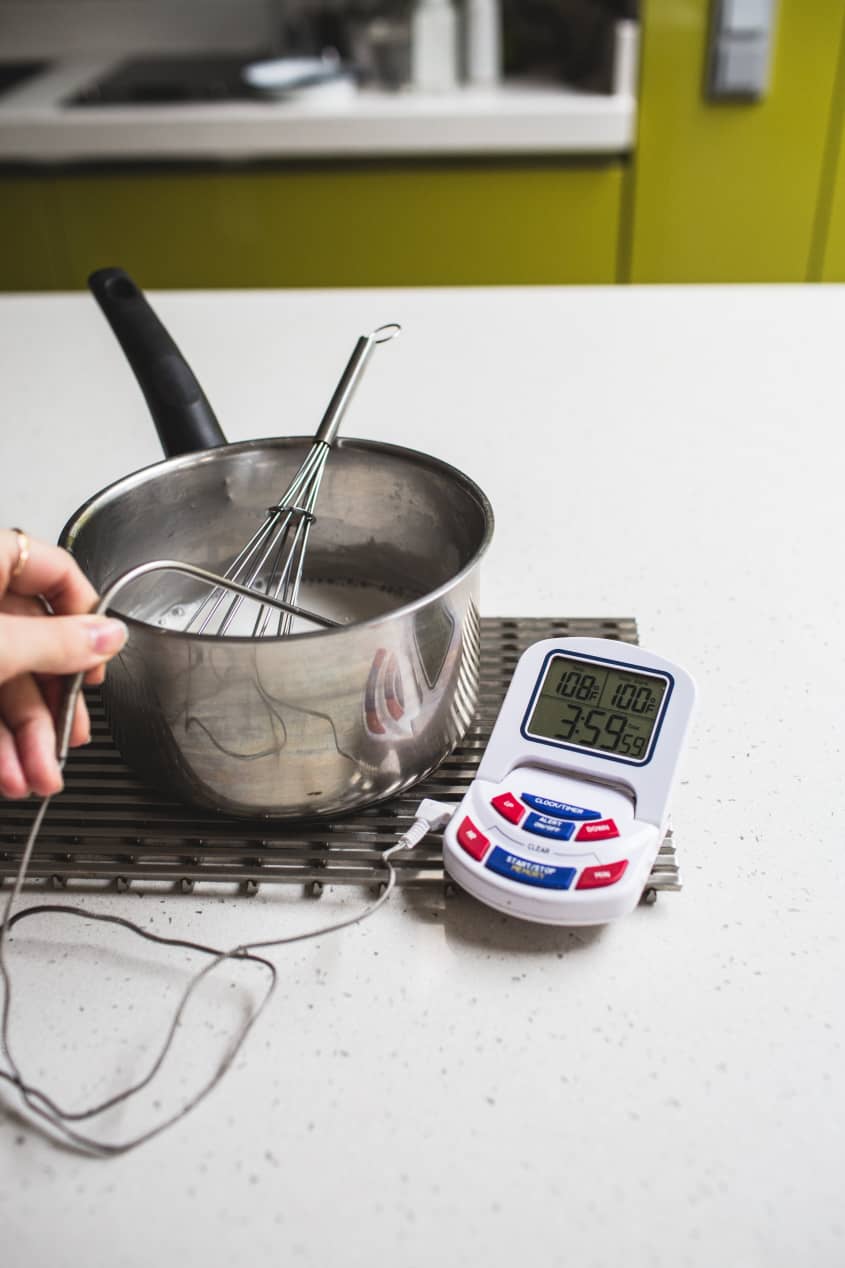
Cool the milk: Cool the milk until it's just warm to the touch, about 100°F.
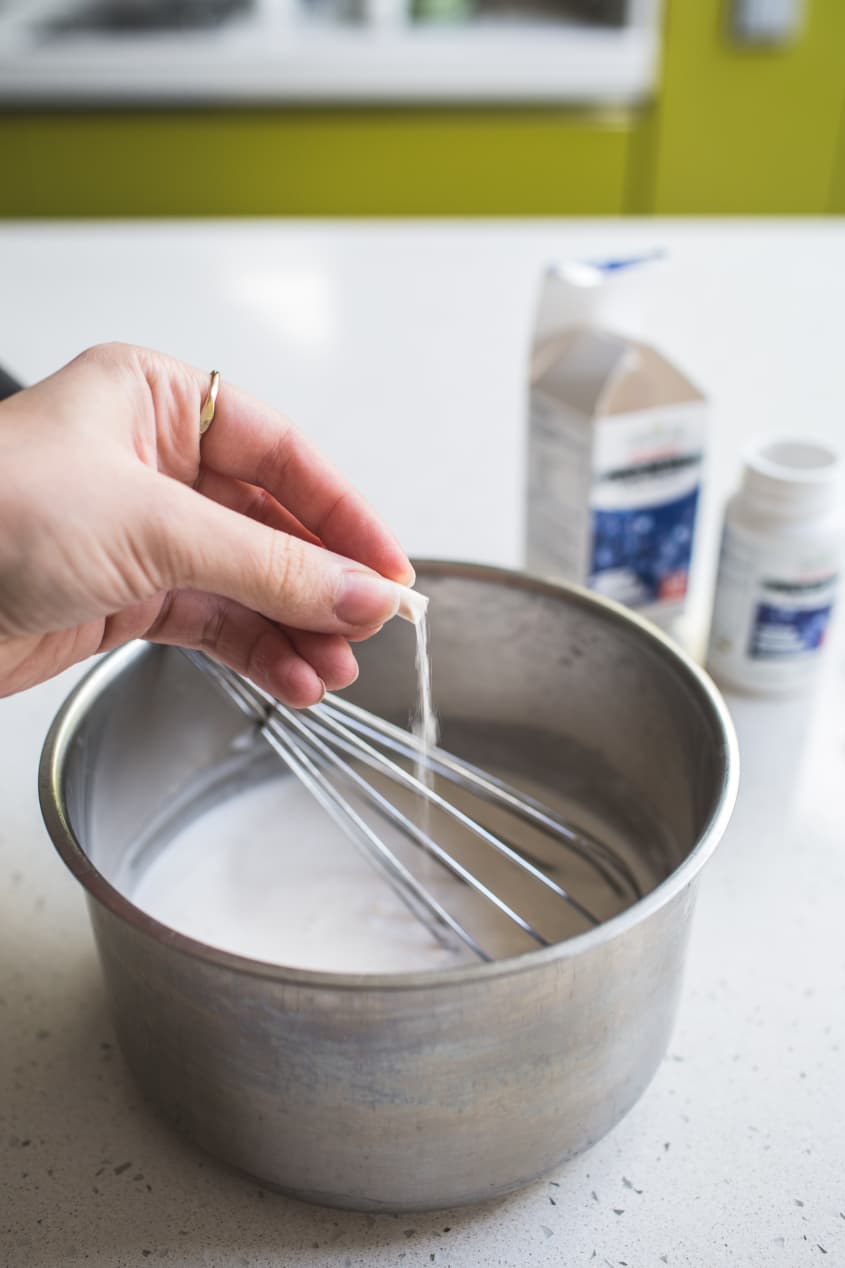
Add the probiotics: Twist open the probiotic capsule and pour the powdery contents over the milk (discard the capsule’s casing). Whisk to combine. Alternatively, whisk in 4 tablespoons store-bought coconut yogurt.
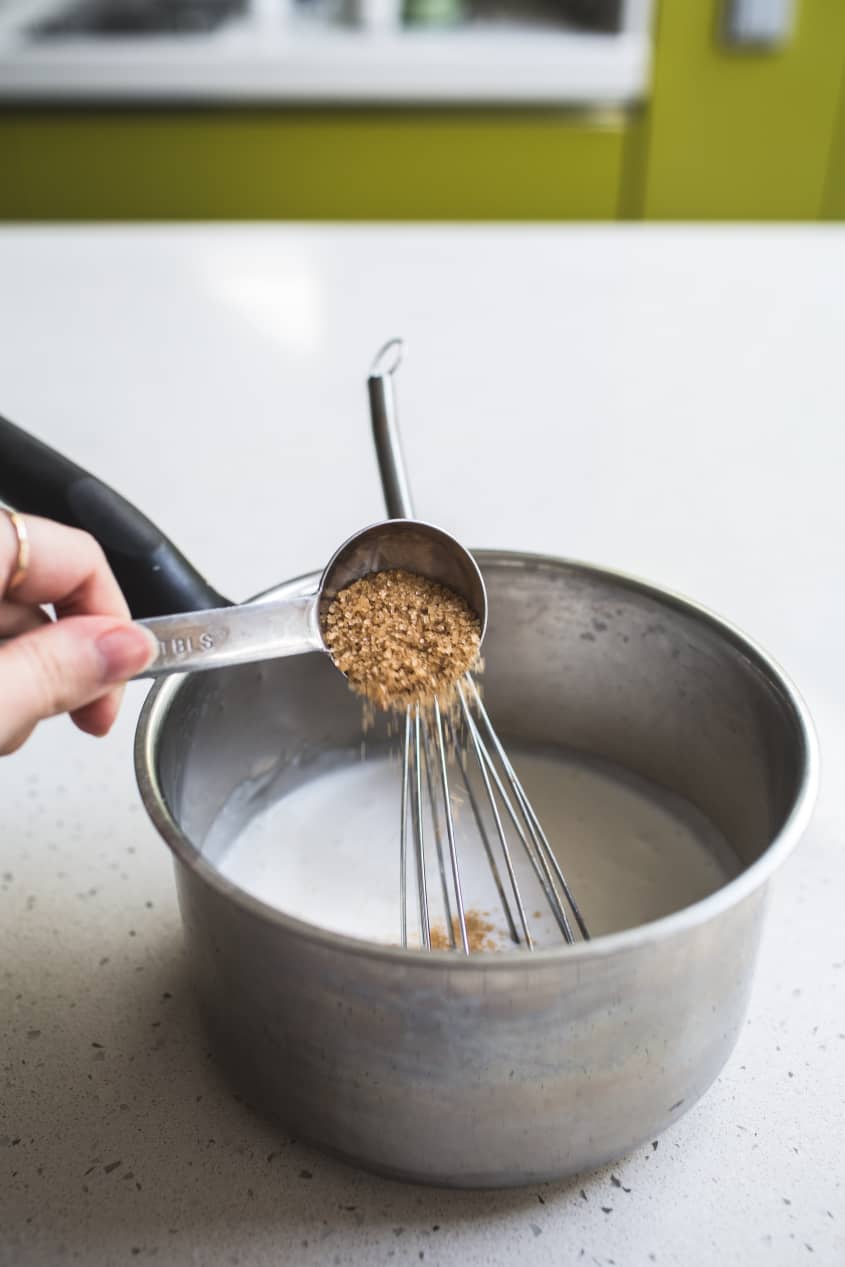
Add the sugar or maple syrup. Whisk together well.
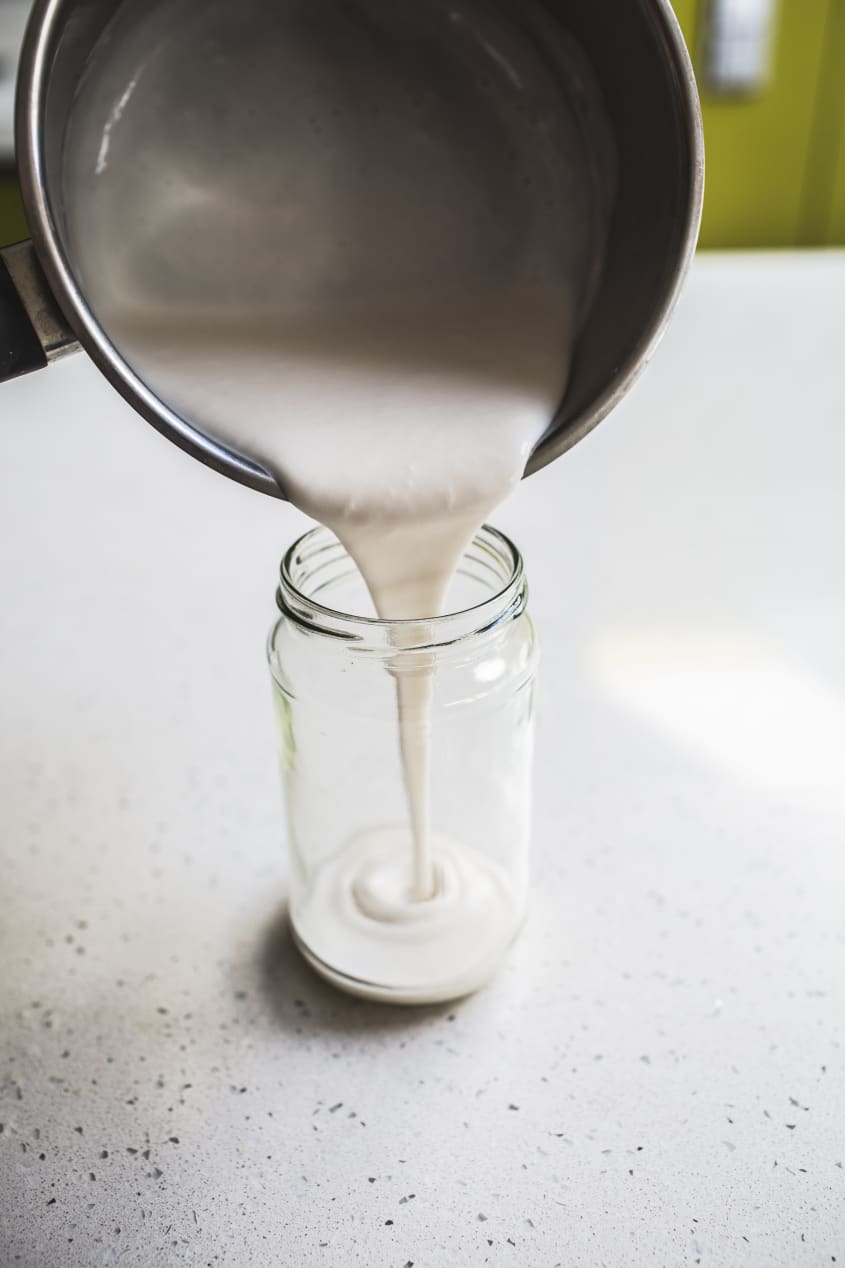
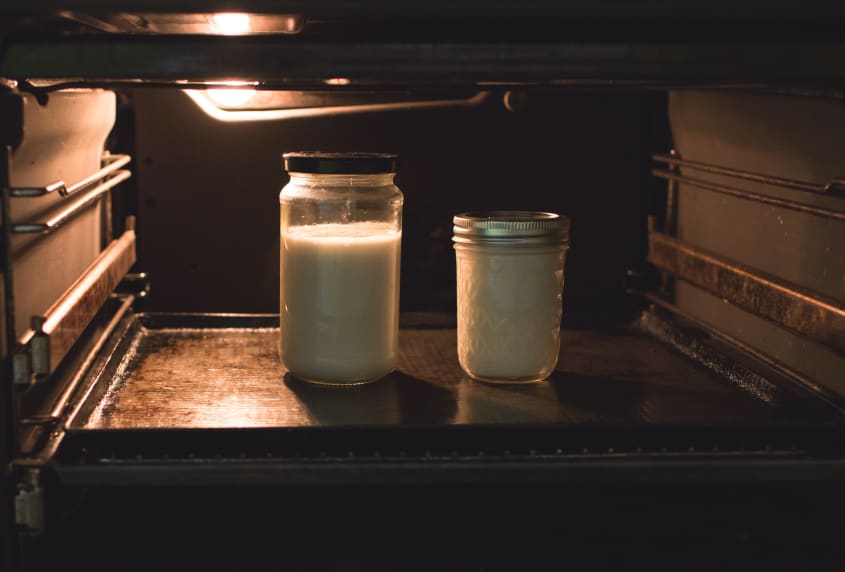
Pour into jar(s) and allow the yogurt to set for 12 to 24 hours: Pour the coconut milk into the sterilized jar(s) and screw on the lid(s). Place into the oven — turn the oven light on to keep the environment warm. Alternatively, use a yogurt maker or place into a dehydrator at 110°F. Leave for 12 to 24 hours without disturbing.
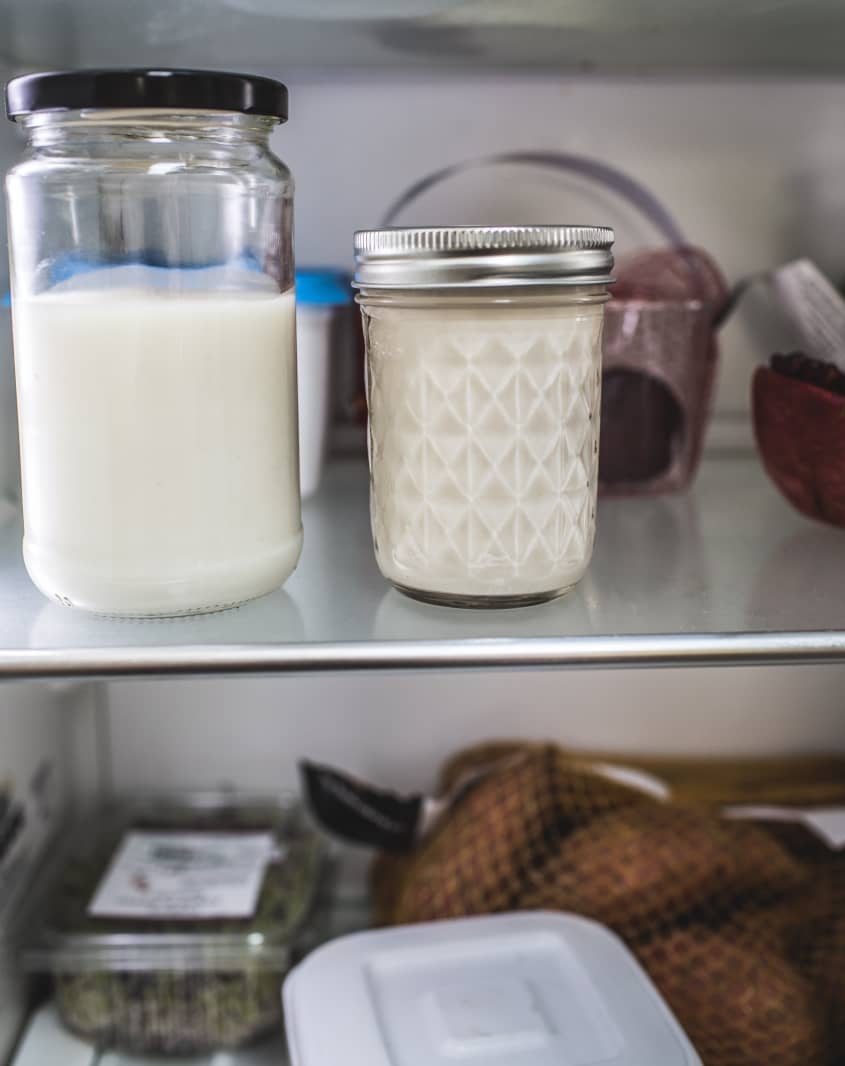
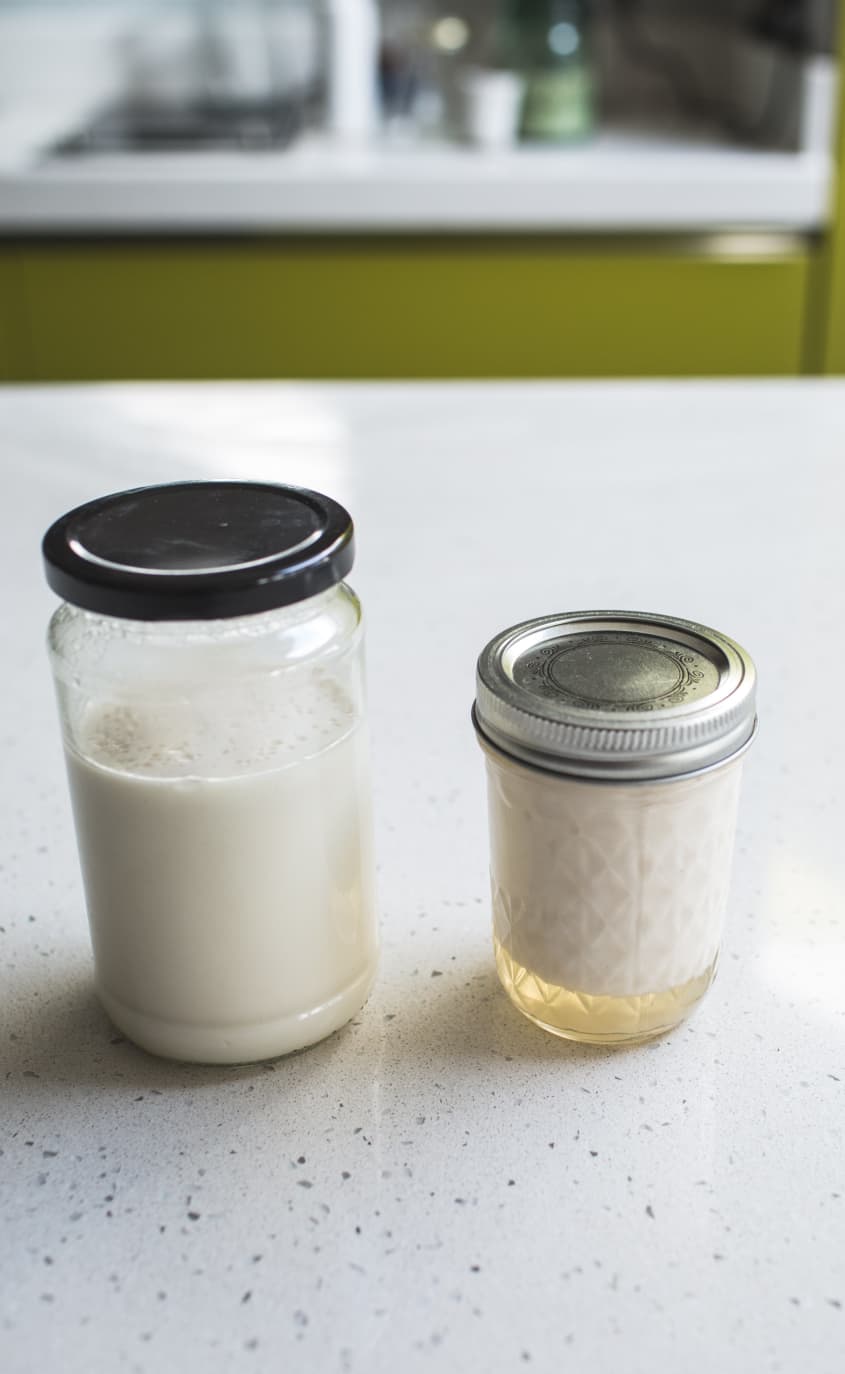
Chill the yogurt: Place the set yogurt into the fridge and chill for at least 6 hours. The yogurt will become thicker as it chills. After this stage, you might find that the mixture has separated with a yellowish, translucent layer at the bottom and a thicker white layer on top. Stir to recombine or scoop off the top layer for thicker coconut yogurt.
Keep coconut yogurt refrigerated and use within 2 weeks.
Recipe Notes
If the yogurt develops a pink or grey discoloration on its surface, that means it has been contaminated with bad bacteria. Throw it away and do not eat it!
Thickener-free coconut yogurt: The night before making the yogurt, chill the can of coconut milk. Do not shake. Open the can of chilled coconut milk and scoop off the top layer of cream, leaving behind the liquidy coconut water below (you can discard the water or use it for making smoothies or cooking oatmeal). Add the probiotics and continue making the yogurt as directed.
Making extra-thick coconut yogurt:
→ Scoop about 1 tablespoon of the fermented yogurt into a small bowl and stir together with 1 teaspoon ground psyllium husk. Pour back into the jar and stir together well.
→ Stir 3 tablespoons of chia seeds into the jar of fermented yogurt. Chill for 4 hours until thickened.
→ Transfer the yogurt to a strainer lined with cheesecloth and set over a bowl. Allow to strain overnight, just like when making Greek-style yogurt.
Want more smart tutorials for getting things done around the home?
See more How To posts
We’re looking for great examples of your own household intelligence too!
Submit your own tutorials or ideas here!