
How To Make Nut Milk from Almonds, Cashews, or Any Other Nut

Makes2 cups
Nut milks are nothing new. In fact, The Kitchn’s former editor Emma gave us the play-by-play on making our own almond milk at home a few years ago here. But as the variety of nut milks, nut milk blends, and hybrid almond-coconut-hemp milk creamers continue to fill the shelves, we wondered if we could make every kind of nut milk at home.
The answer is a resounding “Oh heck yes!” because not only can you make any nut milk at home, but it also tastes better, has fewer ingredients, and can be customized at least a hundred different ways. There are few steps to make any nut milk and these include soaking, draining, rinsing, blending, and straining nuts.
We will go through the process of making any nut milk at home using cashews for a creamy, dreamy non-dairy milk. Once you’ve mastered the steps, you can make any and every kind of nut milk at home.
Tips For Making Nut Milk
- Choose raw, fresh nuts as they impart a light, clean flavor.
- Don’t over-soak the nuts; soaking nuts for 48 hours can get you a tastier, silkier milk.
- Use a blender to create a creamier and sweeter nut milk.
- Don’t throw the nut’s strained pulp; freeze it or toss it into smoothies, fold it into pancakes, or add it to oatmeal.
Nut Milk Basics
Here’s the short and sweet on making nut milk at home.
- Buy raw nuts.
- Soak the nuts overnight.
- Drain and rinse the soaked nuts.
- Blend the nuts with fresh water.
- Strain the nut milk.
- Sweeten, if desired.
- Chill, drink, enjoy.
- Wash, rinse, repeat once a week for nut milk happiness.
The procedure is unchanged by the nuts of your choice, but here’s some helpful information on which nuts to use.
- Always choose raw nuts. Not only do they last longer, but they also take much better to soaking and grinding and impart a light, clean flavor.
- Make sure the nuts are fresh and the best quality you can afford. Rancid nuts make for rancid nut milk, and since nut milk involves very minimal processing and just two ingredients, buy the best quality you can afford.
- Avoid skins where possible. I’d never suggest that you should peel almonds or pecans, but when making peanut or hazelnut milk, you can remove their skins by soaking and rubbing them gently between clean kitchen towels. This makes for a less chalky texture and more flavor in the finished milk.
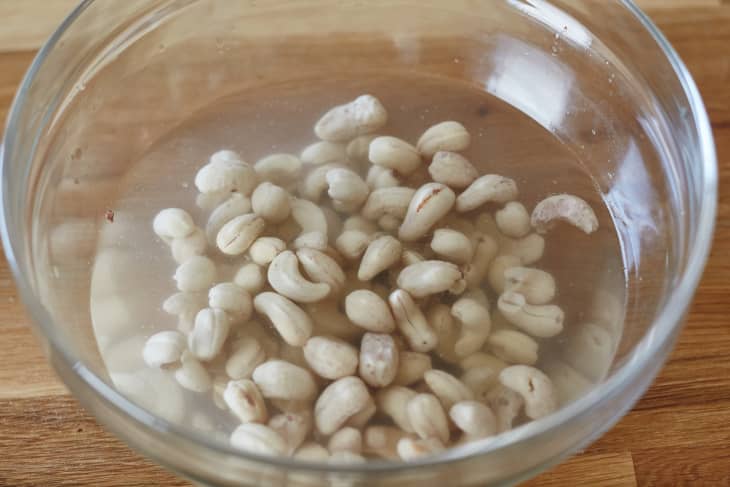
Soak Your Nuts Overnight for Better Nut Milks
Soaking softens the nuts, making their creamy-dreamy flavors more readily available after blending. But soaking also removes the nuts’ phytic acid and enzyme inhibitors, making the nut milk reportedly easier to digest.
Soaking times will be impacted slightly by the size of your nuts. For example, peanuts require six hours, while large cashews really need at least 12 hours. But here’s something important to note: You cannot over-soak the nuts. Really! Soaking nuts for as long as 48 hours makes for tastier, more silky milk. So set your nuts to soak on Friday night and blend them whenever you have time on Saturday or Sunday.

Blending and Straining Nut Milk
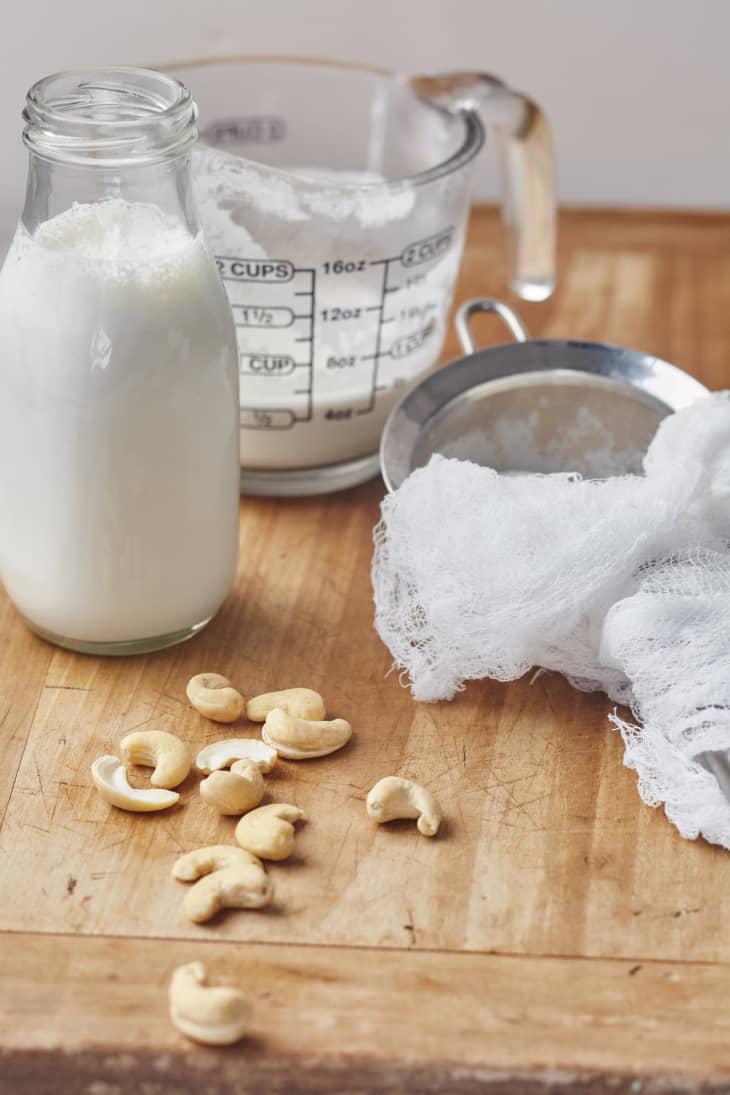
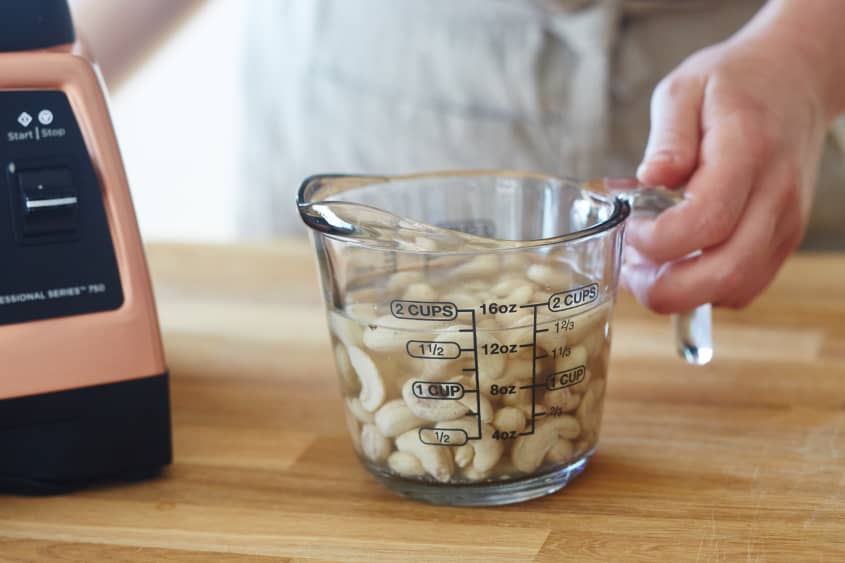
Post-soaking, drain and rinse your soaked nuts. Then add them to a blender with fresh water for blending. The blender really is the best tool for this job, but a food processor works too. Nut milk from a blender is just a bit creamier and sweeter.
After blending, I suggest straining for the most milk-like, drinkable nut milk. Some folks prefer to leave their nut milk unstrained, especially those with high-powered blenders, but note that unstrained milk will separate more in the fridge and will need to be mixed again before serving.
Do You Need a Nut Milk Bag?
The short answer is no. Nut milk bags are popular among nut-milk making fans, but they aren’t required for straining. You can use a fine-mesh strainer lined with cheesecloth as an easy alternative. You can also use a clean tea towel (something thin with a loose weave like linen works best). A reader even suggested that a clean pair of pantyhose works well in a pinch.
How to Use Leftover Nut Pulp
Making nut milk at home leaves you with a unique (and useful and tasty) byproduct: the nut’s strained pulp. Whatever you do, don’t throw this away! You can freeze it — either in a zip-top bag or in ice trays — and pop it out to toss into smoothies.
You can also spread it out on a baking sheet and bake it in a low oven until completely dry (two to three hours). This dry nut meal can be kept frozen for several months and used in baked goods.

How to Use Nut Milk
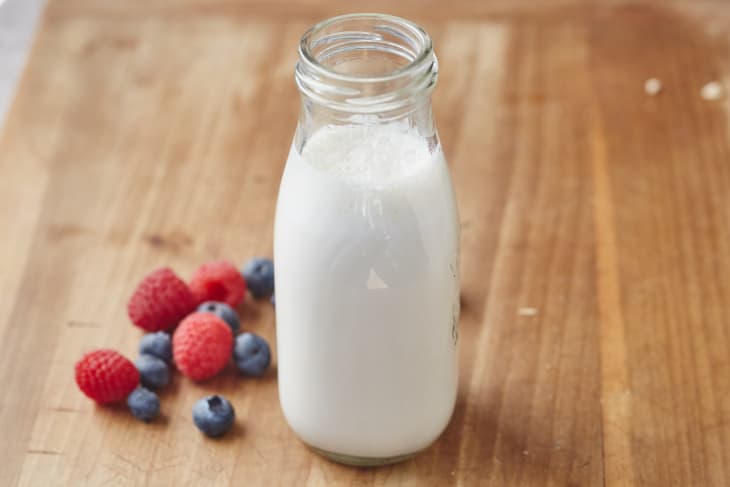
You can use homemade nut milk anywhere you’d use commercial nut milk or dairy milk — in cereal, in coffee, pancake batter, milkshakes, etc. I’d like to add this, though: Homemade nut milk has a special quality that commercial nut milks don’t — maybe it’s simply because you made it yourself — and I think it’s best enjoyed by itself, cold from the fridge.


How To Make Any Nut Milk
Makes 2 cups
Nutritional Info
Ingredients
- 1 cup
raw, unsalted cashews, or any raw nuts without skins
- 2 cups
water, plus more for soaking
Sweeteners, such as honey, sugar, agave syrup, or maple syrup (optional)
Equipment
Bowls
Strainer or colander
Measuring cup
Blender or food processor
Fine-mesh nut bag or cheesecloth
Instructions
Soak the nuts: Place the nuts in a medium bowl. Cover with about 1 inch of water. Cover the bowl with a cloth and let sit overnight at room temperature or for up to 2 days in the refrigerator. The nuts will plump as they absorb water and should feel a little squishy if you pinch them. The longer the nuts soak, the creamier the milk will be.
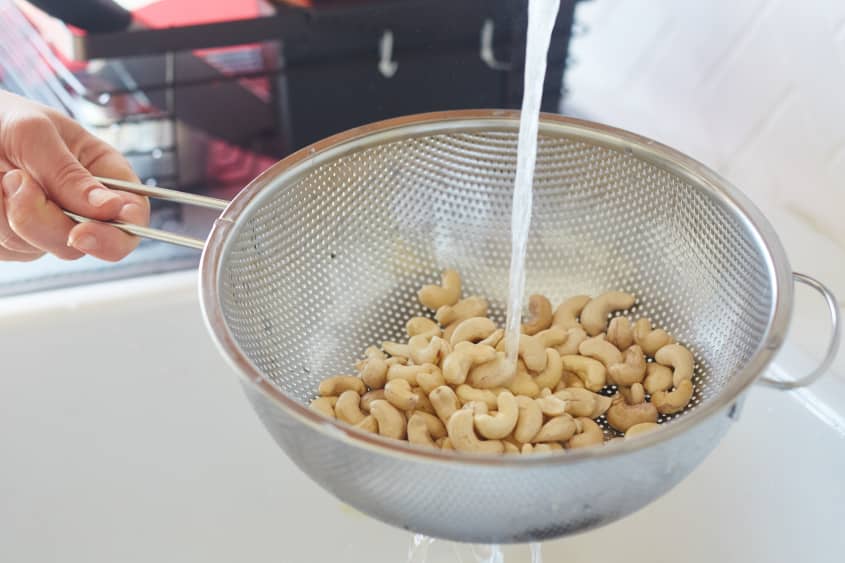
Drain and rinse the nuts: Drain the nuts through a fine-mesh strainer or colander, then rinse them thoroughly under cool running water.
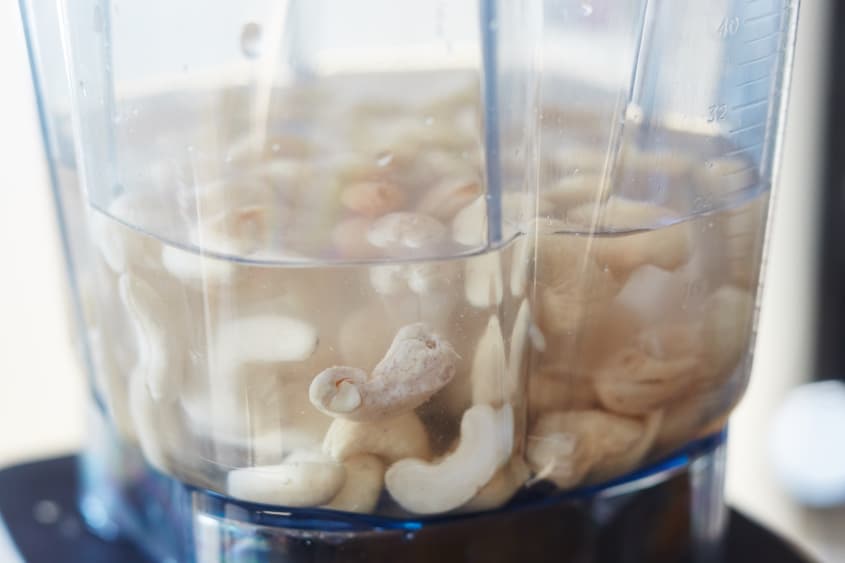
Combine the cashews and water in a blender: Place the nuts in a blender (or a food processor) and add the 2 cups of water.
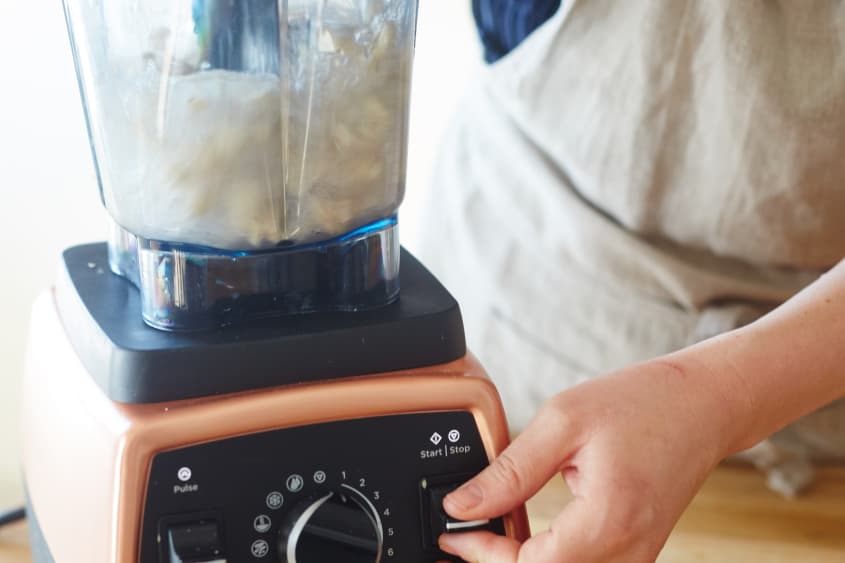
Blend on high speed: Pulse the blender a few times to break up the nuts, then blend continuously on high speed for 3 minutes. The nuts should be broken down into a very fine meal, and the water should be white and opaque. (If using a food processor, process for 4 minutes total, pausing to scrape down the sides halfway through.)
Strain out the nut meal: Line the fine-mesh strainer or colander with either an opened nut bag or 2 layers of cheesecloth and set over a measuring cup (or bowl if you don't have one big enough). Pour the nut mixture through the strainer. Gather the nut bag or cheesecloth around the nut meal and twist close. Squeeze and press with clean hands to extract as much nut milk as possible. You should get about 2 cups.
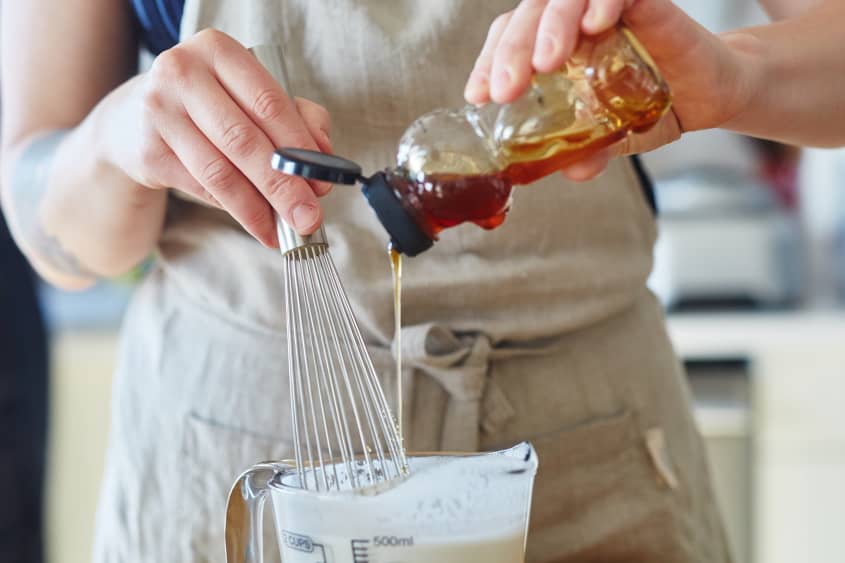
Sweeten to taste: Taste the nut milk, and if a sweeter drink is desired, add sweetener to taste.
Refrigerate the nut milk: Store the nut milk in sealed containers in the refrigerator for up to 4 days. Save the nut meal for another use.
Recipe Notes
Storage: Leftover nut milk can be stored in an airtight container in the refrigerator for up to 4 days. If it separates, just shake to recombine.