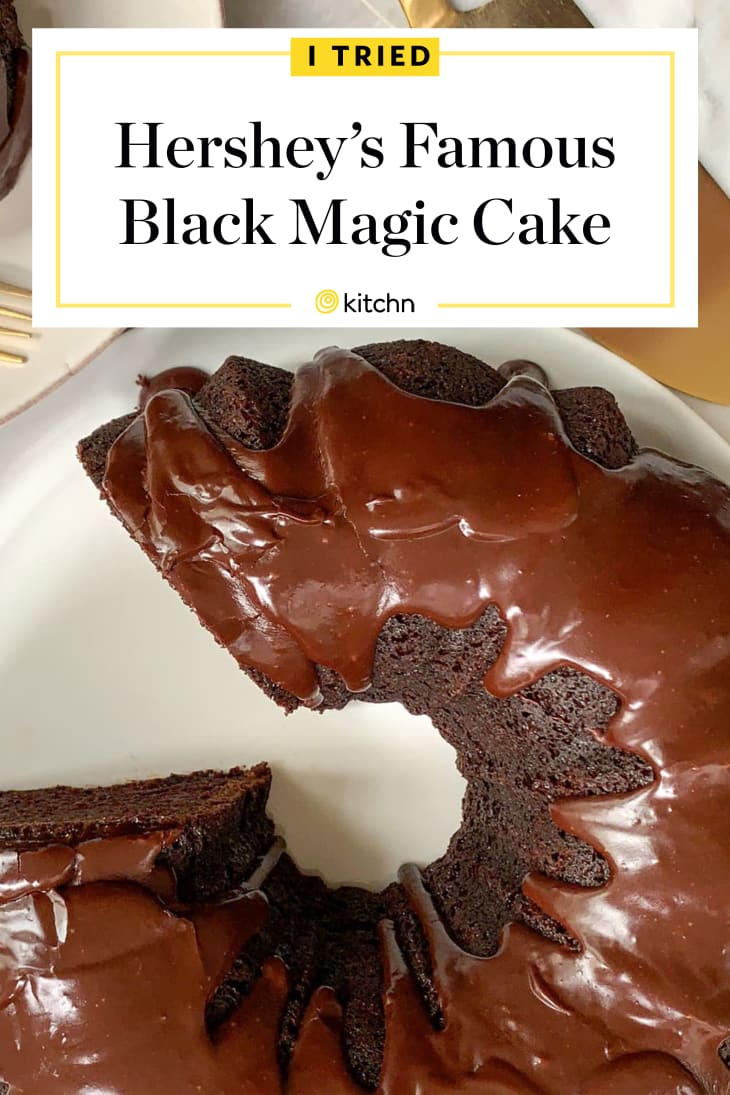
I Tried Hershey’s Famous Black Magic Cake (It’s as Good as Everyone Says)
There’s a recipe on Hershey’s website for Black Magic Cake, and I’ve long been intrigued by it. It has a full five-star rating and a seemingly endless number of riffs — food bloggers love Black Magic Cake! Many even suspect it’s the inspiration for Ina Garten’s Beatty’s Chocolate Cake recipe, which has essentially the same ingredient list but a slightly different method. In the spirit of Valentine’s Day approaching, I knew it was finally time to try it.
Hershey’s photo shows a dark chocolate Bundt cake with a shiny chocolate glaze on top that looked amazing, so I used my stepladder to grab my Bundt cake pan from the top shelf and got to work to see if this cake would live up to its lofty name.
Get the recipes: Hershey’s Black Magic Cake and Chocolate Glaze (the glaze is part of the Banana Chip Bundt Cake recipe)
How to Make Hershey’s Black Magic Cake
This is basically a one-bowl cake — it’s not too different from making a boxed cake. Stir together sugar, flour, cocoa powder, baking soda, baking powder, and eggs right in the mixer bowl, then add eggs, buttermilk or soured milk, brewed coffee, vegetable oil, and vanilla extract. After two minutes of mixing, pour the thin batter into the pan(s) of choice. I went with my trusty Bundt cake pan, but you have options to use two (9-inch) pans or one 9×13-inch pan instead. The 50- to 55-minute bake time was spot-on.
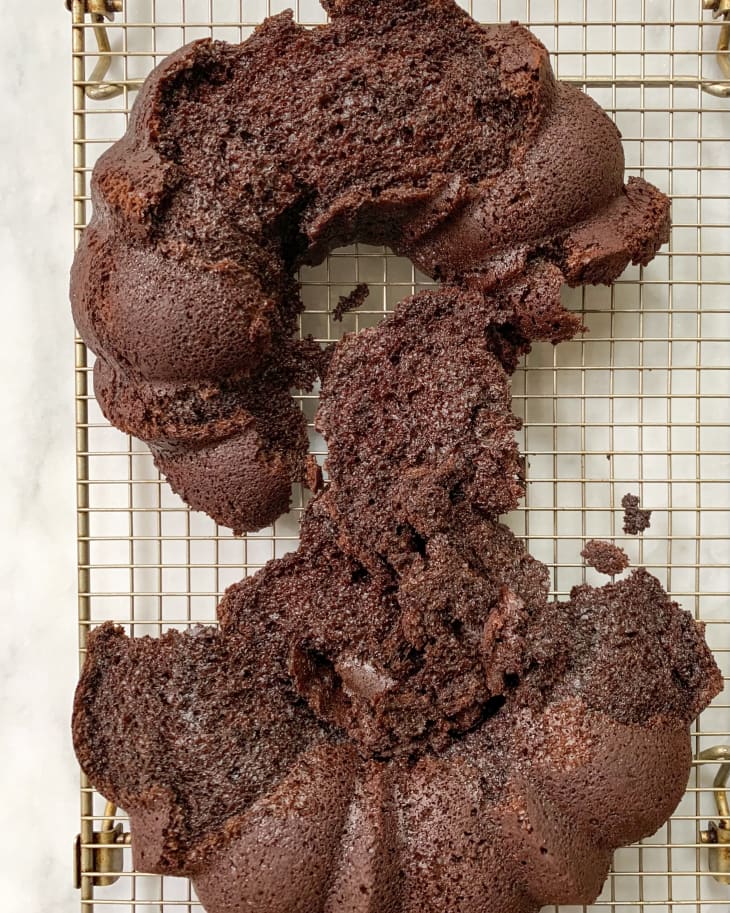
Everything was going swimmingly until it came time to flip the cake out. The directions said to let it cool 10 minutes before turning it out, which honestly made me very nervous. I’ve found that flipping Bundt cakes out too early usually results in a stuck cake that falls out in chunks. And guess what? I was right! It was a sad, sad, very un-magical moment when my cooling rack was littered with hunks of steaming chocolate cake (although I still found volunteers who gladly ate it).
My Honest Review of Hershey’s Black Magic Cake
Sticking issues aside, the cake itself was delicious: moist, not too dense, with a deep chocolate flavor that the coffee helped enhance (I used decaf because I knew my young daughter would be eating it and no one needs a caffeinated 7-year-old around). It was tasty enough that I was determined to try the cake again, this time trusting my instincts and drawing on past baking experience to fix the sticking issue.
For greasing and flouring the pan, Cook’s Illustrated has a great tip for coating intricately designed Bundt cake pans so that cakes slide out easily: brushing the interior with a paste made of equal parts flour or cocoa and melted butter. This is an ingenious move: I’ve always found butter sticks to the nonstick surface of cakes pans better than oil or cooking spray, and the smooth paste means that there aren’t any pockets of flour or cocoa. I chose cocoa for this cake since I wanted the outside to stay nice and dark.
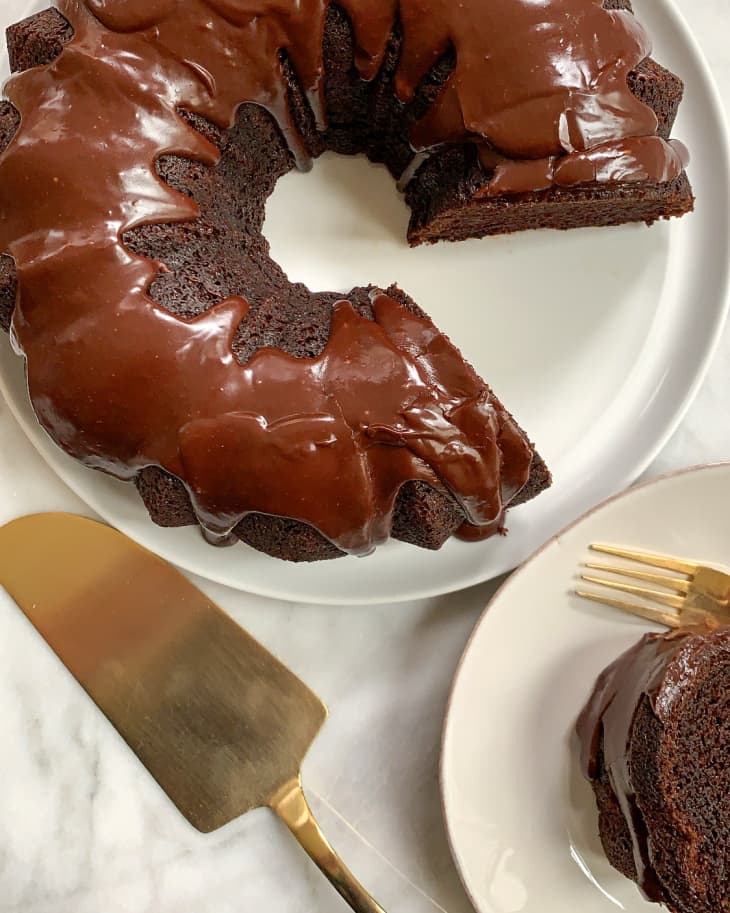
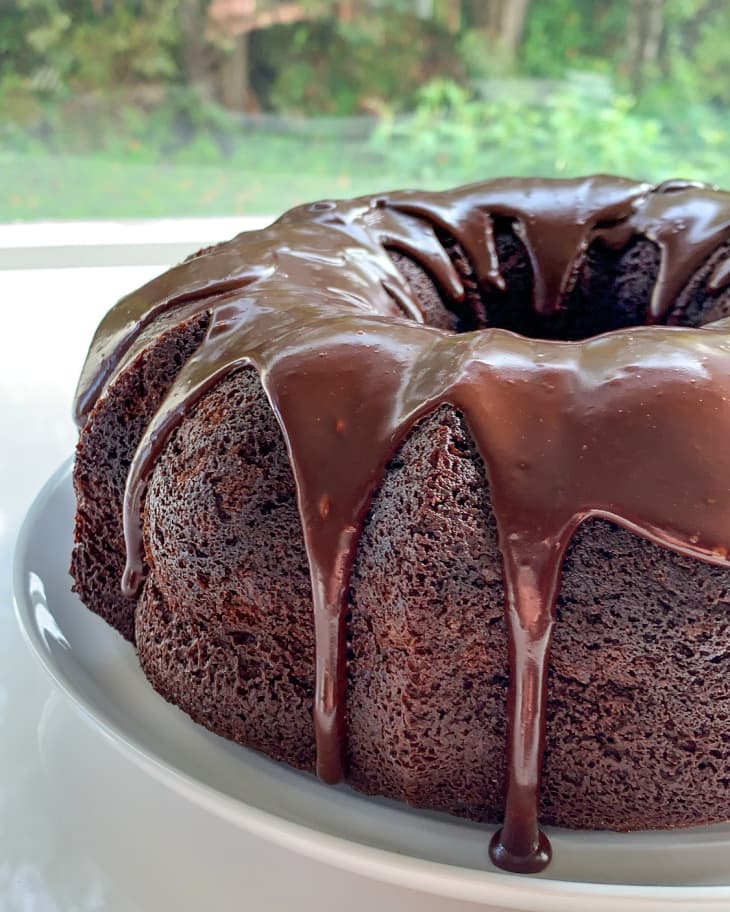
As for cooling, I let my second cake cool for a full 45 minutes before flipping it out, something I do for my apple cider doughnut cake. It was still warm, but when I shook the pan, the cake moved from the sides easily. After saying a quick prayer, I flipped the pan over and hooray! The cake slid out like a dream. I let it fully cool, then poured on an easy chocolate glaze (just water, sugar, and chocolate chips) that I also found on Hershey’s website. After the glaze set, I boxed up some of the slices and distributed them to grateful friends and families at my daughter’s school, and everyone raved. Bundt cake success.
If You’re Making Hershey’s Black Magic Cake, a Few Tips
1. Coat a big Bundt pan with a butter-cocoa paste: The recipe calls for a 12-cup Bundt pan, which is the larger size. If in doubt, measure the amount of water it takes to fill the pan. To coat the pan, brush it with a mixture of 1 tablespoon melted butter and 1 tablespoon cocoa powder.
2. Use decaf coffee for kids: To make a kid-friendly (or caffeine-free) cake, use decaffeinated brewed coffee or 2 teaspoons instant decaf coffee mixed with 1 cup boiling water.
3. Wait to flip it out: Let the cake cool until the pan is just warm to the touch, about 45 minutes, before attempting to flip it out. To test, shake the pan a little; the cake should wobble and easily move away from the sides.
4. Don’t let the glaze cool: If you’re making the optional glaze, regular chocolate chips work just fine (no need for mini chips), but spoon it onto the cake immediately, as it sets quickly and will be harder to drizzle on once it starts cooling and thickening.
Since this cake doesn’t call for softening butter, it’s actually quite easy to throw together; not much more difficult (but tastier!) than boxed cake. I kept the leftovers in an airtight container, and amazingly, it still tastes fresh even six days later. The Bundt version is visually pretty and goes well with the simple chocolate glaze, and I’d happily make this again when the craving for chocolate cake strikes.
Have you ever made Hershey’s black magic cake? Tell us what you thought!