
How To Make Doughnuts: A Step-by-Step Guide

This recipe for yeasted doughnuts with classic vanilla glaze will walk you through the step-by-step process for making the dough, frying, and glazing doughnuts at home.
Makes18 (3-inch) doughnuts
Prep10 hours
Cook25 minutes

Classic vanilla glazed doughnuts are hard to resist, especially when they’re still warm. But there’s no need to wait for a “hot and ready” sign to light up — you can make doughnuts at home anytime. These doughnuts are perfect for impressing guests, but are just as rewarding as a weekend baking project with the kids.
Here, we’ll walk you through all the steps of making the sweet yeasted dough, frying the doughnuts until golden, then tossing them in a classic vanilla glaze.
Classic Glazed Doughnuts at Home
Here’s an overview of all the doughnut-making steps.
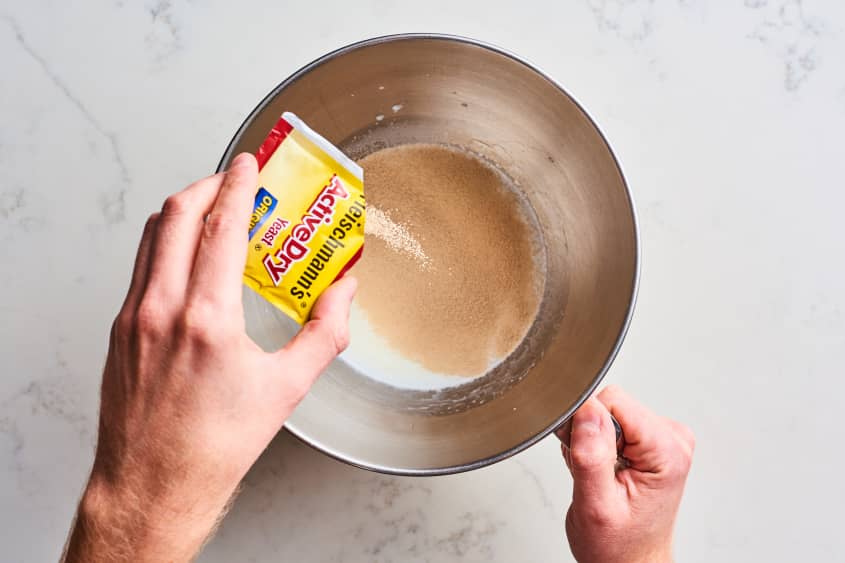
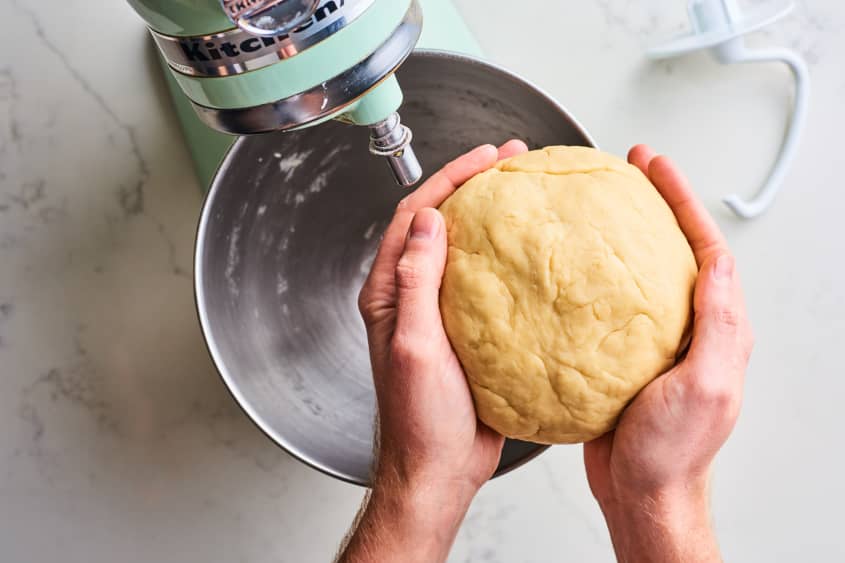
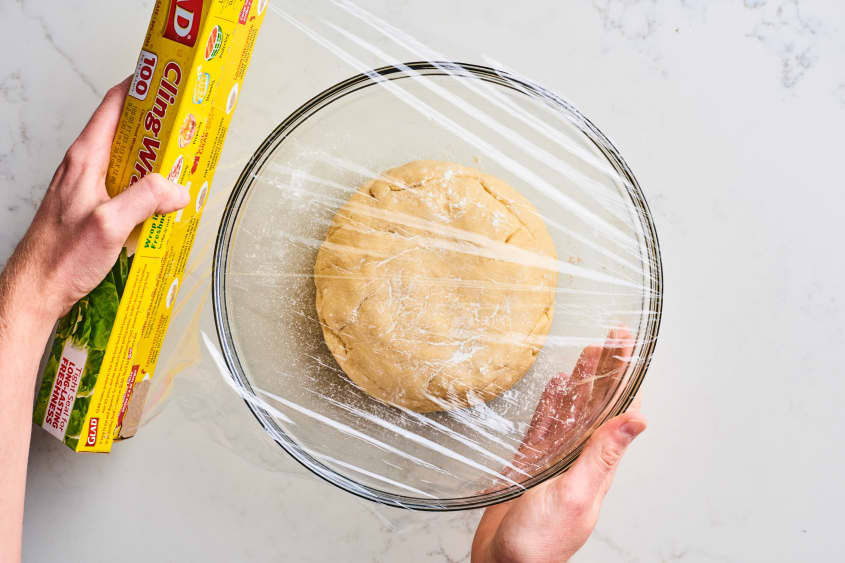
1. Make the yeasted dough. You’ll start by mixing the yeast with warmed milk and a bit of sugar before building the rest of the dough. When it’s nice and bubbly, you’ll add the dry ingredients and mix with a stand mixer to develop a springy dough that will double in size in its first rise. Ideally, you’ll let this first rise happen in the fridge overnight for about 8 hours, but you can also let the dough rise at room temperature for 1 1/2 to 2 hours.
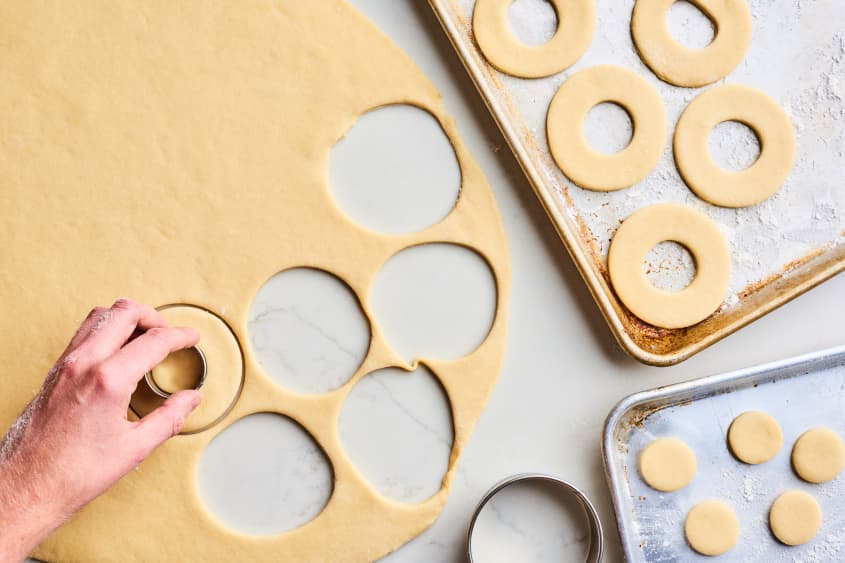
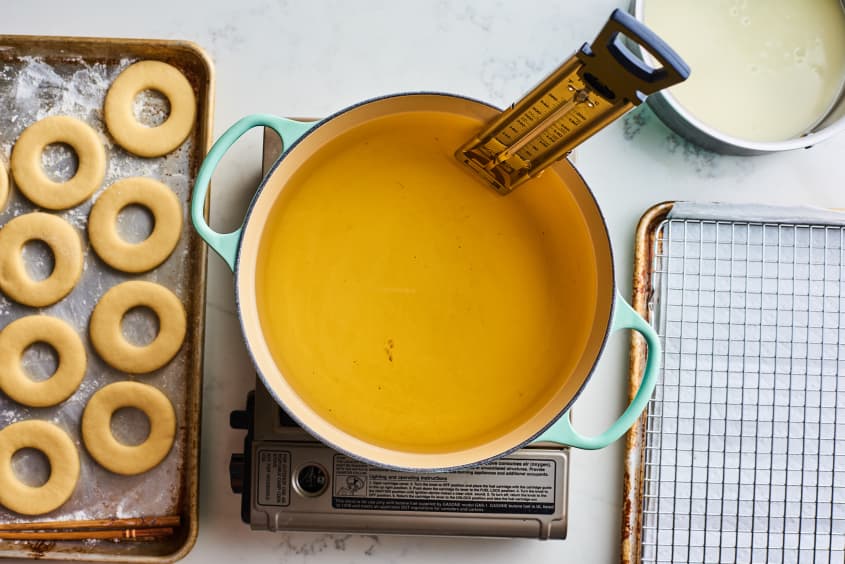
2. Roll out the dough and punch out the doughnuts. After the dough has doubled, roll it out and punch into 3-inch rounds, then use a 1-inch cutter for the doughnut’s holes. Arrange the doughnuts on a few baking sheets lightly dusted with flour. You can stash these in the fridge overnight for their second rise, or let them rise at room temperature for 45 minutes. Use this time to get your fry oil ready.
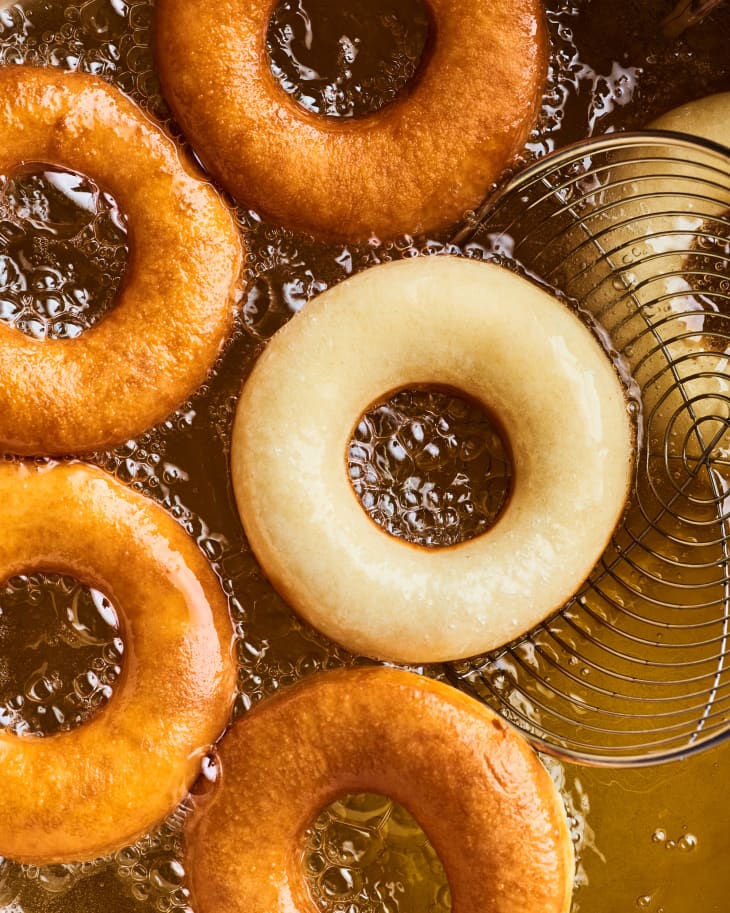
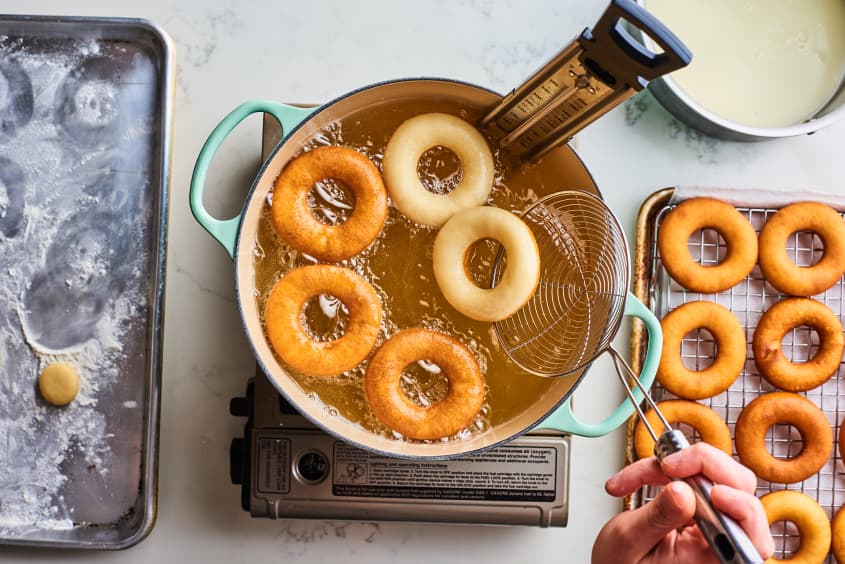
3. Fry the doughnuts. Before you heat the fry oil, set up some draining racks and get your thermometer in place. Frying in a heavy-bottomed pot, such as a Dutch oven, helps keep splatters to a minimum. Kitchn’s Food Editor-at-Large, Christine Gallary, introduced me to using chopsticks for flipping and transferring the delicate doughnut dough, and I’ll never go back to using tongs.
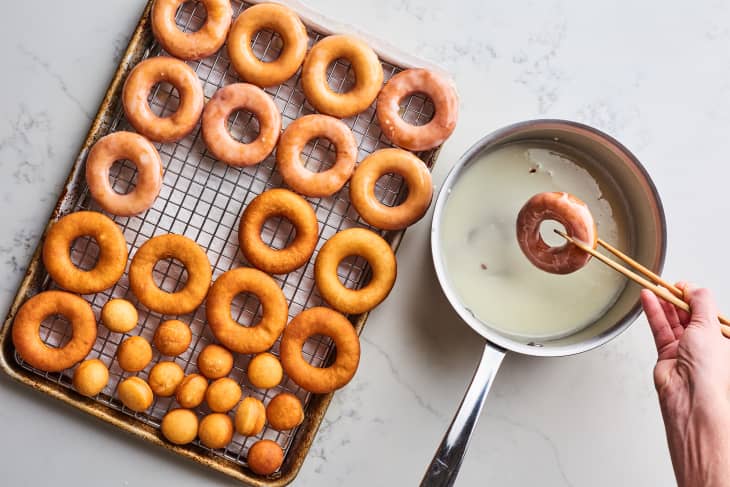
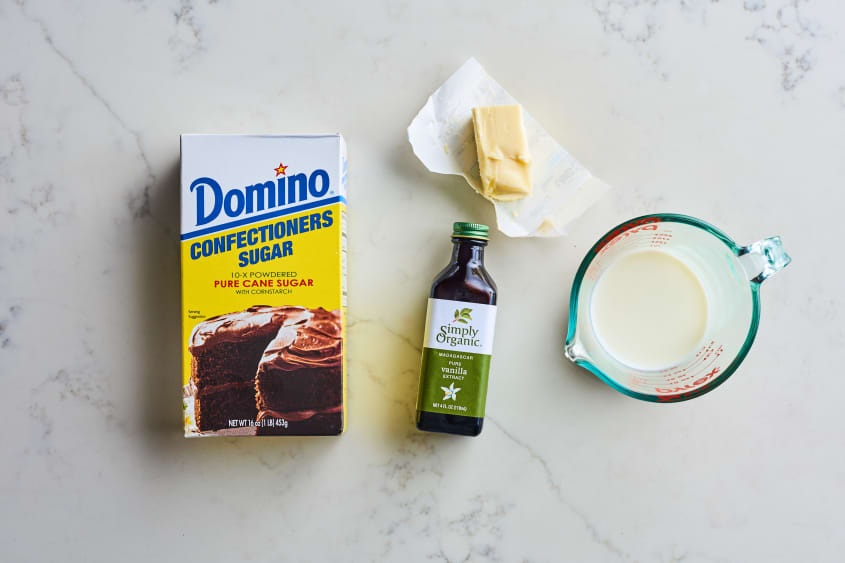
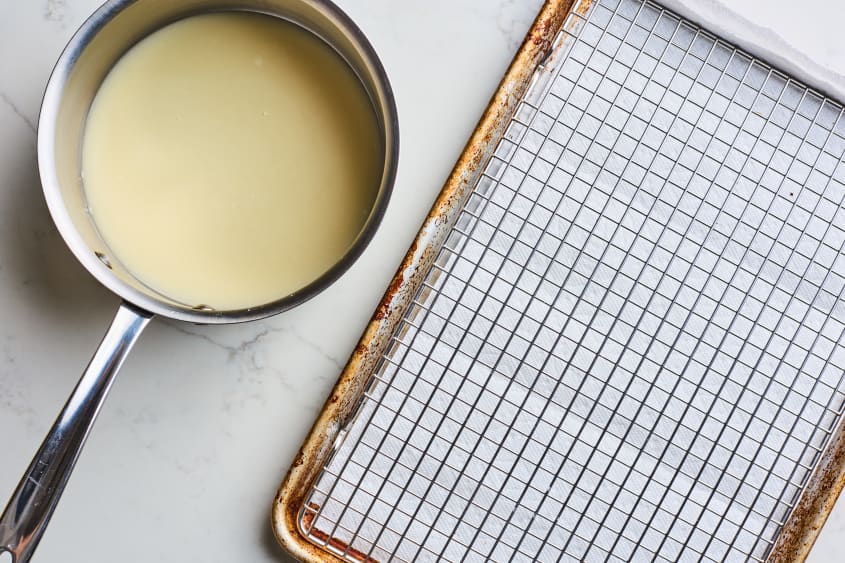
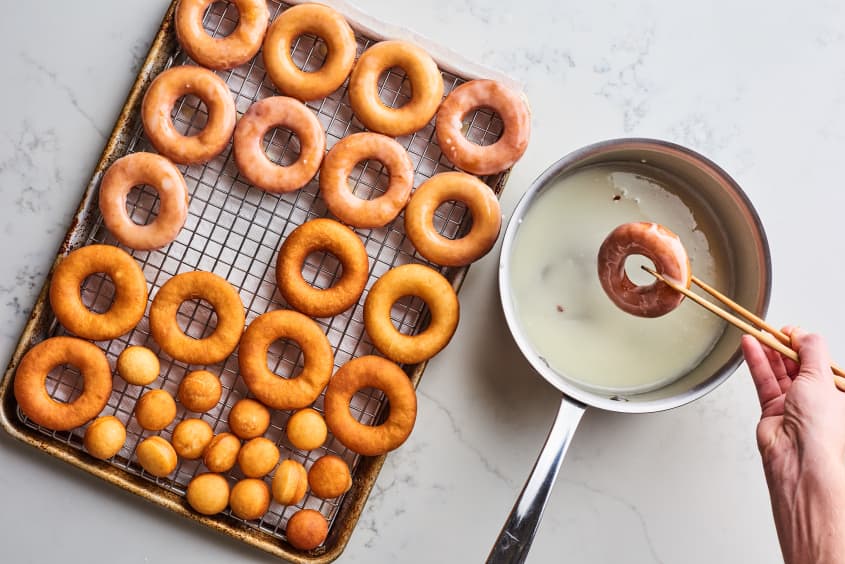
4. Glaze the doughnuts. The glaze for these doughnuts is a combination of melted butter, milk, powdered sugar, and vanilla extract. You can make the glaze in the microwave (gently reheating in 30-second bursts), or use a small saucepan to keep the glaze warm on the stovetop. A warm doughnut dipped in warm glaze with give you the best results.
Storing Glazed Doughnuts
These doughnuts are best eaten right after frying and glazing, but they keep well loosely covered at room temperature for up to 24 hours. A recycled pastry box or pizza box is a great way to store or transport fresh doughnuts.
How to Make Classic Glazed Doughnuts
This recipe for yeasted doughnuts with classic vanilla glaze will walk you through the step-by-step process for making the dough, frying, and glazing doughnuts at home.
Prep time 10 hours
Cook time 25 minutes
Makes 18 (3-inch) doughnuts
Nutritional Info
Ingredients
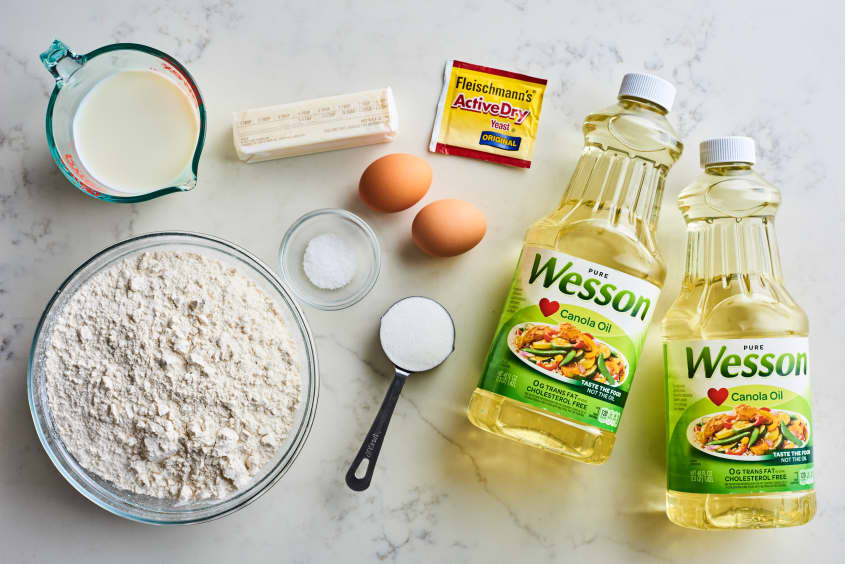
For the donuts:
- 8 tablespoons
(1 stick) unsalted butter
- 1 cup
whole milk
- 1/4 cup
granulated sugar
- 1 (1/4-ounce) packet
active dry yeast (2 1/4 teaspoons)
- 2
large eggs
- 4 cups
all-purpose flour
- 3/4 teaspoon
kosher salt
- 2 quarts
canola or peanut oil, for deep frying
For the classic vanilla glaze:
- 4 tablespoons
(1/2 stick) unsalted butter
- 2 cups
powdered sugar (10 ounces)
- 1/4 cup
whole milk
- 1 teaspoon
vanilla extract
Equipment
Measuring cups and spoons
Stand mixer
Large mixing bowl
Doughnut cutter or a 3- and 1-inch circle cutter
Large heavy-bottomed pot or Dutch oven
Deep fry/candy thermometer
Tongs, wooden chopsticks, or spider
Wire rack
Medium mixing bowl
- 2
baking sheets
Instructions
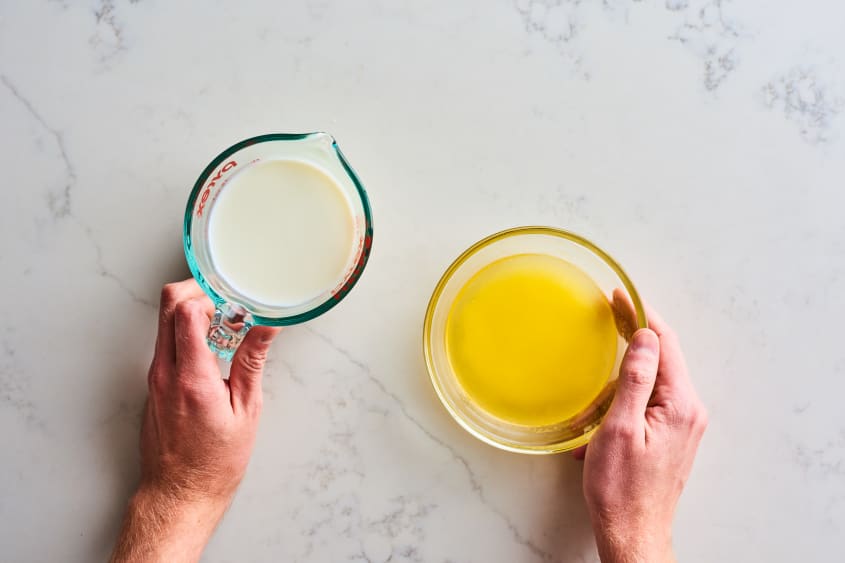
Melt the butter and warm the milk. Cut 1 stick unsalted butter into large pieces and place in a small microwave-safe bowl. Microwave on high for 1 minute until mostly melted (a few lumps are fine) and set aside. Microwave 1 cup whole milk in a microwave-safe mug or measuring cup for 1 minute until warm but not hot (about 100ºF).
Proof the yeast in the warm milk. Transfer the warm milk to a stand mixer (or a large bowl) and whisk in 1/4 cup granulated sugar. Sprinkle 1 packet (2 1/4 teaspoons) active yeast over the milk and set aside for 5 minutes. The yeast should get bubbly and look like foam. (If it doesn't, get new yeast and start over.)
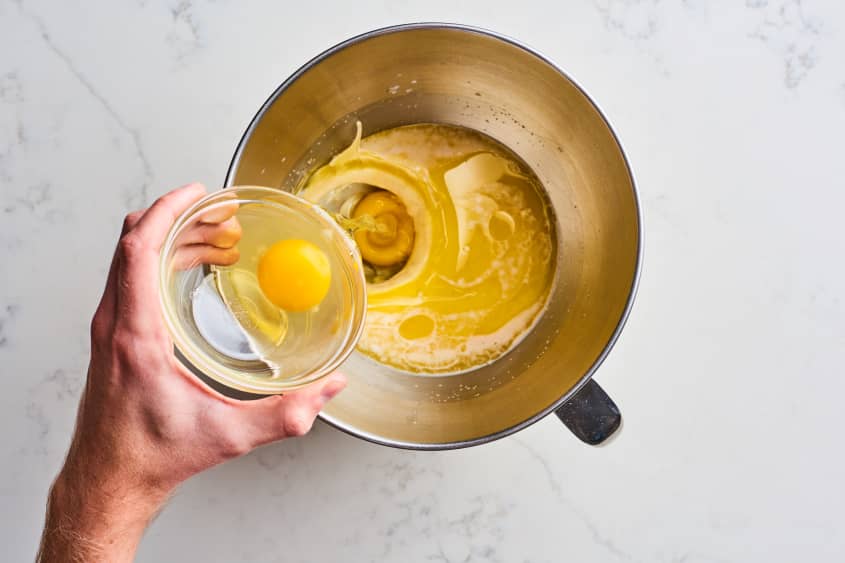
Whisk the butter and eggs into the milk mixture. Pour the cooled butter into the milk mixture and add 2 large eggs. Whisk to combine and break up the eggs.
Add the flour and salt and knead the dough into a smooth, tacky dough. Add 4 cups all-purpose flour and 3/4 teaspoon kosher salt. Using the dough hook attachment, beat the dough on low speed until it comes together, about 3 minutes. Increase the speed to medium-high and continue to beat until the dough is smooth and tacky, about 3 minutes more. (If kneading by hand, stir in the flour and salt until a sticky dough forms, then knead on a floured work surface until the dough is smooth and tacky, about 5 minutes.)
Form the dough into a ball, cover, and refrigerate for 8 to 12 hours. Remove the dough from the bowl and shape it into a tight, smooth ball. Sprinkle the dough with a little additional flour (about 1 tablespoon) and return to the bowl. Cover with a clean kitchen towel or plastic wrap and refrigerate until doubled in bulk, 8 to 12 hours. (Alternatively, you can just let the dough rose at room temperature for 1 1/2 to 2 hours before frying — the finished donuts with be denser but still delicious.)
Roll out and cut the dough. Coat a work surface with about 1 tablespoon all-purpose flour, then transfer the dough onto it. Pat the dough down into a thick round, then use a rolling pin to roll it out about 1/3-inch thick. Using a donut cutter or a 3-inch round cutter, cut out as many rounds as possible. Use a 1-inch round cutter to cut out the holes if needed. Do not reroll the scraps. Transfer the donuts and donut holes to 2 lightly floured baking sheets. Cover with a clean kitchen towel and let rise until puffy, at least 30 minutes. Meanwhile, make the glaze.
Make the glaze and set up a cooling station. Melt 4 tablespoons unsalted butter in a small saucepan over low heat. Add 2 cups powdered sugar, 1/4 cup whole milk, and 1 teaspoon vanilla extract, and whisk until smooth. Remove from the heat and cover to keep warm. Set up a cooling station: line a baking sheet with paper towels and place a wire rack over the paper towels. This will help wick oil away from the finished doughnuts while keeping them tender crisp.
Heat the oil for frying. Wait until the doughnuts have been rising for about 30 minutes and are starting to look puffy before heating the oil. Pour 2 quarts of canola oil into a large heavy-bottomed pot or Dutch oven and attach a deep-fry thermometer. Heat over medium-high heat until the oil reaches 355 to 365ºF. Reduce the heat slightly to maintain this heat.
Fry the doughnuts. Fry in batches of 4 doughnuts. You can transfer the doughnuts using a pair of chopsticks (my favorite tool for flipping and removing the doughnuts too) or with a flat spatula. Fry until puffed and golden brown, about 1 1/2 minutes per side. Use tongs or chopsticks to remove the doughnuts from the hot oil, hold them over the pot for a minute to drain off excess oil, then place on the rack. Repeat with the remaining doughnuts, adjusting the heat as needed to maintain an oil temperature between 355 to 365ºF.
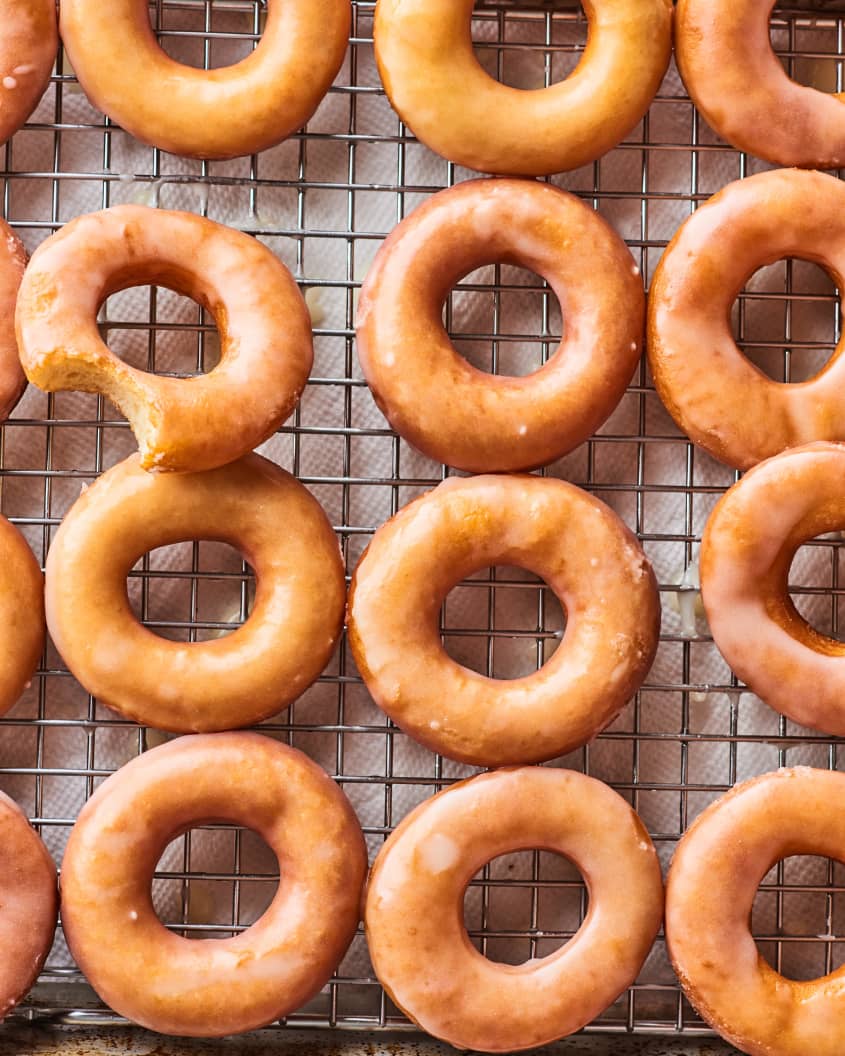
Glaze the doughnuts. While the donuts are warm, carefully dunk them in the glaze. You can coat just one side or both. If the glaze has cooled and thickened, place back over low heat and stir until loose again. Set the glazed doughnuts back on the cooling rack and let the glaze set for 3 minutes before serving.
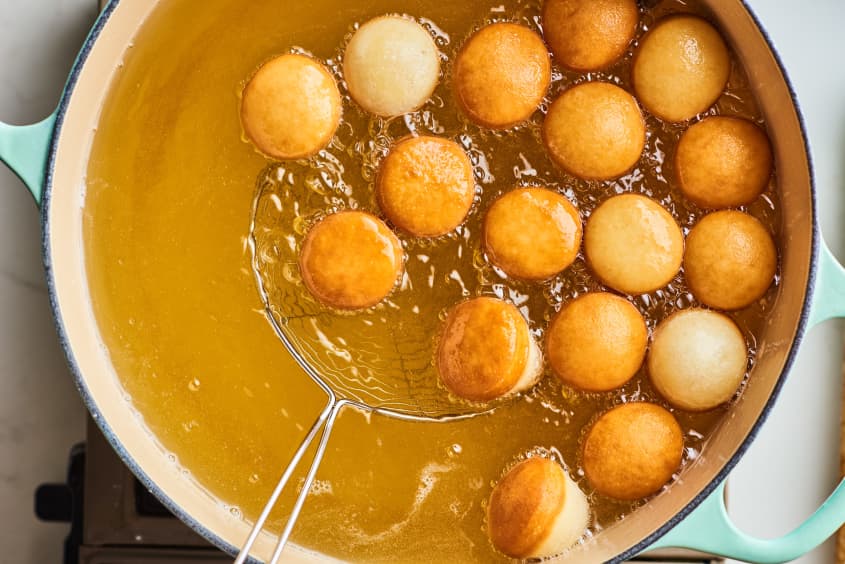
Fry and glaze the doughnuts holes. Fry the doughnut holes until browned, about 1 minute. Transfer to the rack and cool for 1 minute before glazing.
Recipe Notes
Make ahead: The dough can be made up to 24 hours in advance and refrigerated. Make the glaze within a few hours.
Storage: The doughnuts are best eaten the day they are made. Glazed doughnuts keep well loosely covered for 24 hours, or store in a pizza or bakery box.
At Kitchn, we know how important it is to find recipes that are worth your time. That’s why every tutorial — like this one — features recipes that have been tried and tested by our team of developers and at-home cooks from across the country. Questions or feedback for us? Say hello: recipes@thekitchn.com.