
The 9 Biggest Mistakes You Make When Painting, According to a Pro
With so many things that really ought to be done by a professional when it comes to home improvement, the temptation — the need if you don’t have deep pockets — to DIY the simple stuff is totally understandable. And first on that list has got to be painting.
All you do is grab a brush and go to work. NBD, right?
Well, it’s true that most anyone can do it. Doing it well, on the other hand? Maybe not so much. I’d done the DIY method — plenty — and I’ve hired it out. And after working with a pro, Sam Ross of Nailed It Contracting, I don’t think I’ll ever go back. Fortunately, Ross was willing to share some intel on the big mistakes us amateurs make when we are painting.
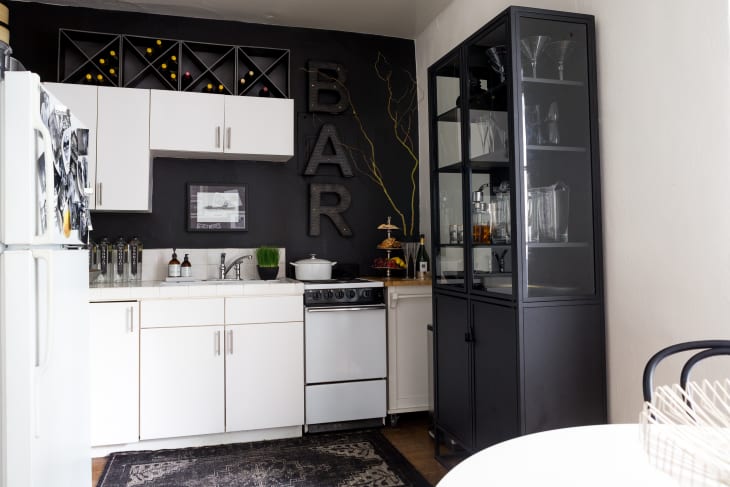
More on Painting the Kitchen
Here are the biggest mistakes to avoid when painting a room.
1. Forgetting to stir your paint,
“It’s as basic as you can get but it’s critical,” Ross said. “Paint’s got solids and it’s got solvents. When it’s sitting there for a while the actual paint sinks to the bottom and if you don’t stir it’s going to look horrible.” If you take the paint straight home from the store where they’ve shaken it, you’re good to go, but if it’s been a few hours, you should use a stir stick, he recommends.
2. Not testing whether you’re going over oil or latex.
“If you put latex over oil … it’s not going to be pretty,” Ross said. “You may get away with it but the paint will fail within a year.” So if in doubt (and especially on trim!) make sure you test. That’s as easy as soaking a cotton ball in rubbing alcohol and dabbing it on; if the paint softens or comes off, you’ve got oil.
3. Taking shortcuts with prep.
“Sixty to 70 percent of a paint job is prep work,” Ross said. “That means drop cloths, masking off countertops and cabinets … don’t think you can just take your time [painting] and get away with not covering things. You’re going to get paint everywhere.” Sure, you can (probably) scrape it off, but it’s so much easier just to cover things to begin with.
4. Rolling the whole room — before you cut in.
I got the most gratifying ‘told you so’ out of this one because I’ve long debated this with my husband. I cut in, then roll, and he likes to roll first. That’s like eating dessert first, I think. But there’s actually a really good reason, Ross explained.
“Anytime you have a sheen to your paint [as in with eggshell on up], the paint on a wall has to be a uniform thickness,” he said. “That’s what being consistent with rolling is about — putting the same layer of thickness paint on the wall. If you don’t do that, when light hits you’ll have sheen differences on the wall, it’ll just look terrible. It’s a big no-no for us to ever brush the whole room and come back.”
He’ll do about six to eight feet, cutting in first, then rolling, “the key being keeping a wet edge on the wall,” he said. “Sometimes you can not see where you’ve been, and you miss something. That’s called holidays because the guy took off,” he said. And cutting in first, then rolling in really tight, he added, minimizes the area where you can see differences in the marks from the paint brush and roller.
5. Buying cheap tools.
Ross feels very strongly about this. “For a good roller from a paint store, you’re talking four to six dollars versus two to three for a cheap one. A good brush from the paint store is 15 to 20 bucks and if you clean it will last you for years, years, years. There’s no logic to not buying that stuff.”
As for brands, he likes Purdy and Wooster products.
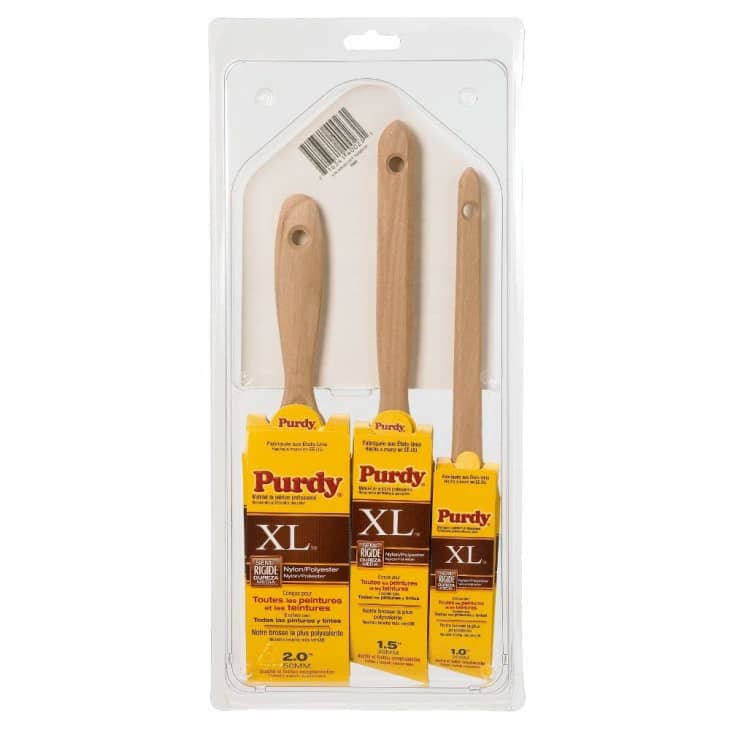
Purdy XL Brushes, $20 for three
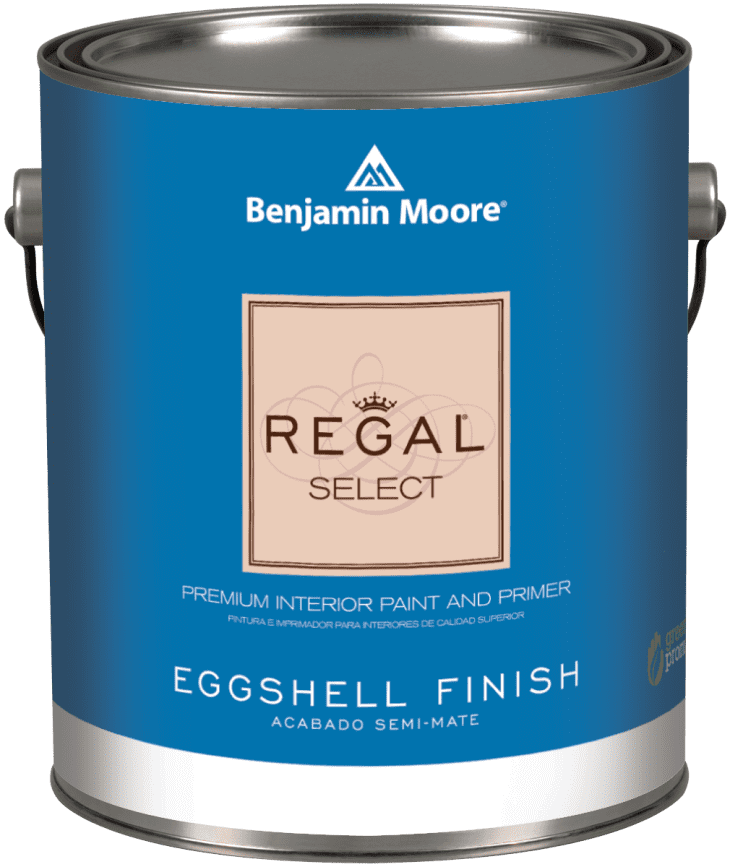
6. And getting the cheap paint.
Sam always recommends springing for the good stuff. Cheap paint can take more coats, may not go on as well, and can end up costing you more in the long run. His favorites, and mine since using them both? Sherwin-Williams Cashmere: “It’s the most user friendly DIY we’ve ever used. It’s buttery, it’s silky, it lays really really well;” and Regal Select from Benjamin Moore.
7. Ignoring the label on the can.
Did you know you should be reading the paint can label? Who knew! But you have to “read the paint can for dry times,” Ross said. “People mistake ‘dry to the touch’ for re-coat time. They’re not the same thing.” And if you apply your next coat too soon, you could peel the paint off the wall, or get bubbles and blisters. What about putting a fan on it; we’ve all done that, right? “I’m not gonna do that,” Ross said. “We never push paint drying time. If you’re in a hurry, get the paint with the quicker re-coat time. Regal Select has a two hour re-coat time instead of four.”
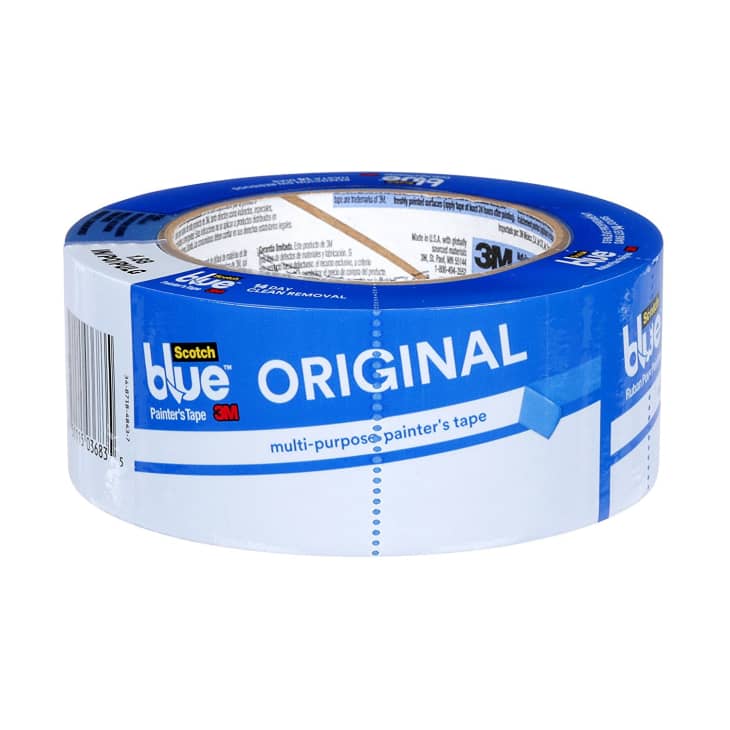
8. Not taping.
Maybe you think you have a steady hand and don’t need to tape. Do it anyway, Ross says. For two reasons: spatter and speed. “If you don’t tape the baseboard off you’re going to get spatter. It’s not just about the clean line, it’s just a little insurance.”
I have one last mistake to add to his list.
9. Not listening to your painter.
If you decide to hire a pro, do yourself a favor and listen to what they say. Ross painted our TV room and warned me that the plaster was too soft to hold a wall-mounted TV. We hung a TV anyway and sure it enough, a few days later down it came down (along with part of our wall). I’ve listened to him ever since.
This post originally ran on Apartment Therapy. See it there: The 9 Deadly Sins of Bad Paint Jobs, According to a Pro