
6 Things You Should Know About Your New Stand Mixer
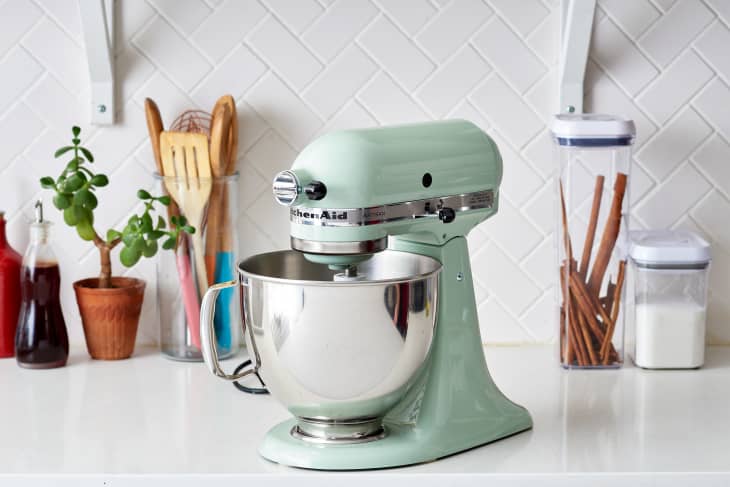
Were you the lucky recipient of a shiny new stand mixer over the holidays? Or maybe you bit the bullet and invested in one so you can finally make bread, cookies, and meringues with ease? No matter how you finally got one, a stand mixer is a great kitchen investment that, with proper care, will last for years (if not decades).
Stand mixers are heavy-duty machines and, like all machines, tend to need a little tweaking and adjusting in order to run properly. Here are some things you should know about your stand mixer to ensure you run and maintain it like a pro!
Note: These tips, for the most part, relate directly to the KitchenAid stand mixer, although some have crossover to other brands.
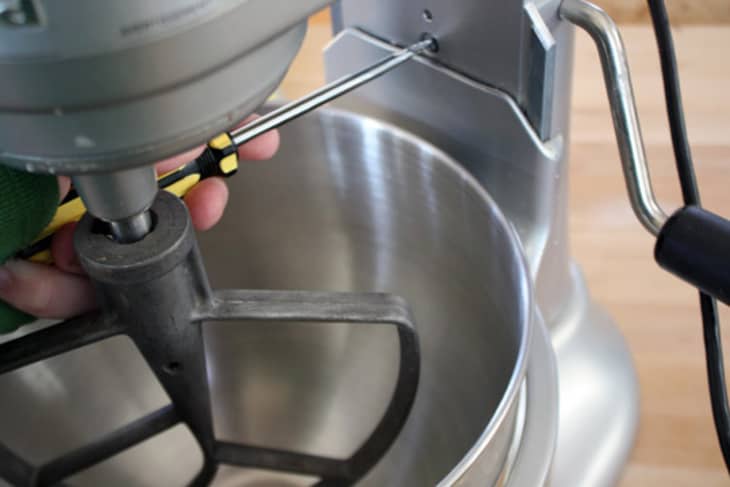
1. The height of the paddle above the bowl is adjustable.
The attachment should sit just above the bottom of the bowl to mix properly without scratching against the bottom of the bowl, but it can shift out of alignment with use. Use a screwdriver to adjust the screw that attaches the head of the mixer to the stand — this will make the bowl higher or lower whenever it’s not in the right place.
2. You should tighten the hinge if the head wiggles.
The metal pin where the hinge connects the head of the mixer to the body can start to shift and sometimes pop out, making the head loose and wobbly when the mixer is running. Just take the bowl off the mixer, turn the mixer onto its side, and tighten the screw that connects to the pin with a screwdriver.
Watch a video: Hinge Pin Adjustment from KitchenAidTV
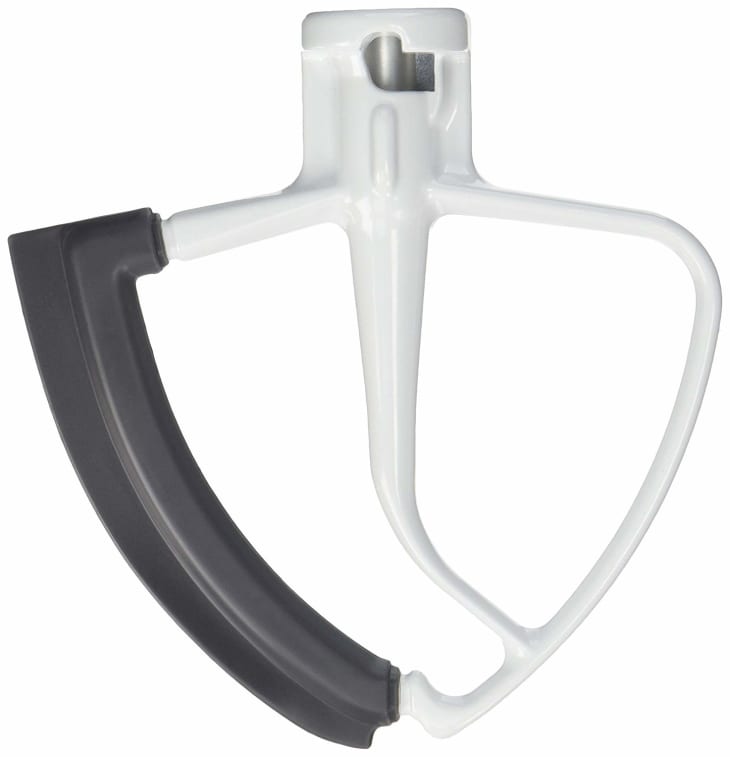
3. You should get a scraper blade (and maybe a new whisk).
If your mixer only came with a regular metal or coated beater blade, I highly recommend getting a silicone scraper blade to use instead. The silicone edges on this blade mimic the scraping that a rubber spatula would do so you don’t have to stop the mixer and do it yourself. It’s also dishwasher-safe and doesn’t lose its finish like the metal beaters sometimes do.
On a similar note, Faith loves the bigger, better whisk she bought to replace the whisk that came with her KitchenAid stand mixer.
Buy: KitchenAid Flex Edge Beater, $20
Read More
New KitchenAid Stand Mixer Attachment:
The BeaterBlade
- KitchenAid 11-Wire Whip: The Mixer Attachment You Didn’t Know You Needed
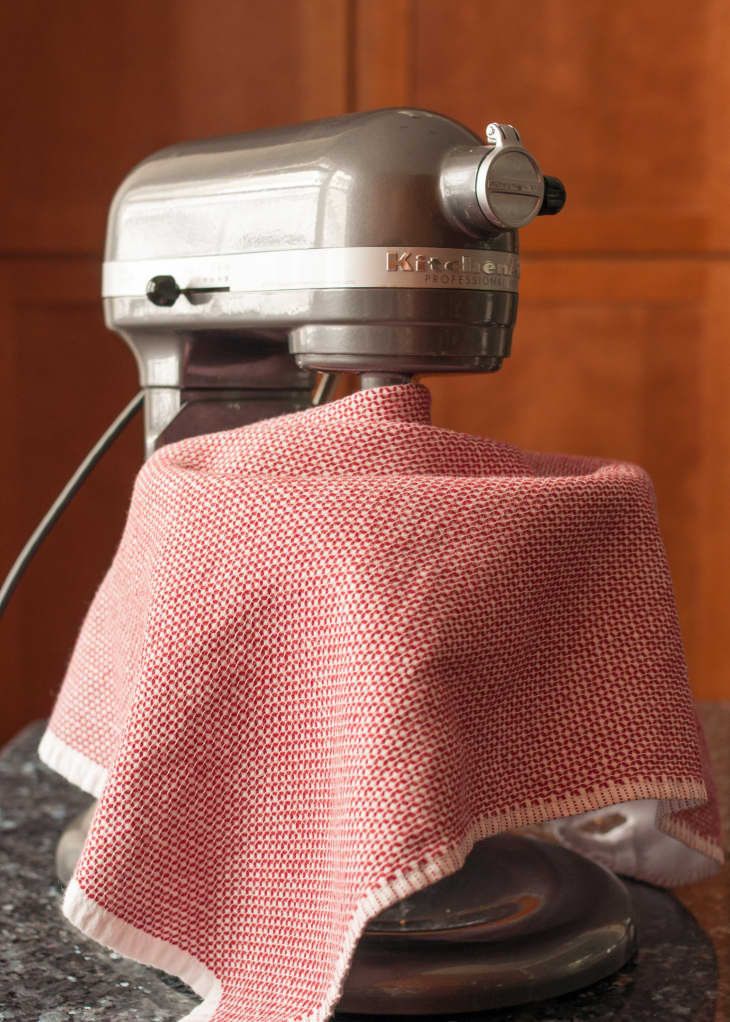
4. A towel can help minimize messes.
Stand mixers are powerful, and this power can translate into a mess if a fast-moving attachment hits a big pile of flour or powdered sugar and sends it flying out of the bowl. All you have to do is drape a kitchen towel over the bowl before you turn the mixer on and your counters (and you!) stay nice and clean, not to mention the dry ingredients you carefully mentioned stay in whatever you’re making.
Read More:
Drape a Towel over Your Mixing Bowl to Avoid Messes
5. The attachments store nicely in the bowl.
To keep tabs on your stand mixer attachments and make sure they don’t get misplaced or damaged, just store them right in the bowl. When you’re using the mixer, set the extra attachments aside; just remember to put them all back in the bowl when everything’s clean and dry. Lining the bowl with a towel first will keep things from scratching, and because the inside of the bowl is unused space anyway, you don’t have to find extra storage space for the attachments!
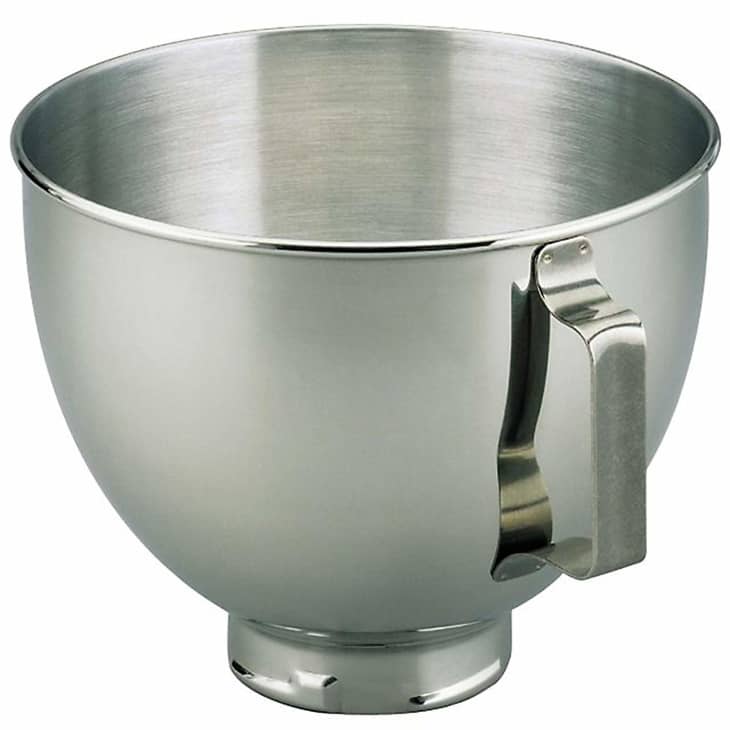
6. You should invest in an extra bowl and attachments.
This tip comes from one of our readers. If you bake a lot, invest in an extra bowl and attachments so you can move on to the next batch without having to wash and dry everything first. It does take up more space, but for those who do high-volume baking, the extra tools are invaluable timesavers!
Browse: Extra stand mixer bowls, from $24