
How To Make Your Own Kombucha Scoby
There’s really no arguing that
scoby is ugly
If you want to save a few bucks on your ‘booch habit, there’s just no getting around it. You’re going to need a scoby.
You can beg a scoby from a kombucha-brewing friend, or you can order a fresh one online. But there’s one more option: you can grow your own. This can be easily done by combining tea, sugar, and some pre-made kombucha. Here’s how to do it.
What is a Scoby?
“Scoby” is actually an acronym: Symbiotic Culture Of Bacteria and Yeast. And that’s exactly what it is.
A scoby is the living home for the bacteria and yeast that transform sweet tea into tangy, fizzy kombucha — think of the scoby as the coral reef of the bacteria and yeast world. It’s a rubbery raft that floats on the surface of the kombucha.
Aside from being a home for yeast and good bacteria, the scoby seals off the fermenting kombucha from the air and protects it from outside, undesirable bacterias while it’s fermenting.
P.S. You’ll also sometimes hear scobys referred to as “kombucha mothers” or “kombucha mushrooms.” If you read or hear references to these things, know that it’s all the same thing.
How Does a Scoby Grow?
A scoby is a naturally occurring part of the kombucha brewing process. It’s constantly renewing itself and a new layer of scoby will grow on the surface of the old one every time you brew a batch of kombucha.
You’ve also probably bought a bottle of kombucha with a little blobby thing inside. Well, that’s actually a tiny, newly-forming scoby. This ability of the the scoby to constantly reform itself is what makes it possible for us to grow a new scoby from scratch.
Ingredients to Make a Scoby
Here are the ingredients you’ll need to make a scoby at home:
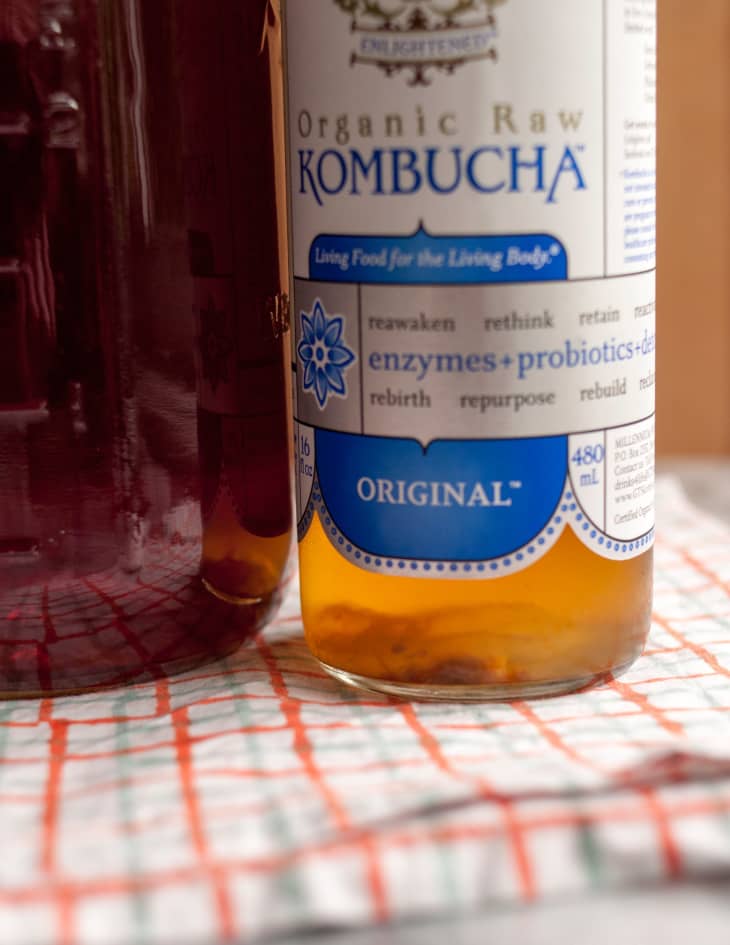
- Kombucha: You can use homemade kombucha from a friend or store-bought kombucha, but make sure it’s a raw, unflavored variety. It also helps if you can see one of those little blobby things floating at the top or bottom of the bottle.
- Black tea: Plain black tea is the best and most nutritious tea for scoby growth. For this step of growing a new kombucha, use black tea if at all possible; you can play around with other teas once you start making kombucha regularly.
- Sugar: Scobys form best if you use plain, granulated table sugar. Organic sugar is fine, but avoid alternative sugars or honey.
How to Use Your Scoby Safely
Part of the job of the scoby is to protect the kombucha while it ferments. This means that a jar of kombucha without a scoby is vulnerable to any bacteria, good or bad, that’s floating around the environment.
- Keep your tools clean. Make sure the jar and utensils you use are squeaky-clean and rinsed of any soap residue.
- Cover the jar safely. Cheesecloth is not ideal because it’s easy for small insects, like fruit flies, to wiggle through the layers. Use a few layers of tightly woven cloth (like clean napkins or tea towels), coffee filters, or paper towels, to cover the jar, and secure it tightly with rubber bands or twine.
- Avoid direct sunlight. Keep the growing kombucha covered and away from direct sunlight.
- Let it sit. Keep the jar somewhere out of the way where it won’t get jostled.
- Keep your hands clean. Wash your hands before touching or handling the scoby.
Tips for Making a Scoby
Keep an eye on your scoby and refer to the photos in this recipe. And keep these sensory details in mind:
- What to look for: Bubbles, jelly-like masses, and gritty brown-colored residue are good.
- Signs to throw it out: Fuzzy black or green spots of mold are bad.
- What it should smell like: The liquid in the jar should always smell fresh, tart, and slightly vinegary (this will become more pronounced the further you are in the process).
- What it shouldn’t smell like: If your scoby smells cheesy, rancid, or otherwise off-putting, then something has gone wrong.
Be safe: if you suspect something has gone wrong, then toss the batch and start a new one. Use your best judgement — though I know this is hard because growing a scoby isn’t exactly something most of us have done before. It’s a weird process! Know that if something is wrong, it will inevitably get worse; if it’s a normal part of the process, it will even out.
All these warning aside, I made new scobys many many times myself and never had it go wrong. There’s a bit of trust involved — it just looks gross! — but I find that if you let it be, it comes out right in the end.

How Long Does It Take to Grow a New Scoby?
It takes roughly 2 to 4 weeks to grow a new scoby from scratch. The time might be less if your kitchen is warm or longer if your kitchen is cool.
In general, try to keep your kombucha at an average room temperature of about 70°F, and your scoby will form in a little over two weeks.
How Do I Use a Scoby to Make Kombucha?
Once you have a new scoby, you are ready to make your first batch of fizzy, tangy kombucha. Read all about how in this step-by-step guide to making kombucha.
Read more about how to make kombucha from my book, True Brews: How to Craft Fermented Cider, Beer, Wine, Sake, Soda, Mead, Kefir and Kombucha at Home.
How To Make Your Own Kombucha Scoby
Makes 1 kombucha scoby
Nutritional Info
Ingredients
- 7 cups
water
- 1/2 cup
white granulated sugar
- 4 bags
black tea, or 1 tablespoon looseleaf
- 1 cup
unflavored, unpasteurized store-bought kombucha
Equipment
2-quart or larger saucepan
Long-handled spoon
2-quart or larger glass jar, like a canning jar (not plastic or metal)
Tightly woven cloth (like clean napkins or tea towels), coffee filters, or paper towels, to cover the jar
Rubber band
Instructions
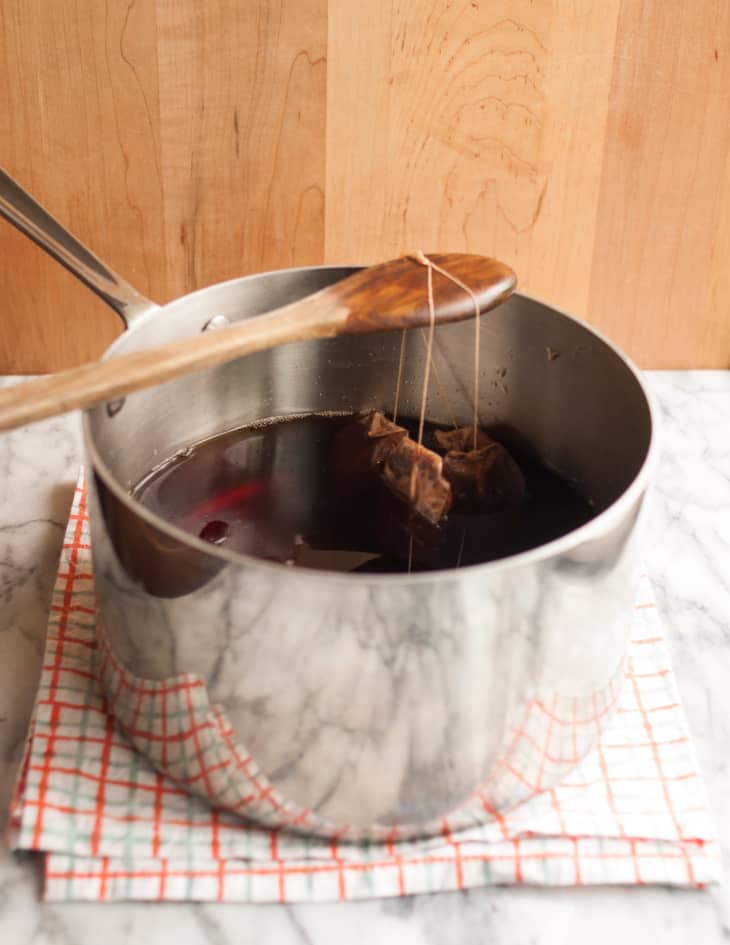
Bring 7 cups of water to a boil. Remove the pan from heat and stir in 1/2 cup white granulated sugar until it is completely dissolved. Add 4 bags black tea (or 1 tablespoon looseleaf black tea) and allow to steep until the tea cools to room temperature. Remove and discard the tea. (Alternatively, boil half the amount of water, dissolve the sugar and steep the tea, then add the remaining water to cool the tea more rapidly.)
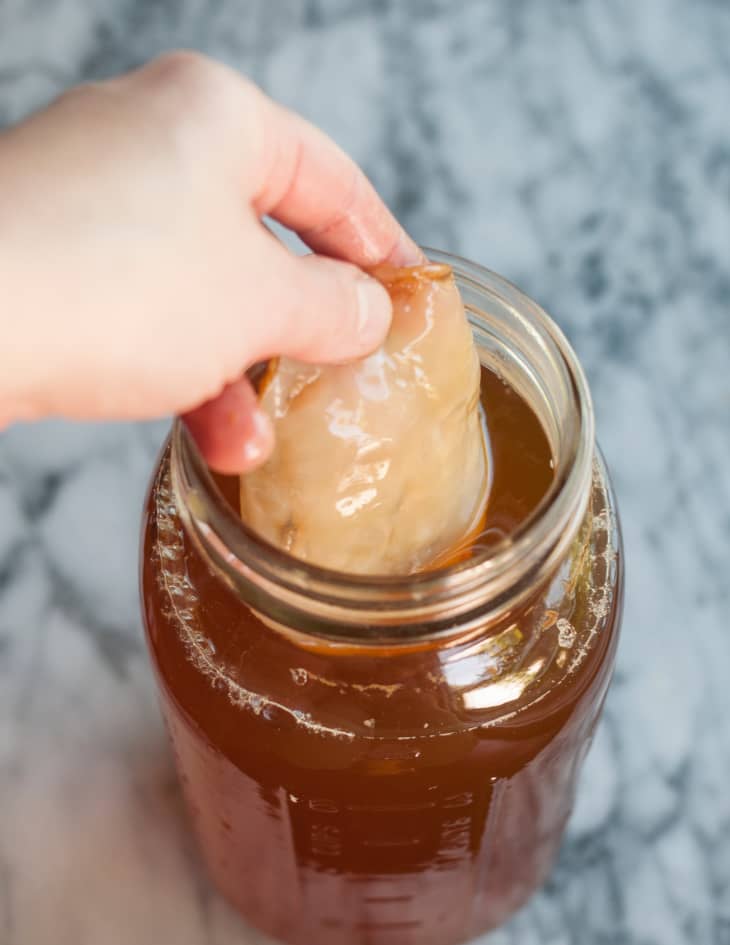
Pour the sweet tea into the jar. Pour 1 cup unflavored, unpasteurized store-bought kombucha on top — if you see a blobby "baby scoby" in the bottom of your jar of commercial kombucha, make sure this gets transferred. (But if you don't see one, don't worry! Your scoby will still form.) Stir to combine.
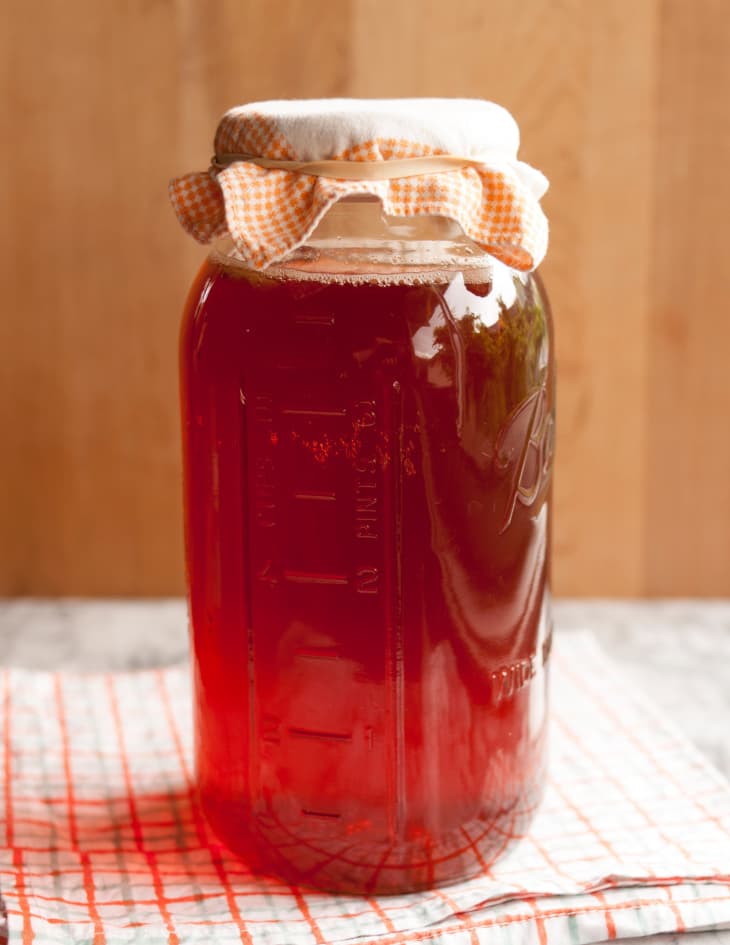
Cover the mouth of the jar with a few layers of tightly-woven cloth, coffee filters, or paper towels secured with a rubber band. (If you develop problems with gnats or fruit flies, use a tightly woven cloth or paper towels, which will do a better job keeping the insects out of your brew.) Place the jar somewhere at average room temperature (70°F), out of direct sunlight, and where it won't get jostled. Sunlight can prevent the kombucha from fermenting and the scoby from forming, so wrap the jar in a cloth if you can't keep it away from sunlight. Cover and store for 1 to 4 weeks.
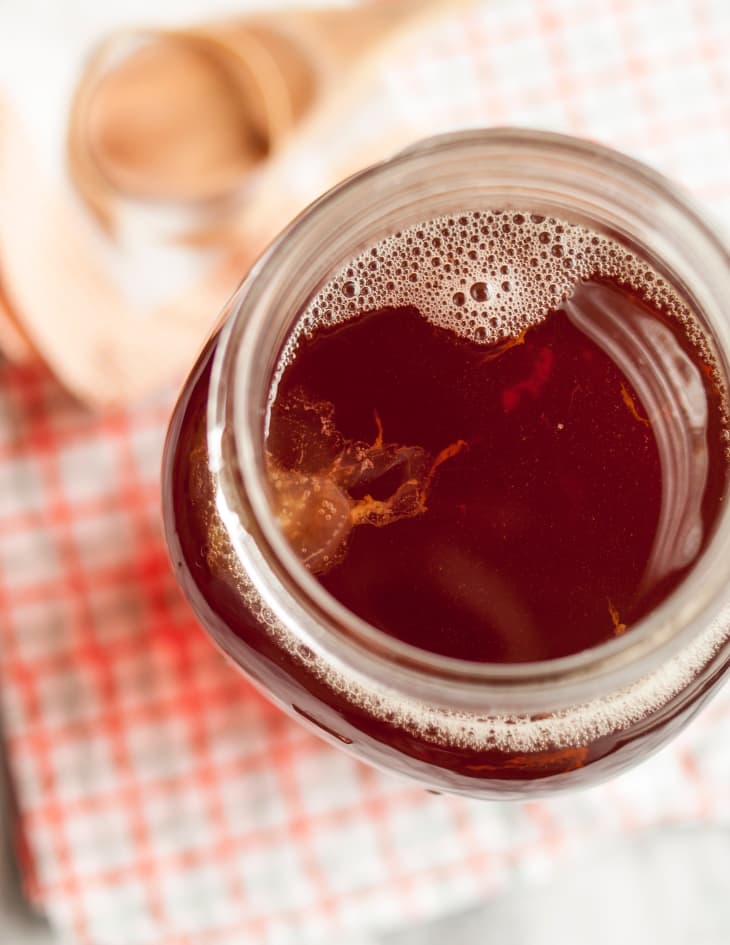
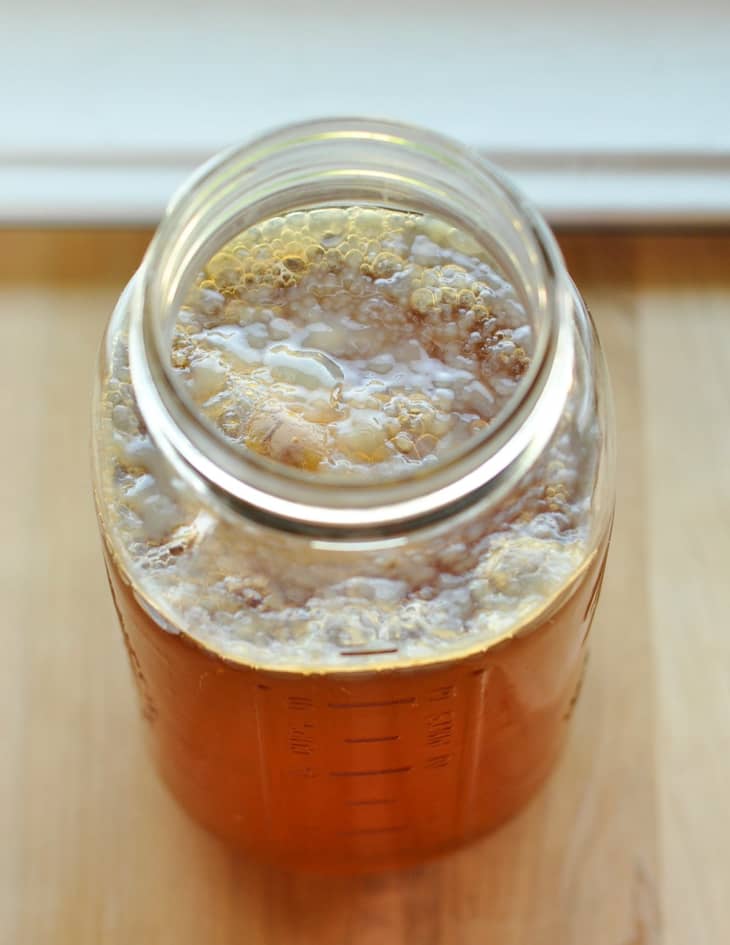
For the first few days, nothing will happen. Then you'll start to see groups of tiny bubbles starting to collect on the surface.
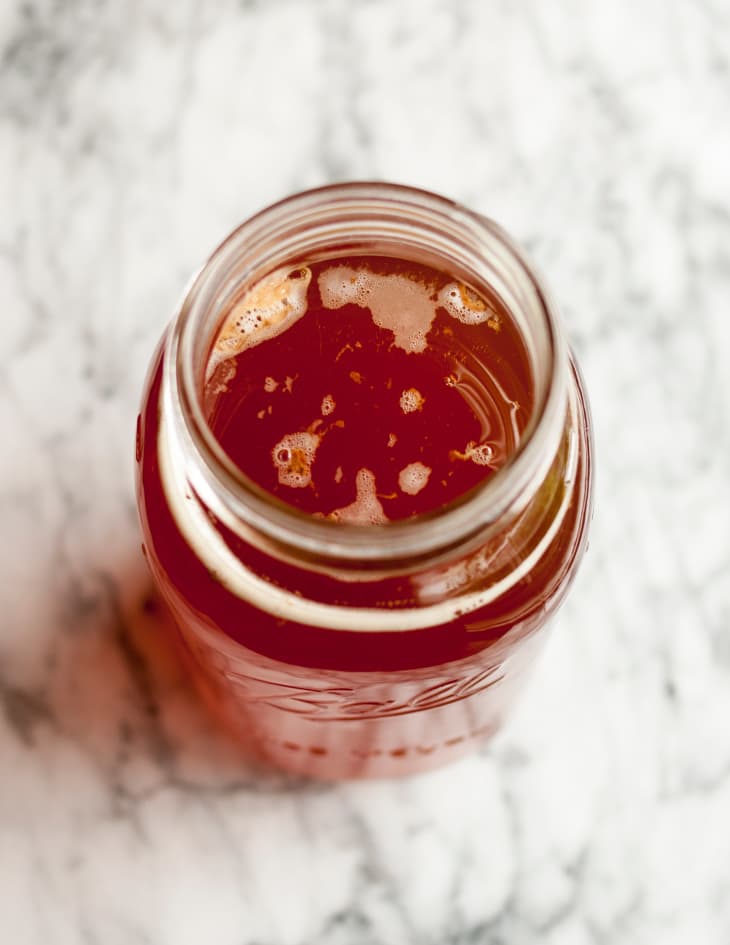
After a few more days, the groups of bubbles will start to connect and form a thin, transparent, jelly-like film across the surface of the tea. You'll also see bubbles forming around the edges of the film. This is carbon-dioxide from the fermenting tea and a sign that everything is healthy and happy!
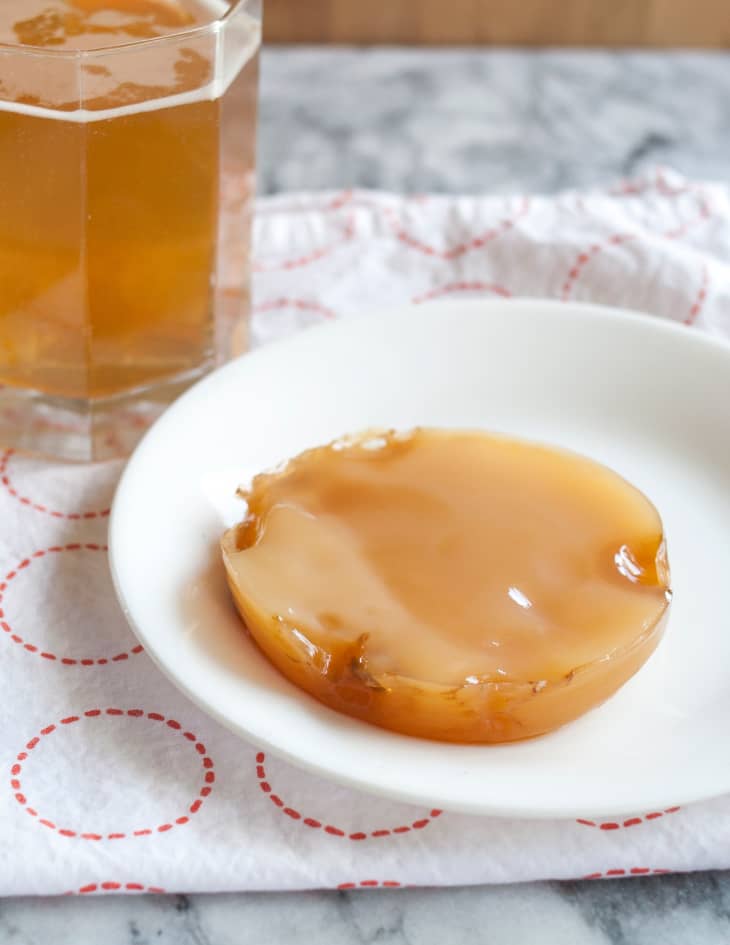
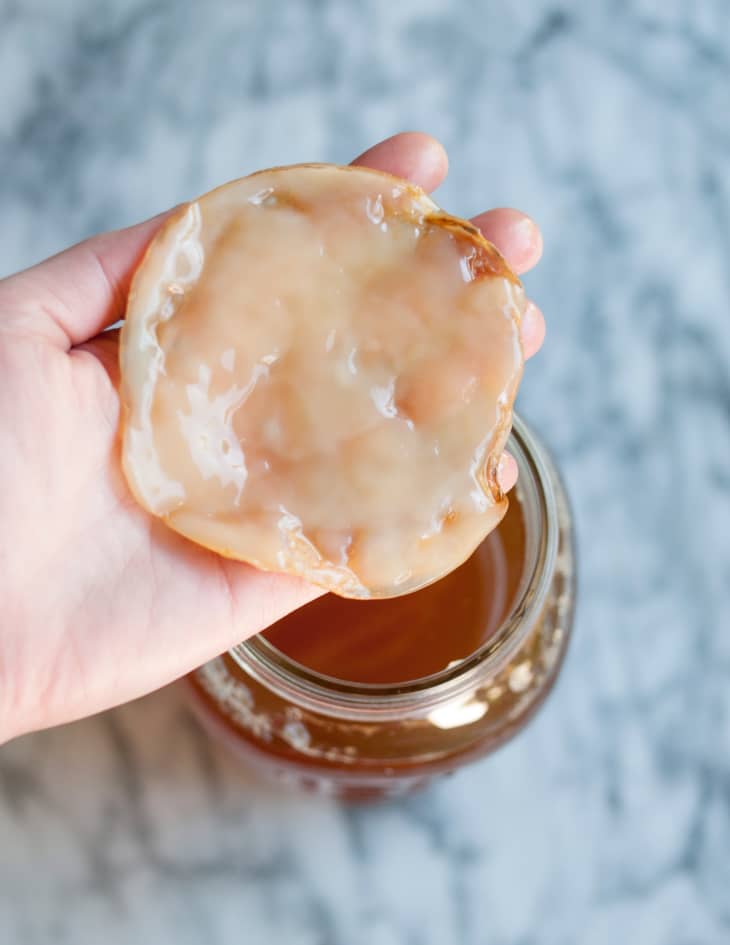
Over the next few days, the layer will continue to thicken and gradually become opaque. When the scoby is about 1/4-inch thick, it's ready to be used to make kombucha tea — depending on the temperature and conditions in your kitchen, this might take anywhere from 1 to 4 weeks.
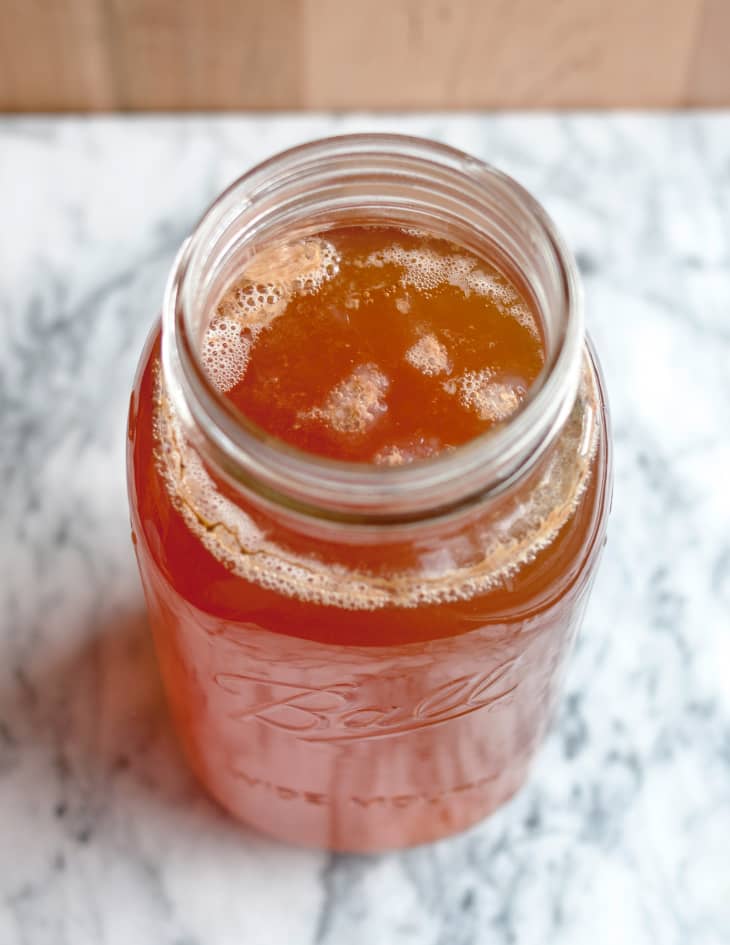
Your finished scoby might look a little nubbly, rough, patchy, or otherwise "not quite like a grown-up scoby." It's ok! Your scoby will start to smooth out and take on a uniform color over the course of a few batches of kombucha — take a look a the before and after pictures of the baby and grown-up scoby here.
The liquid used to grow the scoby will likely be too strong and vinegary to drink (and if you're not used to drinking kombucha or very vinegary beverages, it can give you a stomach ache). You can use it to start your first batch of kombucha, or you can use it as a cleaning solution on your counters.
Recipe Notes
Troubleshooting
Your scoby is forming normally and is healthy if: You see bubbles, clear jelly-like masses, opaque jelly-like masses, stringy or gritty brown bits. Also if the tea smells fresh, tart, and slightly vinegary (this aroma will become more pronounced the further into the process you go).
Your finished scoby is normal and healthy if: It's about a quarter-inch thick and opaque. It's fine if the scoby is bubbled or nubbly or has a rough edge. It's also ok if it's thinner in some parts than others or if there's a hole. Your scoby will become smoother and more uniform as you brew more batches of kombucha.
There is a problem if: You see fuzzy black or green mold growing on top of the forming scoby, or if your tea starts to smell cheesy, rancid, or otherwise unpleasant. In any of these cases, bad bacteria has taken hold of the tea; discard this batch and start again with a fresh batch.
If you can't tell if there's a problem: Continue to let the tea ferment and the scoby form. If it's a problem, it will get worse; if it's a normal part of the process, it should normalize (or at least not get any worse!)