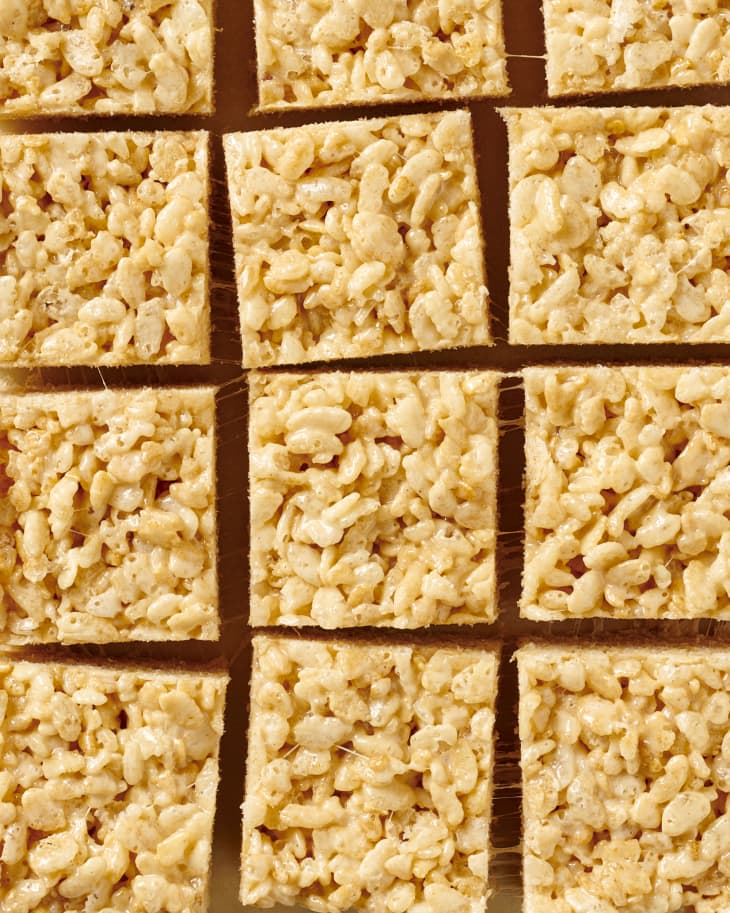
How To Make Better-than-the-Box Rice Krispies Treats

Makes16 (2-inch) squares
Rice Krispies Treats, when prepared according to the recipe on the box, are pretty close to perfection. For many years I saw no need to change them, but simplicity has its own way of inviting change, so I started tweaking the recipe, adding ingredients and changing some of the techniques to make a Rice Krispies Treat that’s better than any I’ve ever eaten. That’s the recipe I’m sharing here.
For Even Better Rice Krispies Treats, Do One More Thing
Because Rice Krispies Treats are so simple, any change feels seismic. All the upgrades in this recipe are small and may even feel fussy (toast the cereal, you say?), but their impact is worth the tiny bit of effort.
For each step of making the Rice Krispies Treat, we’re doing one more thing.
- Toast the cereal. The rice crisp cereal is toasted to coax out a nutty flavor and aroma. It’s a little astonishing to see it go from its original pale beige to a rich golden-brown.
- Brown the butter: Buy the best butter you’re willing to use. This recipe uses more butter than the recipe on the box and we’re browning it, so it’s worth splurging for something truly delicious. I can’t recommend Kerrygold highly enough.
- Use mini marshmallows. This isn’t an ingredient upgrade for flavor’s sake, but certainly one for technique. Mini marshmallows melt much faster than their larger counterparts.
- Don’t skimp on the salt. Salt make a huge difference in this recipe — making each ingredient taste more like itself. The butter is more buttery, and the marshmallow benefits from the contrast to their sweetness.
- Add vanilla. If you decide to go with the vanilla, expect this treat to remind you of something you’d find behind the glass at a fancy bakery.
How To Make Better-than-the-Box Rice Krispies Treats
Makes 16 (2-inch) squares
Nutritional Info
Ingredients
- 6 cups
toasted rice crisp cereal, such as Rice Krispies
- 6 tablespoons
unsalted butter, cut into 6 pieces
- 1/4 teaspoon
kosher salt
- 1/2 teaspoon
vanilla extract (optional)
- 1 (10-ounce) package
mini marshmallows (about 4 cups)
Equipment
8x8-inch baking pan
Large nonstick skillet
Large saucepan or pot
Rubber spatula
Instructions
Toast the cereal. Heat a large nonstick skillet over medium heat. Add the cereal and cook, stirring occasionally, until lightly toasted and fragrant, 5 to 7 minutes. Remove from the heat and set aside.
Brown the butter. Melt the butter in a large saucepan or pot over low heat, gently stirring with a rubber spatula so all the butter melts evenly. Once the butter begins to foam, watch carefully, as it will quickly begin to brown and emit a nutty aroma. When browned, turn off the heat. Stir in the salt and vanilla if using.
Melt the marshmallows. Working quickly, add half the marshmallows and stir until thoroughly melted. Add the remaining marshmallows and stir until melted. The residual heat from the butter should be enough to melt them off the heat, but you can return the pot to low heat for a few seconds if the marshmallows aren't melting easily. Keep a close eye on the butter, however — you don't want it to continue to brown to the point of burning.
Add the cereal. Add the toasted cereal and gently fold it in until the cereal is completely coated with the marshmallow mixture.
Transfer to the pan. Transfer the mixture to an 8x8-inch baking pan. Using the rubber spatula, lightly and gently press into an even layer.
Cool and cut the bars. Let the treats stand at room temperature until set, about 1 hour. Cut into 2-inch squares and serve.
Recipe Notes
Storage: The treats can be stored in an airtight container at room temperature for up to 5 days.
