
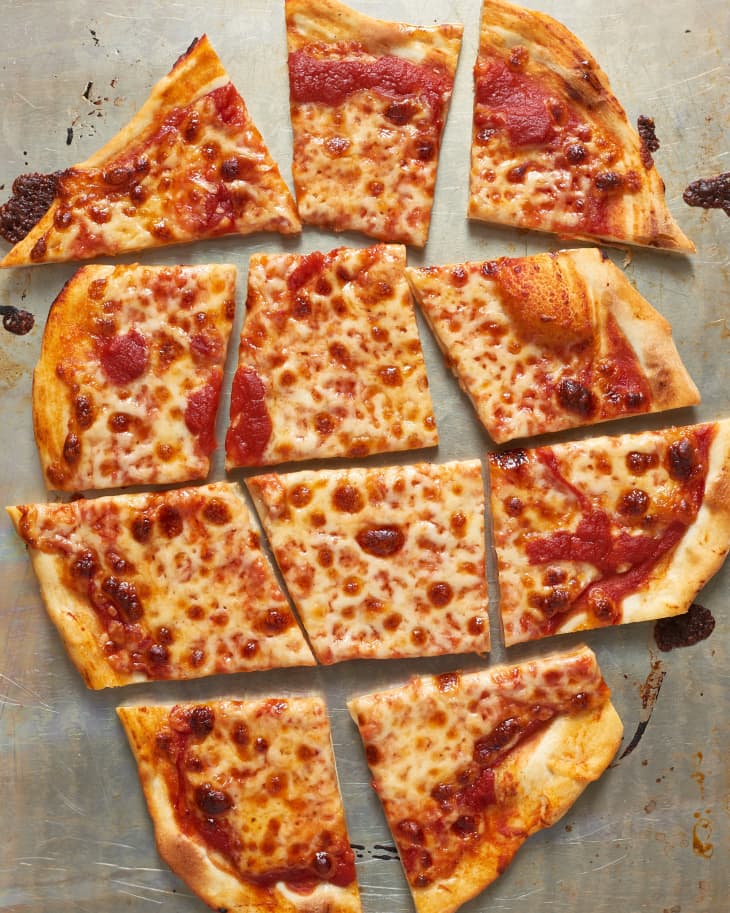
Homemade Thin-Crust Pizza
The key to a really good pizza is, of course, the crust. I make pizza at home at least once a week, so you can be sure this recipe comes to you after years of very meticulous kitchen testing! (Totally new to making pizza? Check out our absolute beginner’s guide to pizza making, too!)
Also, the fact that this dough comes together in just a few minutes and doesn’t need time to rise means that you can have pizza for dinner any night of the week. It really is that fast and easy, which is why we believe this is the very best thin-crust pizza dough for a home cook on a weeknight.
Why You’ll Love It
- It’s quick and easy to make. Since we’re keeping the crust on the thinner side, this dough doesn’t actually require time to rise. You roll it out after kneading it briefly and let it rest on the counter while you prepare the toppings. When it goes in the oven, the heat gives the bread a quick burst of rising, so it will still have some chew when you bite into it.
- The crust has the best texture: This crust has a nice bit of crunch, but it’s pliable enough to fold in half if required. The mild wheat flavor is a nice backdrop to whatever toppings you want to layer on top.
Key Ingredients for Thin-Crust Pizza
- All-purpose flour: All-purpose flour, an essential pantry ingredient, is the best choice for basic pizza dough for thin-crust pizza.
- Active dry yeast: Make sure to use active dry yeast, which needs to be dissolved or “activated” in water before it’s incorporated into the dry ingredients.
- Pizza sauce: You can use your favorite pizza sauce, like classic red sauce or white sauce.
- Shredded cheese: Feel free to use one or a combination of mozzarella, provolone, Parmesan, fontina, romano, or asiago cheese.
Tips for the Best Thin-Crust Pizza Dough
- If you have time, refrigerate the dough overnight. Refrigerating the dough overnight gives it even more depth of flavor and a crackling crust. Once you’ve finished kneading, let it rise until doubled, divide it in two, and store the balls of dough in separate containers. When you’re ready to make your pizza, take the dough out of the fridge and let it warm up a bit while you prepare the toppings — 10 minutes or so should do it.
- Bake the pizza on a preheated upside-down baking sheet. Preheat the baking sheet in the bottom third of your oven (where it’s hotter) at 450°F. This is the trick to achieving a crisp, browned crust.
How to Make Thin-Crust Pizza
- Preheat a large rimmed baking sheet. Preheating the baking sheet at 450°F is the key to getting the perfect crisp crust.
- Make the dough. Then cover and let it sit while you prepare the pizza toppings, about 10 minutes.
- Roll out the dough. You can form it with your hands or use a rolling pin for an extra-thin crust.
- Top the pizza. Spread the sauce thinly and sprinkle the cheese on top.
- Bake the pizza. Bake until the crust is golden-brown and the cheese is melted and browned in spots.
Make-Ahead and Storage Tips
- Make ahead: You can make the dough ahead. Store the balls of dough in separate containers in the refrigerator overnight.
- Storage: Refrigerate leftovers in an airtight container for up to 4 days.
Tester’s Notes
I never knew a simple pizza dough could be so versatile, but this one truly is. By cutting a corner and skipping the rise, this oven-baked crust straddles the line between crisp and chewy. Baked on the back of a preheated baking sheet, this thin crust is deceivingly sturdy — strong enough to hold traditional toppings or a brush of jam and a curl of prosciutto to serve as a fancy flatbread at your next dinner party. If you have an hour or less, this is the pizza to make at the last minute for family and friends.
–Patty, March 2018
Homemade Thin-Crust Pizza Recipe
Prep time 20 minutes
Cook time 16 minutes to 24 minutes
Makes 2 (10-inch) pizzas
Serves 4
Nutritional Info
Ingredients
For the dough:
- 3/4 cup
lukewarm water
- 1 teaspoon
active dry yeast
- 2 cups
all-purpose flour, plus more for kneading
- 3/4 teaspoon
salt
- 2 teaspoons
olive oil, divided
For the toppings:
- 1/2 cup
pizza sauce, such as classic red sauce or a white sauce
- 1 to 2 cups
shredded cheese: one or a combination of mozzarella, provolone, Parmesan, fontina, romano, or asiago cheese
Topping options: sautéed onions or mushrooms, sliced red peppers, pepperoni, cooked sausage, cooked bacon, etc.
Instructions
Arrange a rack in the bottom third of the oven, place a rimmed baking sheet on the rack, and heat the oven to 450°F. Meanwhile, make the dough.
Pour 3/4 cup lukewarm water into a medium bowl. Sprinkle 1 teaspoon active dry yeast over the water, and let stand until the yeast is dissolved and foamy, 3 to 5 minutes.
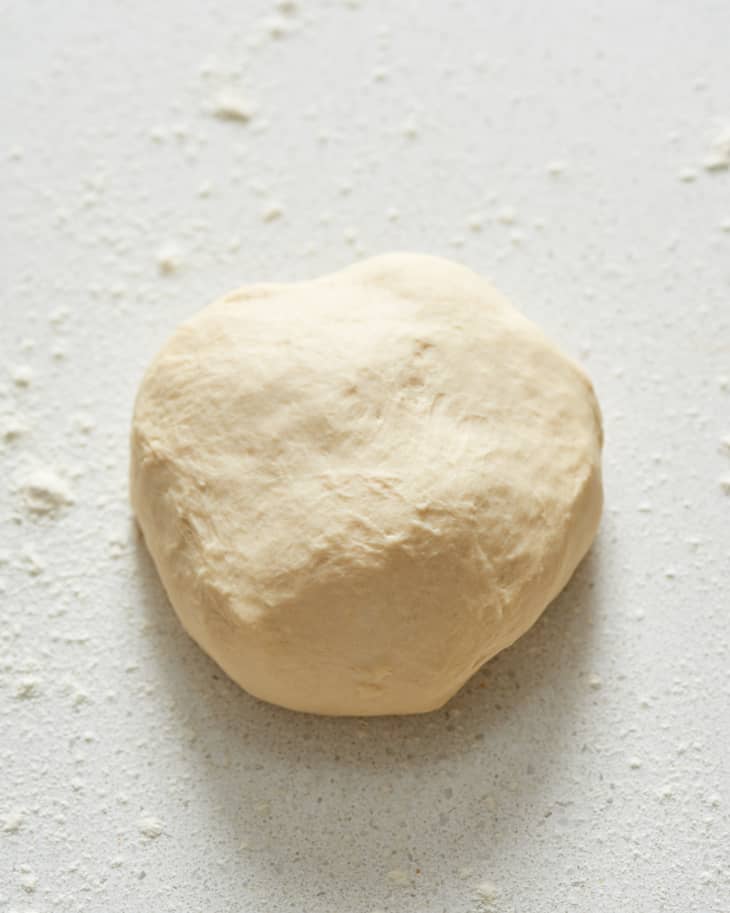
Add 2 cups all-purpose flour and 3/4 teaspoon salt. Mix with a stiff spatula or wooden spoon until floury, shaggy dough forms. Turn the dough out onto a work surface and knead until it forms a smooth, slightly tacky ball that springs back when you poke it, 5 to 8 minutes. If the dough sticks to your hands like bubblegum, add a tablespoon of flour at a time until it’s easier to work with; avoid adding too much flour if possible.
Cover the dough with the upside-down bowl or a clean kitchen towel and let sit while you prepare the pizza toppings, about 10 minutes.
Divide the dough into 2 equal pieces. Working with one piece of dough at a time, stretch or roll it into a thin, 10- to 12-inch round. Form from the middle of the dough outwards, using the heel of your hand to gently press and stretch the dough until it's about a 1/4-inch thick or less. For an extra-thin crust, roll it with a rolling pin. If the dough starts to shrink back, let it rest for 5 minutes and then try rolling again.
Carefully remove the preheated baking sheet from the oven and place it upside down on a wire rack. Transfer the dough directly onto the upside-down baking sheet. Brush the dough with 1 teaspoon of the oil. Spread 1/4 cup sauce into a thin layer onto dough, leaving a 1/2-inch border. Sprinkle on the cheese and other toppings.
Bake until the crust is golden-brown and the cheese is melted and browned in spots, 8 to 12 minutes. Remove the pizza from the oven and cool for about 5 minutes before slicing and serving. Repeat with the remaining dough and toppings.
Recipe Notes
Storage: Refrigerate leftovers in an airtight container for up to 4 days.