Kitchen Cure Week #1: Clean Out the Fridge and Pantry

• This Week’s Assignment: Clean Out the Fridge and Pantry
• Cure Clock: Liftoff! 4 weeks remaining
• Cure Takers: 1,971 and counting…
Welcome, everyone! There are almost 2,000 of you signed up. It’s like we’re sitting in a giant lecture hall together. But don’t worry, it’s going to be cozy with lots of one-on-one attention. That’s the deal with the Cure: if you participate and submit, the community will help you along. I may even show up in your inbox with some advice if you ask me point blank for help. If you’re shy and want to watch from afar, that’s okay too.
This week we want to start you on the path of cleaning out your kitchen.
Haven’t joined yet? Join here. It’s easy and free.
Read on for this week’s assignments.
First a note on participation: Do your best, and pace yourself. You will have a week to complete each assignment. Each assignment will be given on a Friday so you have the weekend to dive in deep, although they can all be done in short bursts throughout the week so don’t panic if you’re heading out of town for the weekend or would just prefer to laze about. Also, many assignments can be on-going through the Cure, so if you don’t finish one week’s work by the following Friday, just keep going.
It is also incredibly helpful if you are active on the Discussion Board. It’s the best way to stay in touch with the community and the group will help keep you going. In fact, why don’t you head over there now and introduce yourself?
Week One Assignments
1. Take “Before” Photos.
- Get out your digital camera. If it has photo-quality settings, put it on a high-quality setting in case you decide to share your image with us. If you have natural light, pick a time when the light in the kitchen is bright but not full of glare.
- If you have any tables, plants, etc that might get in the way, scoot them to the side. I had to move a butcher-block island and stools in order to get my shot, above.
- Now open every cabinet and every drawer. Open the fridge and freezer too.
- Snap away. Get one overall shot, but also a few detail shots. And of course, do not clean anything up before photographing. No cheating!
- Submit your photos here. The reason we do the Cure as a group is to help and inspire each other.

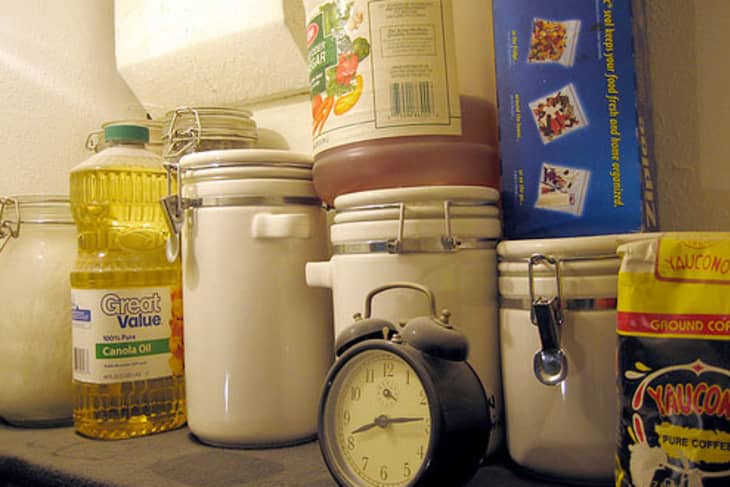
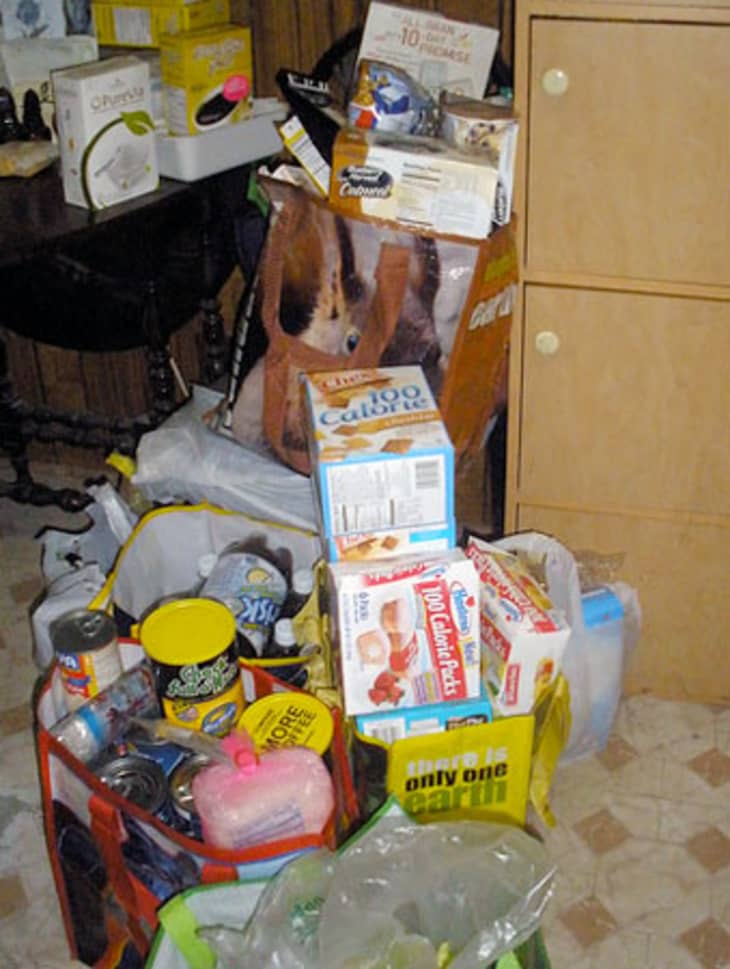
Go through your refrigerator, cupboards, counter-tops and pantry and clean up your food clutter. The food you have in your kitchens should be fresh and replenished frequently. Take a long hard look at that tin of wasabi powder you got on your trip to Japan three years ago; it’s dusty and has absorbed the odors of in the cabinet. Re-consider the jar of preserved lemons you got as a wedding favor who knows how long ago; it’s brown, you have no idea how to use it, and it takes up energetic space in your kitchen. Here are some basic guidelines for de-cluttering your food:
- In the case of fresh foods or foods with an expiration date – toss or compost it if it has expired.
- In the case of frozen foods, get rid of anything with freezer burn. Foods that have been stored for more than 12 months are generally still safe to eat, but their quality has been compromised. In other words, time to make a big pot of soup.
- In the case of spices and canned foods that have not expired but have not been used in the last 6-12 months, really consider if you’ll ever use it. Those saffron threads from your cousin’s vacation in Spain, the chunks of star anise you bought once for a recipe but haven’t used since… you get the picture. Some ingredients are expensive and may be difficult to part with. If you really think you might use them someday, make a list of these items then put them into a box in the back of a cabinet or under the sink.
- In the case of duplicates (I often have two jars of capers and two boxes of cocoa open at once, not sure why) combine containers and toss one. Or jump ahead and begin to consolidate dry goods into stack-able jars
- Faith wrote a very helpful post two Cures ago specifically about condiments and expiration dates. Check it out.
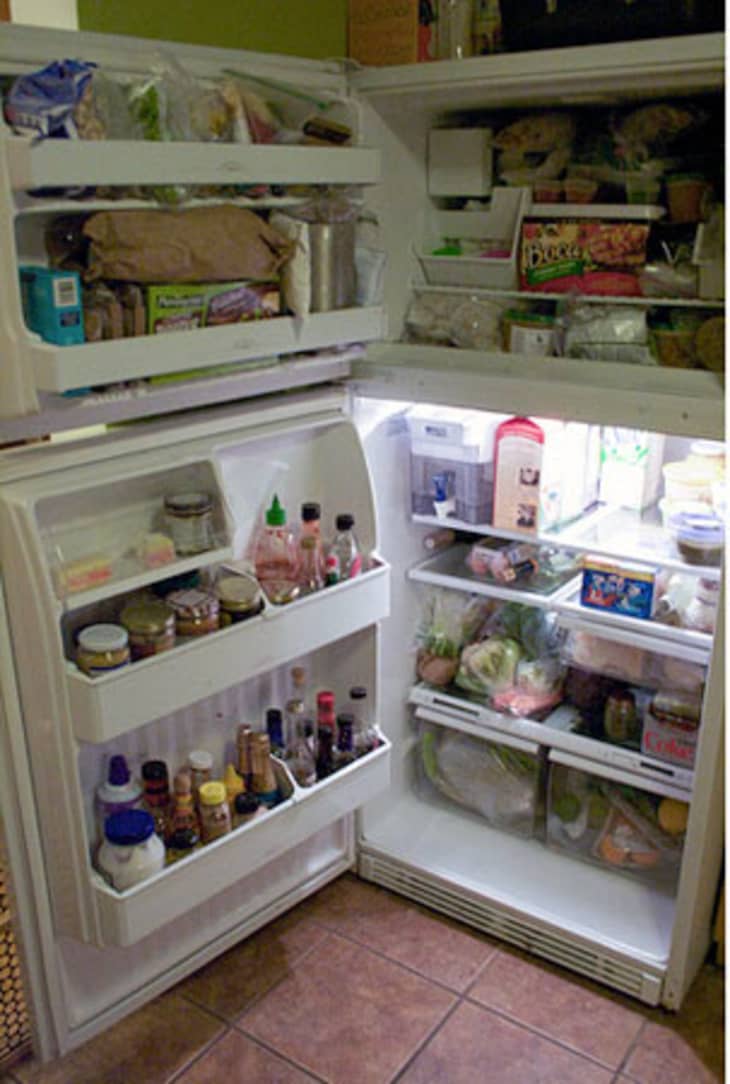
Take all of what remains and wipe it down with a warm, moist cloth before putting it back. For containers of oil, for example, that may have a film, you might need to use a cleanser (something earth-friendly diluted with warm water) to cut through the grease. Vinegar and water works nicely, too. Condiment and jam jars almost always need to be rinsed off (don’t forget to dry them too) before returning them to the fridge.
This is not the deep cleaning. That will come in Week 3. However, it’s important to at least wipe down all surfaces when returning your newly purged food collection to its place.
Reminder about photographs: Submitting your photos to the Flickr group helps us see how you’re doing and answer specific questions you have. If you’d like your progress to be showcased in a post, please take them on the highest quality setting you have on your camera and with as much natural light as possible. Make sure to explain what’s going on in each image so we can properly caption each photo.