
How To Make Sprouted Grains

Now that we’re up to speed on sprouted grains and their nutritional and culinary benefits, let’s take a look at how to actually make them at home. Sprouted grains, like wheat berries and rice, are super simple to make. They don’t require any major equipment, and they are also fun for both adults and kids to make. The grains are first soaked in water and then rinsed, drained, and kept moist inside a jar for a period of one to five days. They can add interesting new tastes and textures to salads, sautés, baked goods, and more.
A Reason to Make Sprouted Grains Yourself
When I spoke to Monica Reinagel, licensed nutritionist, professionally-trained chef, and Nutrition Diva at QuickAndDirtyTips.com, I liked her comparison of sprouted grains to vegetables: Even if you’re unable to garden outside due to weather or space constraints, you can make sprouts on your kitchen counter.
“It’s an easy way to grow something fresh,” says Reinagel. “Sprouting is also a great project for kids. Unlike a tomato that takes three months, this is really quick and can hook them into eating vegetables and getting excited about cooking.”
I’m an adult and a long-time cook and I find the process pretty fun, too!
Which Grains to Sprout
You can sprout any kind of whole grains — the truly important thing is that the grain be whole grains, with the germ and bran intact. They should not be hulled, husked, pearled, rolled, flaked, or otherwise altered.
Note that sprouted oats must be thoroughly cooked before eating.
The Basic Sprouting Process
The grains are first soaked in water to increase the moisture content and deactivate the phytic acid. Although they are not fully sprouted at this stage, these soaked grains can be blended into plant-based milks or cooked with less water and time than it would take to cook unsoaked grains.
To make them actually sprout, the soaked grains are then rinsed, drained, and kept moist inside a jar for a period of 1 to 5 days. Sprouted grains are often eaten raw, lightly cooked, or ground into flour. They can also be dried in a dehydrator, low-temperature oven, or in the sun.
The Sprouting Container
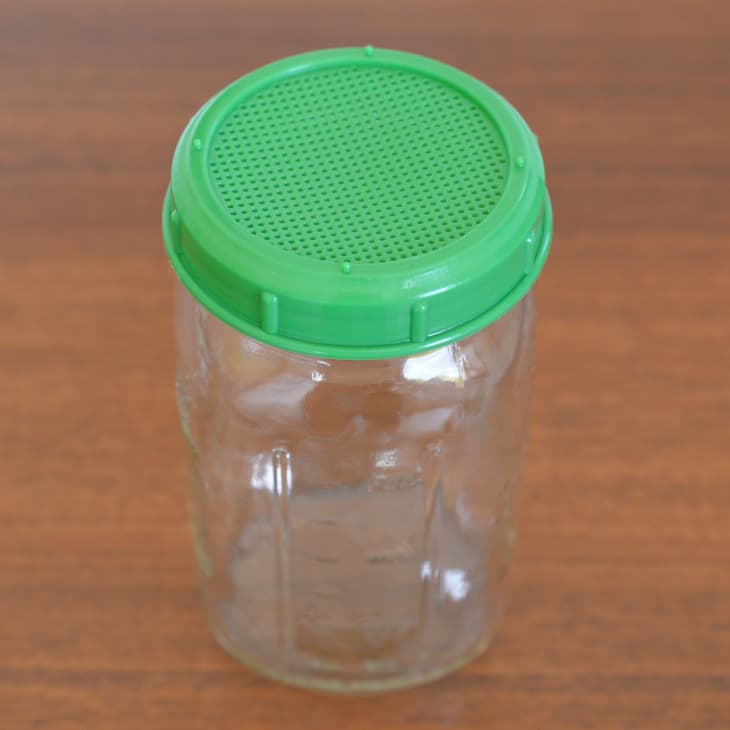
You can use any jar for sprouting, bearing in mind that the grains will increase in volume. For 1/2 cup of grain, a 1-quart mason jar works well. Cover the jar with some sort of screen or mesh that allows water to drain and air to circulate.
Plastic sprouting lids are inexpensive, sturdy, rust-free, and reusable.
→ Find it: Sprouting Jar Strainer Lid by Handy Pantry, $5.99 at Amazon
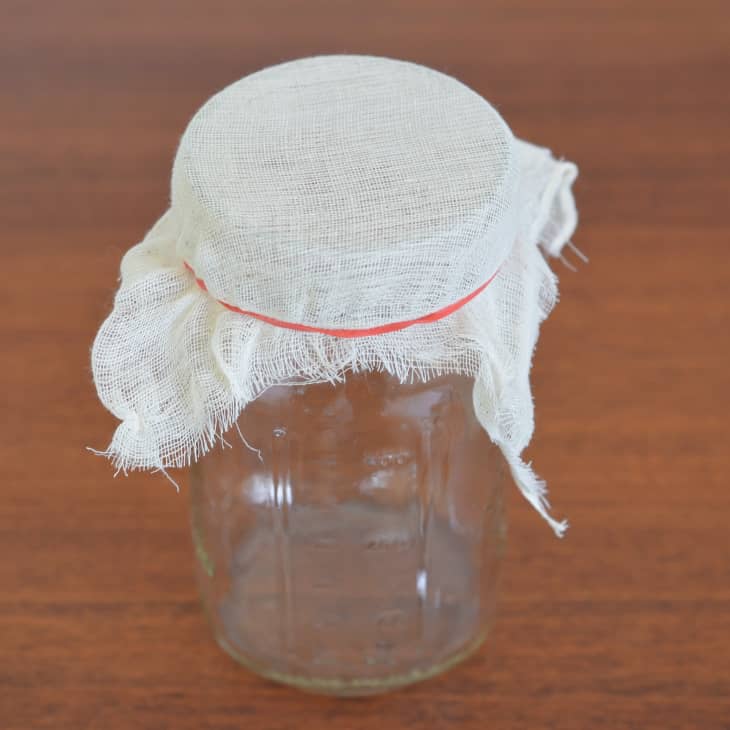
You can also cover the jar with cheesecloth or a “sprouting screen” made of stainless steel or plastic, and secure it to the jar with a metal screw band.
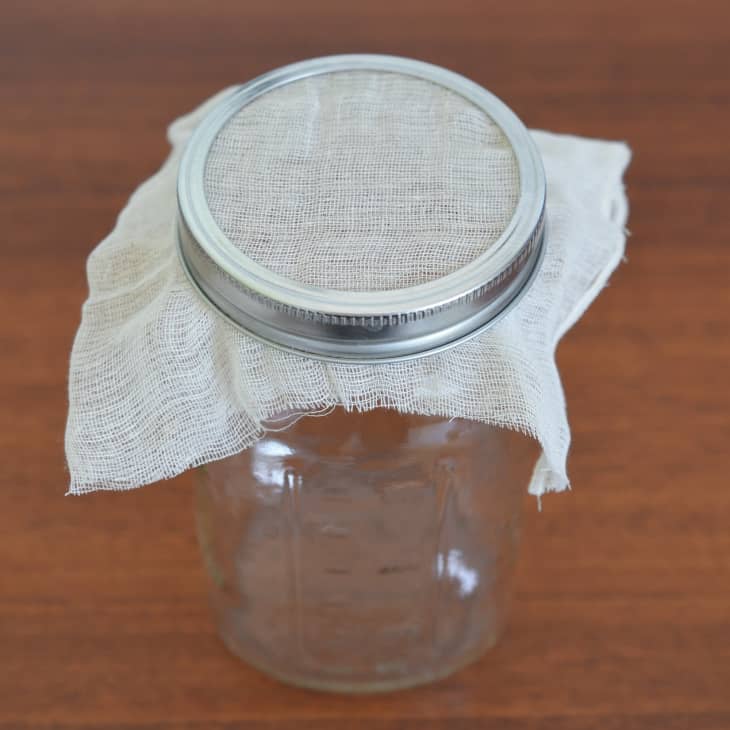
Or simply secure it with a rubber band.
Safety Considerations
According to FoodSafety.gov, “Seeds and beans need warm and humid conditions to sprout and grow. These conditions are also ideal for the growth of bacteria, including Salmonella, Listeria, and E. coli.”
The FDA cautions, “Bacteria can get into sprout seeds through cracks in the shell before the sprouts are grown [and] are nearly impossible to wash out …. If pathogenic bacteria are present in or on the seed, they can grow to high levels during sprouting – even under clean conditions. ” To reduce the risk of illness, the FDA recommends cooking sprouts thoroughly before eating them.
Nutritionist Reinagel says that “store-bought sprouts are more likely to be contaminated with E. coli. Home sprouts have the safety advantage. Obviously you want to start with a clean jar. Another advantage to sprouting at home is that store-bought sprouts turn to slime quickly because they may already be one to two weeks old. Homemade sprouts are nice and fresh.”
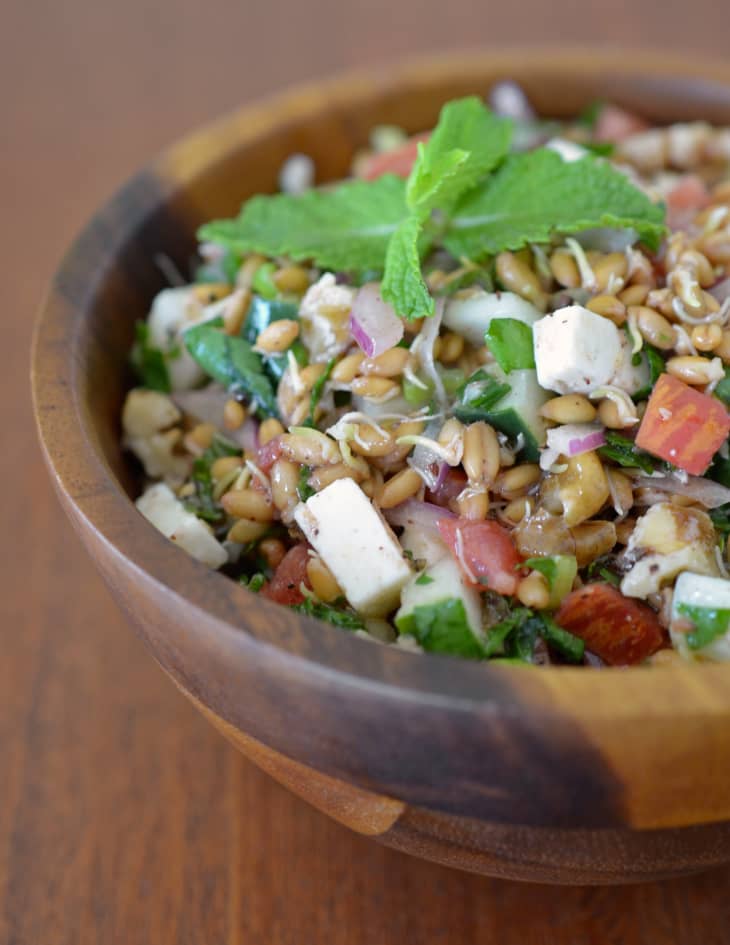
Some Ways to Use Sprouted Grains
- Breakfast: Apple Farro Breakfast Bowl
- Lunch: Whole Grains for Lunch: 10 Hearty, Satisfying Lunch Salads
- Dessert: Wheat Berry Fools with Grand Marnier Figs
- Baking: Sprouted Bread
How To Make Sprouted Grains
Makes about 2 cups
Nutritional Info
Ingredients
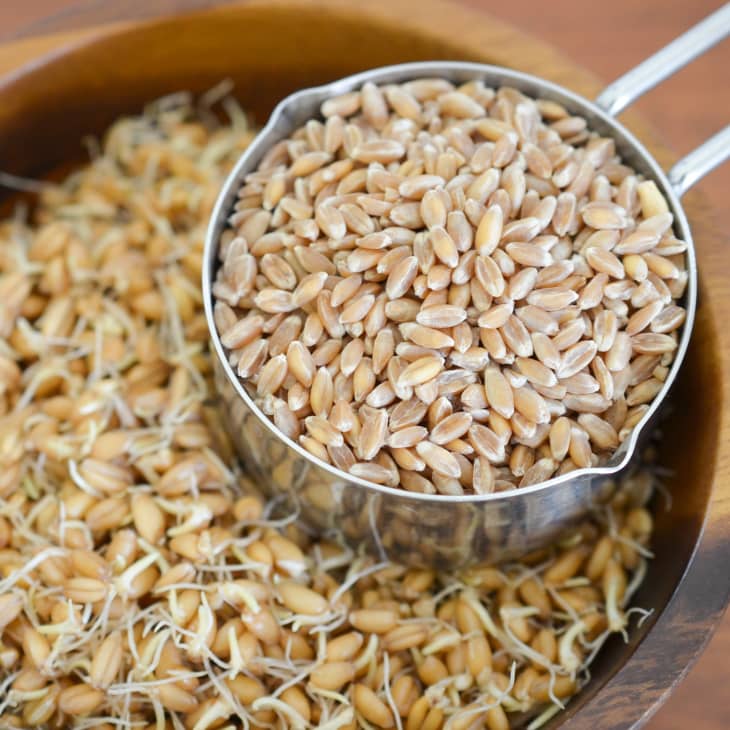
- 1/2 cup
whole grains, like wheat berries, amaranth, (unhulled) barley, buckwheat, corn, einkorn, farro, kamut, millet, whole oats, quinoa, rice, rye berries, sorghum, spelt (as well as legumes and seeds!)
Water (preferably filtered)
Equipment
Measuring cup
Strainer or colander
Bowl for soaking
1 quart jar
Sprouting lid/screen OR cheesecloth plus metal screw band or rubber band
Bowl for catching water
Instructions
Rinse and drain the grains: Place the grains in a strainer or colander, rinse well, and drain.
Soak the grains: Place the grains in a bowl and cover with water by a couple inches. Let stand overnight or at least 12 hours.
Drain the grains: Drain the grains in a strainer or colander. Rinse well and drain.
Place the grains in a jar: Place the grains in a 1 quart jar.
Cover the jar: Cover the jar with a sprouting lid/screen OR a double layer of cheesecloth secured with a metal screw band or a rubber band.
Invert the jar: Turn the jar upside down and at an angle so that excess water can drain and air can circulate. Place the jar in a bowl to catch the water. Keep it out of direct light and ideally at a temperature between 68 to 75°F.
Rinse and drain twice a day: Every 12 hours or so, pour water into the jar and swirl it to evenly rinse all the grains. Pour off the water and invert the jar as in Step 6.
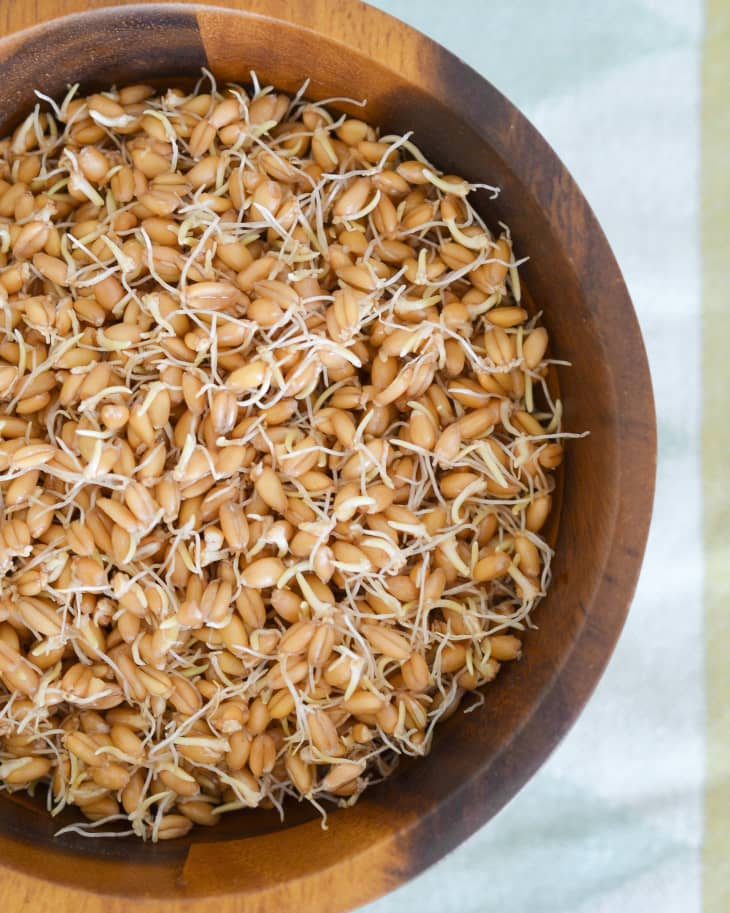
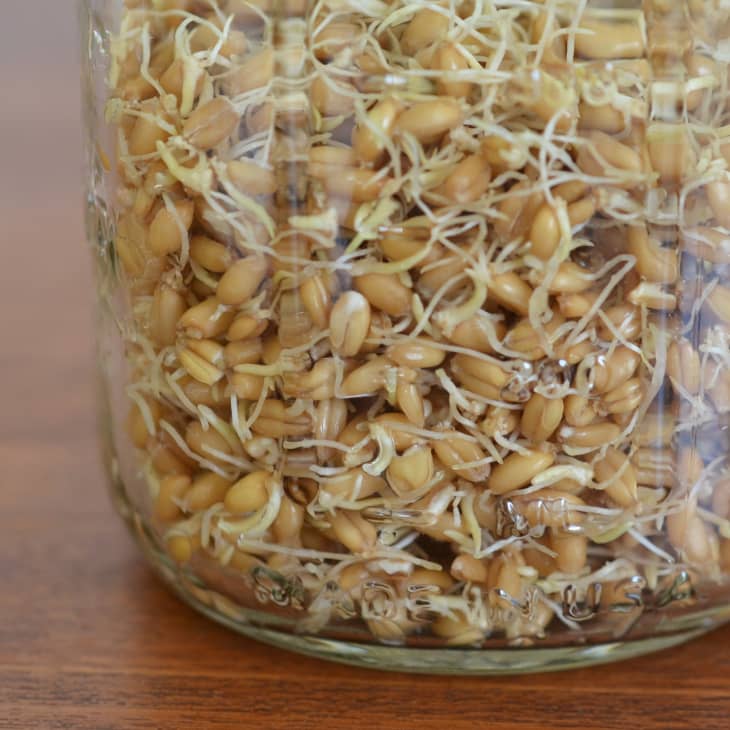
Wait and watch: The grains should sprout in 1 to 5 days. You will know they are ready when they have little tails. Depending on personal preference, you can wait until the sprouts have just emerged or until they are longer, about 1/4 inch or so.
Refrigerate the sprouted grains: Rinse and drain the sprouted grains and store them in the refrigerator for a few days to a week. If at any point they smell bad or look slimy, discard them.
Recipe Notes
Drying sprouted grains: Sprouted grains may be dried in a dehydrator, low-temperature oven, or in the sun.
Making flour: After drying the sprouted grains, you may grind them into flour.
Sprouting other ingredients: Other grains, legumes, and seeds may also be sprouted. Soaking and sprouting time may vary.