
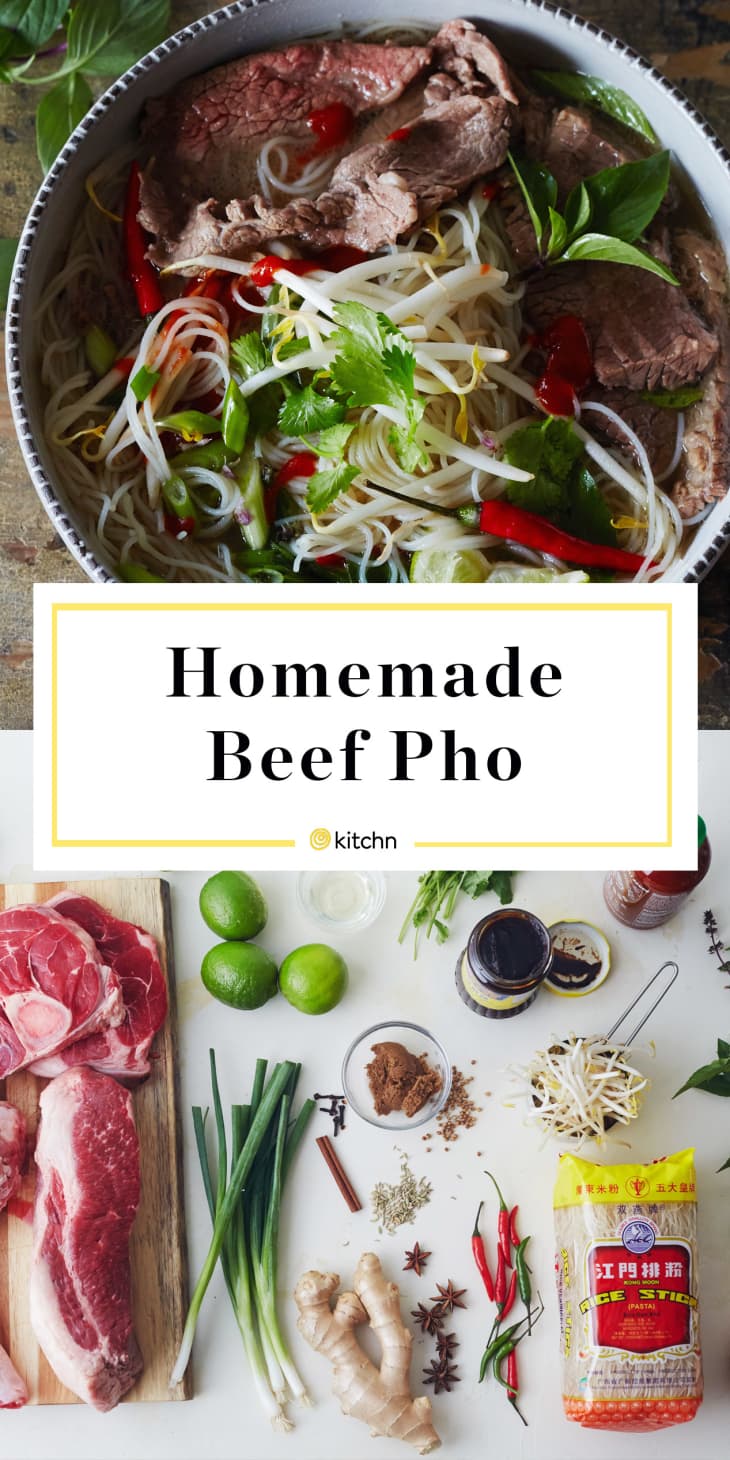
How To Make Pho: The Best Method for Most Home Cooks

There is no pleasure quite the same as tucking into a steaming bowl of hot homemade soup. Pho, a staple Vietnamese soup, is no exception. Much like miso to Japanese cooking and chicken noodle soup to American cooking, this soup is full of flavors to comfort and warm you up.
And while making pho at home might seem like a complex undertaking, in its most pure form, pho is nothing more than a beautiful broth, supple noodles, and the toppings you choose to add — which means many home cooks have the skills and tools they need to make a version to be proud of.
Why This Method Is the Best for Most Home Cooks
We combed through many recipes for making pho broth at home before settling on this method we’re sharing here. During our research, we found that most recipes can be divided into two schools.
- Elaborate, with three or more types of bones: On one side, you find the more elaborate recipes, with broth made from three or more types of bones.
- Shortcut recipes that simply flavor boxed broth: On the other hand, there are recipes filled with shortcuts to get you to the flavors of pho in a hurry. You’ll even find one of those recipes on this site.
But when we consider how to make the best pho for most home cooks, we find ourselves somewhere in the middle, with our focus squarely on producing a stand-out broth from scratch.
We spent the majority of our effort on making the best broth — not only because that’s where the bulk of the flavor comes from in this soup, but also because broth-making is a skill most home cooks excel at or are eager to perfect. The techniques of preparing the broth in this recipe are universal. You can learn them here and apply them to your next soup-making endeavor, whether it’s pho you’re making or a favorite chicken noodle soup.
Overall, our goal is to give you a recipe for a soup that’s just as satisfying as the bowl you dive into at your favorite Vietnamese restaurant, but with a method tailored for you, the home cook.
What Makes an Authentic Pho?
Andrea Nguyen
The exact origins of pho are murky, but Northern Vietnam is credited as the birthplace of pho. Pho traveled from Northern Vietnam to Southern Vietnam when the country split during the 1950s. Fleeing the Communist north, pho cooks introduced pho to Southern Vietnam as a way to make money. Street vendors selling pho are still a fixture of modern Vietnam.
Pho came to America during the late 1970s as both Northern and Southern Vietnamese residents fled the country after the fall of Saigon.
In America, pho was still cooked throughout Vietnamese communities and many pho shops were born. To please American patrons, the side dish of plentiful herbs, more beef, and condiments appeared beside the simple soup as the dish rose in popularity.
More on Vietnamese Cuisine
For more detailed information on the history of pho and all the intricacies and variables of this dish, seek out the work of Andrea Nguyen at Viet World Kitchen.
Andrea is the author of Into the Vietnamese Kitchen (Ten Speed Press, 2011) and the upcoming The Pho Cookbook (Ten Speed Press, February 2017).
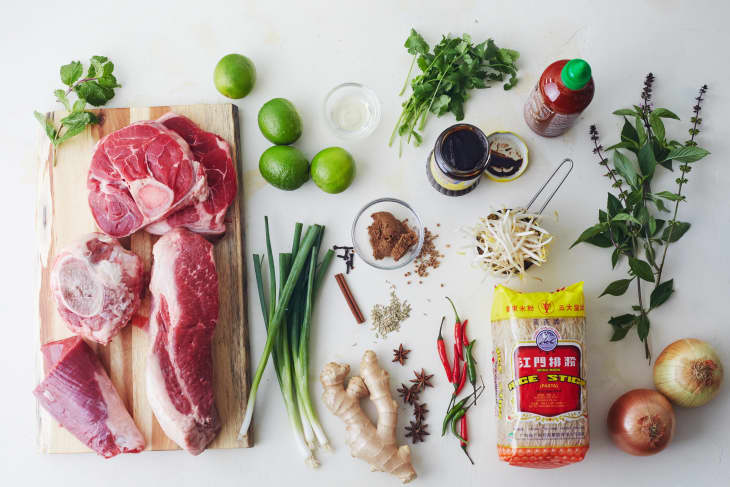
Shop Your Soup — Buy the Ingredients for Success
There are many important steps to follow when it comes to cooking pho at home. We’re going to go through all of them in this cooking lesson. But before you even head to the kitchen, you’ve got to head to the store — because the first step to making really good pho at home starts with sourcing the ingredients.
Whether you head to your grocery store, order some of these ingredients online, of visit the Asian grocery store, below are the three ingredients to pay particular attention to. You can check out our detailed lists on what to look when shopping for your soup for all the specifics.
Bones, Fish Sauce, And Noodles: What to Buy Right
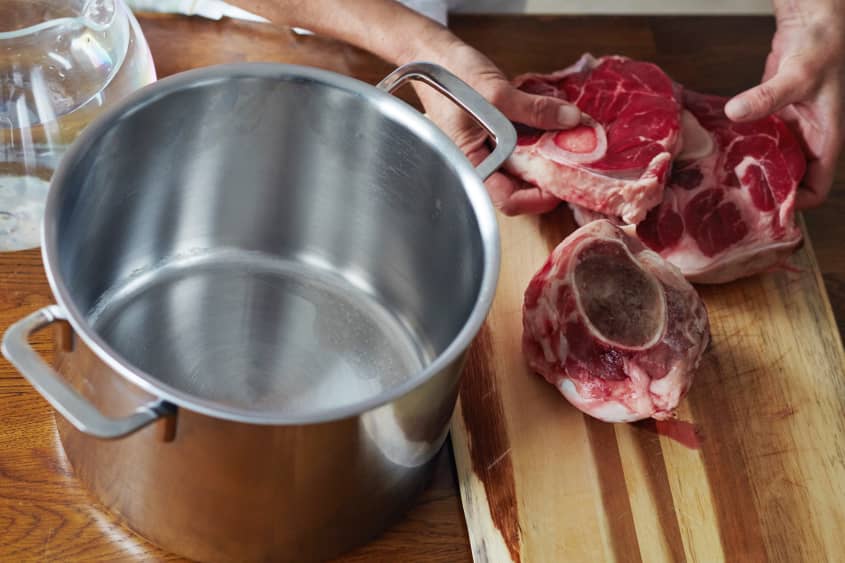
Bones: Beef knuckles are the preferred cut for beef pho broth because they are rich in connective tissue, but low on fat. The knuckle joints cook down in the broth, giving it body and a rich thickness that cannot be replicated. If you can’t find knuckle bones, go ahead and double the beef shank called for here. Some Asian markets sell packages labeled “beef soup bones,” which can be exclusively knuckles or a combination of knuckles and shank (or leg bones). If you find them, snatch those up for beef broth.
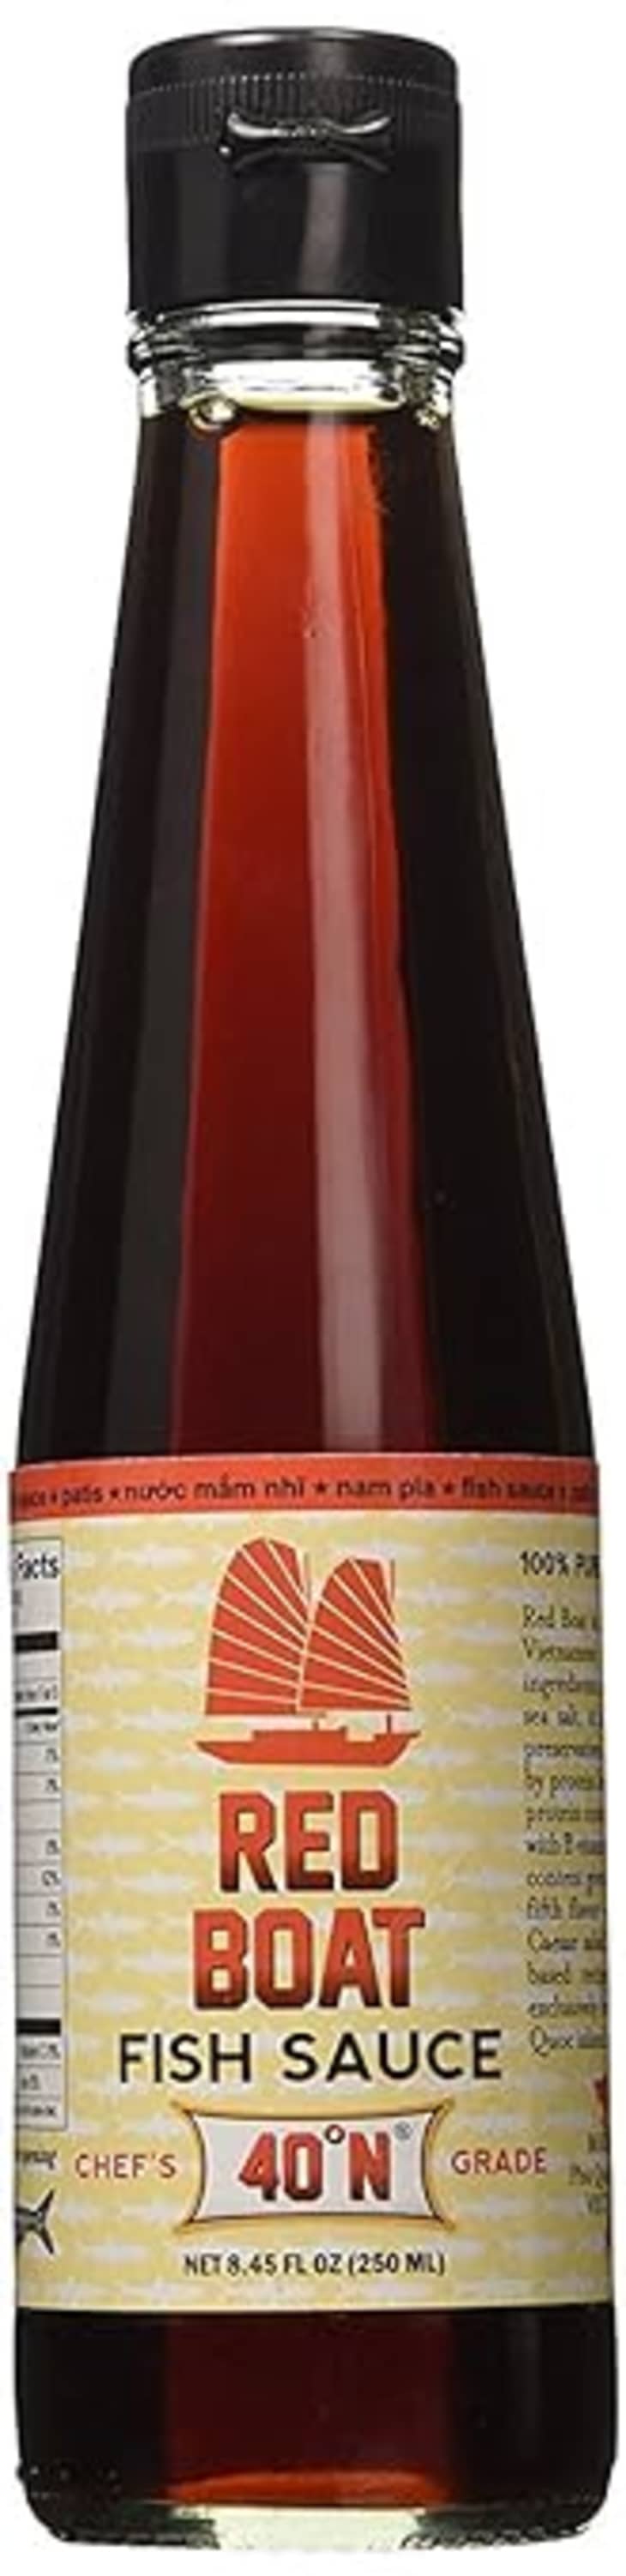
Fish sauce: Be wary of supermarket fish sauce, which can be full of additives and preservatives. Instead look for fish sauce with two or three ingredients on the label. Red Boat is a great entry-level brand if you get overwhelmed with the choices at the Asian market.
Noodles: Beef pho is traditionally made with rice noodles. These flat noodles are sometimes labeled “rice sticks” and sold both fresh (sometimes found in the freezer section) or dried. Look for dried rice noodles with a medium thickness — too thin and they’ll dissolve in the broth, but too thick means endless chewing.
Shop your soup: A Grocery List for Making the Best Beef Pho at Home
Pho Broth Basics
- For clear broth, parboil the beef bones: A hallmark of good beef broth is a clear, unclouded broth, without a slick of oil on top. To avoid a cloudy broth, parboil and rinse the bones before making broth. Parboiling removes surface debris and some fat, leading the way for a clearer broth. If you must skip this step, scrub and rinse the bones well before building the stock.
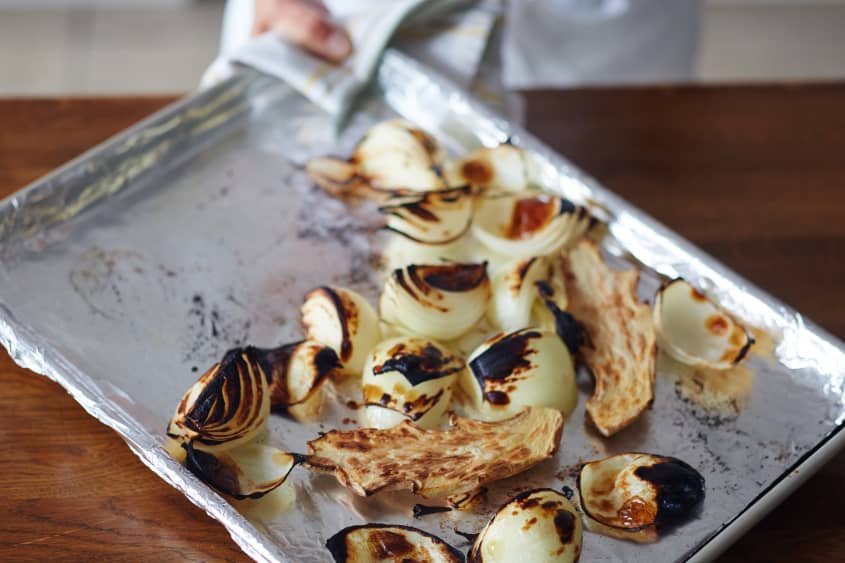
- For the true pho flavor, char the aromatics: I’m going to ask you to do something contrary to all your culinary instincts. You have to burn the onions and ginger for this broth. Charring gives the broth a distinct, unmistakable smokey flavor and opens up the these aromatics for boiling.
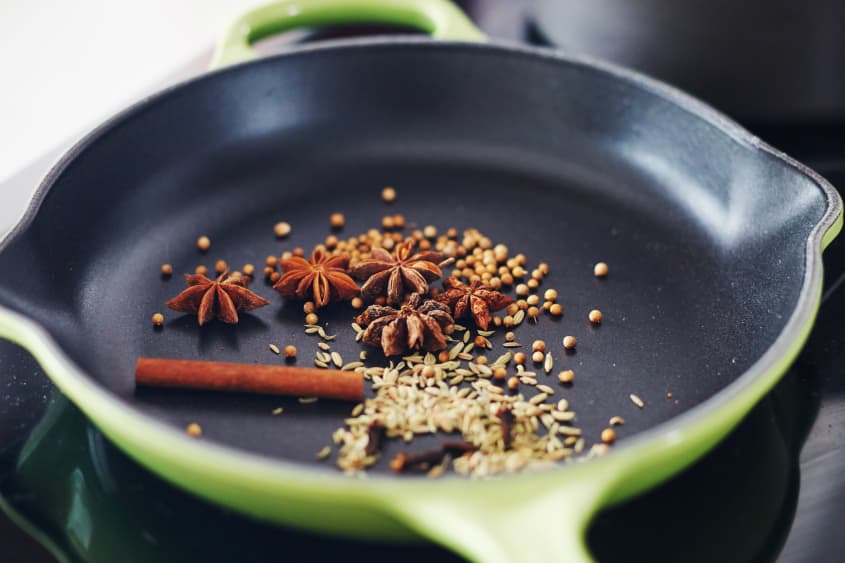
- Toast the spices to bring warm flavor: Warming spices like anise and clove are essential to pho broth. Toasting the spices and tying them into a tidy bundle for simmering in the broth keep their flavors from becoming too pronounced. The result is a subtly spiced broth that can not be mistaken for plain beef broth.
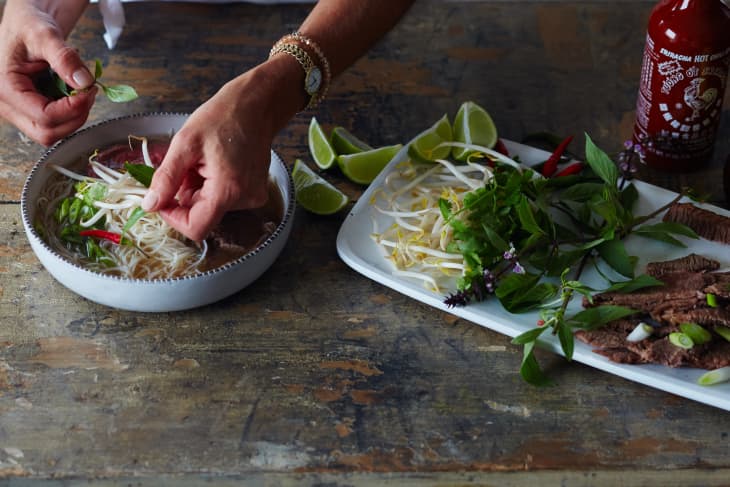
Putting It All Together
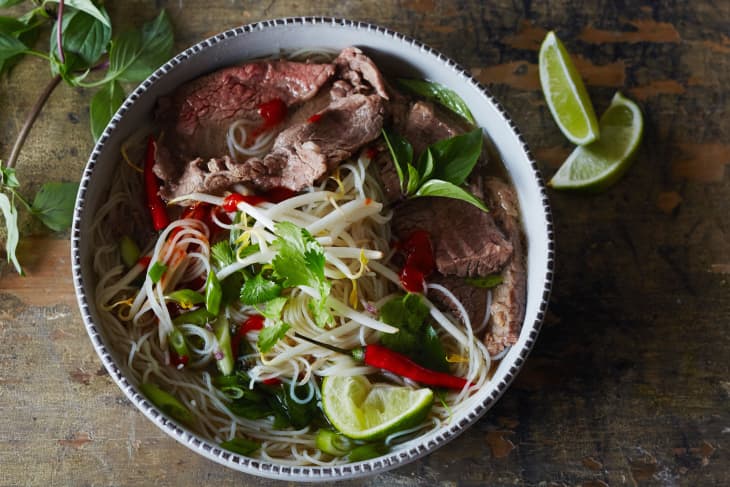
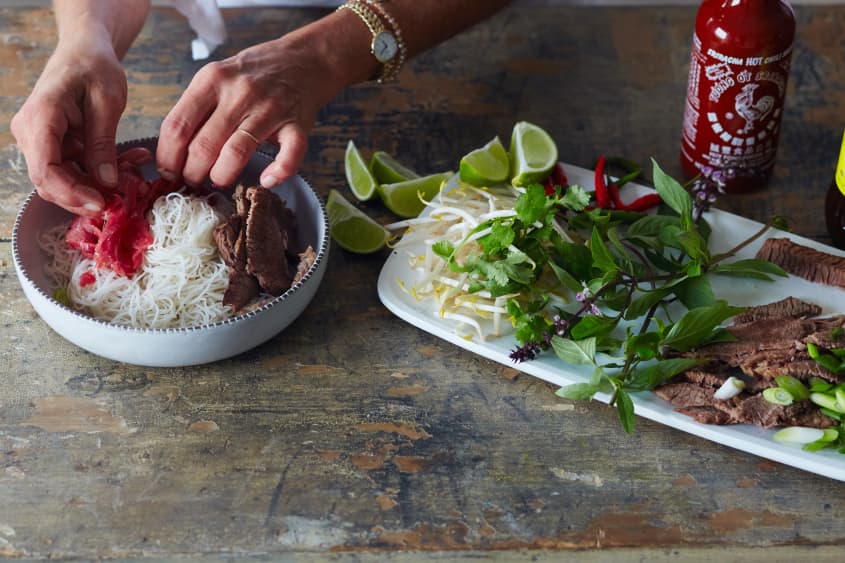
A bowl of pho is made personal by what you put in your bowl. Up until then, all you’ve got is a spectacular broth, cooked rice noodles, and a tray of garnishes. Here’s how we recommend putting things together:
- The bowl: Grab a big one — you’re going to need it.
- The noodles: Add the noodles first; it’s easier to add them before the hot liquid goes in.
- The beef: Add this in with the noodles. Make sure you cut it very thin. Once you pour over the broth, it will begin to cook
- The broth: Ladle over the hot broth. It will continue to soften the noodles and cook the meat.
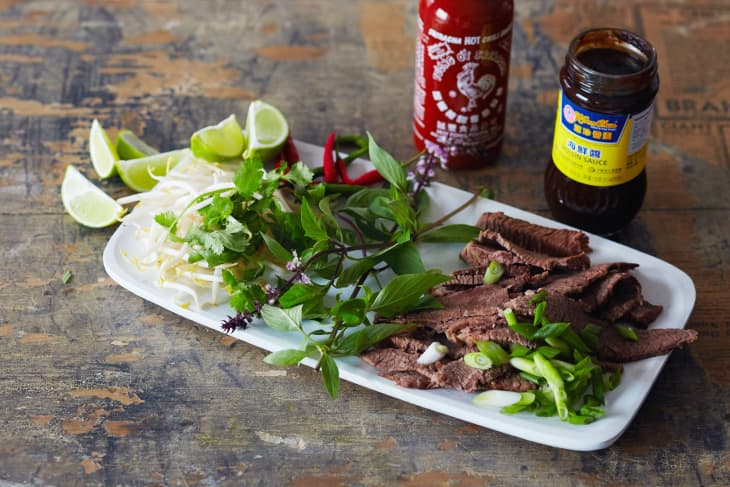
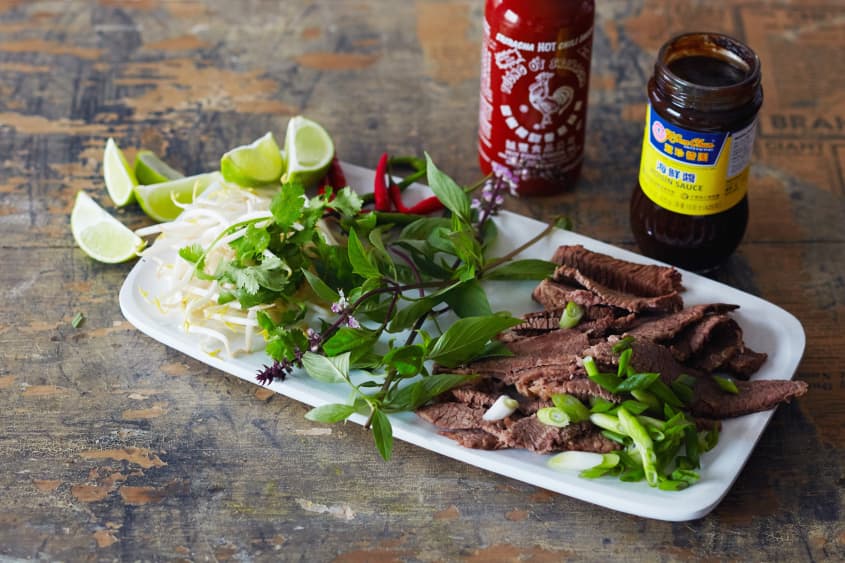
- The condiments: Assemble a tray of mint, scallions, bean sprouts, and limes. Don’t forget to grab a bottle of Sriracha and hoisin, too.
A word of advice: Since most of the efforts in making pho go into making a delicious broth, start off with the Sriracha and hoisin in a small bowls on the side for dipping meat into. If you like your broth teeming with the sweet heat of Sriracha and hoisin, stir both right into your bowl.
Putting the Work to Work
At this point in Project Pho, you’ve invested a decent amount of effort into procuring ingredients and making broth. Here’s how to make both of those investments pay future dividends.
- Fish sauce: Don’t shy away from using this pungent condiment in other soups, stir-fries, or even casseroles. Add fish sauce to salad dressings or use it anywhere you might typically added a dash of Worcestershire sauce.
- Hoisin sauce: Hoisin sauce is ideal for glazing meats or roasted vegetables, or using as a dip. The sweet and savory sauce can do double duty as both a marinade and a sauce for grilled meats. Store hoisin in the fridge after opening.
- Pho broth: Since a great deal of effort goes into making this flavorful broth, you’ll want to use it up or freeze it for future use rather than let even a drop go to waste. Pho broth can be enjoyed with rice stick noodles with or without more beef, so freezing the broth in single-serve portions is ideal. You can use the broth to braise other cuts of meat and vegetables — pho broth-braised pot roast makes a complex gravy that you’ll be making regularly once you try it.
The Asian Soup Pot
This month, Kitchn is exploring the diverse world of Asian soups. Ramen, pho, and thom kha gai are some of our favorite dishes to eat out, but we tasked ourselves with mastering these soups at home — with equipment we already have and ingredients that are easily found. By pulling in expert advice, shopping smartly, and putting our broth and stock know-how to work, we’re bringing these infamous soups from their authentic origins into your home kitchens.
How To Make the Best Beef Pho at Home
Serves 6 to 8
Nutritional Info
Ingredients
For the broth:
- 2 pounds
beef knuckles
- 2 pounds
(1 1/2-inch thick) beef shanks
- 2
medium yellow onions
- 1
large hand ginger, about 6 ounces
- 2 tablespoons
canola oil
- 5
star anise pods
- 6
whole cloves
- 1 teaspoon
whole coriander seeds
- 1 teaspoon
whole fennel seeds
- 1
cinnamon stick
- 1 1/2 pounds
beef brisket or chuck roast
- 1/4 cup
fish sauce
- 2 tablespoons
packed brown sugar
For serving:
- 8 ounces
beef flank steak
- 2 pounds
dry, small or medium rice noodles, labeled banh pho or rice sticks
- 3
scallions, thinly sliced
- 2
Thai bird chiles, thinly sliced
- 4
medium limes, quartered
- 1 cup
bean sprouts
- 2 cups
fresh cilantro, Thai basil, or mint leaves
Hoisin or Sriracha sauce (optional)
Equipment
Chef's knife
Measuring cups
Measuring spoons
Cutting board
Large stockpot
Colander
Baking sheet
Aluminum foil
Cast iron skillet
Cheesecloth or a small mesh spice bag
Spoon
4-quart soup pot
Mixing bowl
Small condiment bowls
Instructions
Parboil the bones and shanks: Place the bones and shanks in a large stockpot, cover with water, and bring to a boil over medium-high heat. Boil until a gray foam gathers on top, 5 to 10 minutes. Transfer the bones and shanks into a colander and discard the water. Rinse the bones and shanks under cool running water. Rinse out the stockpot and return the bones and shanks to the pot; set aside.
Char the onions and ginger: Arrange an oven rack directly under the broiler and heat to high. Line a baking sheet with aluminum foil. Peel and quarter the onions, halve the ginger hand and place on the baking sheet. Drizzle with the oil, toss to combine, and arrange in a single layer. Broil, stirring or rotating the pan every 3 to 4 minutes, until the onion and ginger are blackened, 15 to 20 minutes total. Set aside to cool.
Toast the spices: Place the star anise, cloves, coriander, fennel, and cinnamon in a large cast iron skillet over medium heat and toast, stirring frequently to avoid burning, until fragrant, about 2 minutes. Remove the spices to a small bowl and let cool. Secure the spices in a small spice bag or bundle made of cheesecloth.
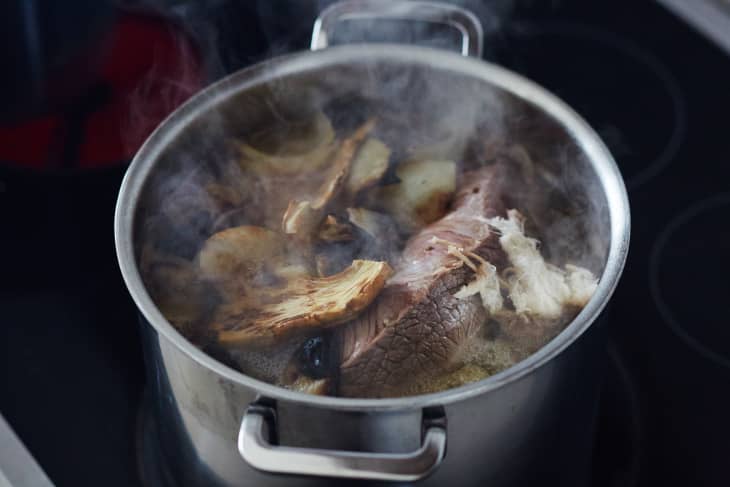
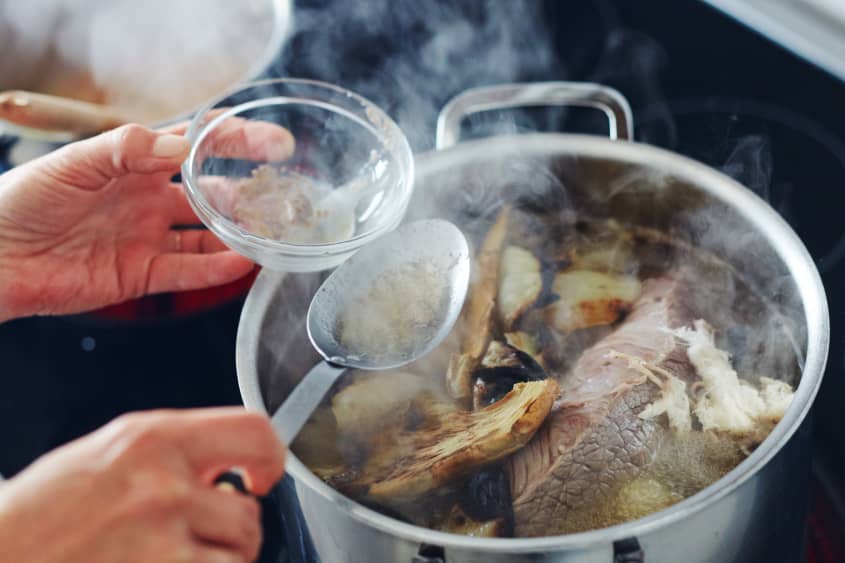
Simmer the broth: Add the brisket, onion, ginger, and spice bundle to the stockpot. Add 1 gallon of water and bring to a boil over medium-high heat. Reduce the heat to a simmer and cook for 5 to 6 hours. While the broth is simmering, occasionally use a clean spoon to skim any gray foam from the surface. The broth is ready when it reduces by half and the brisket is fork-tender. The broth can be made up to a week in advance, or, if serving immediately, feel free to prepare the noodles, flank steak, and accompaniments while the broth cooks.
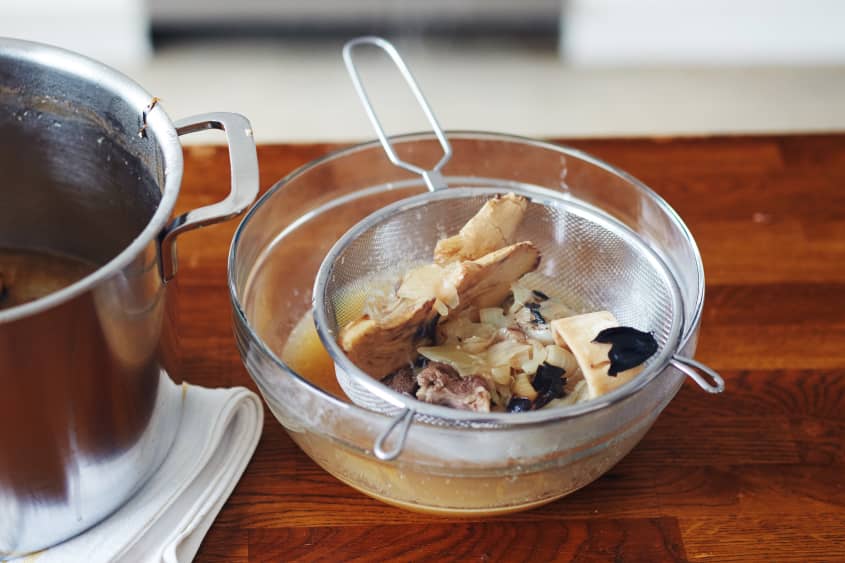
Strain the broth: Remove the brisket from the broth and reserve for serving with the finished soup. Add the fish sauce and brown sugar to the broth and stir to combine. Taste the broth. Does it need a little more salt or sugar? Make those adjustments now. Strain the broth through a fine-mesh strainer or a colander lined with cheesecloth set over a large bowl; discard the solids. The broth should be cooled and then chilled immediately for storing, or can be returned to a pot on the stove to return to a boil for serving.
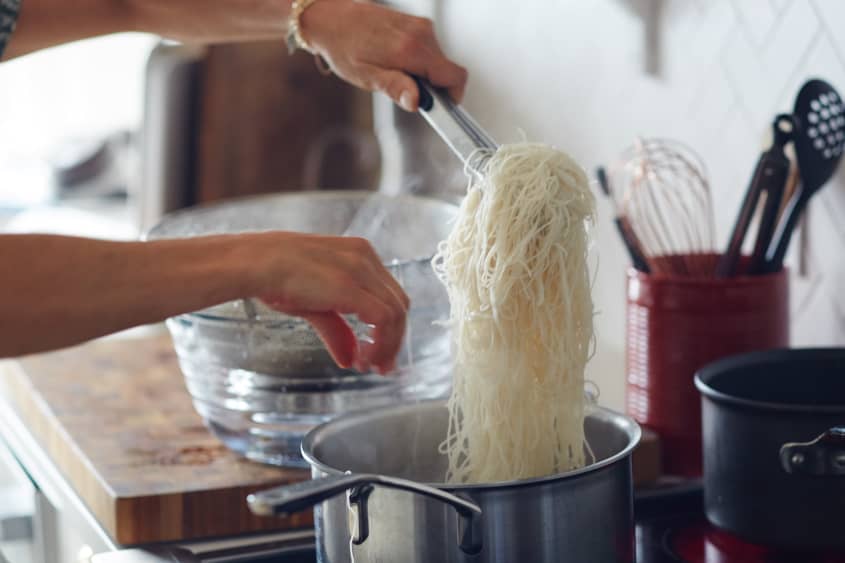
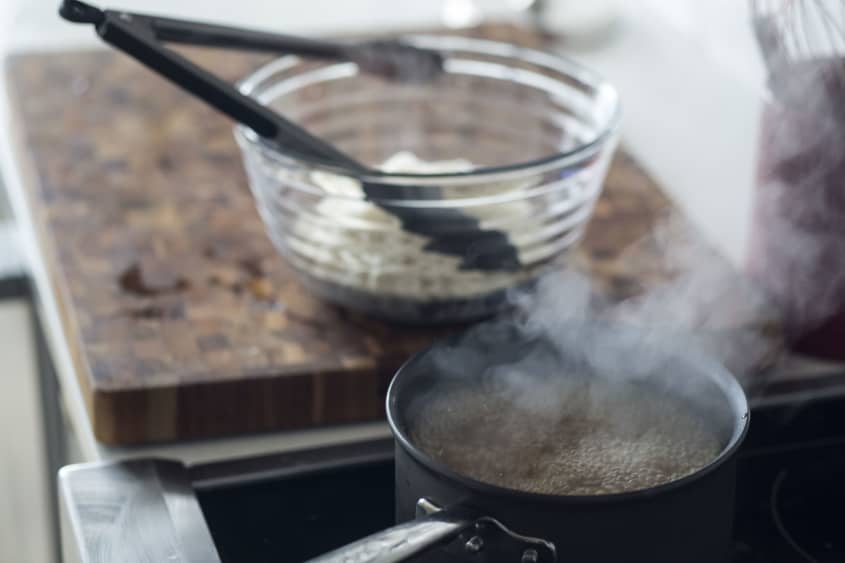
Blanch the noodles: Place the rice noodles in a large bowl, cover with warm water, and soak. Meanwhile, bring a large pot of water to a boil. Drain the noodles and add them to the boiling water. Cook until tender, 1 to 2 minutes. Drain and set aside until ready to serve.
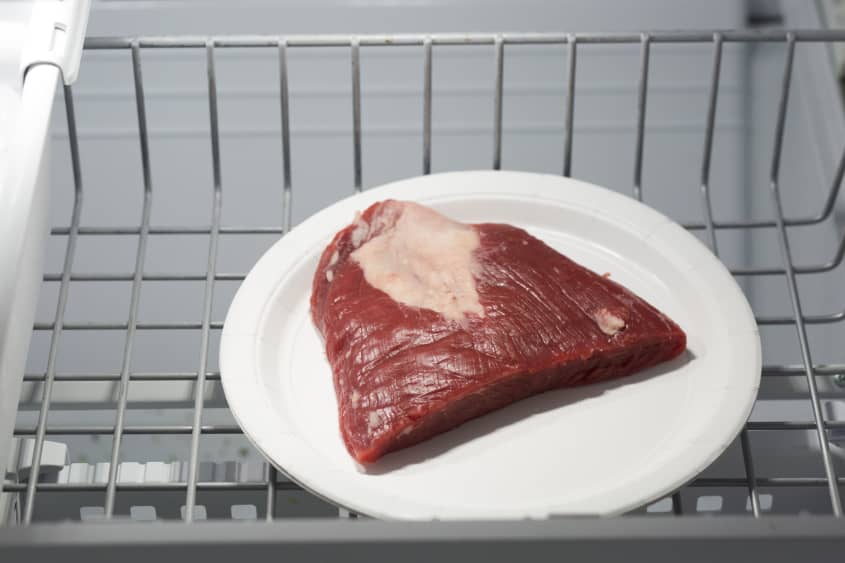
Freeze the flank steak: Place the flank steak on a plate and freeze 15 minutes.
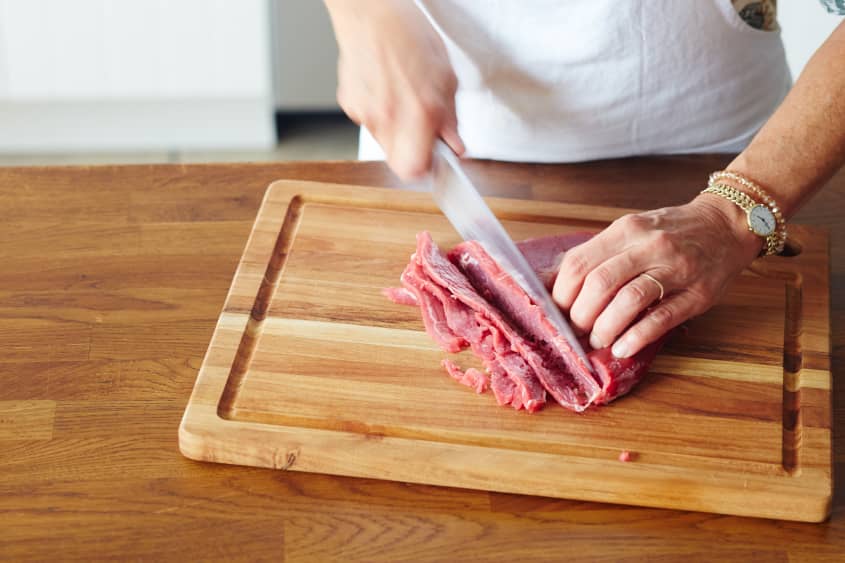
Slice the flank steak: Thinly slice the flank steak across the grain; you may find a serrated knife works best for this. Cover and store in the refrigerator until ready to use.
Prepare the accompaniments: Slice the reserved brisket. Make a small tray of the herbs, chiles, limes, sprouts, and sauces.
Prepare pho bowls: Divide the noodles, brisket, raw flank steak, and scallions among wide, deep bowls.
Boil the broth: Bring the broth back to a boil over medium-high heat. Top each bowl with the boiling broth.
Serving and eating: Put the condiments in a small bowl on the side for dipping meat, as to not ruin the flavor of the broth.
Recipe Notes
Make-ahead: The broth can be prepared and kept refrigerated for 5 days or frozen for up to 3 months. The beef can be sliced and kept refrigerated for several hours (no longer than 24 hours). The noodles can be prepared, tossed with a bit of neutral-tasting oil, and kept refrigerated for up to a day before serving. The toppings can also be prepped up to a day ahead and kept refrigerated until serving.
Storing leftovers: Leftover noodles stored in broth will ultimately absorb all the broth and become gummy. If you have leftovers, store the noodles, the broth, the beef, and the toppings in separate containers. Raw slices of beef will keep for a day or two; they can also be quickly cooked in hot broth and then kept refrigerated for up to 5 days. When reheating, assemble the noodles, beef, and broth in a bowl and microwave; top with garnishes before serving.