
How To Make Ice Cream Without Eggs

If you’ve never made ice cream at home but want to give it a try, start here.
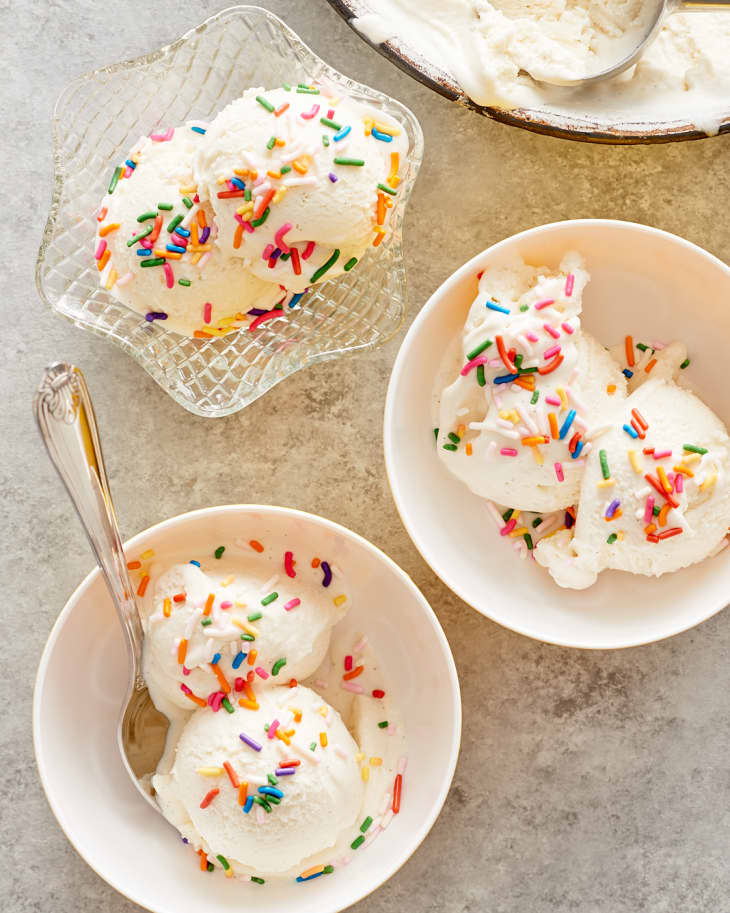
This is a tutorial for making plain vanilla ice cream, from start to finish, showing you your options for recipes and churning methods along the way. And here’s the real secret: When you make vanilla ice cream at home, with good milk and cream, and real vanilla bean, it’s anything but plain!
What To Know About Making Ice Cream
- Ice cream base are made in different forms: traditional egg custard, no-churn ice cream, egg-free ice cream, and Philadelphia-style ice cream.
- This egg-free ice cream recipe follows Jeni Britton Bauer’s method, where cornstarch and cream cheese are added.
- The “freeze-the-bowl” model is the most popular option for making ice cream.

Making ice cream is really a fairly simple process. It can feel complicated because people get very passionate about it and add little tricks and steps to make a better end product, and there are a lot of options when it comes to recipes, tools, and methods.
Here is a very basic, very simple, nearly foolproof recipe for making ice cream. Instead of the traditional egg custard base, this recipe uses cornstarch and a few tablespoons of cream cheese to thicken the base. It’s not enough that you taste the cream cheese, but just enough to give the ice cream a creamy, silky mouthfeel.
More Options for Basic Ice Cream
The “ice cream base” is the creamy, liquid stuff that becomes ice cream after freezing. Making a cooked ice cream base is essentially identical to making homemade pudding or custard. In this recipe I show you the Jeni’s method, but here’s an overview of your basic options, since this isn’t the only way to do it.
- Custard is perhaps the most classic, and you can see how to make it in this post: How To Make Vanilla Ice Cream. This involves cooking egg yolks with cream and sugar. The egg yolks help the ice cream stay ice-free and rich on the tongue. Some people don’t like the eggy taste so much, though.
- Philadelphia-style ice cream is made with just cream, sugar, and flavorings. It replaces the egg yolks with just fat from the cream. It’s quite simple.
- Egg-free ice cream, like the savannah buttermint ice cream from the Jeni’s Splendid Ice Creams cookbook, has become so popular it warrants its own bullet point. Jeni uses cornstarch to thicken the ice cream, and just a dollop of cream cheese for smoothness and body. It’s basically an ultra-optimized version of Philadelphia-style ice cream, and for me at least it gives the most reliable and enjoyable results.
- No-churn ice cream doesn’t require any cooking at all. Sweetened condensed milk, with its concentrated milk fat, is a frequently occurring ingredient here.
Ice Cream Churning & Freezing Options
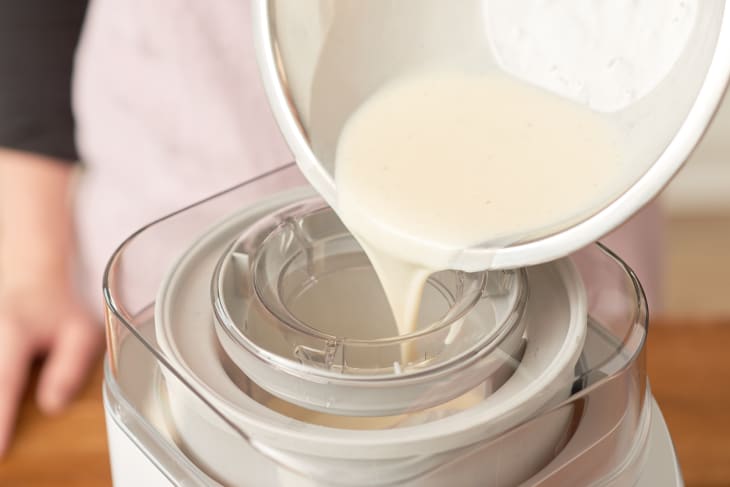
- Freeze-the-bowl home ice cream maker: The most popular and common way of making ice cream at home is with a “freeze-the-bowl” model. This includes the KitchenAid bowl attachment, and the very popular Cuisinart ice cream maker. These are all relatively inexpensive options (you can find these attachments or machines for between $40 and $70), but you need extra freezer space to freeze the ice cream bowl until the special fluid inside is rock-hard. Then you put in your chilled ice cream base, and let the machine stir the ice cream until it is mostly frozen. You can only make one batch at a time before you need to refreeze the bowl overnight again.
- Classic ice and salt ice cream maker: The old-school way of making ice cream was a big bucket packed with salt and ice, with a smaller pail inside filled with the ice cream base. The salted ice created a low temperature environment, and then the ice cream base was churned with a paddle. Today you can still find these old-fashioned ice cream makers. They don’t make quite as smooth of a product, but they are cheaper and lower-energy, especially the ones that require hand-cranking (you can also get electric-crank makers). They do require you to provide your own salt and ice, but they often make bigger batches.
- Compressor-model ice cream maker: These ice cream makers have a built-in freezer so you don’t need to freeze the bowl or any of the components. Just pour in ice cream and turn on the switch. You can make many back-to-back batches like this, and the quality and consistency of the ice cream is quite similar to the freeze-the-bowl models. They are more expensive, though (running about $300). See our
review of a Cuisinart model
- Homemade ice cream hack: There are many ways to get ice cream to freeze well without using a machine. Here is a good post that shows you some of the best ways, from using hand beaters and a bowl full of ice, to using a food processor.
Additional Tips and Advice on Making Ice Cream


How To Make Ice Cream Without Eggs
Makes 1 quart
Nutritional Info
Ingredients
- 2 1/4 cups
whole milk, divided
- 5 teaspoons
cornstarch
- 2 ounces
cream cheese, very soft
- 1/4 teaspoon
fine salt
- 1 cup
heavy cream
- 2/3 cup
granulated sugar
- 2 tablespoons
honey
- 1
vanilla bean
- 1 teaspoon
vanilla extract
Equipment
Mixing bowls
Saucepan
Measuring cups and spoons
Whisk
Ice cream maker
Shallow freezer container with lid
Plastic wrap or waxed paper
Instructions
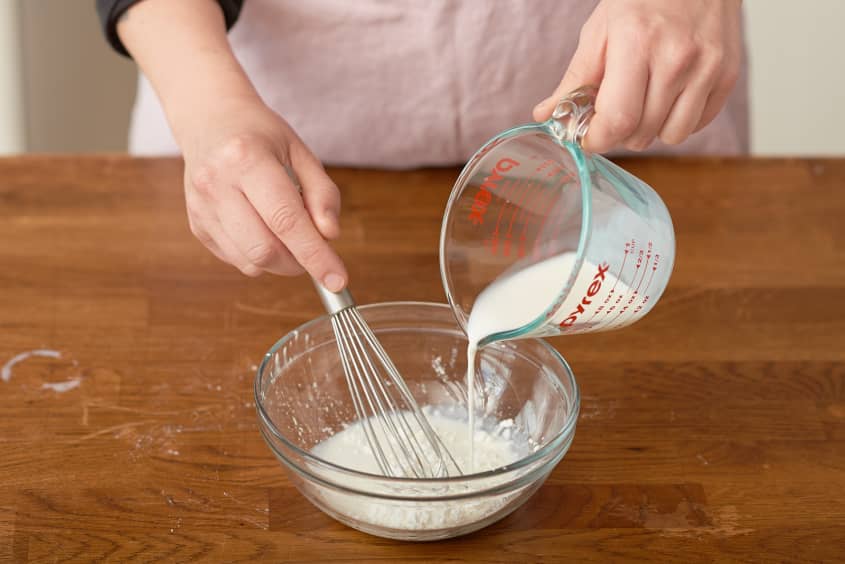
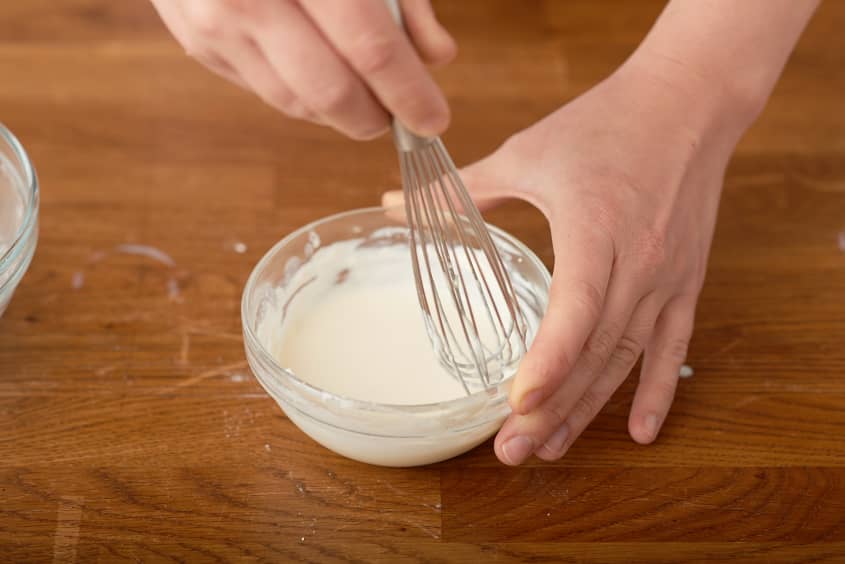
Make the cornstarch slurry: Place a 1/4 cup of the milk and cornstarch in a small bowl and whisk until the cornstarch is fully dissolved. You can reach into the bowl and rub out any lumps between your fingertips if you want to be really sure.
Smooth out the cream cheese: Place the cream cheese and 1/4 cup of the milk in another small bowl and whisk until smooth. Whisk in the salt.
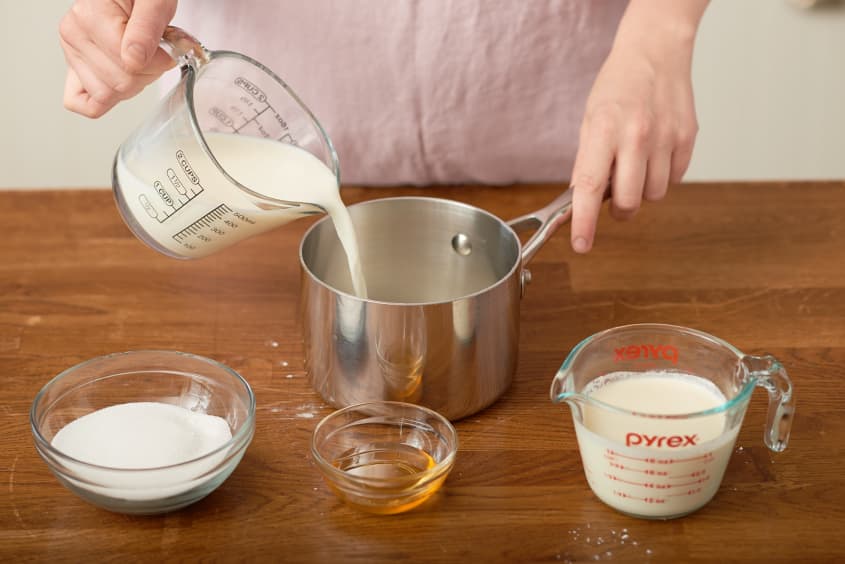
Simmer the milk: Place the remaining 1 3/4 cups milk, cream, sugar, and honey in a medium saucepan and whisk to combine. Lay the vanilla bean flat on a cutting board and slit it open lengthwise. Use the tip of a teaspoon (or the knife) to scrape all the vanilla beans into the saucepan, then toss in the whole vanilla bean pod as well. Bring to a simmer over medium heat, whisking frequently. Reduce the heat and simmer for 4 minutes. Remove from the heat.
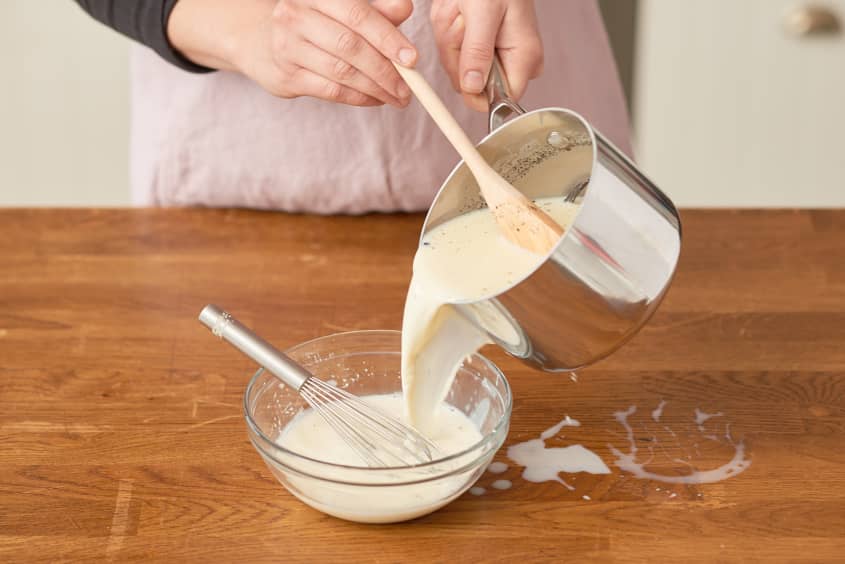
Thicken the ice cream base: Whisk about 1/2 cup of the hot milk mixture into the cornstarch slurry. Slowly pour this back into the hot milk, whisking constantly. Return to the medium heat and cook, whisking frequently, until it comes to a boil. Boil for 1 minute, then remove from the heat. Whisk in the cream cheese mixture. Remove the vanilla bean husk. Whisk in the vanilla extract.
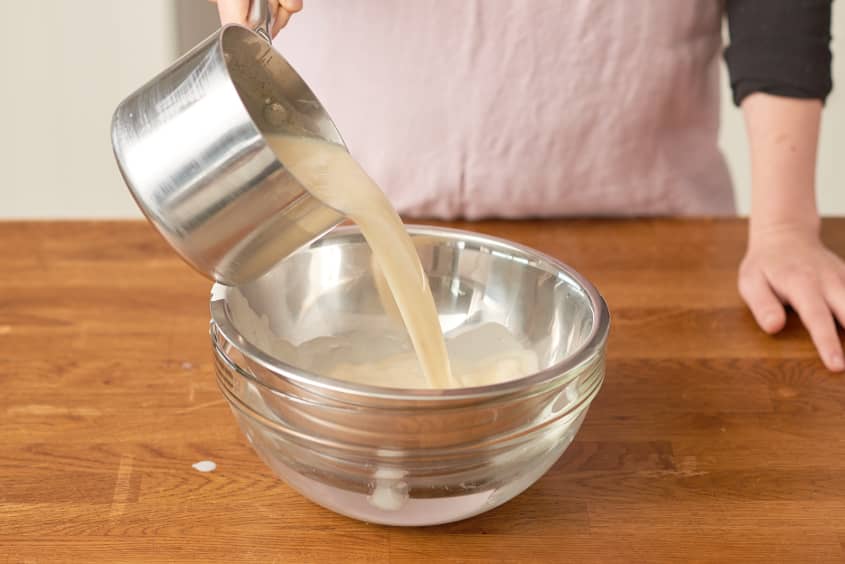
Chill the ice cream base: Chill this ice cream base for at least 4 hours or overnight in the refrigerator. You can also pour your ice cream mix into a bag and submerge it in ice water. This will chill your base very fast and very thoroughly, although it is a bit of mess and hassle to deal with. (Make sure your ice cream maker base is frozen at before proceeding to the next step.)
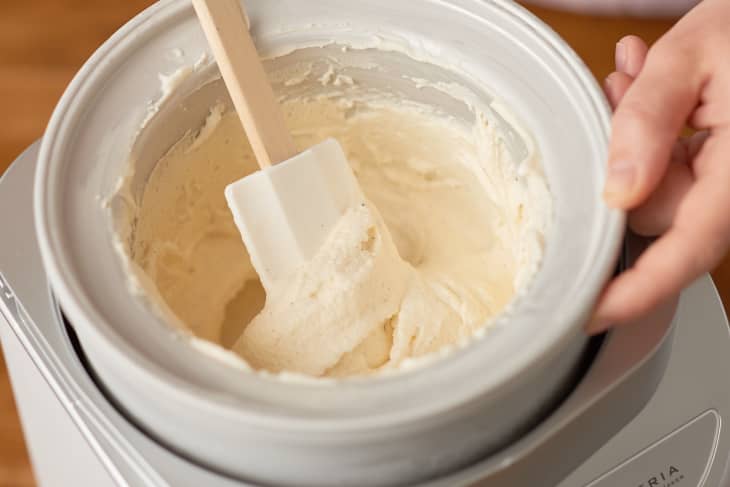
Churn the ice cream base: Now comes the centerpiece of the ice cream action — freezing the ice cream! The goal of churning the ice cream is to freeze the base while agitating or stirring the ice cream constantly so that large ice crystals don't form in the ice cream. More professional-quality ice cream makers will also beat a quantity of air into the ice cream as it freezes. But most home ice cream makers are not going to add a great deal of air to ice cream, which means that nearly all homemade ice cream is really closer to premium ice creams and traditional gelato, which have much less air by volume.
Stir in mix-ins: If you're adding something extra to ice cream, like chocolate drizzle, fruit sauce, or cookie bits, it's best to do this at the very end of the ice cream churning process. You can drizzle your sauce or mix-ins straight into the ice cream and let the ice cream maker mix them in, or if you're doing a more hack-type method, just stir in these mix-ins by hand. Sometimes if I am using something really delicate, or adding a sauce I want swirled in distinctly (instead of really combined), I'll scrape the ice cream out of the maker, then fold in carefully by hand before ripening the ice cream.
Harden the ice cream in the freezer: No matter what kind of ice cream maker you use, the freshly churned ice cream will still be very soft and even runny after it has been churned. In order to get that scoopable texture, and to let the flavors meld and bloom, it's best to freeze the ice cream for at least a few hours before eating. Scrape the ice cream into a shallow container (to help it freeze faster) and, just like when making custard or pudding, cover the surface of the ice cream completely with plastic wrap or waxed paper. Seal with a lid and freeze for a few hours. Then scoop and enjoy!
Recipe Notes
Storage: The ice cream can be stored in the freezer for up to 2 months. Keep the plastic wrap or waxed paper pressed against the surface at all times to keep ice crystals from forming.