
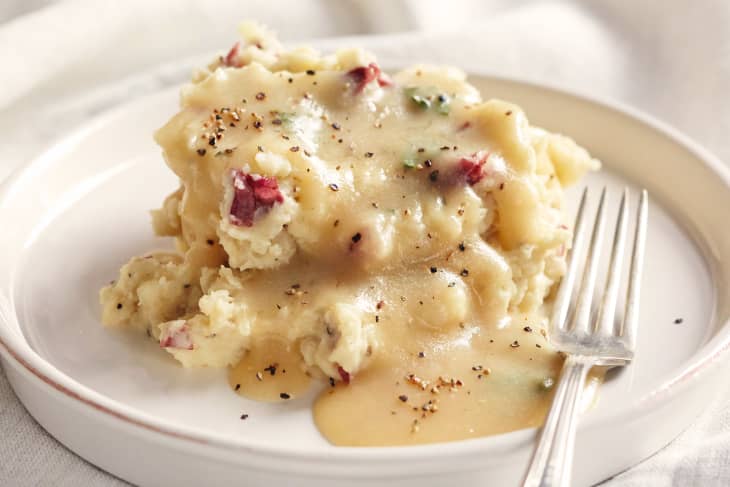
How To Make Gluten-Free Gravy

This recipe makes a classic gravy that's perfect for gluten-free holiday tables.
Makesabout 3 1/2 cups
This recipe makes a classic gravy that’s perfect for gluten-free holiday tables. Unlike many gluten-free gravy recipes that rely on starch as the thickener, this one is thickened with
sweet rice flour
Making Gluten-Free Gravy
This gravy has three major components: flour, fat, and stock. The stock and fat aren’t different from traditional gravy recipes — although we’re sharing some best practices on those two elements here — the major difference is in the flour used to create the gluten-free roux that thickens the gravy.
The Best Starch for a Gluten-Free Roux
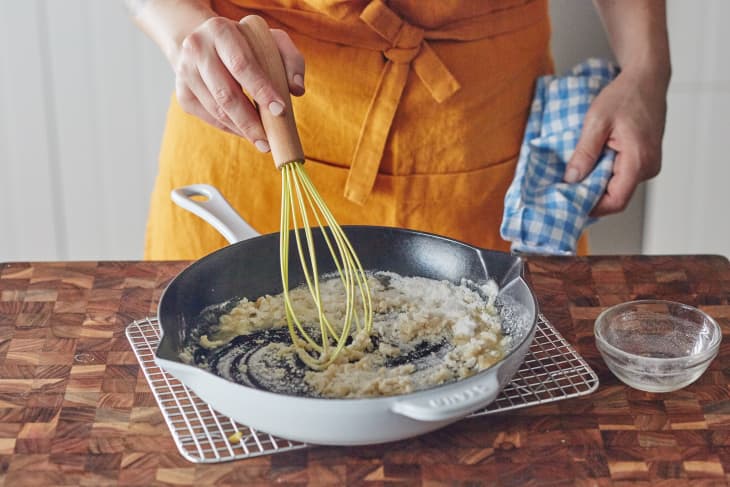
Some traditional gravies are thickened with roux — a mixture of equal parts fat and flour. This gravy follows that tradition and uses a gluten-free roux to that same effect. Sweet rice flour is my go-to flour for making gluten-free gravy. It contains a slightly higher starch content than other gluten-free flours, making it silky and smooth. Even more, because this flour is gluten-free, it doesn’t clump as easily as wheat flour. No more lumpy gravy on Thanksgiving!
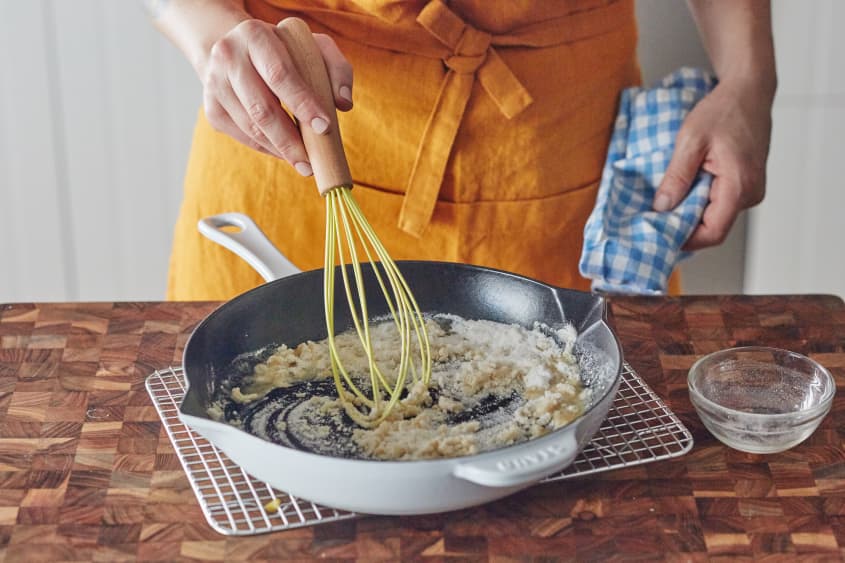
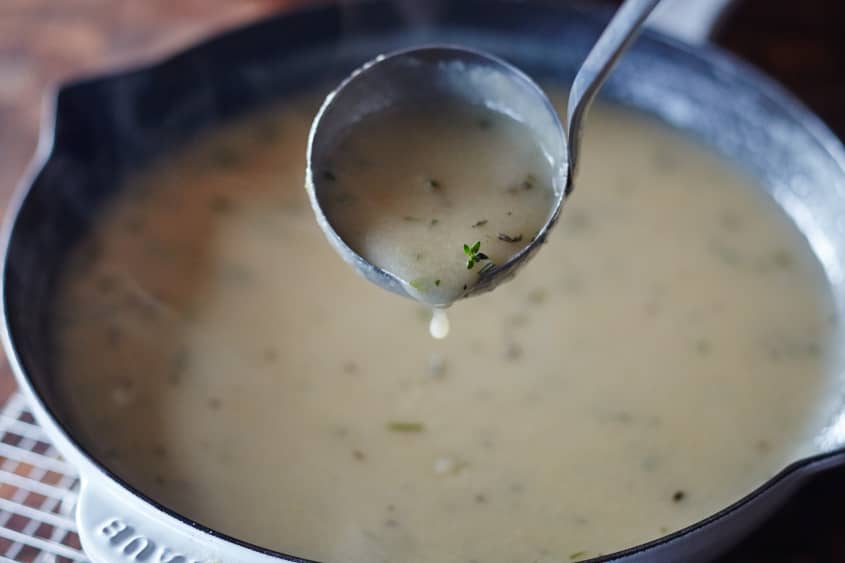
To prevent the gravy from tasting of raw flour, cook the roux for about three minutes, or until it turns a light golden-brown. Over the years, I’ve found that if I cook a sweet rice flour roux to a dark, caramel color, the gravy tastes burnt. So I recommend stopping as soon as the roux turns a very light brown. This, in turn, creates a blonde gravy — but don’t mistake this for lacking in flavor. It’ll be just as satisfying when you pour it over mashed potatoes and turkey.
Sweet rice flour substitute: If you can’t find sweet rice flour, replace it with an equal amount of white rice flour.
Flavorful Fat for Gluten-Free Gravy
Most roux-based gravies start with butter, but the most flavorful gravy is built from turkey fat. While a turkey roasts, fat — along with pan juices and meaty bits — collects in the bottom of the roasting pan. You can use this fat to make a rich, flavorful gravy. The drawback? You must wait until after you’ve roasted the turkey to make the gravy.
- The pan drippings should not be burnt. If the pan juices are burnt, skip using the turkey fat or you’ll end up with an unpleasant-tasting gravy.
- Taste pan drippings for salt level. The drippings from brined birds tend to make a salty gravy. Taste the drippings before proceeding. If you’re drippings are too salty, use a different fat like butter or olive oil.
If your pan drippings look good, pour them into a heatproof measuring cup or fat separator. Measure the turkey fat (it’ll be floating above the pan juices) and use it in your roux. As for the pan juices, don’t toss that precious liquid! Add it, along with the meaty bits, to the cooked gravy.

The Best Stock for Gluten-Free Gravy
Stock is the third player in gravy. Use either a homemade or good-quality store-bought gluten-free broth. If you use a commercial stock, be sure it’s gluten-free. Opt for a no- or low-sodium stock. This way, you can adjust the amount of salt to your liking after you make the gravy.
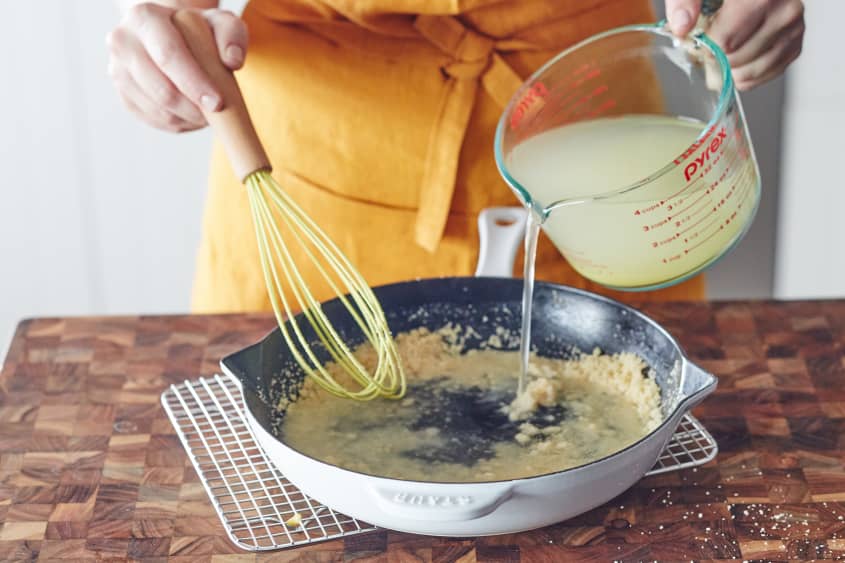
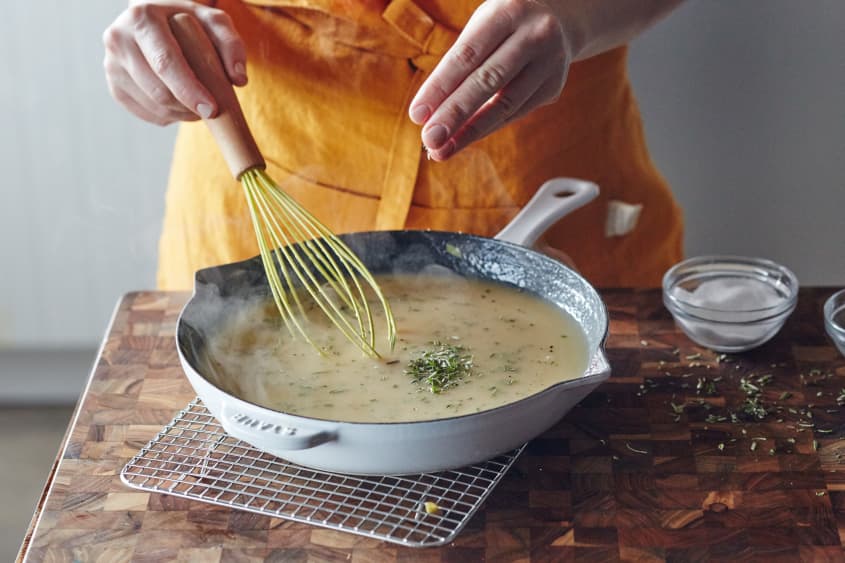
How you add stock to the gluten-free roux matters. If you pour all the stock in at once, the roux tends to clump. Instead, pour about one cup of the stock into the roux while whisking constantly. The mixture will be very thick. Then, in a slow and steady stream, whisk in the remaining stock.
Prior to serving, keep the gravy warm over low heat. Stir occasionally to keep the gravy from scorching.
Dress up the broth: For Thanksgiving, I simmer store-bought turkey broth with some sautéed onions and the turkey neck and giblets for about an hour while the turkey roasts, then I strain the stock before using it in the gravy.
How To Make Gluten-Free Gravy
This recipe makes a classic gravy that's perfect for gluten-free holiday tables.
Makes about 3 1/2 cups
Nutritional Info
Ingredients
- 5 tablespoons
turkey fat, unsalted butter, or olive oil
- 5 tablespoons
sweet rice flour
- 1 quart
homemade or store-bought low-sodium chicken or turkey stock, divided
- 1/2 cup
skimmed roasting pan juices (optional, see Recipe Notes)
Kosher salt
Freshly ground black pepper
Optional seasonings: 1 teaspoon tamari or minced fresh herbs such as thyme, rosemary, or sage
Equipment
Measuring cups and spoons
Small saucepan
Whisk
Instructions
Make a gluten-free roux. Heat the fat over medium-low heat in a small saucepan until shimmering. Sprinkle in the flour. When it hits the fat, it will be very thick. After 30 seconds or so, the mixture relaxes into a creamy, bubbling paste. Whisk constantly during this process to keep the roux from burning. Cook, whisking constantly, until golden-brown, 2 to 4 minutes.
Add the stock. Whisk in 1 cup of the stock. Cook, whisking constantly, until smooth. Add the remaining 3 cups stock in a slow and steady stream. (For a thicker gravy, add only 2 to 2 1/2 cups of stock.) Cook the gravy until it gently bubbles and thickens, about 5 minutes. This step improves both the flavor and texture.
Season the gravy. Stir in the pan juices, if using. Taste and season with salt and pepper as needed. Add the additional seasonings as desired.
Recipe Notes
Using pan juices: If you have more than 1/2 cup of pan juices and want to use them, replace an equal part of the stock with the skimmed pan juices. Use about 4 1/2 cups of liquid for this gravy (any more than that and the gravy gets thin).
Make ahead: Store the cooled gravy in the refrigerator for up to 3 days or freeze for up to 1 month. When you're ready to serve, warm over low heat and whisk in the pan juices if you didn't have them when making the gravy. Thin out the gravy with additional stock as needed.