
How To Make Beer Popsicles At Home
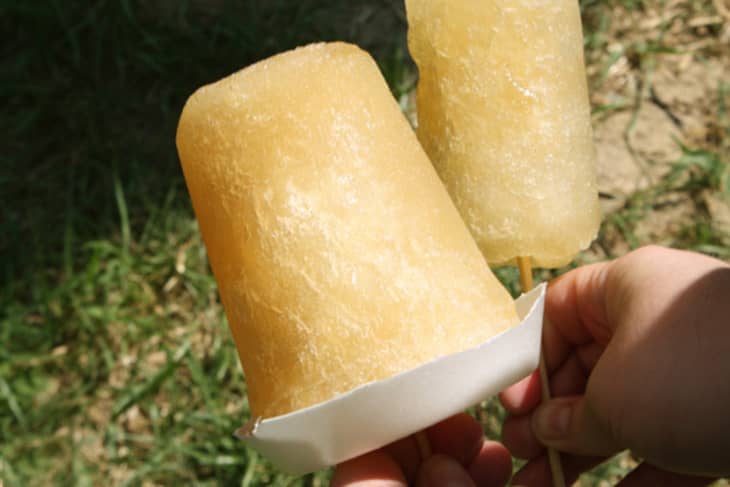
Yesterday we mentioned the beer push up pops that are being served in New York, but since a trip out isn’t on the agenda for us, we decided to take matters into our own hands. We learned lots of tricks along the way and although this isn’t the healthiest summer treat you can eat — that doesn’t mean you shouldn’t try it at least once!

What You Need
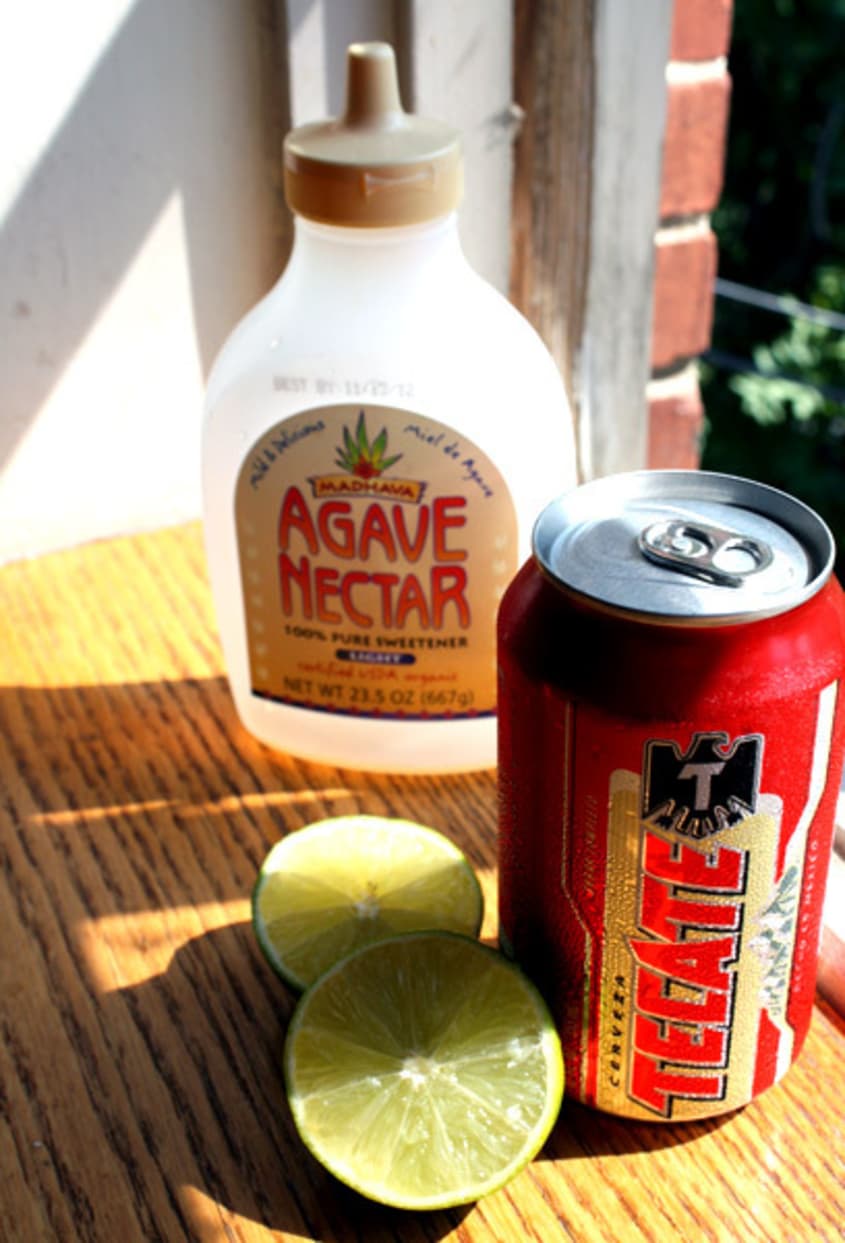
Ingredients
6 Limes
6 teaspoons of Light Agave Nectar
6 cans of beer (we used Tecate)
Materials
6 wooden skewers, sticks or plastic utensils
1 bowl for each can of beer
6 plastic party cups (optional)
Instructions
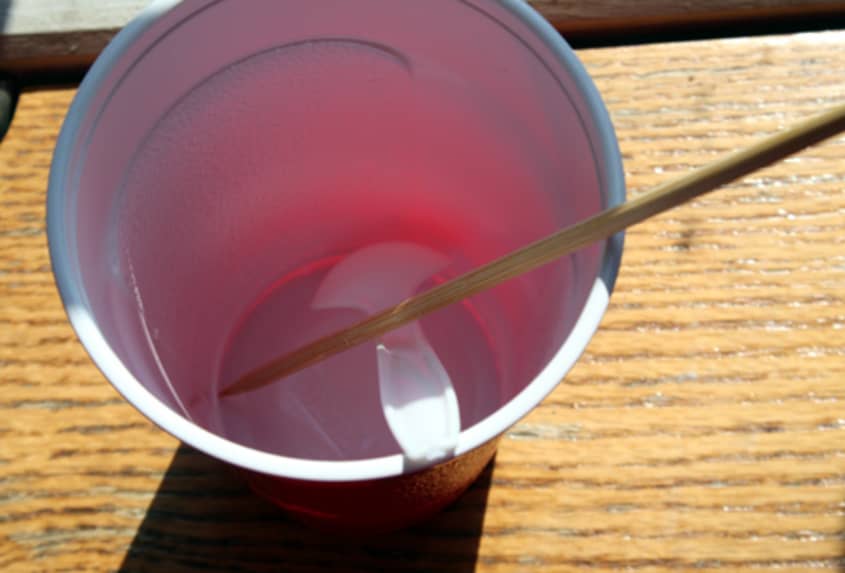
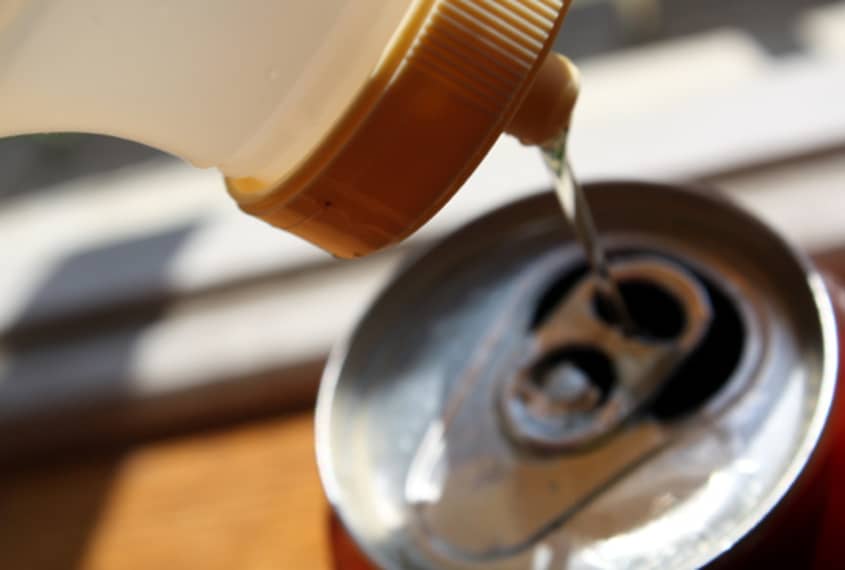
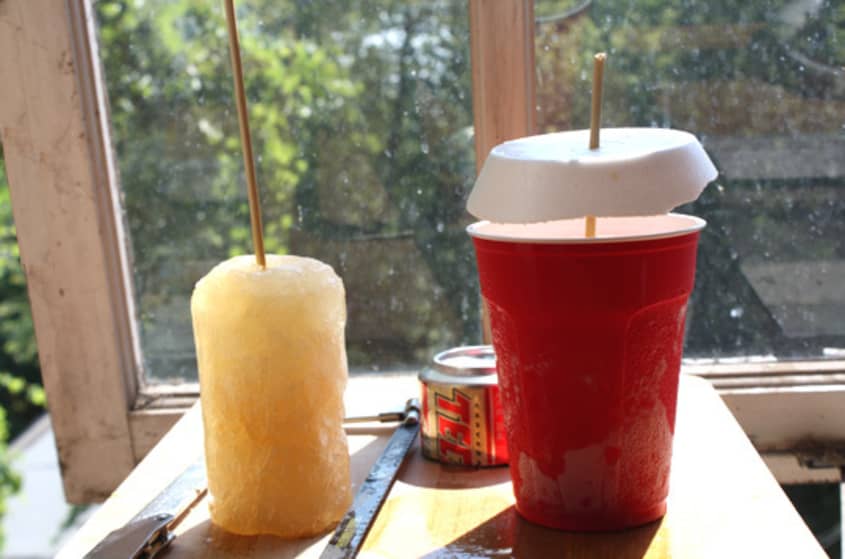
1. Open Cans: There are two methods to making these popsicles. The first is made in the can where you’ll have to remove some of the beer before adding in the extras (see: drink). You’ll want to “remove” roughly 1/4 of the can so it doesn’t expand into a beer volcano in your freezer (just trust us on this one). The other method is to pour the entire contents of the can into a plastic party cup. You’ll be able to freeze the entire beer, but it will require buying said cups, so the choice is up to you. Either way, open your cans.
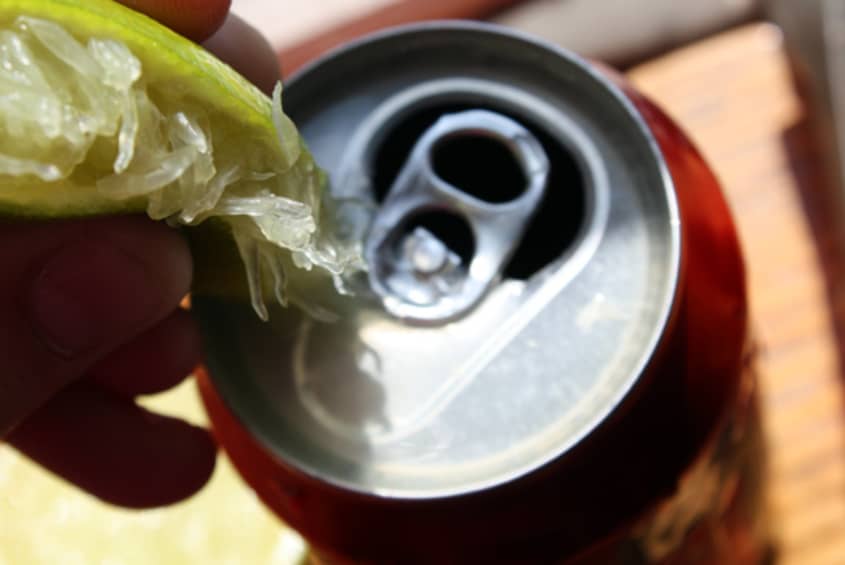
2. Add In Agave & Lime: When adding in the lime, we found it just as easy to juice the lime directly over the can or cup (instead of into a bowl first). Make sure your limes have been softened a little first by rolling them on the counter or popping them in the microwave for 10 seconds. Stir the contents of the cup or can until mixed (15 seconds).
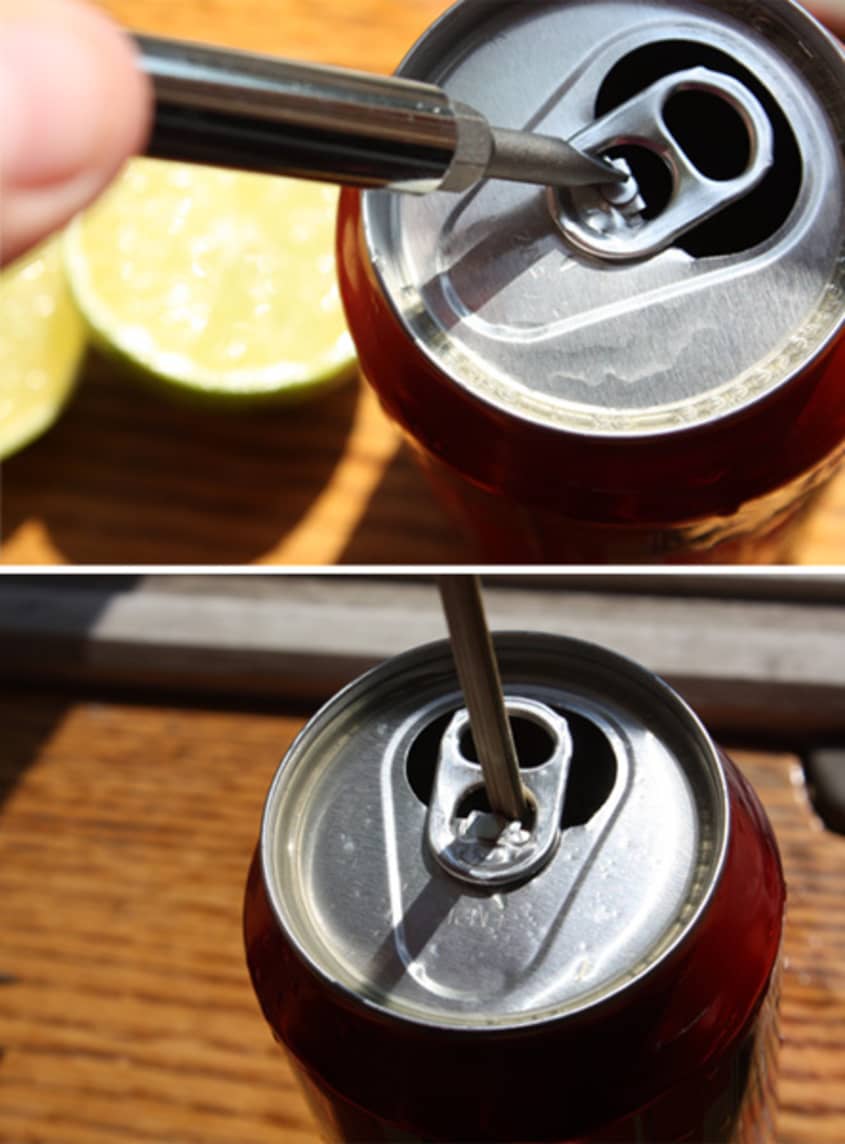
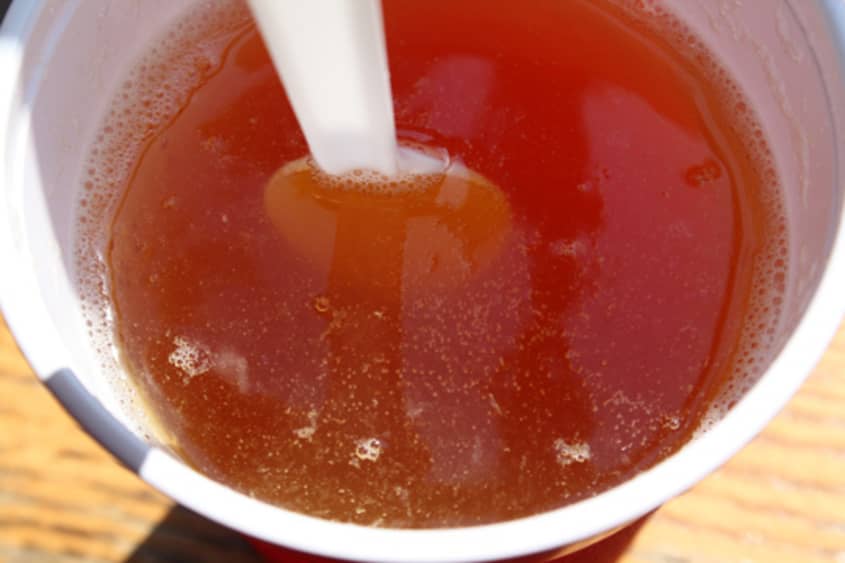
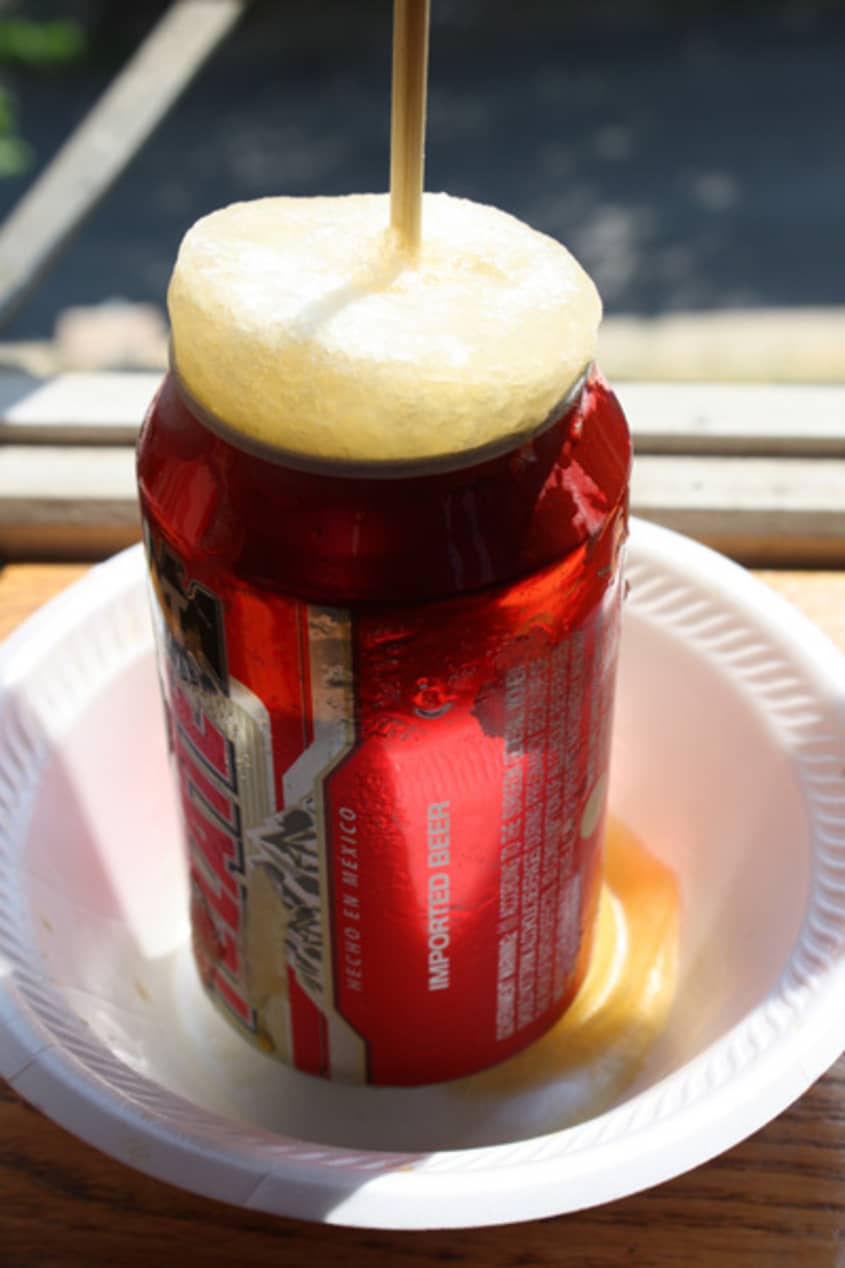
3.Add Sticks: You can use almost anything in the kitchen as a stick if you don’t want to purchase popsicle sticks (we used plastic silverware and bamboo skewers). Just be aware that anything wooden inserted into the mix should be moistened first. Either a quick dip in the beer or with water, this is a step that can’t be skipped. If you do, your mixture will bubble and foam for roughly 20 minutes. There’s a good chance (like it did in our kitchen) that it will bubble right over the edge of your container and escape to the counter and potentially floor. Note: Check the photo above for tips on inserting your stick through the pop tab to hold it in place)
4.Time To Freeze: The length of time each popsicle will take to freeze is determined by two things. The first being your freezer’s temperature and the other is how well your mix was, well… mixed, so make sure all the agave and lime is combined! We placed each can or cup in a small bowl to catch any escaping juices and although this is an optional step, we highly suggest it for your first few attempts. Allow to freeze solid for 3-4 hours or overnight.
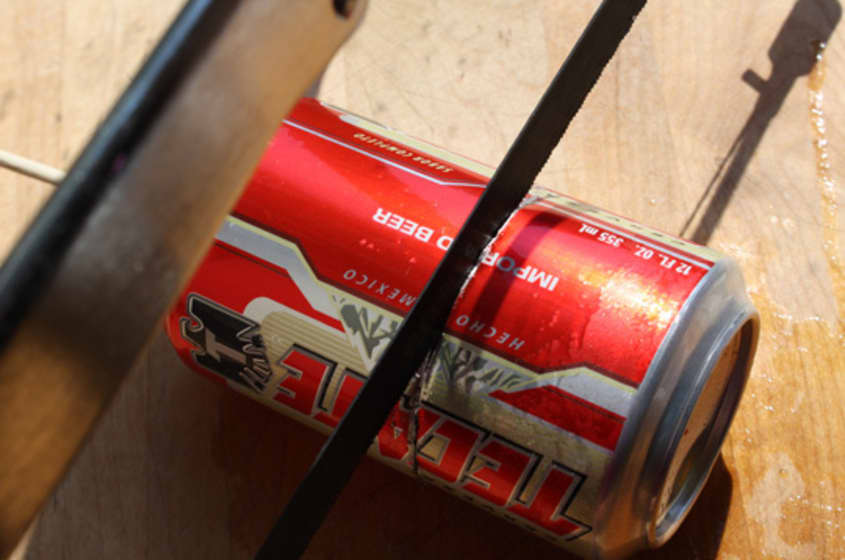
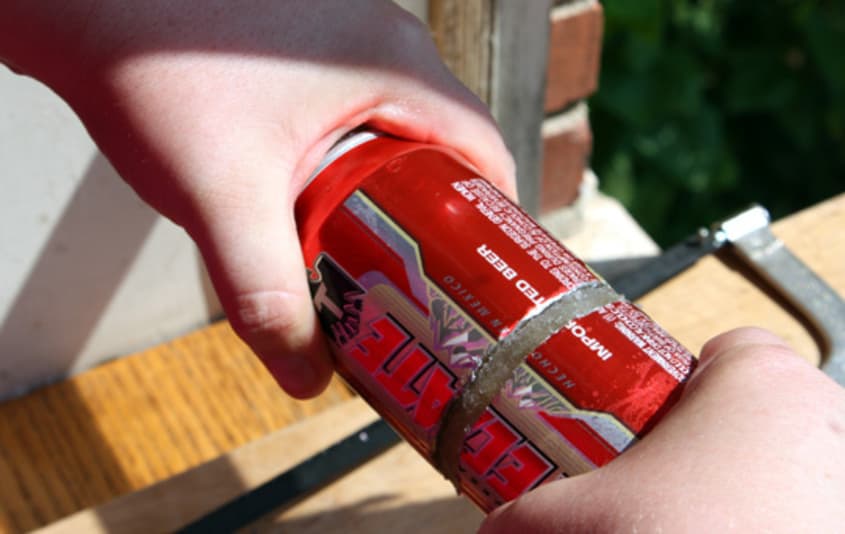
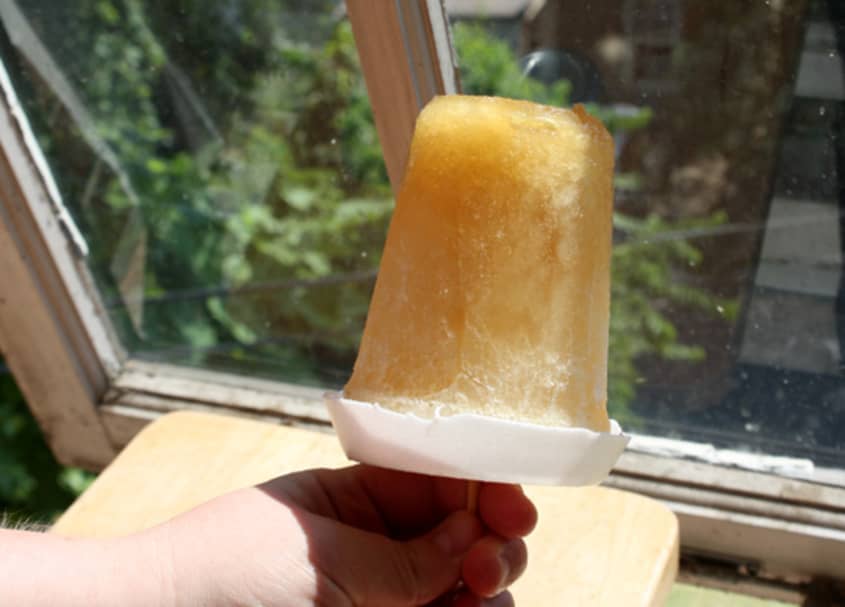
5.Removal: If you used the party cup method, removing the pop from the can is as simple as giving it a twist and it should pop right out. If you used the can, here’s what we suggest. Use a serrated knife to cut off the bottom and slide the pop out of the can. We don’t like the idea of keeping the pop in the can for fear of cutting ourselves, so if you’re worried about drips, use a small plastic bowl on the bottom to catch the juices.
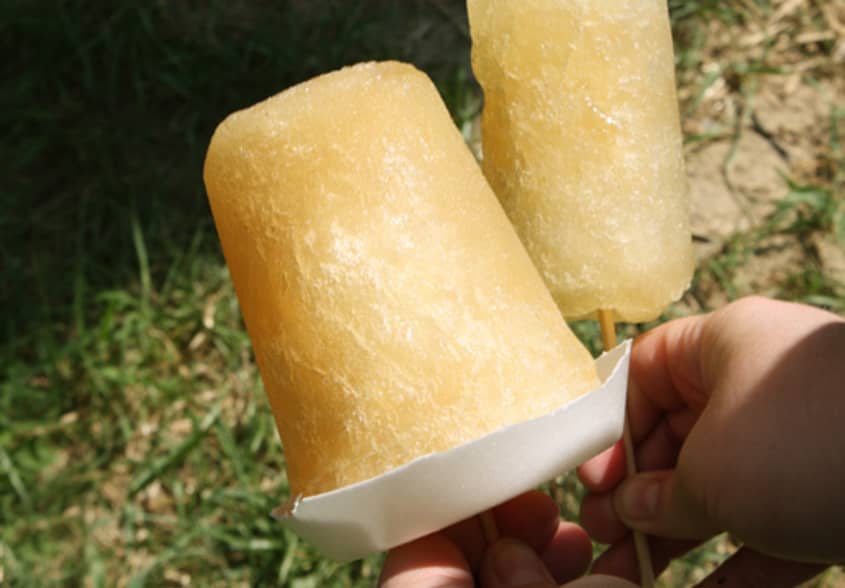
6. Enjoy! You can eat them just as they are or even sprinkle them with a little salt first. Make sure to share with the neighbors for an extra dose of friendliness.
Additional Notes: We did try this method with other beers and ciders (in which additional sugar isn’t needed) and had the same results — frozen solid. We were worried originally that they wouldn’t freeze all the way, but depending on the alcohol content in your starting beer, it might take a little longer in the freezer.
Try using smaller cups to make a smaller size popsicle as they can be a little daunting for some. Give them a try at your next party or get together and beat the heat with a little sour and sweet!
• Related: Recipe: Margaritas Made with Beer
Images: Sarah Rae Trover