
How To Make Blood Orange Jelly Smiles
Blood orange jelly smiles are a fun, easy, and (bonus!) rather healthy treat for New Year celebrations. Here is how to make them.


This idea and recipe were originally shared with us by Sarah from San Francisco.
I’ve made these several times now, and I wanted to update the instructions with more tips and notes I’ve picked up.
How To Make Blood Orange Jelly Smiles
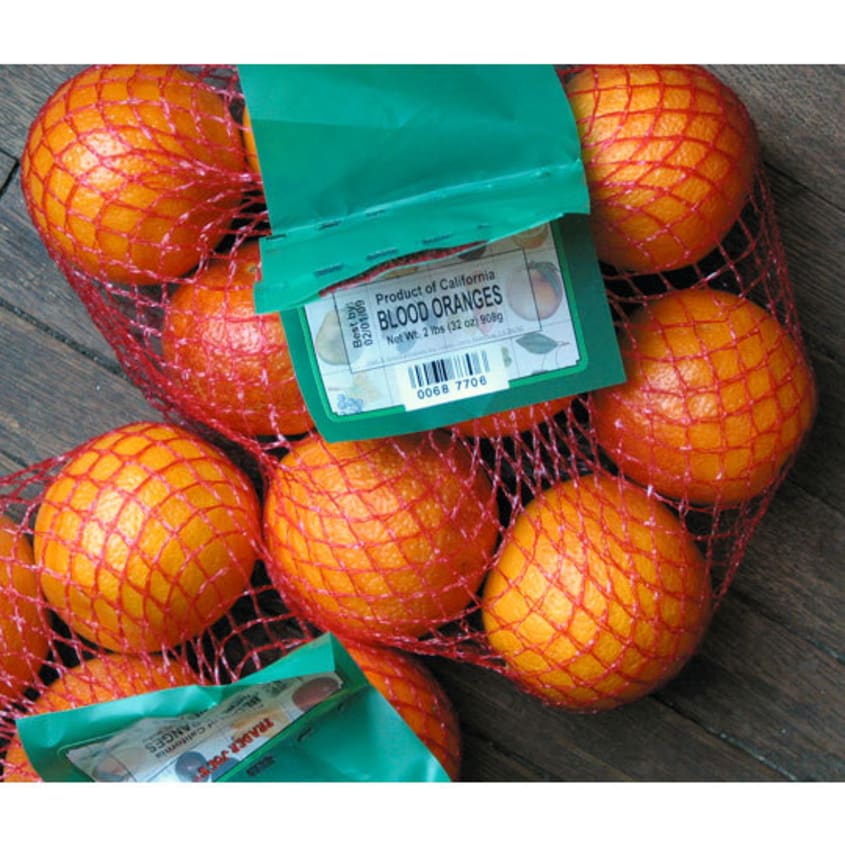
1. Buy a sack of blood oranges. These are the most dramatic fruit for this recipe, because of their deep red flesh. But you can also use any citrus; we’ve used tangerines and navel oranges too. Blood oranges can often be found for cheap at Trader Joe’s.
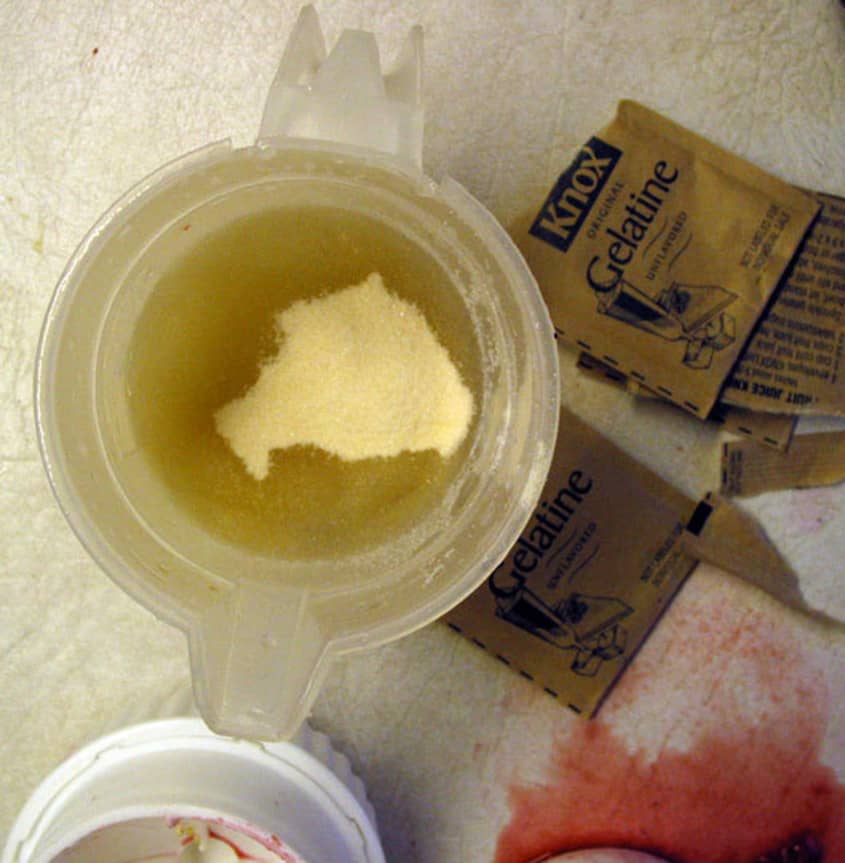
2. Get some plain gelatin. No Jell-O here! This recipe is very healthy because it uses the fruit juice plus plain, unsweetened gelatin. You can find this in the baking aisle near the regular Jell-O. Vegetarians: I haven’t tried vegetarian alternatives, like agar-agar; if anyone has, please let us know.
3. Cut 6 oranges in half. This how-to will show you how to make six oranges into jelly smiles; just multiply if you want to do more.
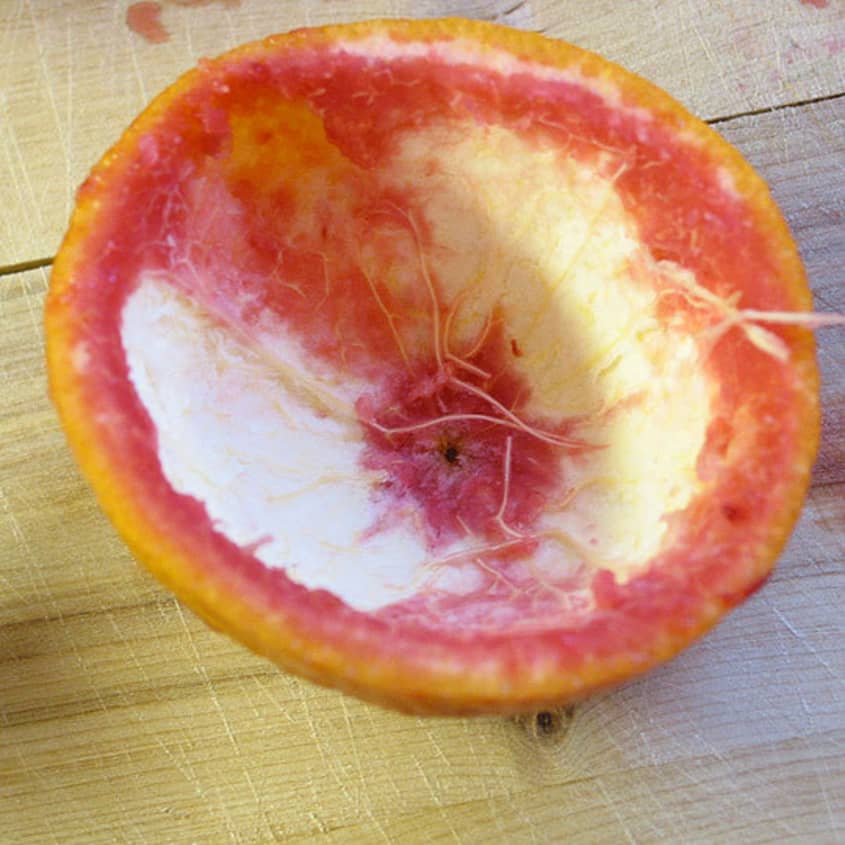
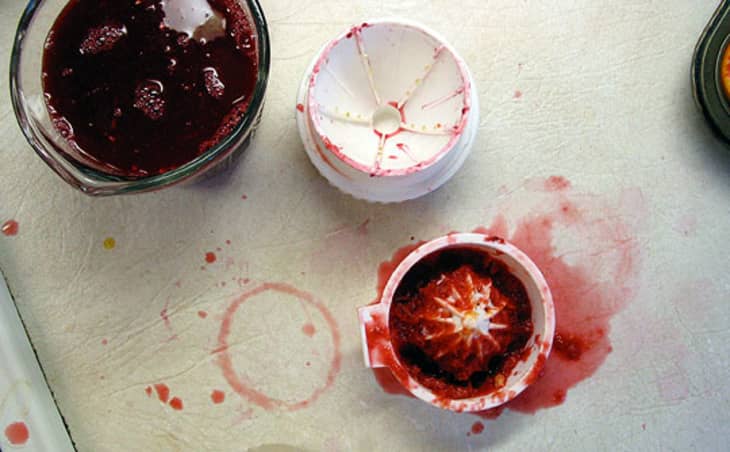
4. Squeeze out the juice. Here’s where this project can be a little tricky. You want to squeeze out as much juice as possible without damaging the orange peel. I’ve tried several methods, and the best is a traditional manual juicer. Don’t use the high-powered squeeze juicer or an electric juicer; you’ll probably tear the peel. Go slowly, and twist each orange half so it’s as clean as possible.
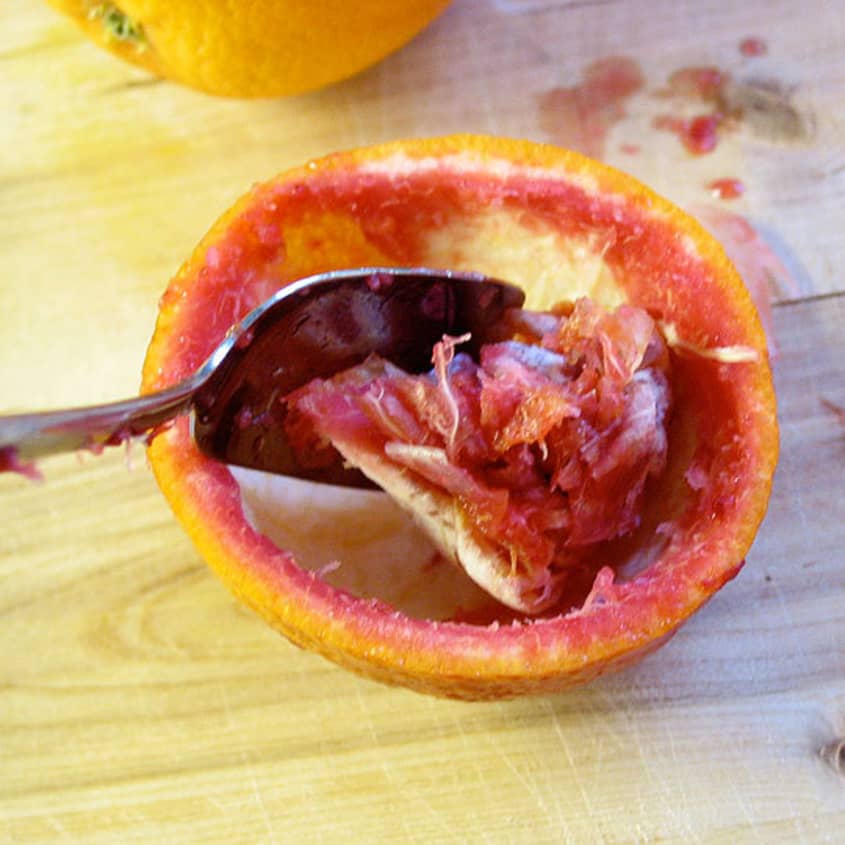
5. Scrape out any extra strings or flesh. Again, you want the peel intact, so if you can’t get everything out, it’s OK. A little extra orange flesh won’t mess this up.
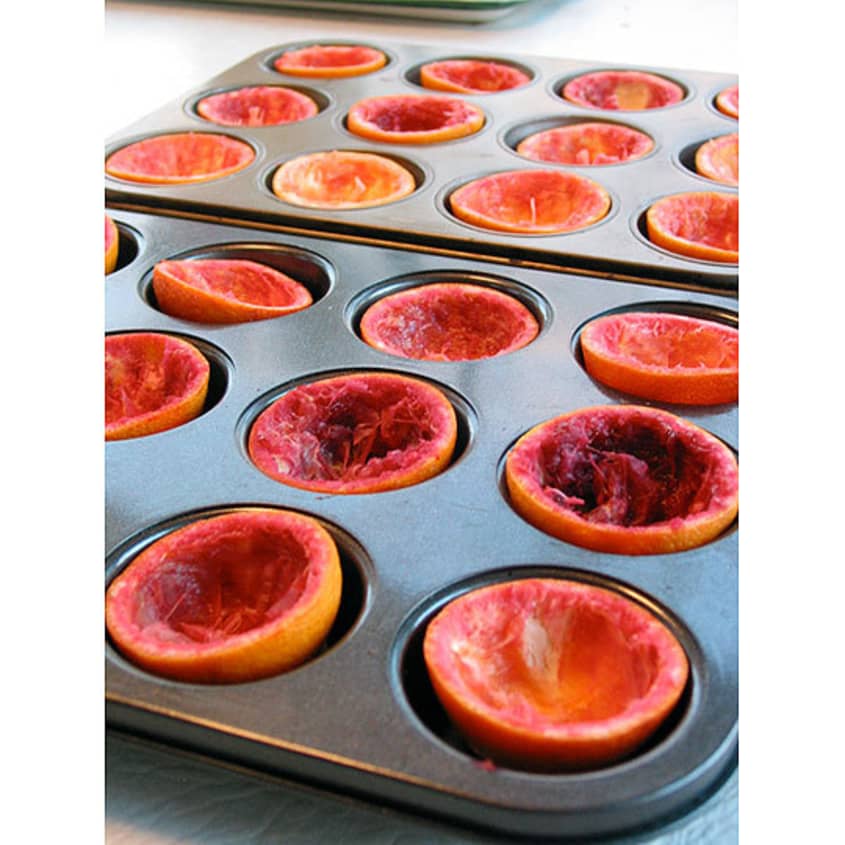
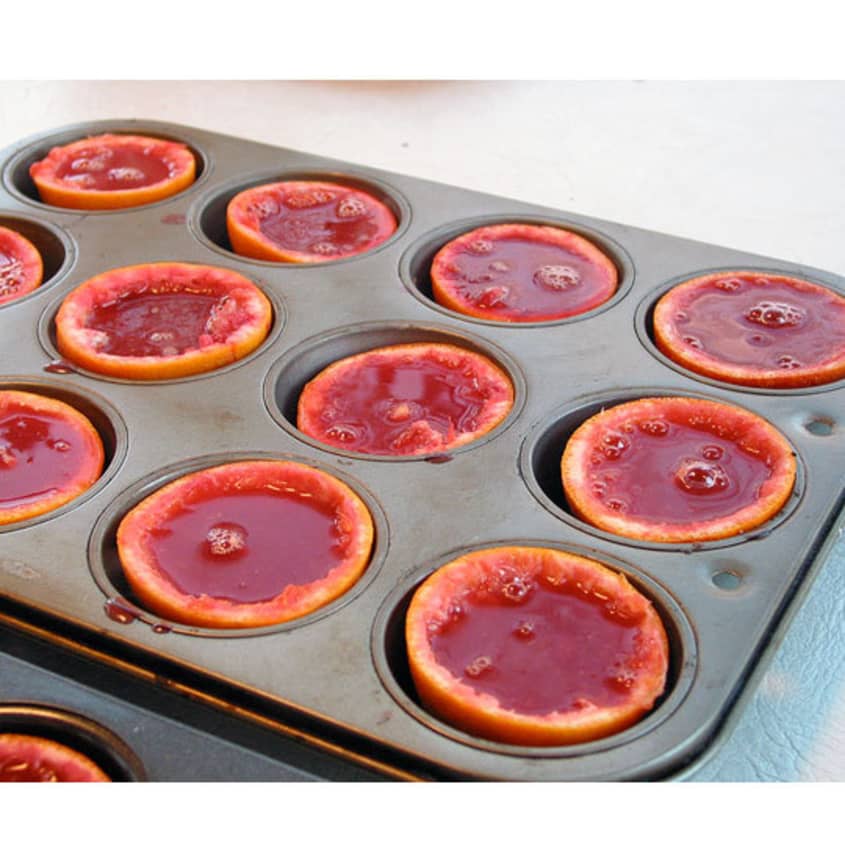
6. Put each orange peel shell into a muffin tin. This will hold them steady when you pour in the gelatin.
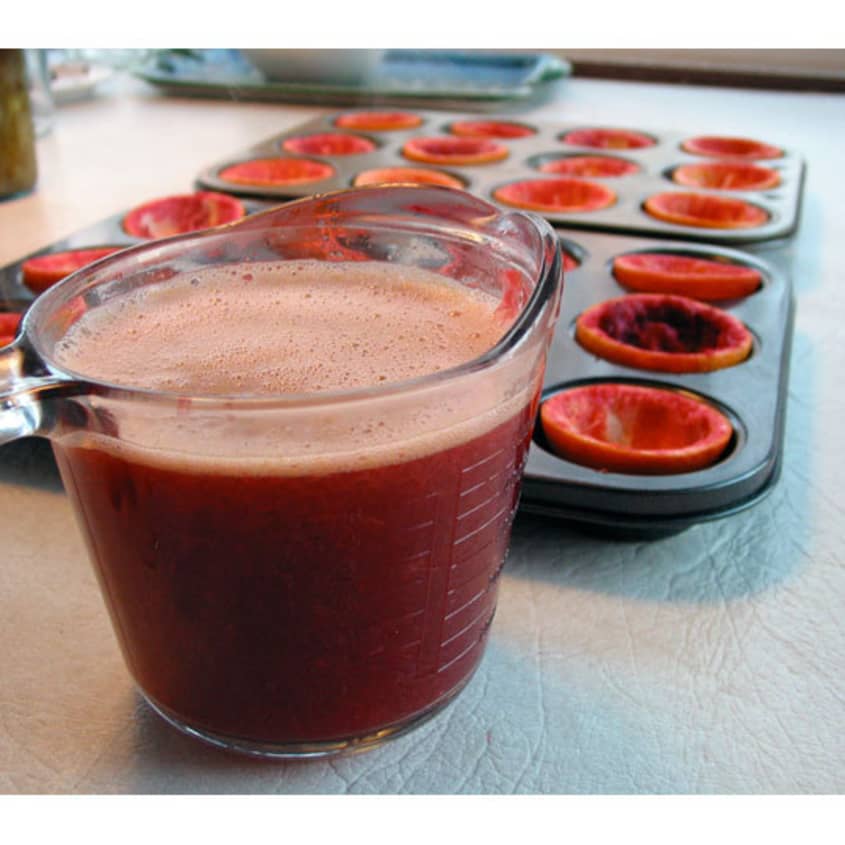
7. Soften the gelatin. Measure 1/4 cup cold water in a glass measuring cup. Sprinkle 1 packet of plain gelatin into the water and let it sit.
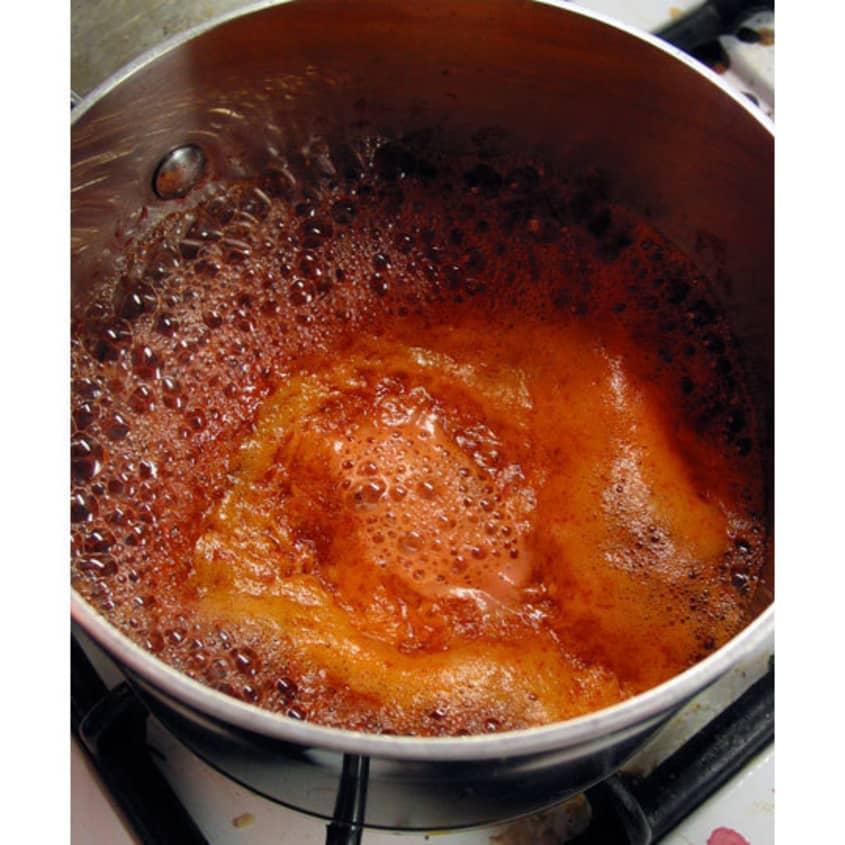
8. Heat the orange juice to boiling. Measure out about 3/4 cup of the juice. You don’t need to be terribly precise: as long as it’s between about 3/4 and 1 cup, you’re fine. Also, this is where you can add a little sugar or honey, if you want to sweeten the juice. Taste and sweeten as needed. Bring the juice to a boil.
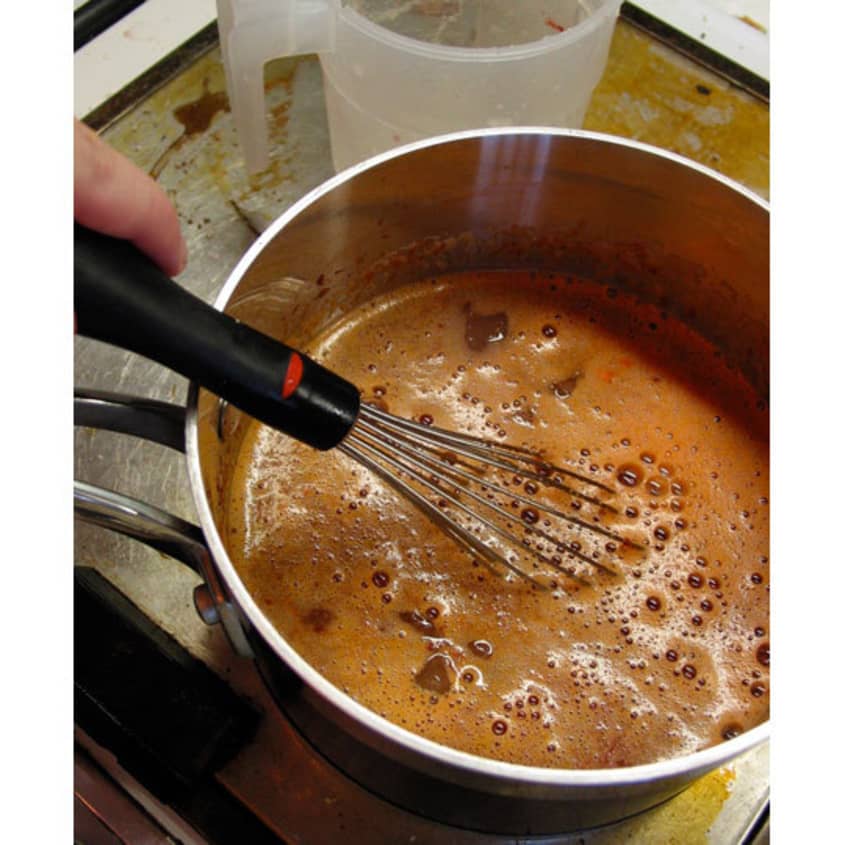
9. Mix gelatin and juice. Take the boiling juice off the heat and whisk in the gelatin. Pour the juice and gelatin mixture back into the glass measuring cup.
10. Fill orange peel shells. Fill each orange peel cup with the gelatin mixture, and put the muffin tins into the fridge to cool. The orange jelly will need 2-3 hours to set completely.
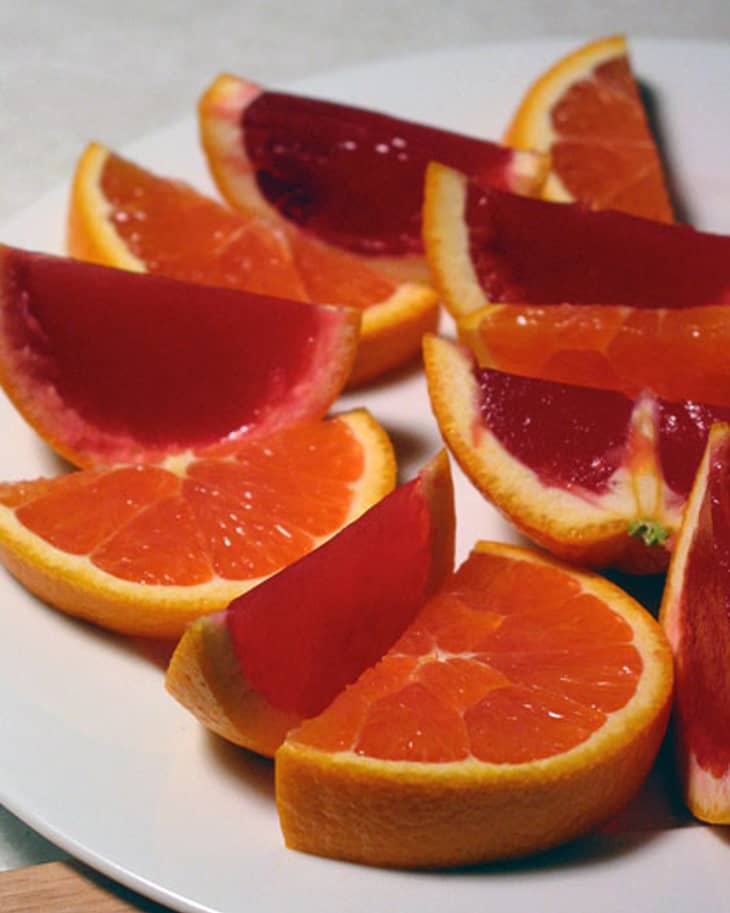
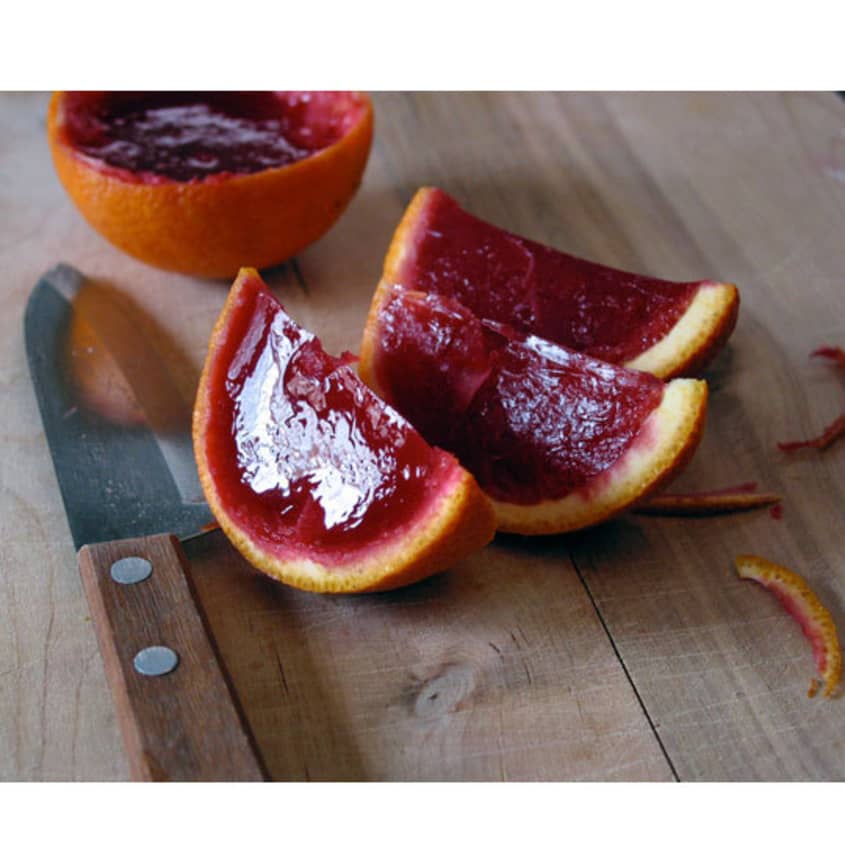
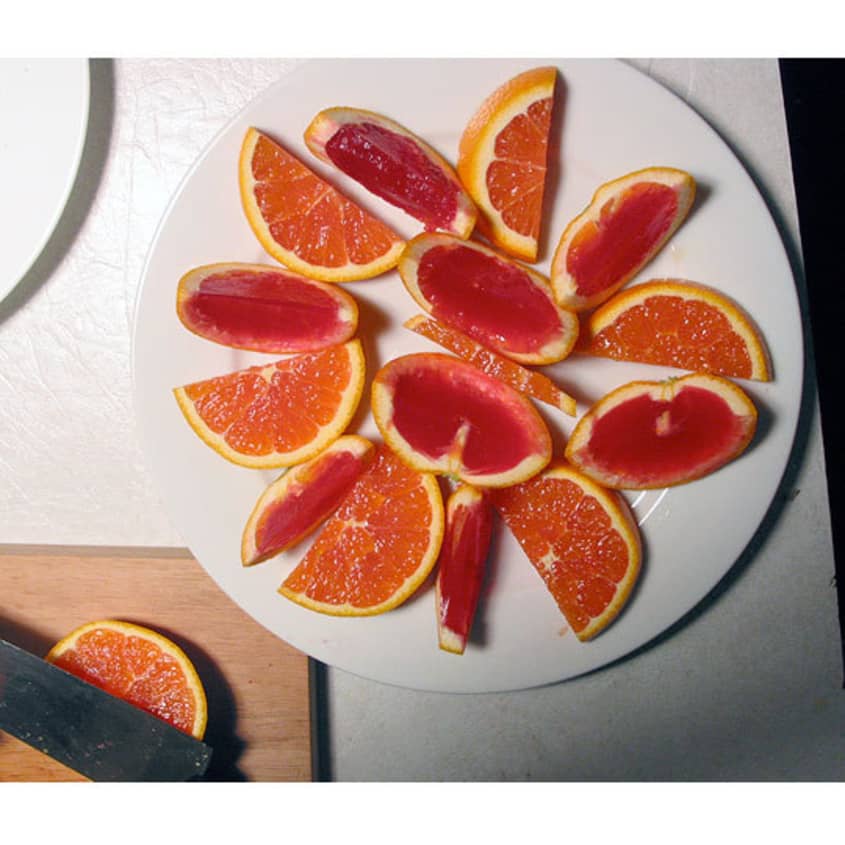
11. Trim, slice, and serve! The filling should firm up and be quite stiff. Once it is hard enough, slice into wedges. If you want them to look extra neat, you can trim off any extra peel above the jelly. I like to serve these side-by-side with real orange slices. People always do a double-take.
12. Enjoy your jelly smiles!
….And then clean up! I always make a mess when I make these!
Related: Recipe: D.I.Y. Fruity Gumdrops
(Images: Faith Durand)