
Christmas Croquembouche

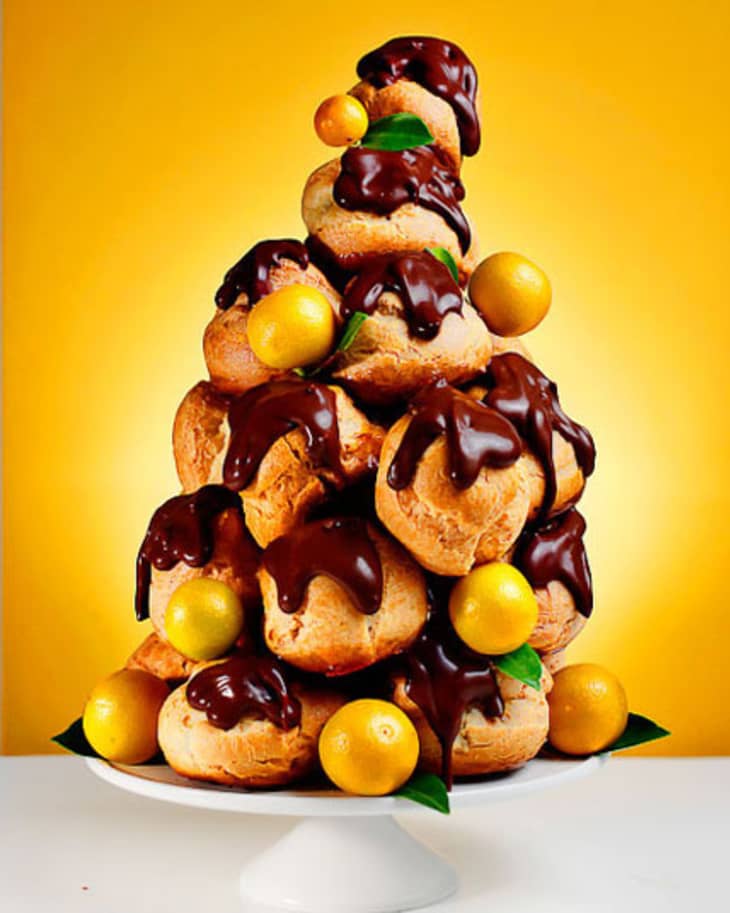
Croquembouche, a spun sugar tower of cream puffs, is French for “crunch in the mouth.” Of course it’s French – who else would concoct such a perilous pile of pastries?
Traditionally served at weddings and holidays, it’s made of cream-filled pâte à choux pastry and anchored with caramel. And, along with most things having to do with weddings or French pastry, I have always considered cream puffs firmly outside my area of expertise.
I come from a long line of excellent cooks and terrible bakers. For years, my mother has dreaded her annual holiday cookie exchange; she discreetly slides her asymmetric offerings behind the gingerbread spires and hopes to go unnoticed. So when I called her just days after her most recent cookie confab and informed her that I was attempting a cream puff tower for a holiday cookie competition, I got a dispirited “good luck.”
To my surprise and hers, I found that making pâte à choux is not actually that hard. I wouldn’t go so far as easy – anything that requires purchasing a pastry bag is a little more involved than average – but I made the same recipe three times in a row with consistently gratifying results. In fact, once you get the ingredients set out, the entire active time for the pastry is only about 10 minutes.
What’s more, though most recipes on the web predict doughy disaster without a stand mixer, a food processor worked fine. A dramatic 1987 Times article recommends “a keen sense of balance and hard-to-fray-nerves.” Nonsense.
The trick is in the baking. This is where the religiously-tested Cooks Illustrated recipes are worth their weight in gold. Instead of chancing the moisture that makes otherwise perfect pastries collapse, you cut a tiny slit in the side of the golden-brown puffs to let the steam escape, turn off the oven and let them cool inside. Perfectly crisp, every time.
Oh, and one more thing. When you pipe out dollops of dough on the cookie sheet, they’re topped with peaks like Hershey’s kisses. If you leave them that way, they bake with little beaks; my first batch looked like pastry Peeps. Just wet your finger and gently push them down for professional-looking puffs.
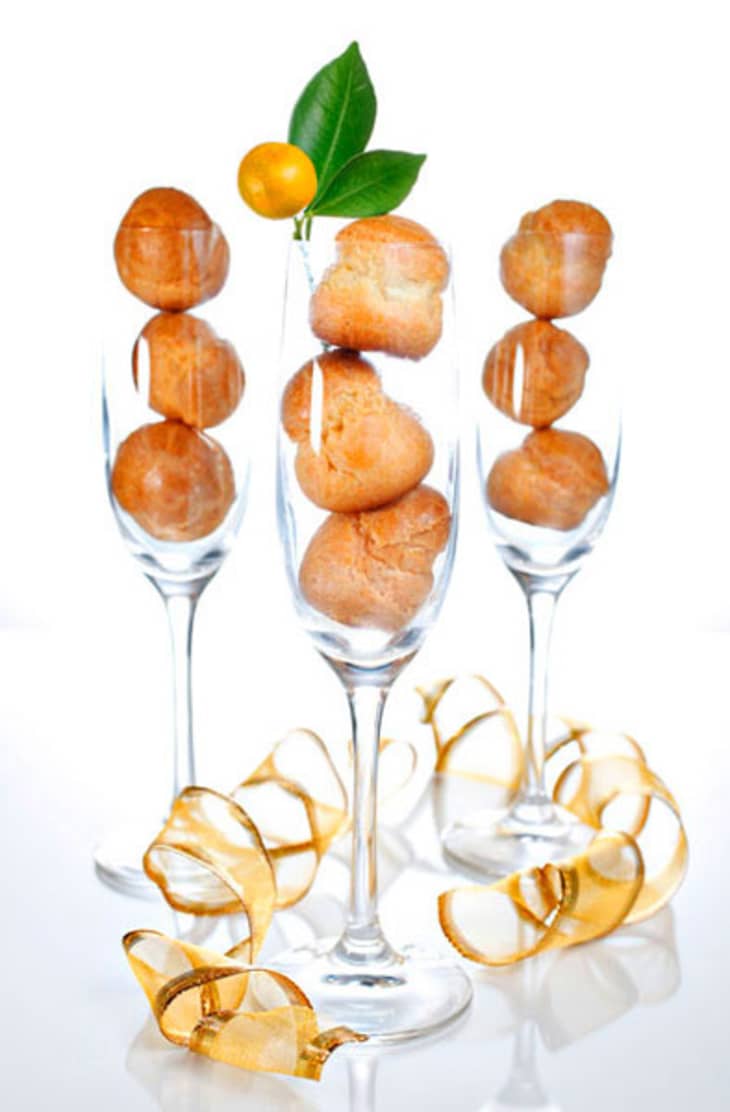
Once they’re cool, pipe them full of your favorite creamy filling. Either a pastry bag or a plastic squeeze bottle works well – just poke the tip right through the bottom of the pastry, and squeeze away. I went with a decadent dark chocolate-orange custard since it could be made in advance.
Then, if you’re going for grandeur, make a quick caramel (10 minutes). Dip the bottoms of the pastries in the caramel and arrange in a cone, layering on top of each other. The caramel will harden quickly, creating a solid structure. Decorate with flowers and fruit, or drench in chocolate sauce and serve immediately to awestruck guests.
Cream Puff Pastry (Pâte à Choux)
Makes 24 (2-inch) puffs
Serves 12
Nutritional Info
Ingredients
- 2
large eggs
- 1
large egg white
- 5 tablespoons
unsalted butter, cut into 10 pieces
- 1 ounce
whole milk (2 tablespoons)
- 3 ounces
water (6 tablespoons)
- 1 1/2 teaspoons
granulated sugar
- 1/4 teaspoon
table salt
- 2 1/2 ounces
unbleached all-purpose flour (1/2 cup), siften
Instructions
Adjust oven rack to middle position and heat oven to 425 degrees. Spray large (12-by 18-inch) baking sheet with nonstick cooking spray and line with parchment paper; set aside. Beat eggs and egg white in measuring cup or small bowl; you should have 1/2 cup (discard excess). Set aside.
Bring butter, milk, water, sugar, and salt to boil in small saucepan over medium heat, stirring once or twice. When mixture reaches full boil (butter should be fully melted), immediately remove saucepan from heat and stir in flour with heatproof spatula or wooden spoon until combined and mixture clears sides of pan. Return saucepan to low heat and cook, stirring constantly, using smearing motion, for 3 minutes, until mixture is slightly shiny with wet-sand appearance and tiny beads of fat appear on bottom of saucepan (temperature of paste should register 175 to 180 degrees on instant-read thermometer).
Immediately transfer mixture to food processor and process with feed tube open for 10 seconds to cool slightly. With machine running, gradually add eggs in steady stream. When all eggs have been added, scrape down sides of bowl, then process for 30 seconds until smooth, thick, sticky paste forms. (If not using immediately, transfer paste to medium bowl, cover surface flush with sheet of plastic wrap sprayed lightly with nonstick cooking spray, and store at room temperature for up to 2 hours.)
Fold down top 3 or 4 inches of 14- or 16-inch pastry bag fitted with 1/2-inch plain tip to form a cuff. Hold bag open with one hand in cuff and fill bag with paste. Unfold cuff, lay bag on work surface, and, using hands or spatula, push paste into lower portion of pastry bag. Twist top of bag and pipe paste into 1 1/4- to 1 1/2-inch mounds on prepared baking sheet, spacing them about 1 to 1 1/4 inches apart (you should be able to fit about 24 mounds on baking sheet).
Using a wet finger, gently push down the tips of the dough until you are left with smooth, round mounds. Bake 15 minutes (do not open oven door), then reduce oven temperature to 375 degrees and continue to bake until golden brown and fairly firm (puffs should not be soft and squishy), 8 to 10 minutes longer. Remove baking sheet from oven. With paring knife, cut 3/4-inch slit into side of each puff to release steam; return puffs to oven, turn off oven, and prop oven door open with handle of wooden spoon. Dry puffs in turned-off oven until centers are just moist (not wet) and puffs are crisp, about 45 minutes. Transfer puffs to wire rack to cool.
Cooled puffs can be stored at room temperature for up to 24 hours or frozen in zipper-lock plastic bag for up to 1 month. (If storing at room temperature, leave on the wire rack and cover with a clean, completely dry dish towel for best results.) Before serving, crisp room temperature puffs in 300-degree oven 5 to 8 minutes, or 8 to 10 minutes for frozen puffs.
Recipe Notes
Adapted from Cooks Illustrated.
* * *
Thank you so much for sharing, Liz!
Visit Liz’s weblog:
Zested
• See more 2009 Holiday Guest Posts here
(Images: Liz of Zested)