
Nostalgic Recipe: Homemade “Drumsticks” Ice Cream Sundae Waffle Cones

Come springtime and warmer weather, I get positively giddy when I hear the first chimes of the ice cream truck. But now I don’t have to wait for the truck to make its rounds — I can make my favorite chilled treat, the Drumstick, whenever a craving hits. Seriously, this version is easy, fast, and a million times better than the original!!
In high school, my cafeteria had a Nestle ice cream cart located smack in the middle of its two buffet lines, and I made sure to hit it up at least once — sometimes twice — in a day. I always had a tough time deciding between a Tollhouse ice cream sandwich, Snickers ice cream bar, or a Drumstick. Decisions, decisions… But Drumsticks usually won.
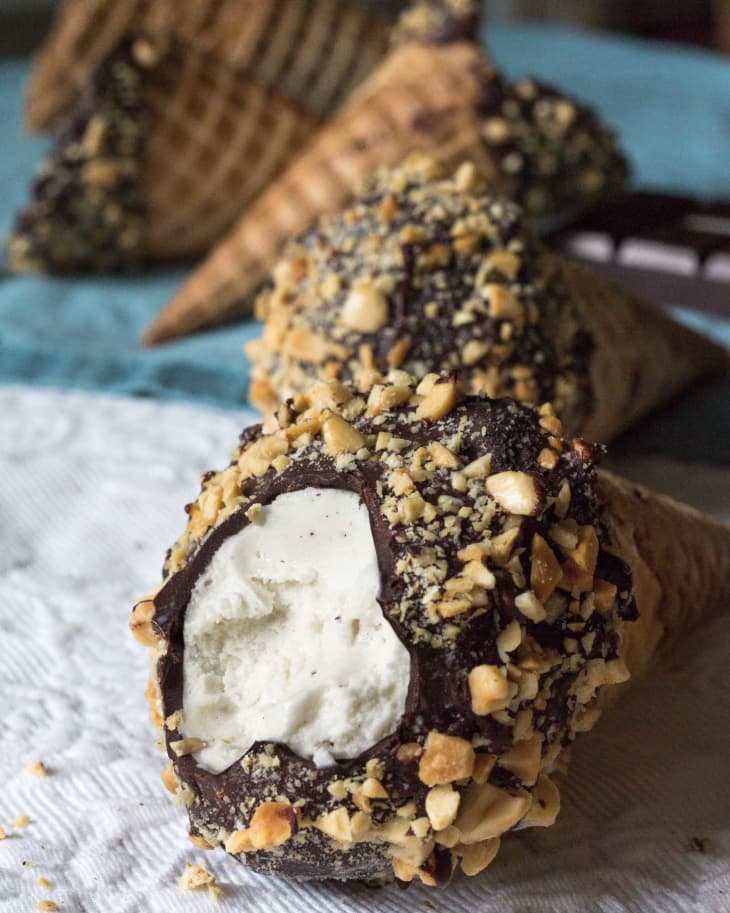
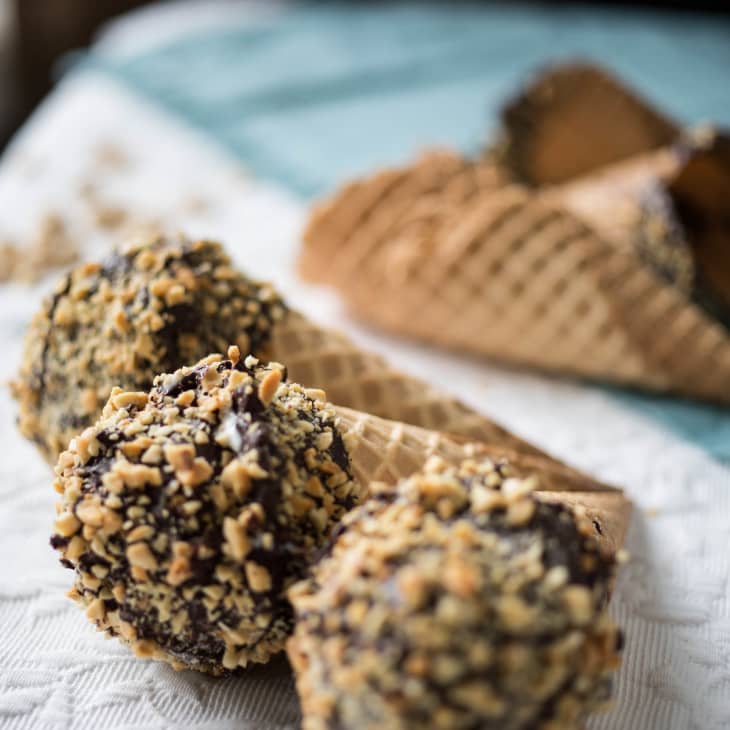
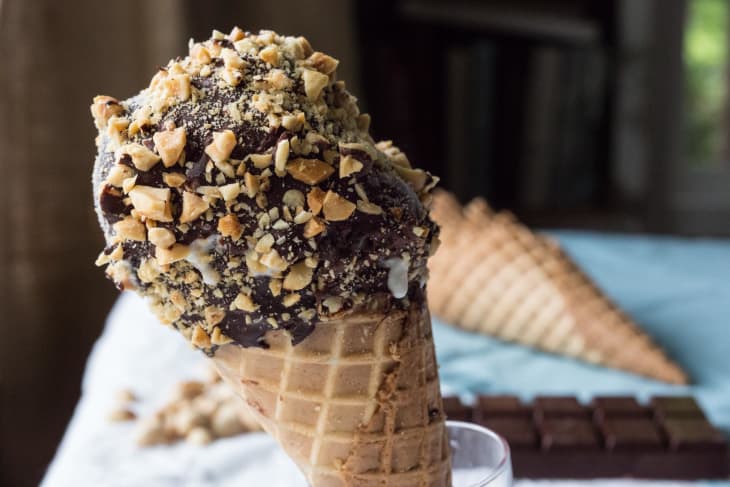
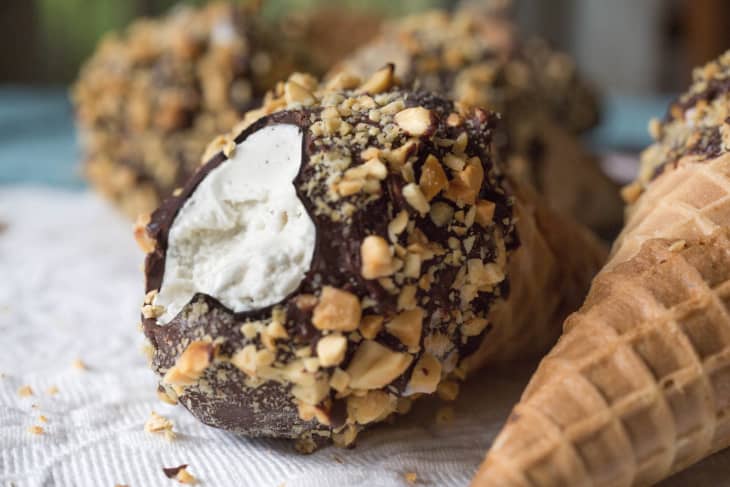
Drumsticks are a true American classic. Call me crazy, but it wasn’t the crisp waffle cone, vanilla ice cream, crunchy chocolate coating, or salty peanuts that got me. What I loved about Drumsticks in particular were the oh-so-yummy chocolate “plugs” at the bottom of the cone. Strange, I know, but I was always so excited to get to the very last bite.
I don’t keep Drumsticks stocked in my fridge these days, but even still, there is something so nostalgic about them. Every now and then, I will sneak one during a gas station break on a long road trip. It is such a guilty pleasure. I don’t know, I guess at this stage in my life packaged ice cream seems like it should be a thing of my past. But why does it have to be?
I finally tackled my old favorite, and now they don’t have to be a thing of my past. Even better, I can guarantee that these homemade “Drumsticks” will blow the store bought brand out of the water.
Homemade "Drumstick" Ice Cream Cones
Makes 6 ice cream cones
Nutritional Info
Ingredients
Instructions
Melt the chocolate in a medium saucepan over low to medium-low heat, stirring frequently with a silicone spatula to prevent burning. Remove from heat. Stir the oil into the melted chocolate and transfer the mixture to a small bowl.
Remove the ice cream from the freezer to soften. Meanwhile, drizzle about 2 teaspoons of melted chocolate into the bottom tip of each waffle cone; place each cone in a short drinking glass or mason jar to hold upright. Transfer cones to the freezer for a couple of minutes to let chocolate harden.
Working quickly, fill up a cone with softened ice cream, using an offset spatula to press it in and smooth the surface once it reaches the rim. Add a large, rounded scoop on top of the cone, smoothing out and filling the edges with more ice cream if needed. Return the cone to its glass and place it in freezer immediately; continue with remaining cones. Allow the cones to harden for about an hour.
Remove the cones from the freezer. Dip a small silicone pastry brush into the chocolate mixture. Working quickly, spread the chocolate over the ice cream as well as the top 1-inch of the cone. Immediately sprinkle chopped peanuts over the chocolate layer. (I found it easiest to work in small sections, brushing on the chocolate in 1 - 2 inch strokes, adding some peanuts, and then coating another section.) Be sure to fill in the gaps between the ice cream and the cone with plenty of chocolate to prevent any ice cream from leaking down the sides.
Freeze again until the chocolate has hardened, at least 15 - 20 minutes. (These can be made up to 24 hours in advance. Once the chocolate has hardened, wrap the cone and top loosely in plastic wrap and keep in the freezer until serving.
(Images: Nealey Dozier)