
How To Make Pita Bread at Home

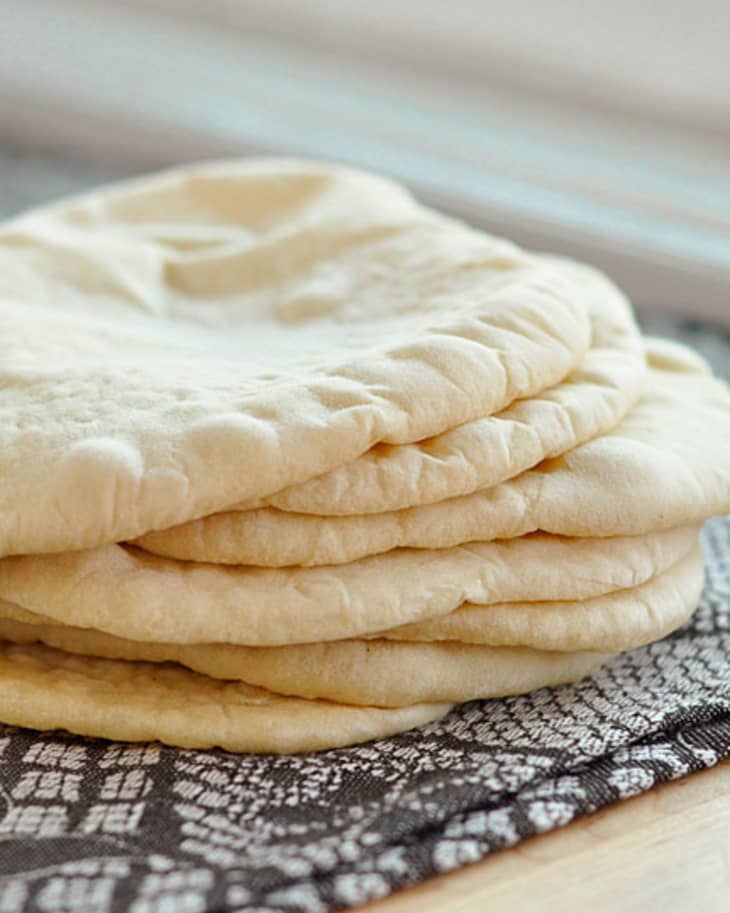
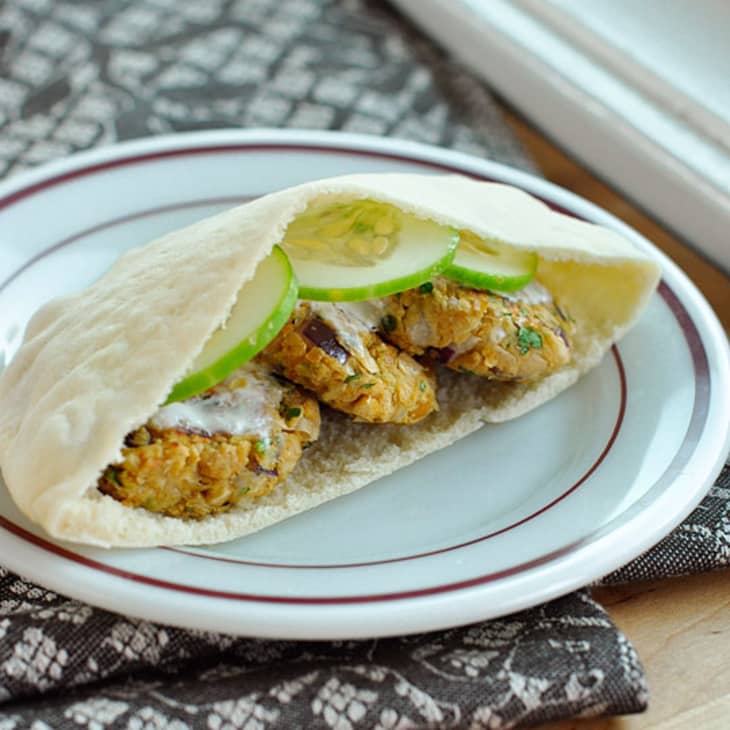
Whether we’re talking baked falafel or deli ham, pockets of pita bread are one of my top choices for sandwiches. So portable! So neatly contained! So easy to eat! The pitas you make at home are worlds apart from the stuff you buy in stores, and watching them puff to glorious heights in your oven or on your stovetop is culinary magic at its best. Here’s how we do it.
What is Special About Pita Bread?
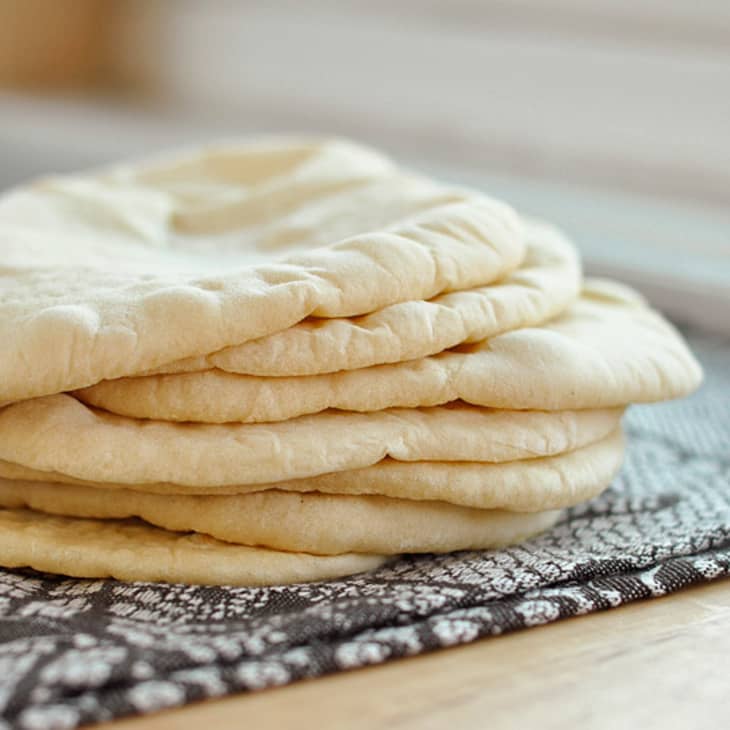
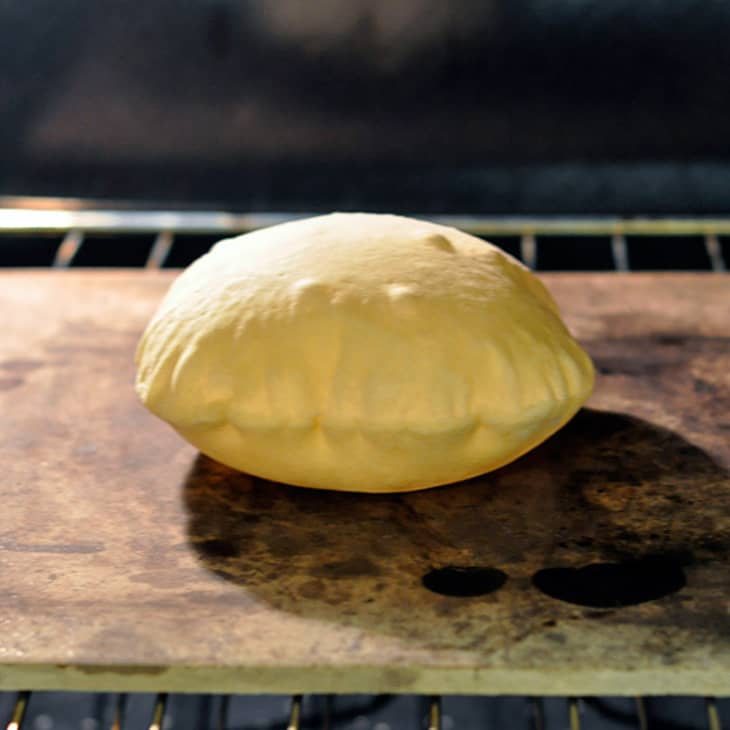
The pita has been rolled so thin that this action forces the top and the bottom of the dough to separate and balloon outwards.
Making Pita Bread
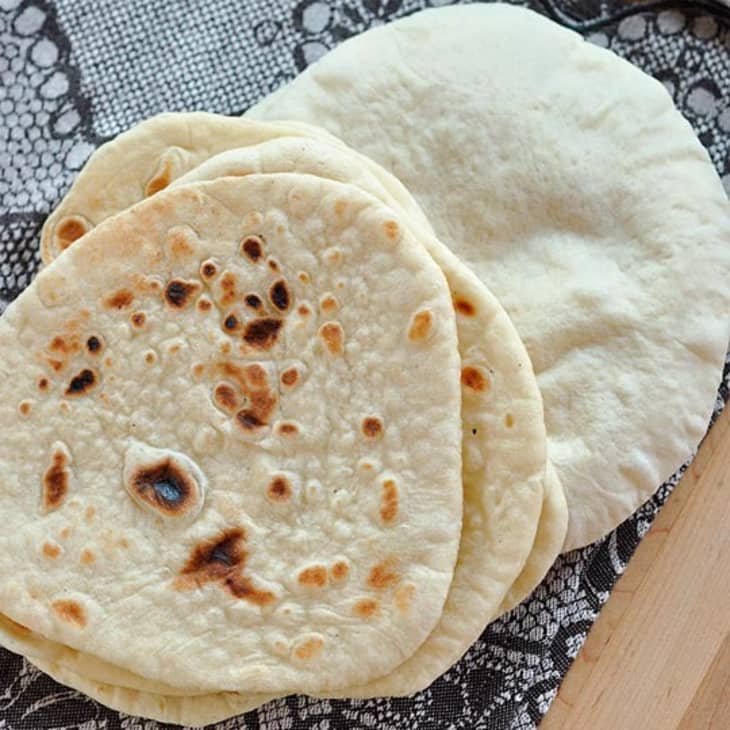
You can make pita bread either in the oven or on the stovetop, and there are advantages and disadvantages to both. In the oven, pitas puff up much more grandly and make softer pockets, but they stay pale-colored and fairly mild-tasting.
On the stovetop, you lose some of the impressive puffing, but gain tasty and crunchy toasted spots on the surface of the dough. You can also make several pitas at once in the oven, where you can only make one at a time on the stovetop. Both methods work equally well, so the choice is yours!
Pita is also great make-ahead bread. I often prepare the dough through the first rise, punch it down, and then keep it refrigerated for up to a week. The flavor actually improves after a few days of chilling. You can bake the whole batch at once or cut off just what you need to make one or two flatbreads at a time.
Testing Notes
I make and love homemade pita just as much now as I did when I first wrote this tutorial. It’s an easy and nearly fool-proof recipe for those who are just getting into baking and don’t feel quite ready to make a full-on sandwich bread. It’s also a good one if you’re cooking for just one or two people and maybe have a hard time finishing an entire loaf of bread before it goes bad. I love that I can make the dough for this ahead of time and pinch off just enough for one quick pita whenever I want it. Yum.
How to Make Homemade Pita Bread
Makes 8 rounds
Nutritional Info
Ingredients
- 1 cup
warm water (not hot or boiling)
- 2 teaspoons
- 2 1/2 to 3 cups
all-purpose flour
- 2 teaspoons
salt
- 1 to 2 teaspoons
olive oil (optional)
Equipment
Mixing bowl
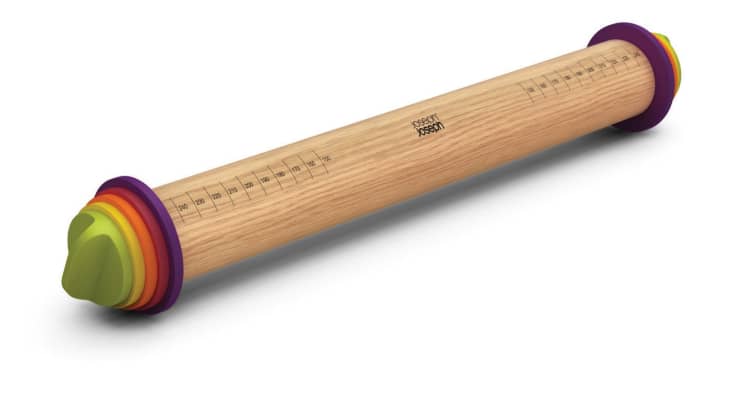
Rolling pin
Cast iron skillet (for stovetop baking)
Baking sheet or a baking stone (for oven baking)
Instructions
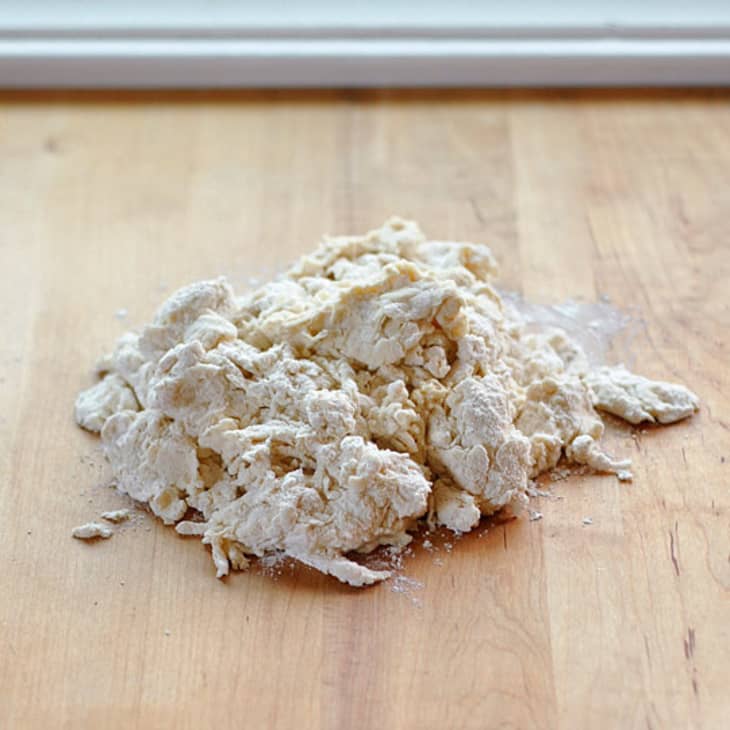
Form the Pita Dough: Mix the water and yeast together, and let sit for about five minutes until the yeast is dissolved. Add 2 1/2 cups of the flour (saving the last half cup for kneading), salt, and olive oil (if using). Stir until a shaggy dough is formed.
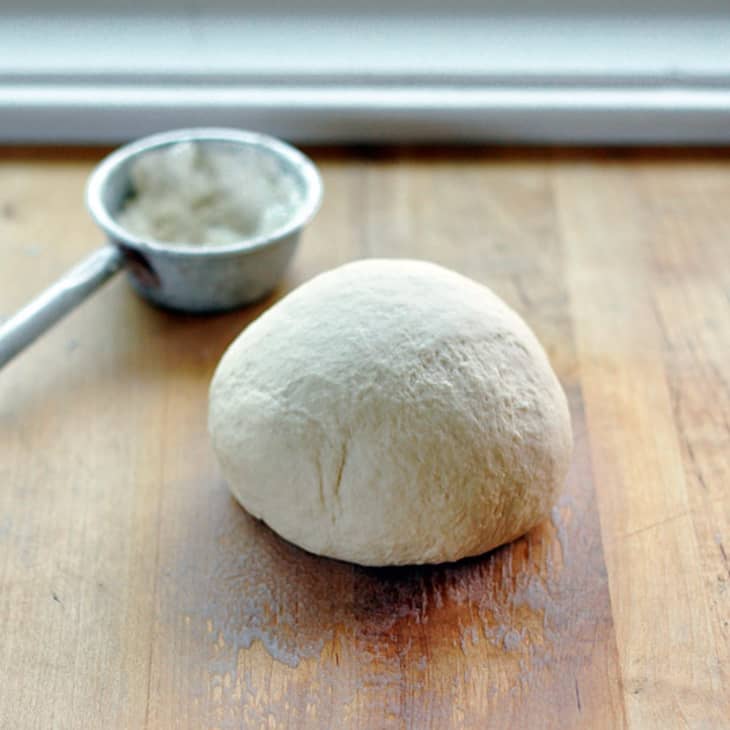
Knead the Dough: Sprinkle a little of the extra flour onto your clean work surface and turn out the dough. Knead the dough for about 5-7 minutes, until the dough is smooth and elastic. Add more flour as needed to keep the dough from sticking to your hands or the work surface, but try to be sparing. It's better to use too little flour than too much. If you get tired, stop and let the dough rest for a few minutes before finishing kneading.
Let the Dough Rise: Clean the bowl you used to mix the dough and film it with a little olive oil. Set the dough in the bowl and turn it until it's coated with oil. Cover with a clean dishcloth or plastic wrap and let the dough rise until it's doubled in bulk, 1-2 hours.
At this point, you can refrigerate the pita dough until it is needed. You can also bake one or two pitas at a time, saving the rest of the dough in the fridge. The dough will keep refrigerated for about a week.
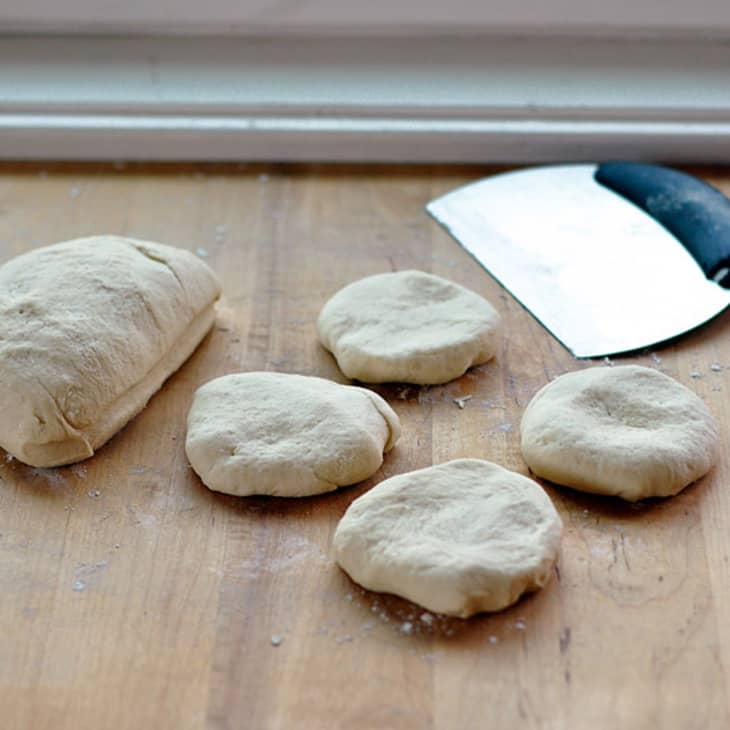
Divide the Pitas: Gently deflate the dough and turn it out onto a lightly floured work surface. Divide the dough into 8 equal pieces and gently flatten each piece into a thick disk. Sprinkle the pieces with a little more flour and then cover them with a kitchen towel or plastic wrap wrap until you're ready to bake them.
Shape the Pitas: Using a floured rolling pin, roll one of the pieces into a circle 8-9 inches wide and about a quarter inch thick. Lift and turn the dough frequently as you roll to make sure the dough isn't sticking to your counter. Sprinkle with a little extra flour if its starting to stick. If the dough starts to spring back, set it aside to rest for a few minutes, then continue rolling. Repeat with the other pieces of dough. (Once you get into a rhythm, you can be cooking one pita while rolling the next one out.)
To Bake Pitas in the Oven: While shaping the pitas, heat the oven to 450°. If you have a baking stone, put it in the oven to heat. If you don't have a baking stone, place a large baking sheet on the middle rack to heat.
Place the rolled-out pitas directly on the baking stone or baking sheets (as many as will fit), and bake for about 3 minutes. I've found it easiest to carry the pita flat on the palm of my hand and then flip it over onto the baking stone. The pita will start to puff up after a minute or two and is done when it has fully ballooned. Cover baked pitas with a clean dishtowel while cooking any remaining pitas.
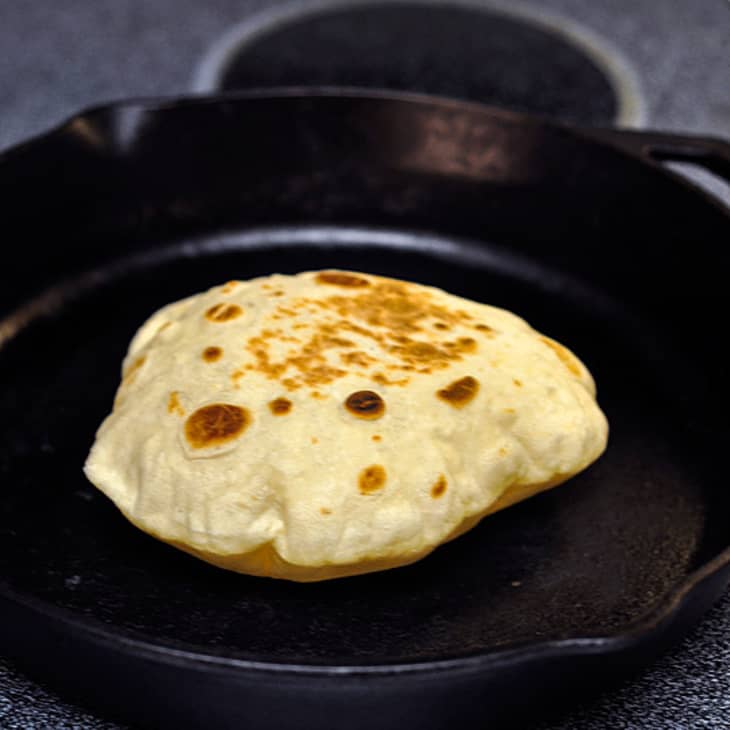
To Bake Pitas on the Stovetop: Warm a cast iron skillet over medium-high heat until a few bead of water sizzle immediately on contact. Drizzle a little oil in the pan and wipe off the excess.
Lay a rolled-out pita on the skillet and bake for 30 seconds, until you see bubbles starting to form. Flip and cook for 1-2 minutes on the other side, until large toasted spots appear on the underside. Flip again and cook another 1-2 minutes to toast the other side. The pita should start to puff up during this time; if it doesn't or if only small pockets form, try pressing the surface of the pita gently with a clean towel. Keep cooked pitas covered with a clean dishtowel while cooking any remaining pitas.
Storing the Pitas: Pitas are best when eaten immediately after cooking. Leftover pitas will keep in an airtight bag for several days and can be eaten as they are or warmed in a toaster oven. Baked pitas can also be frozen with wax paper between the layers for up to three months.

Recipe Notes
Storing the Dough: Once it has risen, the pita dough can be kept refrigerated until it is needed. You can also bake one or two pitas at a time, saving the rest of the dough in the fridge. The dough will keep refrigerated for about a week.
Pitas That Won't Puff: Sometimes you get pitas that won't puff. The problem is usually that the oven or the skillet aren't hot enough. Make sure both are thoroughly pre-heated before cooking. Even pitas that don't puff are still delicious and can be used wraps or torn into pieces for dipping in hummus.
This post was originally published 7/23/09.
Want more smart tutorials for getting things done around the home?
Related: Working with Yeast: Be Not Afraid!
(Image: Emma Christensen)