
Recipe: No-Knead Multigrain Bread

Whole-wheat breads are an acquired taste, in my opinion. Some people love them, some people learn to love them, and some people (like me) never quite warm up to their bitter, earthy flavors.
Enter this new no-knead bread recipe. If you’ve never really liked whole-grain breads but wish you did, you’ve got to give this recipe a try. It’s definitely changed the way I feel about whole-wheat loaves!
My dad is actually the mastermind behind this recipe. He took the recipe originally published in Artisan Bread in Five Minutes and gradually adapted it to his own tastes over months of baking. His final recipe combines whole wheat, rye, and white flour, along with a handful of cracked grain.
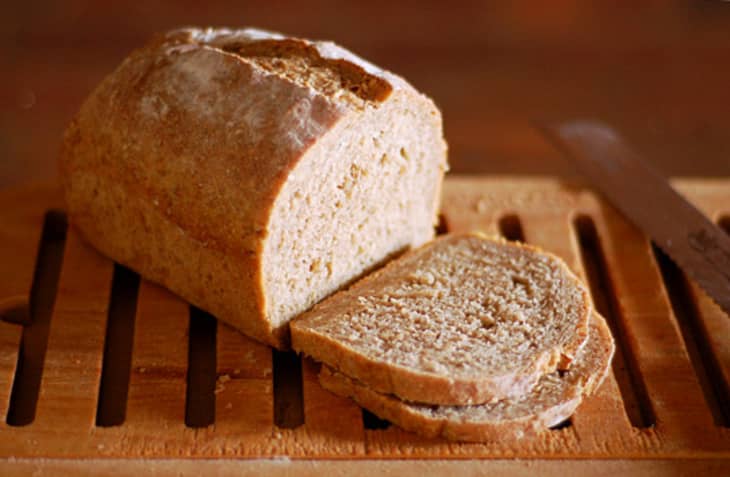
As a longtime disliker of whole-wheat bread, I can vouch that this is good stuff. The bread is sweet and nutty, with a nice texture that falls somewhere between soft and chewy. There’s also just enough white flour to help lift the bread and prevent it from becoming too dense. So far I’ve tried it fresh from the oven, with soup, in sandwiches, and as toast, and it’s passed muster every time.
No-Knead Multigrain Peasant Bread
Makes 2 loaves
Nutritional Info
Ingredients
- 1 cup
rye flour
- 1 cup
whole-wheat flour
- 1/2 cup
cracked wheat, uncooked steel-cut oats, sunflower seeds, or other coarse-textured grains, seeds, or nuts
- 4 cups
all-purpose flour
- 1 tablespoon
kosher salt
- 1/2 teaspoon
instant yeast
- 3 1/4 cups
room temperature water
Instructions
In a large bowl, mix together the rye flour, whole-wheat flour, cracked wheat, all-purpose flour, salt, and yeast. Stir in the water to form a thick, gloppy batter.
Cover the bowl and let it sit at room temperature for 8 hours or overnight. If necessary, you can refrigerate the dough after this fermentation period and keep it refrigerated for up to a week. Refrigerating for a few hours also helps make the dough easier to work with and improves the flavor.
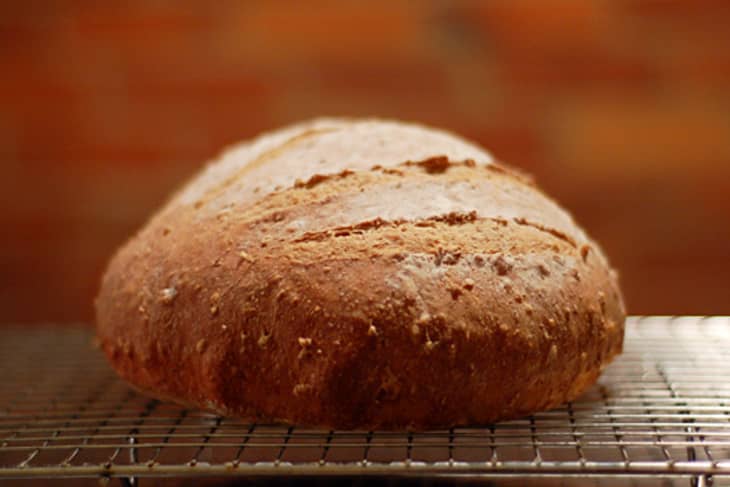
When ready to shape and bake the loaves, sprinkle your work surface with a little flour. Turn the dough out onto the counter and divide it into two equal pieces. Sprinkle the dough pieces with a little more flour and shape them into round loaves. Cover and let the loaves rise for about 1 1/2 to 2 hours at room temperature, until nearly doubled in bulk.
A half hour before baking, preheat the oven to 450°F. Place a Dutch oven, or other heavy-bottomed pot with a lid, into the oven as it heats. (If you have two Dutch ovens, place them both in the oven to heat; otherwise cook one loaf and then the next.)
When the loaves have risen, quickly cut slashes 1/2-inch deep in the top of one of them with a serrated knife. Gently and carefully transfer the loaf to the Dutch oven. Cover and place back in the oven.
Bake for 20 minutes, then remove the cover from the Dutch oven. Bake for another 10 to 15 minutes, until the loaf is dark brown, sound hollow when tapped on the bottom, and the interior registers 190°F on an instant-read thermometer. Repeat with baking the second loaf.
Allow to cool fully on a rack before slicing and eating.
Recipe Notes
Making Sandwich Loaves: Instead of round loaves, you can also shape this dough into sandwich loaves and transfer to loaf pans. Allow to rise, then bake on the middle oven rack for 30 to 35 minutes, until the loaves are dark brown, sound hollow when tapped on the bottom, and the interior registers 190°F on an instant-read thermometer.
This recipe was originally published February 2010.