
How To Replace a Kitchen Faucet
Earlier this week we asked you if you had ever considered replacing the faucet in a rental kitchen. We realized this could be a simple way to upgrade our kitchen, and this week we did it as our Kitchen Cure special project! It was remarkably easy and straightforward, and we can’t believe we didn’t do this sooner. Here’s a look at the process of replacing a faucet; anyone can do it!


First of all, full disclosure: Price-Pfister offered to send us a new faucet to try out, and we accepted. The faucet we chose is the Ashfield design with equipment for 4 holes, and a single pulldown control handle.
This design is a little more traditional than our preferred style; we would normally choose a brushed nickel finish or something a little sleeker. But this design seemed to best suit our vintage brown porcelain sink and the general farmhouse style of the kitchen.
• More info on the faucet: Price Pfister Ashfield 4-Hole Kitchen Faucet, Rustic Bronze, $159.95 at Amazon
So, having said all that, obviously the first step in the process of replacing a faucet is choosing a new one. Check your sink first, to see how many holes it has in it. Ours had four, so we chose a faucet style with a built-in soap dispenser and a sprayer.
After you decide what you want, shop around at Amazon, Overstock, and your local home improvement store to find a style you like with functionality that you need. You can find great deals on Overstock especially; there are many styles there that we liked.
OK, so faucet is in hand! Here are the basic steps of replacing a kitchen faucet.
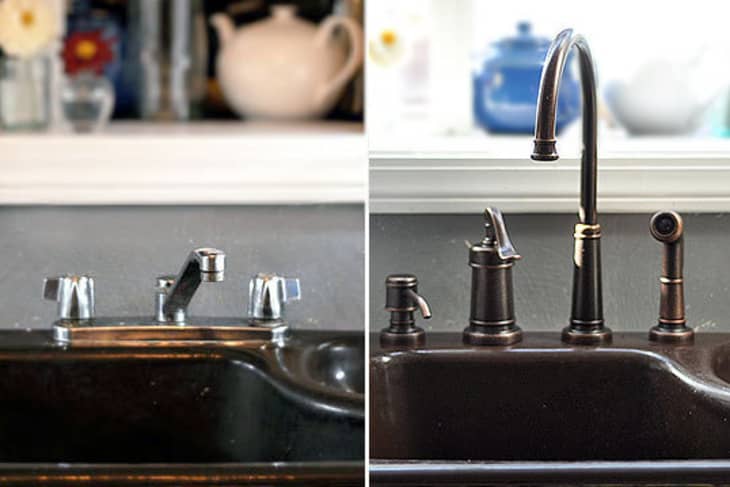
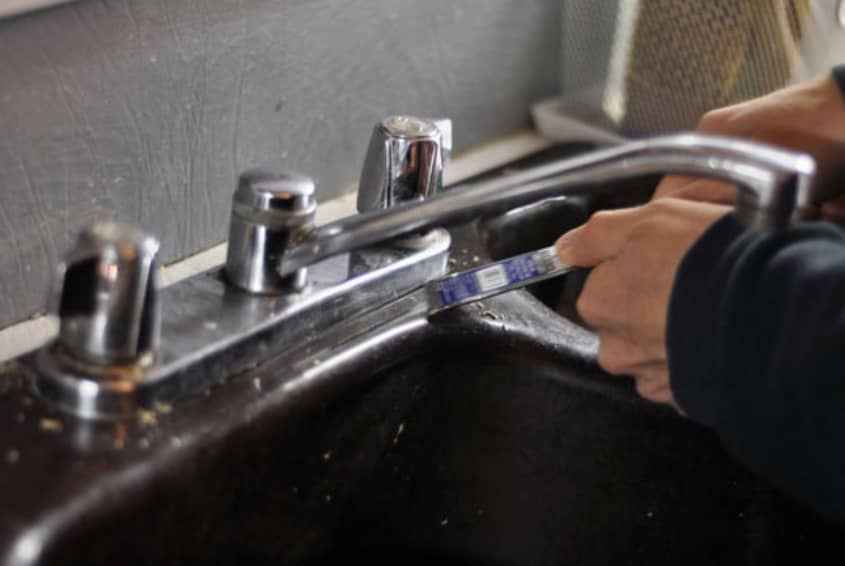
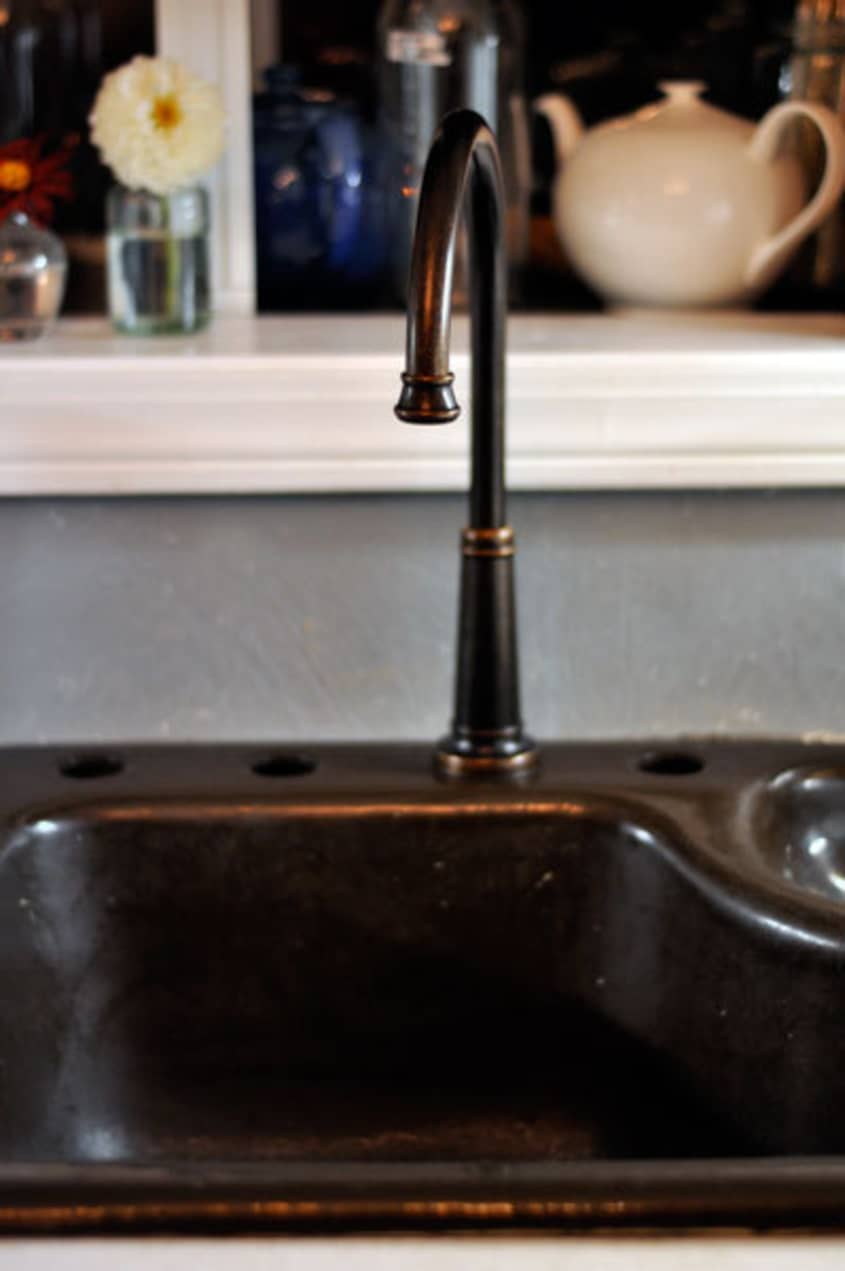
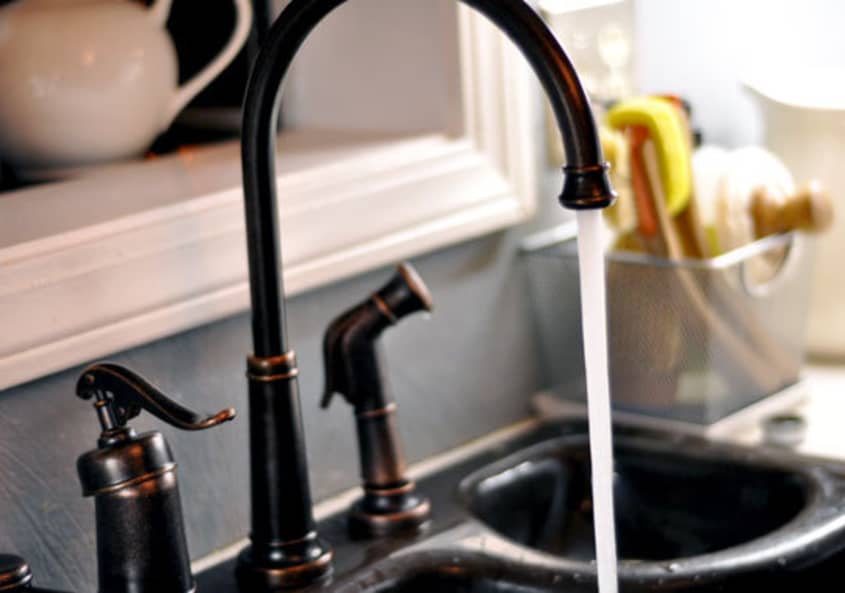
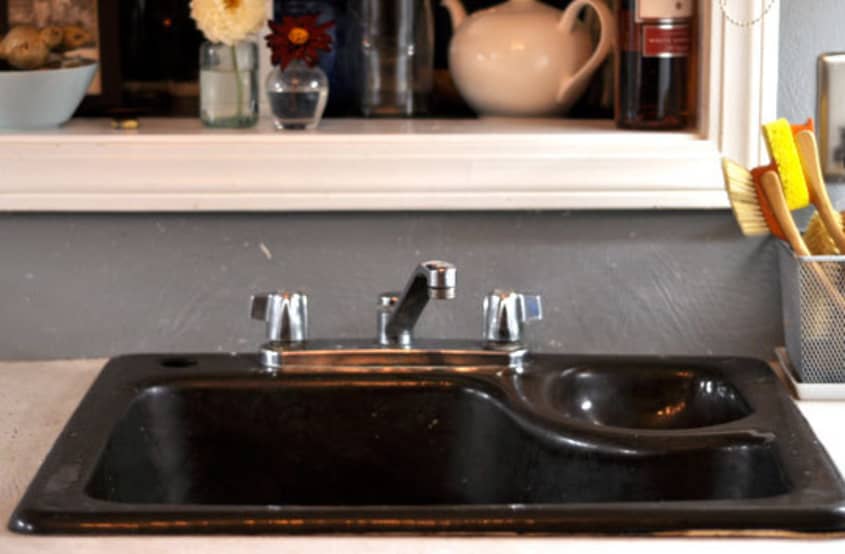
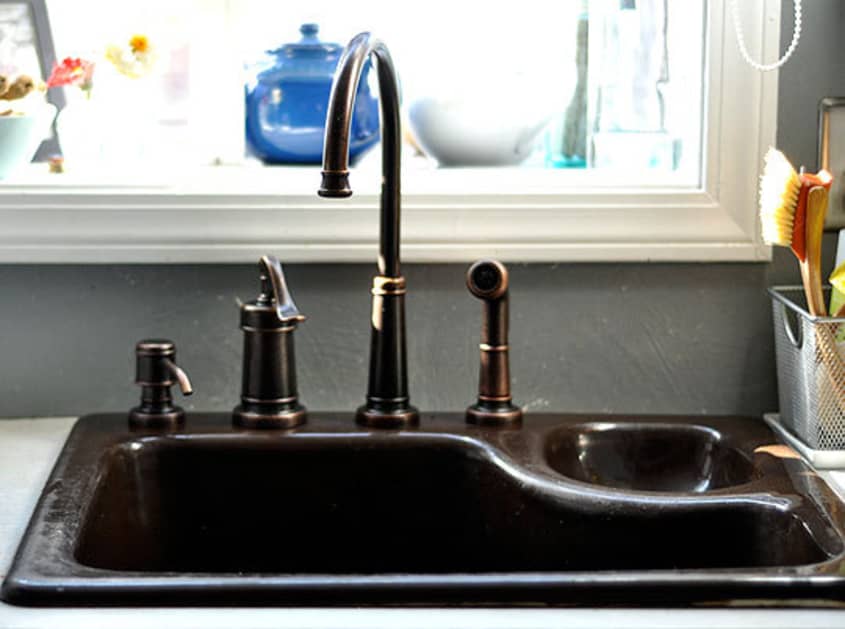
- Before & After: The kitchen faucet before replacement, and after! The new one is far more functional, with the high neck and one-handled operation.
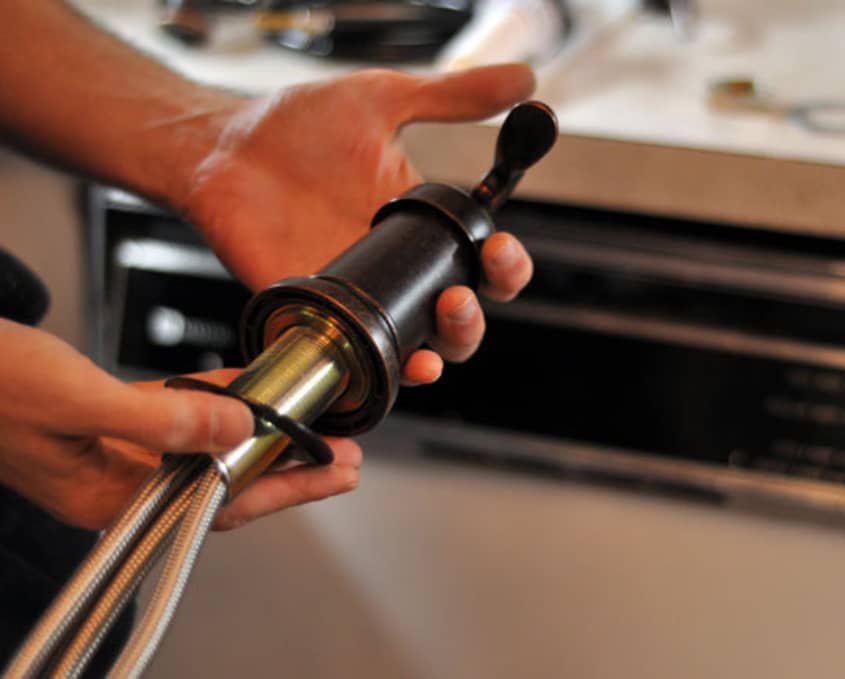
- Check all the parts: My husband, a good and thorough engineer, went through the parts list and all the parts in the box before doing anything, just to make sure.
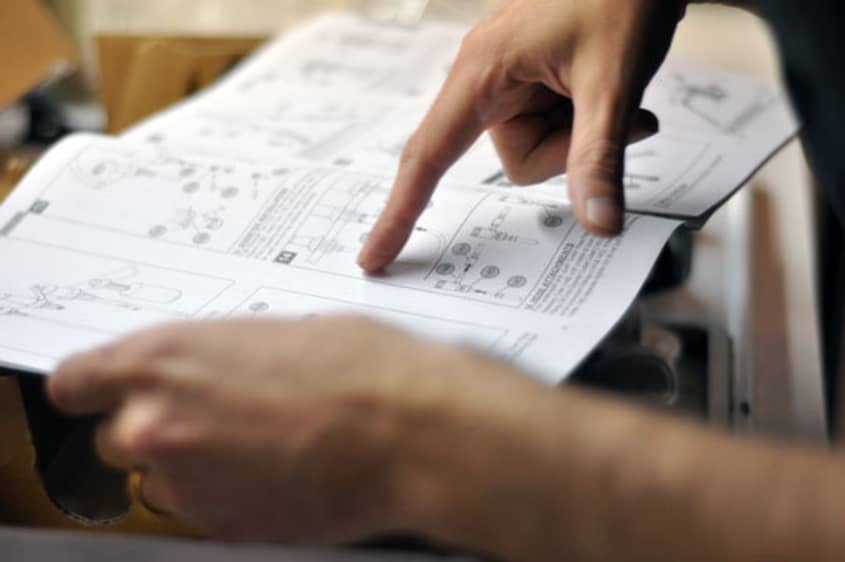
- Read the instructions: This should go without saying, but read the directions! This is one thing we were really impressed with; the Price-Pfister instructions were excellent. Well-written, well-illustrated, and well-designed, with a layman plumber in mind.
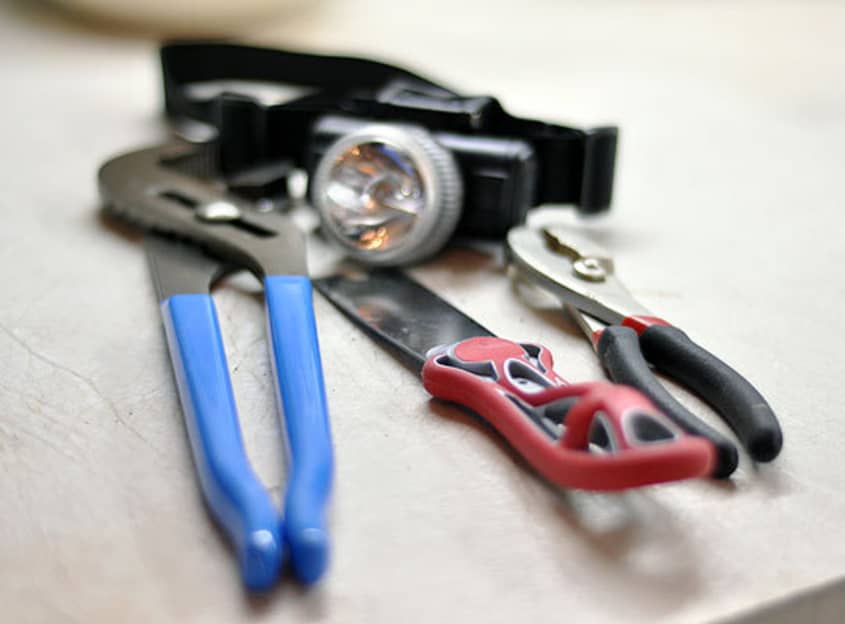
- Gather tools: The tools that you will probably need include a headlamp, pliers, a putty knife or chisel, and an adjustable/channel lock wrench. Also, this job will be MUCH easier if there are TWO people — one to handle the process, and the other to aid by handing tools, mopping up, and stabilizing parts while they’re bolted in. (I’ll let you guess which part I played.) Also, be ready to get a little dirty; this will involve being on your back under the sink.
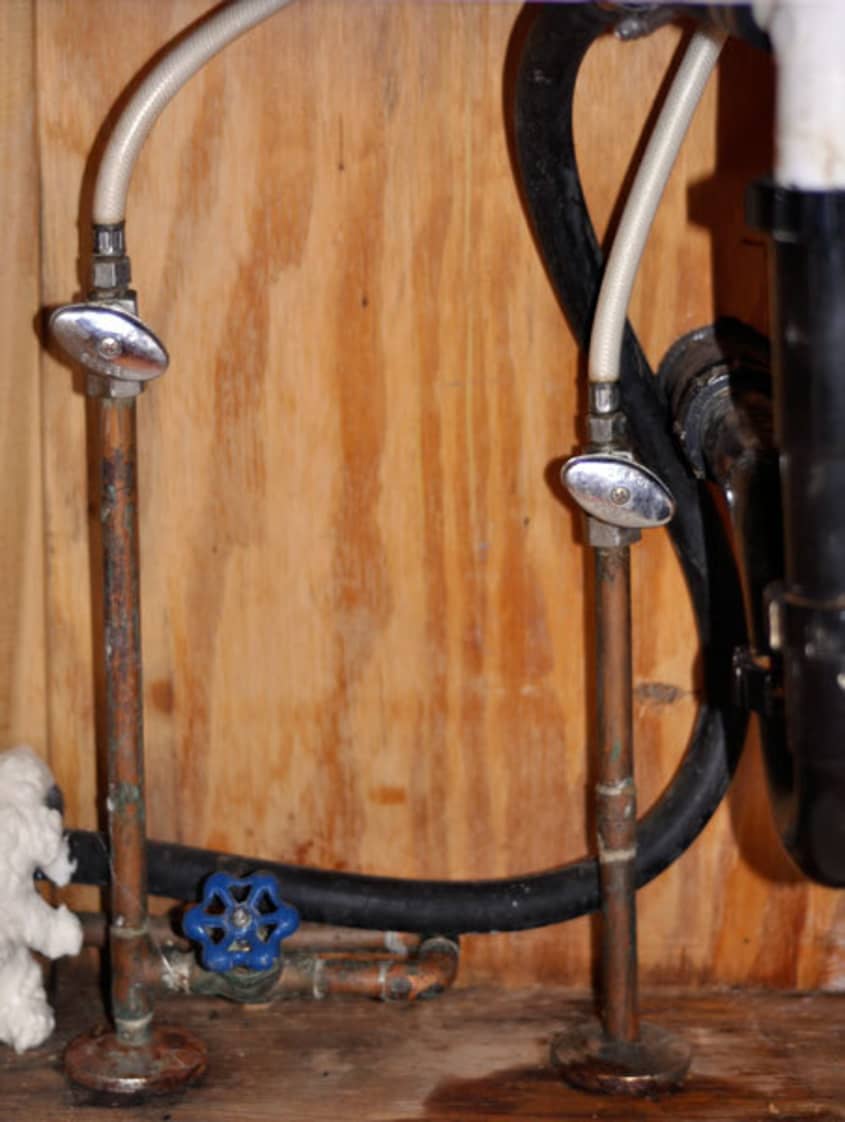
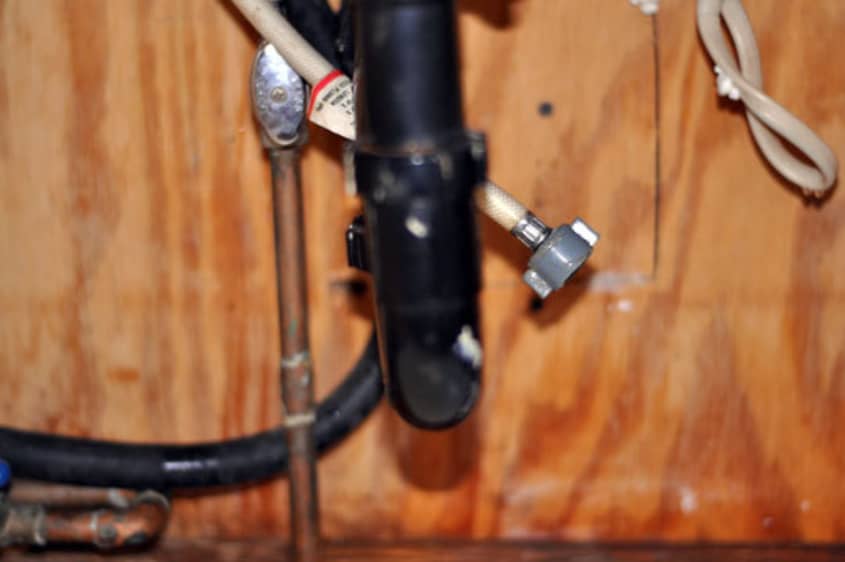
- Under sink – Turn off the water: Turn off the water sources under the sink by cranking the valves on the water supply lines.
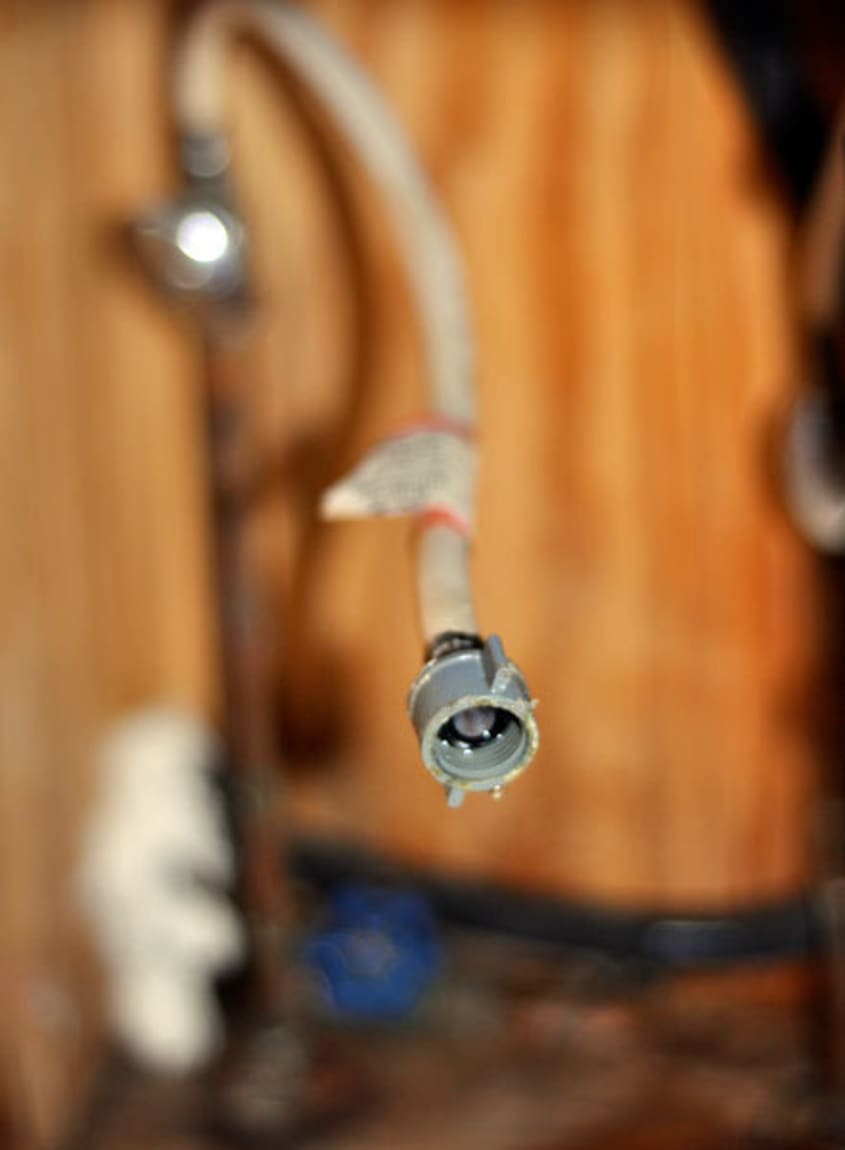
- Disconnect the water hoses from the faucet handles: – If you have a two-handle sink, like we did, then you will need to disconnect the hot and cold water hoses from the handles. Have a bucket ready, since they will drip out whatever water is left inside.
- Note hot and cold hoses: When you do this, make special note of which one is the hot water, and which one is the cold. It’s often not as obvious as it should be, and you’ll want to be sure when you reconnect them.
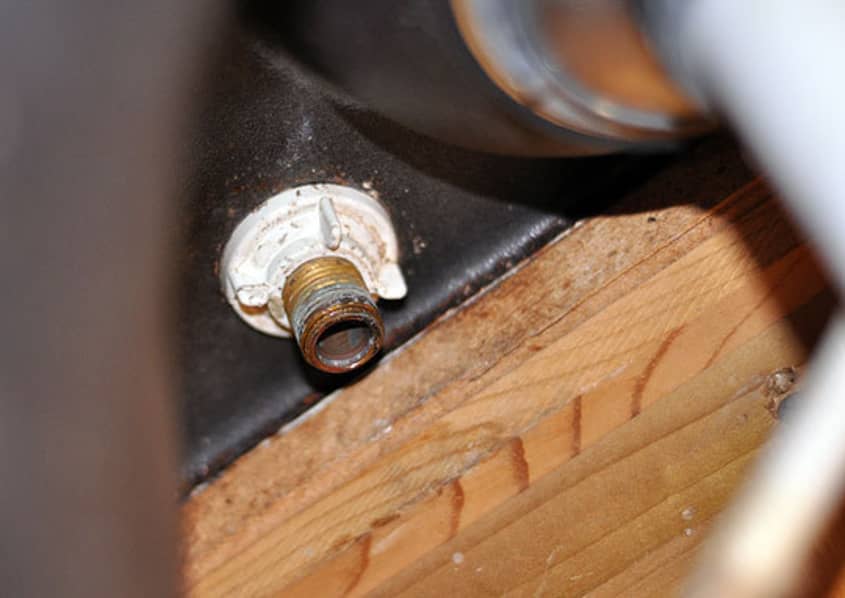
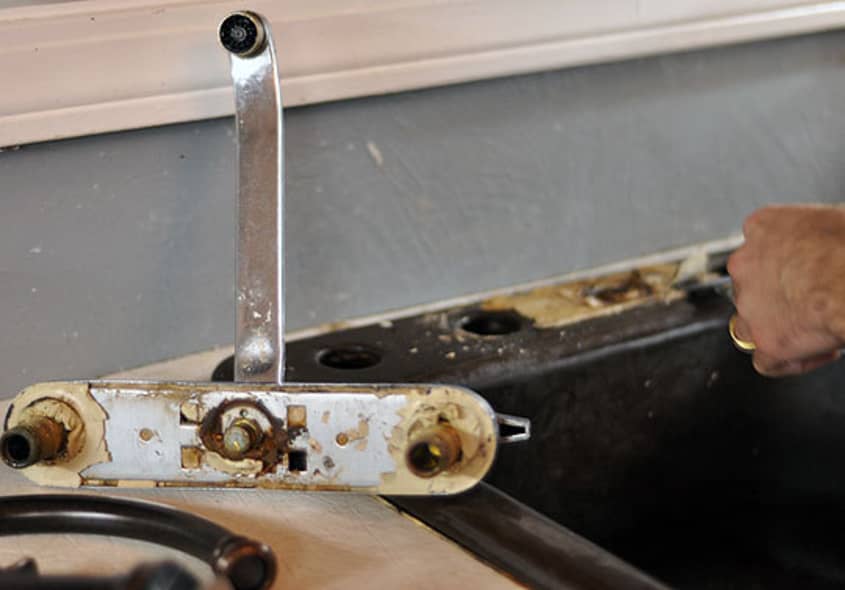
- Unbolt the faucet: The faucet will probably be held on to the sink underneath by these plastic bolt-type things. Unscrew them. Easier said than done, of course; this may be the most difficult part of the whole process! It involves lying on your back in an awkward space, trying to unscrew these things with pliers.
- Above sink – Scrape away grout or putty under the faucet top: Scrape away any putty that is holding the faucet to the sink. Gross!
- Remove the old faucet: This should be easy at this point, now that those plastic bolts are gone, and the putty scraped away.
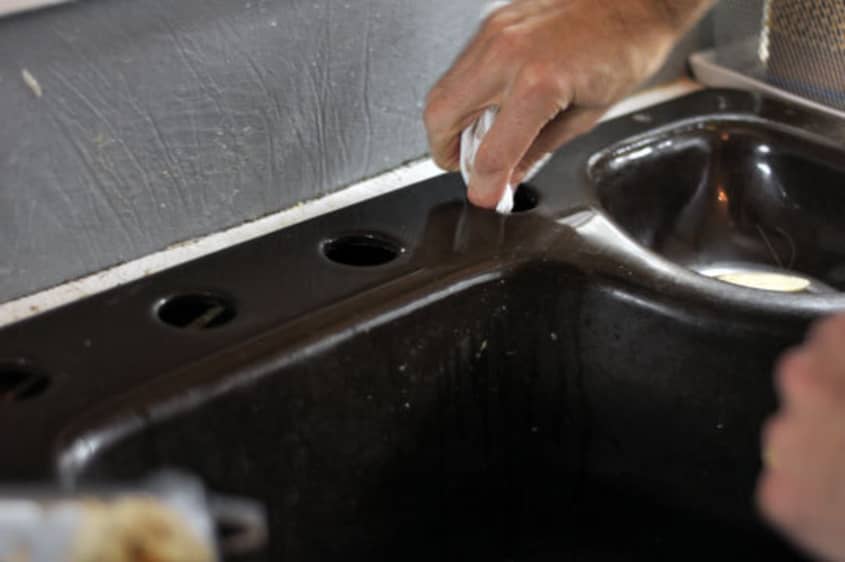
- Clean the faucet area: Clean the faucet area down with soap and water, after scraping away any remaining grout or putty.
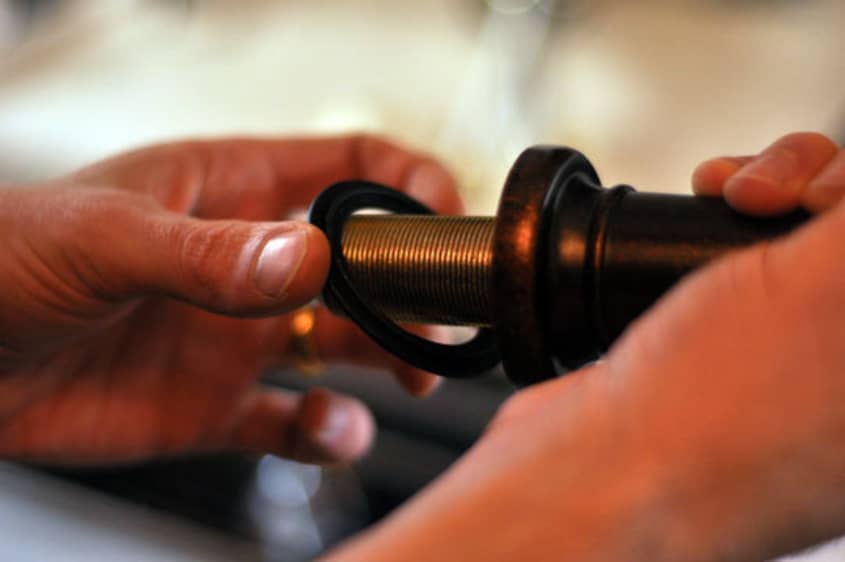
- Under/above sink – Assemble new faucet in holes – Back under the sink! This is where, now, your process may diverge a little from ours. You just need to follow the instructions for your new faucet. Place the new tap in the hole, and screw on the washers and bolts that will hold it in. There is usually a rubber washer that goes between it and the sink (we didn’t feel putty or grout was necessary with this particular faucet set) then screw on the washers and bolts below. This is also where it’s very helpful to have two people: one to stabilize and tighten from above, and the other below.
- Tighten washers and bolts – Make sure the faucet is tightly bolted in and doesn’t wobble. Repeat with the other faucet elements, including a sprayer, if included, and the handle.
- Check over your handle situation: Doublecheck the handle, as you put it in, and make sure you can see where the hot and cold hoses should go. If you have a sprayer there will be a third hose on the faucet handle that will get connected to the sprayer’s hose.
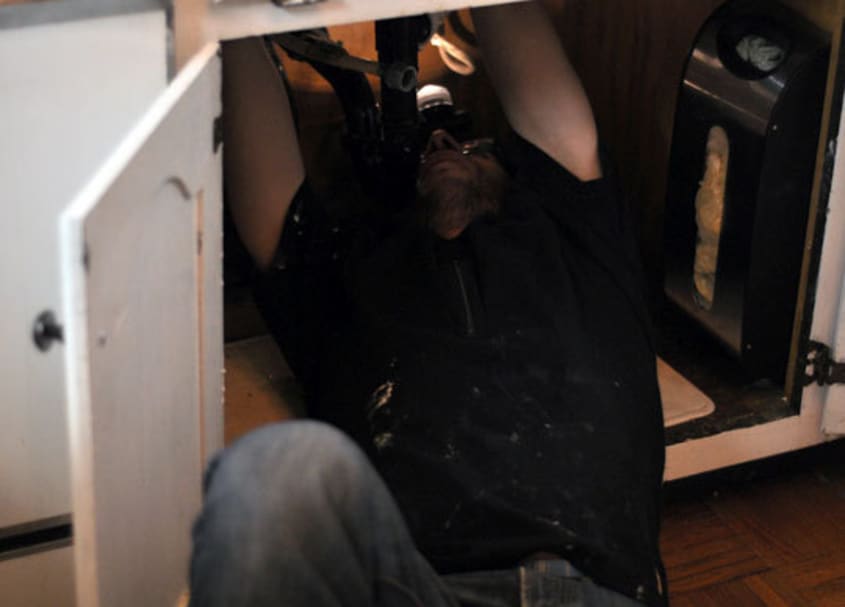
- Reconnect the water! Carefully screw the water leads into the appropriate hoses. You will probably look something like this. (The headlamp may look dorky, but believe me — it is really, really, really helpful in this particular situation.) Once you are sure the hoses are all attached properly, turn on the water valves again.
- Test, enjoy, and brag about installing your own faucet. – If you’ve done this properly, you should now have water coming out of your faucet, and you’re entitled to full bragging rights as a DIY plumber. Congratulations!
That’s it! There are a lot of steps listed here, but they are very logical when you have all the parts in front of you. My husband knocked this out in less than an hour, shocking us both! (We had calculated it would take about three; we aren’t the handiest people on the block.)
We already are totally in love with our new faucet; it effectively doubled the size of the pots and baking sheets we can fit in the sink comfortably, and the look of it suits our kitchen so much better than the old one.
Our main advice is to have the tools you need, and to be organized as you step through the process. Anyone can do this, and it can make a really huge change for the better in a rental kitchen.
Republished article originally posted November 6, 2009.
Related: Rental Kitchen Upgrade: Replace the Faucet
Want more smart tutorials for getting things done around the home?

We’re looking for great examples of your own household intelligence too!
(Images: Faith Durand)