
How To Paint Laminate Countertops
One of the many things you can do to transform your kitchen is to change your countertops. If completely replacing them isn’t an option for you right now, updating your existing laminate with countertop coating is a great way to achieve a new, fresh look without breaking the bank.
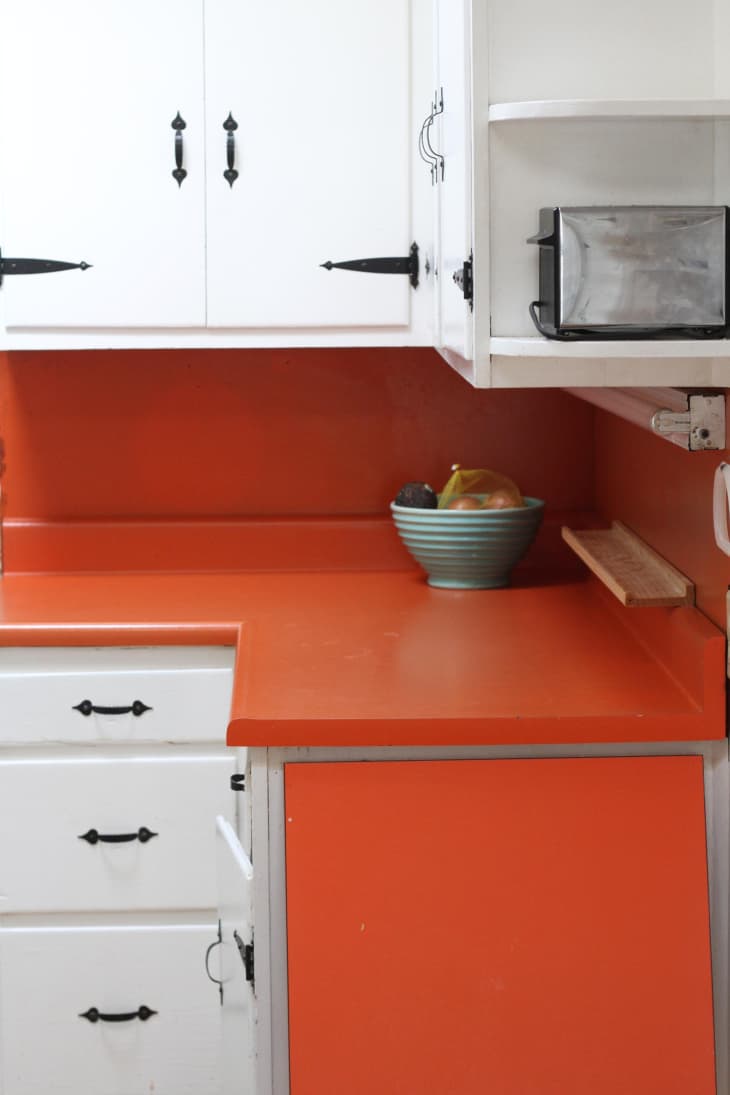
Countertop paint is great for homeowners and renters alike. With such a small price tag (Rustoleum sells a kit for around $20) countertop kits are great band-aids for outdated surfaces while you save up for that Carrara marble. And if you’ve got a chill landlord, they just might let you go ahead and paint over that ugly old laminate for something fresh and clean—at your expense, of course…
I used the most basic countertop kit (I didn’t even have it tinted because I wanted stark white—not recommended by the manufacturer, but I was pleased with the finish!), but there are many other options available that give various faux finishes. I’ve seen some impressive faux marbling projects, and some not-so-impressive projects—it really all depends on your skill level. Prices range anywhere from $20-$80 depending on the type of finish you are going for.
Beware: the smell is knock-you-off-your-rocker awful, it will stink up your entire house. Your neighbors might even complain. To make matters worse, you aren’t supposed to have the windows open or a fan on while painting your countertop to insure dust/debris won’t find its way on to the surface. I couldn’t handle the smell so I opened the windows and a few bits of dust and junk made their way onto the surface of my countertop but I was alright with it, as our painted laminate is only temporary.
What You Need
- Laminate countertop kit
- 150 grit sandpaper or sanding sponge
- Painters tape
- High quality paintbrush
- Smooth finish roller
- Paint tray
- Utility knife
- Dust mask or respirator
- All purpose cleaner
- Clean rag
Instructions
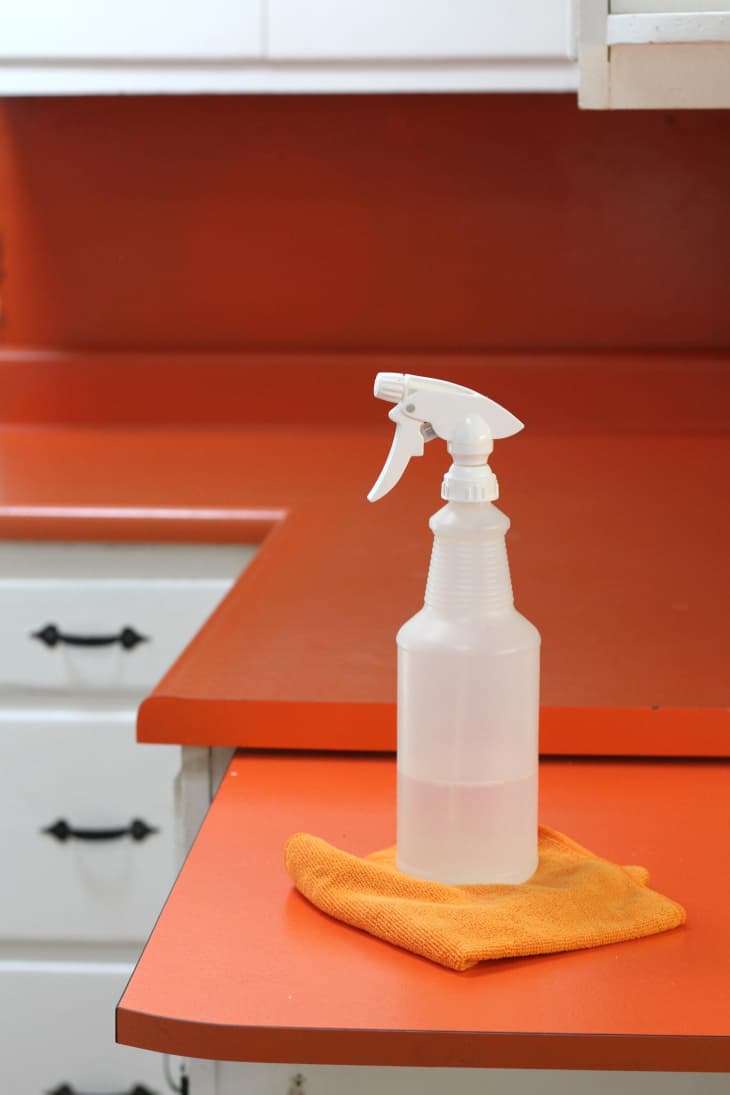
1. Completely clear off the countertop and scrub it down with a cleaning solution. Let it air dry.
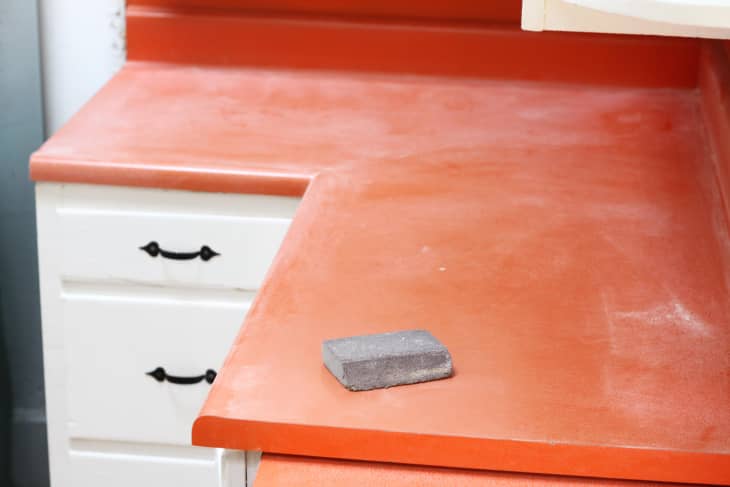
2. After the countertop is completely dry, lightly sand the laminate. I used a 150 grit sanding sponge. All you’re really trying to do at this point is sand the glossy finish off so that your paint can have something to stick to.

If you can, use a sanding sponge with a beveled edge. This makes sanding the elbows and corners of the laminate top a lot easier.
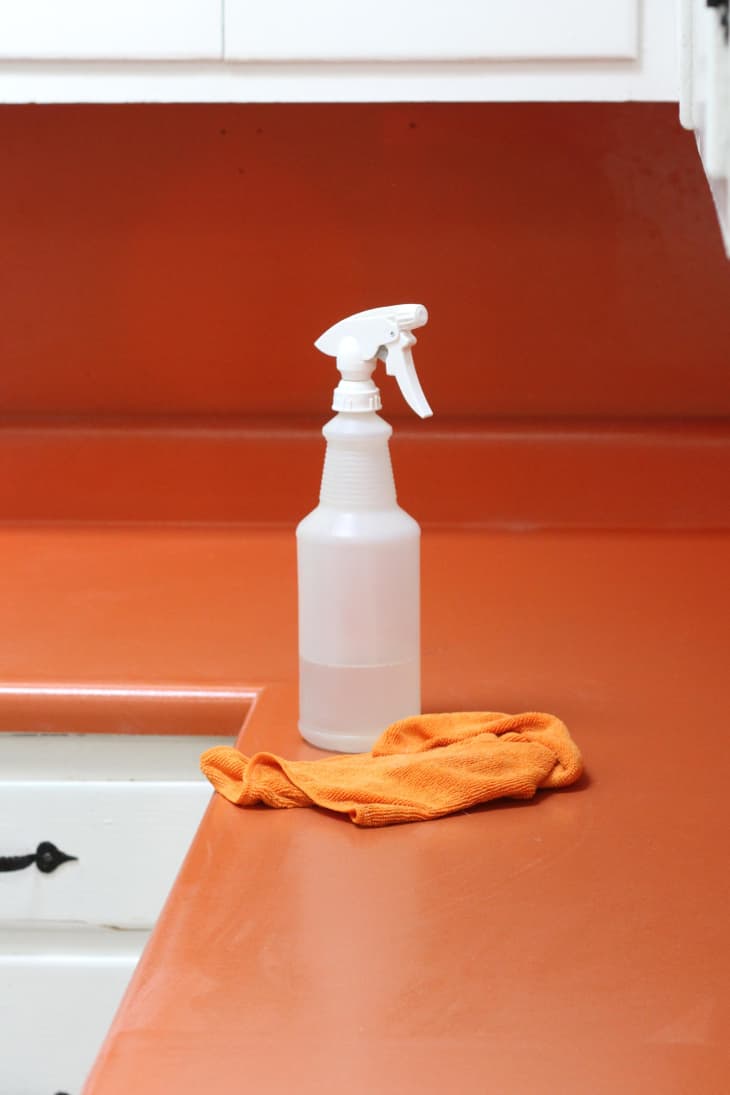
3. Throughly clean the countertops, making sure to wipe up any leftover dust and debris. Be sure to get in the corners and on the top ledge of the back of the counter —any left behind dust can keep the paint from sticking to the countertop. After it dries, wipe the surface with your hand— if any dust remains, clean it again.

4. Tape off the edges and any surrounding areas you don’t want to get paint on. If you are painting around a sink or next to an appliance, be sure to cover it with a plastic drop cloth and tape the edges. It’s a good idea to cover any lower cabinets with plastic as well.
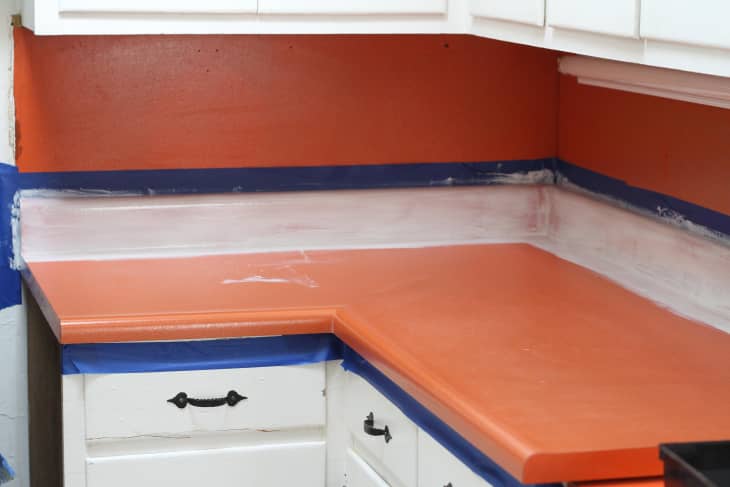
5. With your paint brush, apply a coat of paint to the backsplash working from the top down, extending the paint onto the surface of the countertop an inch or two.
Even though your countertop paint may be thick, it will dry very quickly so you need to move along at a good pace and keep an eye out for drips.
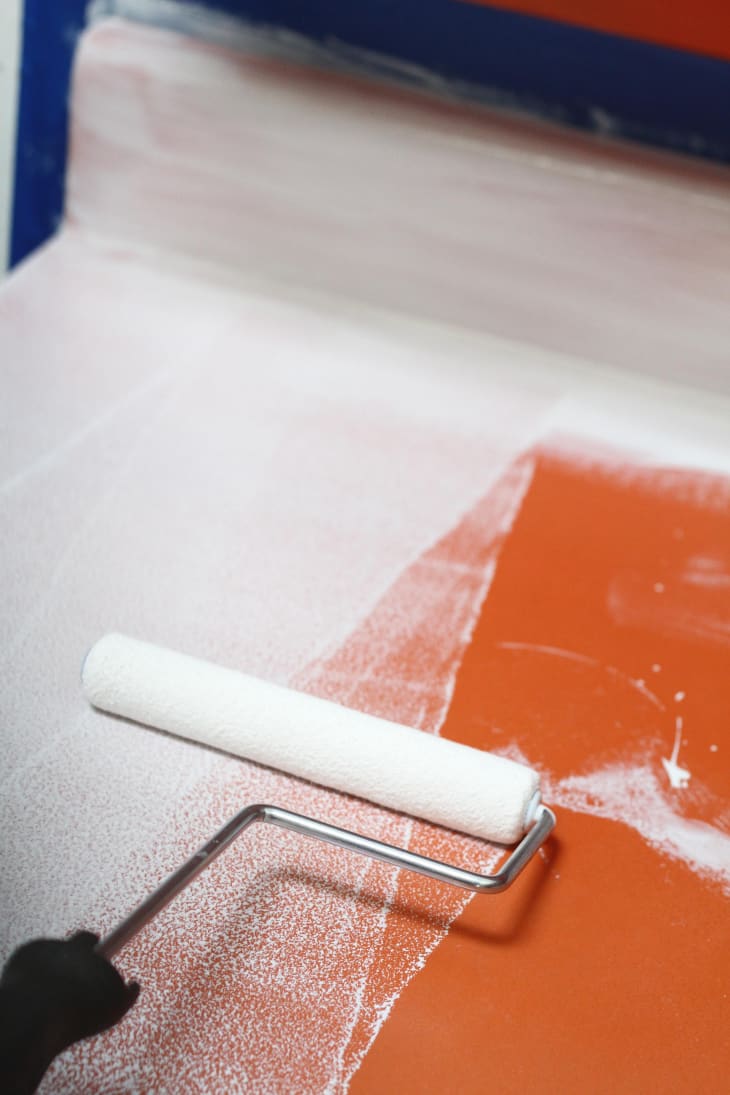
6. Begin to roll paint onto the surface of your countertop. Because you painted out from the backsplash a few inches with your brush, you should have a smooth transition and won’t have to worry about getting the roller too close to the backsplash and messing up the finish. Be sure there is a good amount of paint on your roller but don’t worry about complete coverage on your first coat—especially if you are covering a dark counter with a light paint. Roll on long, continual strokes going from the back of the counter all the way down the front ledge. Let dry for an hour before adding another coat.

7. Repeat the last step as many times as necessary until you can no longer see the original countertop through the paint. The photo above is what my countertop looked like after the first coat. I ended up painting a total of 4 coats before I was happy with the finish.
8. Use a utility knife to score the edges before removing the painters tape. Let your countertop cure for 3 days before use, or according to manufacturers recommendations.
Wondering how well the coated counters stood up over time? Check out the update: I Painted My Laminate Countertops: Here’s How They Are Holding Up A Few Months Later.