
How To Make Turkey Gravy Ahead of Thanksgiving


Here’s a weekend project for you: Make turkey gravy! It takes a few hours, but you’re left with a bounty of good food. There will be shredded turkey meat for sandwiches, extra turkey stock for your stuffing recipe or for slurping, and the golden stuff itself: thick, savory turkey gravy stashed in the freezer for Thanksgiving Day.
When your Thanksgiving turkey is roasted and the guests are seated, you don’t have to worry about your gravy. It’s already done. Here’s a step-by-step recipe to show you how.

Why You Might Want to Make Gravy Ahead
It’s really lovely to have all my gravy done. You never know what kind of drippings you’re going to get from the turkey, and it’s nice to not be standing over a stove at the last moment before dinner!
Also, if you’re grilling or smoking your bird, you’re not going to have drippings for gravy anyway, so why not make it ahead?

The process here is multi-step, but almost entirely hands-off. It is the perfect activity for a Saturday or Sunday afternoon in the kitchen.
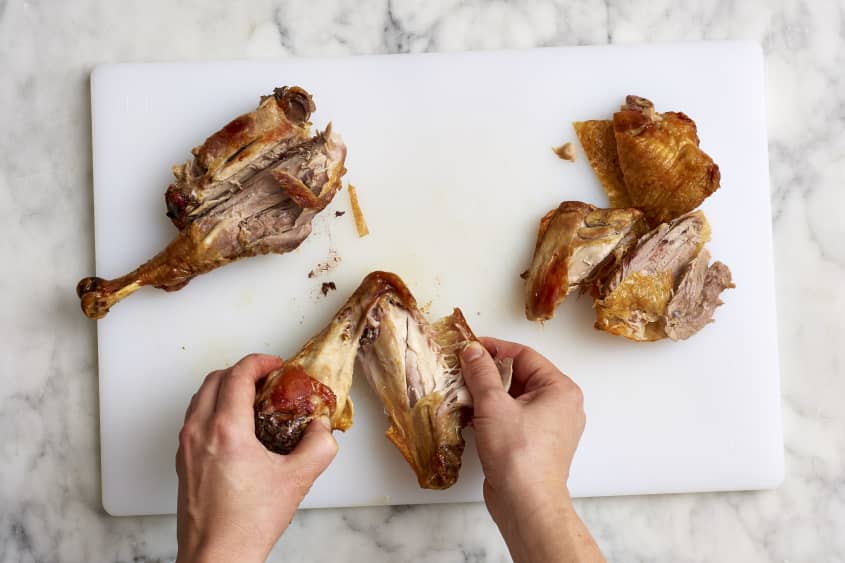
- First roast turkey parts (and save their drippings): You roast turkey parts, save the drippings, then shred off some of the meat (however much you think you’ll eat). You can freeze the meat, or eat it straightaway.
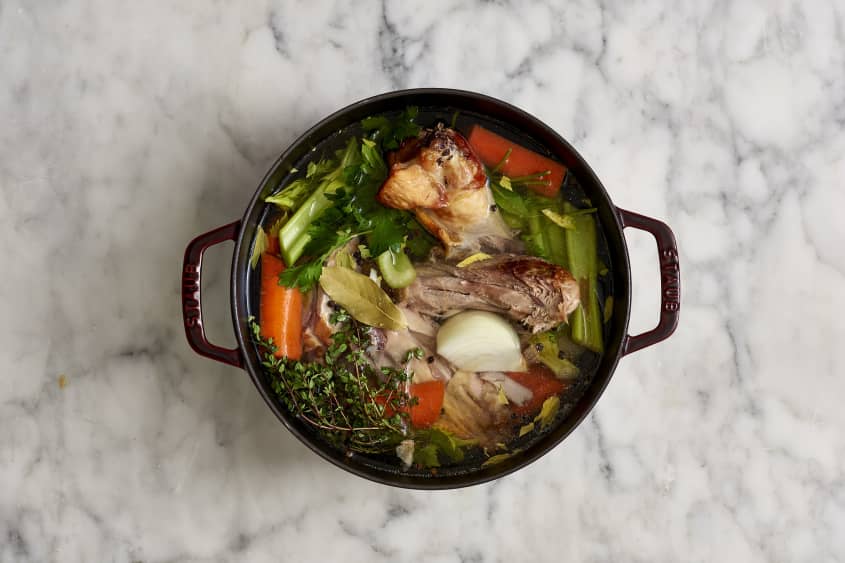
- Next make turkey stock: Then add what’s left of the meat, the bones, and some flavorful aromatics to a big pot and cover with water. Simmer for a few hours, then strain.
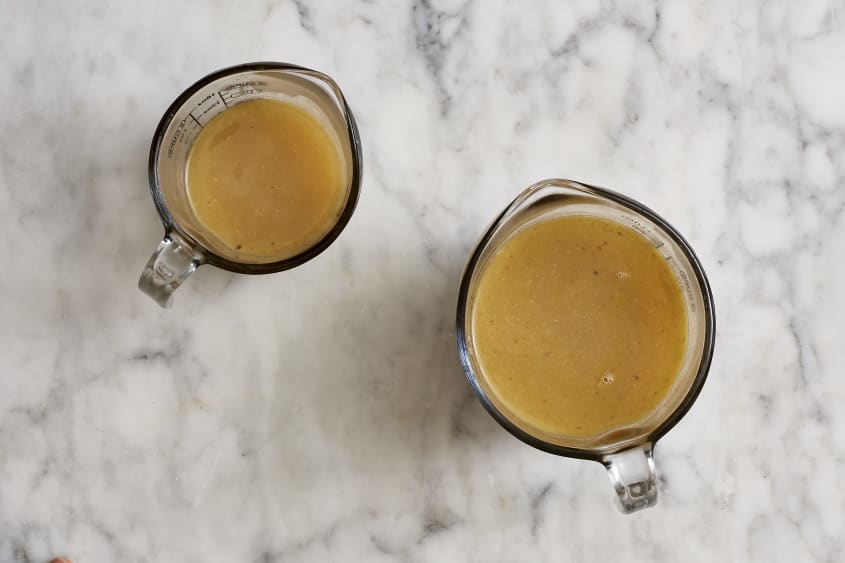
- Then make, cool, and freeze your gravy: All that’s left, at that point, is to take a few cups of the stock, the turkey drippings, and some flour, and make your gravy. Cool, freeze, and enjoy your turkey broth, meat, and peace of mind.

Freezing and Reheating the Gravy
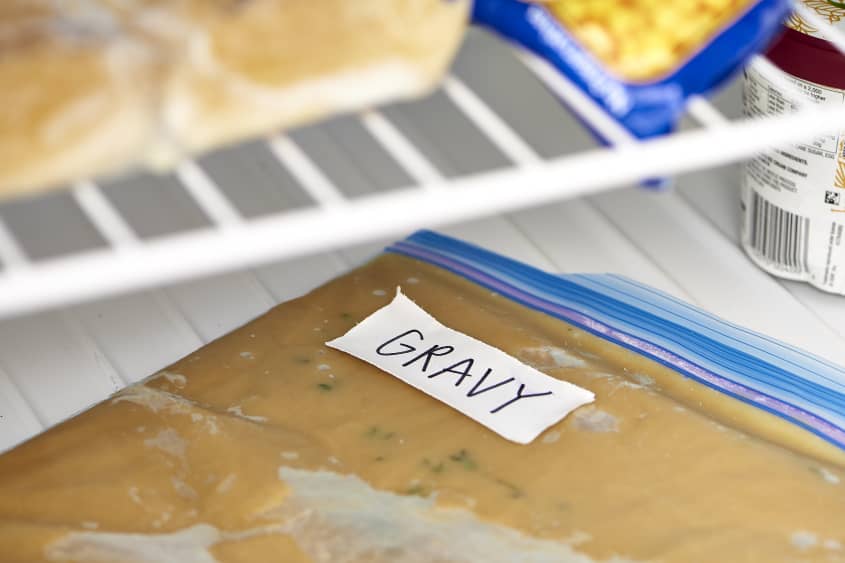
Once you’re gravy is made and cooled, move it to a zip-top bag and freeze flat. The night before Thanksgiving, move the bag to the fridge to thaw overnight and simply reheat the gravy over low heat while the turkey rests.


How To Cook Make-Ahead Turkey Gravy
Makes about 1 quart
Nutritional Info
Ingredients
- 2 to 4 pounds
bone-in turkey pieces, a mix of breast, thighs and/or legs
Salt and freshly ground black pepper
- 1/2 cup
dry white wine or dry sherry
- 1
large yellow onion
- 2
large carrots
- 4
celery stalks
- 1 tablespoon
whole black peppercorns
- 1
bay leaf
Fresh thyme and parsley springs (optional)
Unsalted butter, as needed
- 1/4 cup
all-purpose flour
Tools
Paper towels
Metal roasting pan
4-quart pot
2-quart saucepan or sauté pan
Whisk
Sauce whisk (optional)
Instructions
Roast the turkey pieces. Arrange a rack in the middle of the oven and heat the oven to 400°F. Pat the turkey pieces dry with paper towels and place them in a roasting pan. Generously season with salt and pepper. Roast until the turkey is cooked through and browned, about 1 1/2 hours.
Remove some meat from the turkey pieces. Remove from the oven and let the turkey cool slightly. Shred some of the meat from the bones. How much you shred is up to you: If you don't leave anything on the bones it will be to the poverty of your stock. But it is not necessary to leave all the meat on the bones; certainly remove a good deal of it for eating. (I removed a little over half.)
Deglaze the roasting pan. Now that the turkey is removed from the pan, you can deglaze all the fat and juices it left behind in the roasting pan. Place the pan over medium-high heat until the fat begins to sizzle. Add the wine or sherry a few tablespoons at a time, stirring constantly and breaking up any bits clinging to the bottom of the pan. When the pan is clean and only liquid remains, turn off the heat and pour the liquid off into a clean jar or heatproof bowl. Refrigerate.
Cover the turkey bones with water. Place the turkey bones and remaining meat in a 4-quart or larger pot. Peel and roughly chop the onion and add to the pot. Don't peel the carrots. Chop them and the celery and add them to the pot. Add the peppercorns, bay leaf, and herbs if using. Add enough water to just cover.
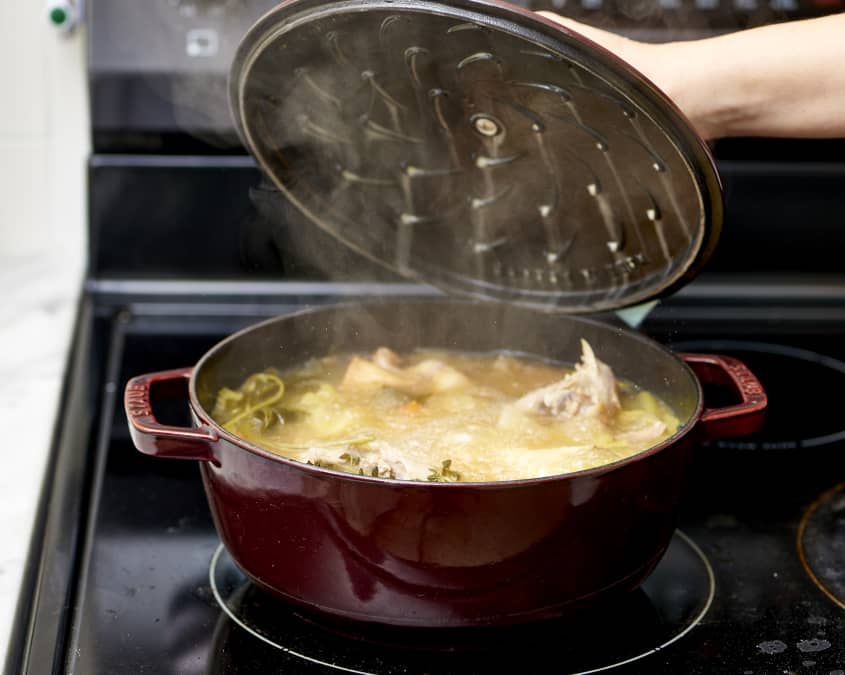
Make turkey stock. Bring the pot to a full, rolling boil over medium-high heat. Reduce the heat until the pot is simmering. Cover, partially, with a lid, and simmer for as long as you can let it go. (This is one of many steps in the process that are really up to you. If you can only cook it for an hour, it won't be as rich, but it will still be wonderful.) It's ideal to let it simmer for several hours at least. Check it frequently, however, and make sure that the liquid level isn't slipping down too far.
Strain the turkey stock. When you're done simmering the turkey stock and are ready to make gravy, turn off the heat and strain the broth through a fine-mesh strainer into a bowl. Press down on the turkey meat and bones to release all the liquid. You should have at least 6 cups of stock (you'll need 5 cups for the gravy) — hopefully more. (This might sound like heresy to some, but honestly, there is nothing wrong with setting your first, richer stock aside and refilling the pot and going for a second round. The resulting stock will be thinner and not as rich, of course, but it's still extremely delicious for soups and other cooking projects.)
So now you have your turkey meat, and a big pot of turkey stock. Time to make the actual gravy! If you have refrigerated your turkey stock, scrape any fat off the top and set aside. Measure out 5 cups of turkey stock and set it aside.
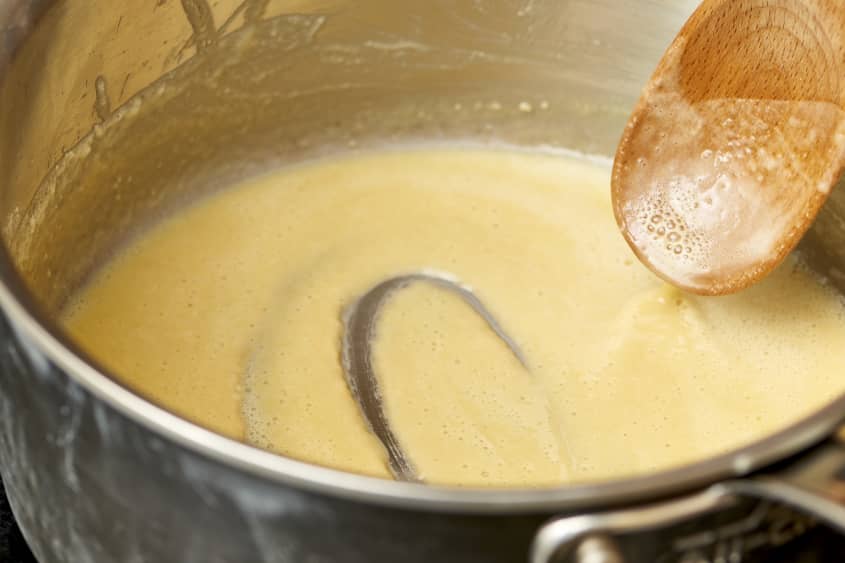
Make a roux with fat. Add about 1/4 cup of the fat to a 2-quart saucepan or sauté pan. What kind of fat is up to you. Scrape what you can off the pan drippings you set aside earlier, and augment with fat off the stock, if you have it. Make up any difference with butter. This doesn't need to be exact; it can be approximate. After the fat foams up in the pan, add the flour. Cook the flour over medium-low heat, stirring constantly. When it turns a pale brown, it's time to add the stock.
Whisk the stock into the roux. Add about 1/2 cup of the stock and whisk vigorously to smooth out lumps. Add the remaining 4 1/2 cups and any remaining pan drippings and whisk again. Bring to a boil, whisking frequently. (A flat whisk here is very helpful.) When it boils, whisk vigorously until the gravy thickens. Turn off the heat. Taste and season, if necessary, with salt and pepper. Depending on how well you strained your stock, there may be bits of turkey in your gravy at this point. If you want to, you can strain the gravy again into a bowl.
Cool and store your gravy. Let the gravy cool slightly, then pour into a freezer-safe container or bag, and freeze.
Thaw and reheat for Thanksgiving. Thaw in the fridge overnight, then reheat over low heat, whisking to smooth out any separation.
Recipe Notes
I call for 5 cups of stock for 1 quart gravy, because there is inevitably some evaporation. I have often started making gravy with a quart of stock, but ended up with only 3 cups of gravy! This gives you a little room.
This produces a relatively thin gravy. I like gravy to taste of the turkey, not of the flour or the roux. It won't spread out all over your plate, but it's certainly not thick like pancake batter.
Adapted from The New York Times.