
How To Make Really Big and Cheap Photo Posters for a Party

Yesterday I showed you the Mother’s Day brunch I threw for my mother and grandmother. This was a pretty simple party — just Sunday lunch at home with family. But as a special touch I did a project I’ve been wanting to try for a long time: I made big black and white posters out of old family photos.
This was surprisingly easy and inexpensive! It just cost me a few dollars, and it was a fun, special touch that could work for so many parties, from birthday celebrations to wedding receptions. Here’s exactly what I did so you can try it too, if you like.

First, though, I need to give credit to Jordan Ferney, who gave me the idea in the first place. Jordan’s blog, Oh Happy Day, is full of clever, creative ideas for parties and family gatherings. She has used this technique to create lots of great projects for her blog, so I asked her how she first thought of the idea.
She said, “I got the idea to use the plotters for posters in college. I used them once in an art project and it was so cheap! Then I started using them to make giant cards for my friends. One time I used it to make a giant poster for a friend and turned it into postcards that I sent to all of her friends and family with instructions to mail back the week of her birthday. She got so many cool photos and notes from everyone.”
You can see that project here, plus a couple other plotter poster ideas from Oh Happy Day:
I love the idea and I’m so glad I used it for this party.
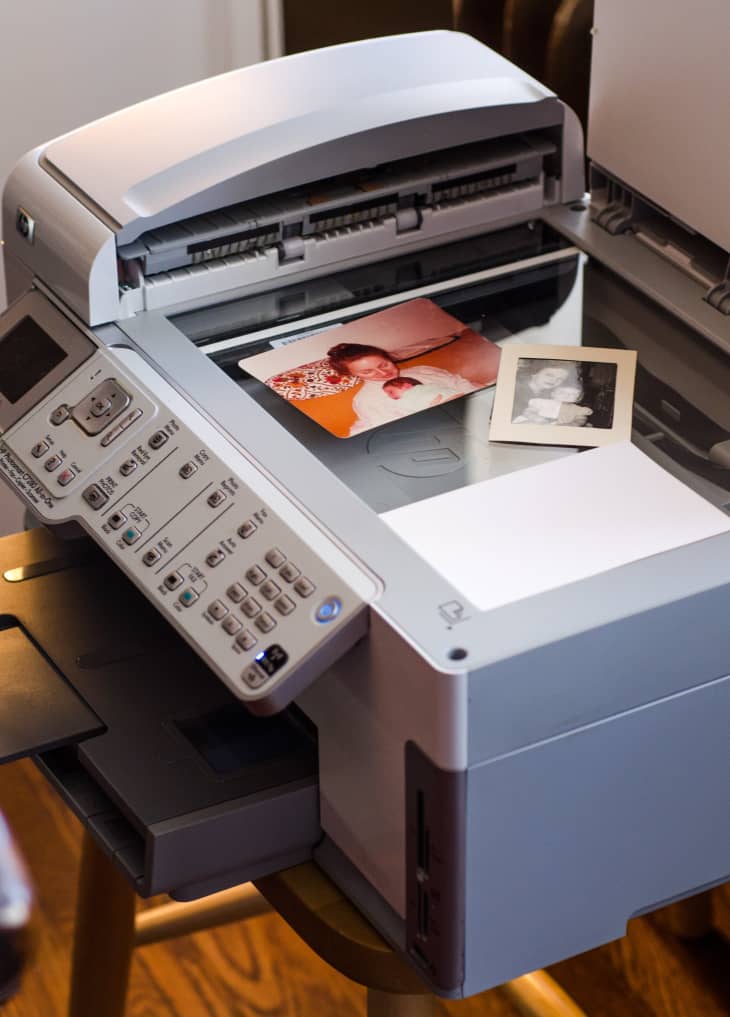
I have a scanner and Photoshop so it was easy to make these posters. If you don’t have a scanner or any image software ask a designy friend to help out (although, you really don’t need Photoshop; if you use a Mac, the Preview software can do all of this).
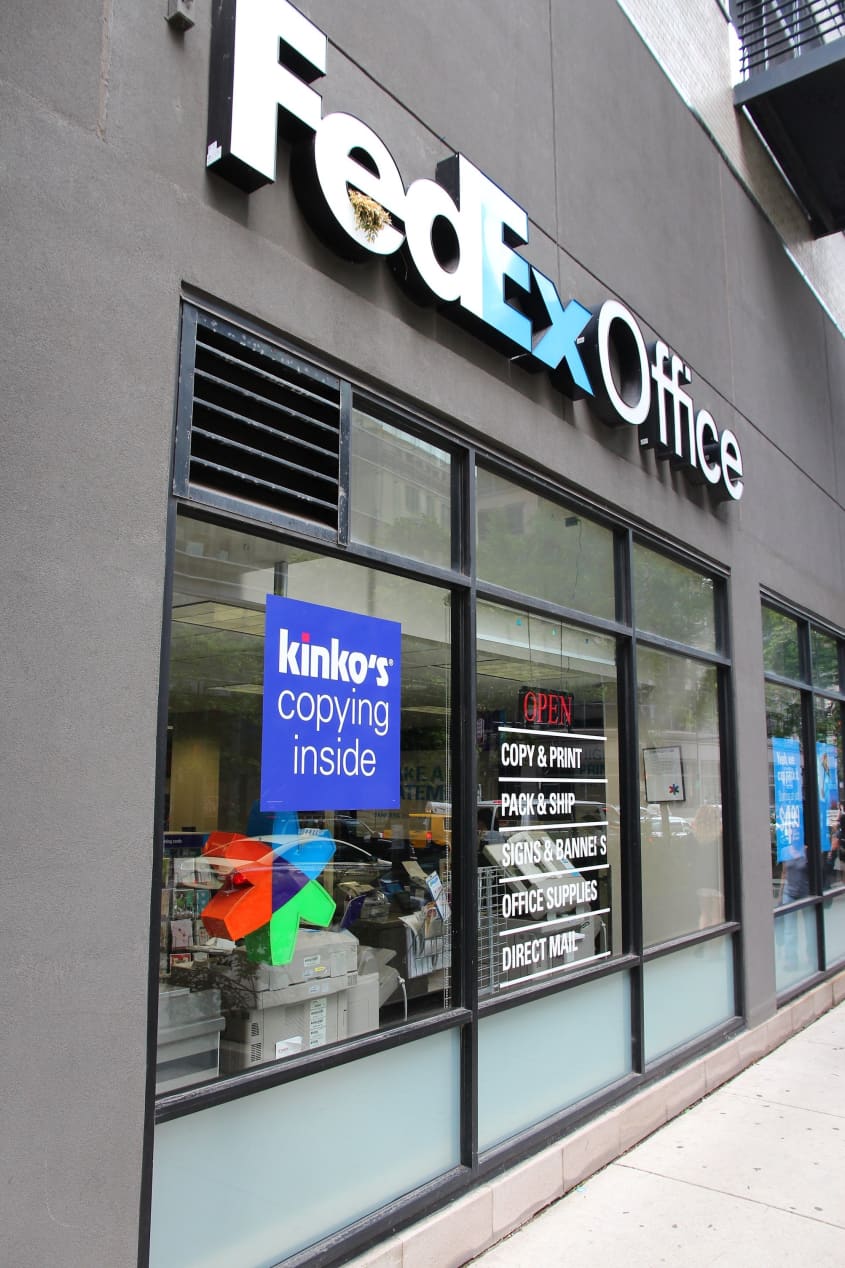
After you choose some photos and scan them, then you take them to Kinkos or Staples and print them on their plotter printer. A black and white plotter printer is an oversized printer that often used for engineering or architectural drawings. It doesn’t print at a very high resolution or with fine quality, but it is still totally adequate for these big posters you’ll see from a few steps away.
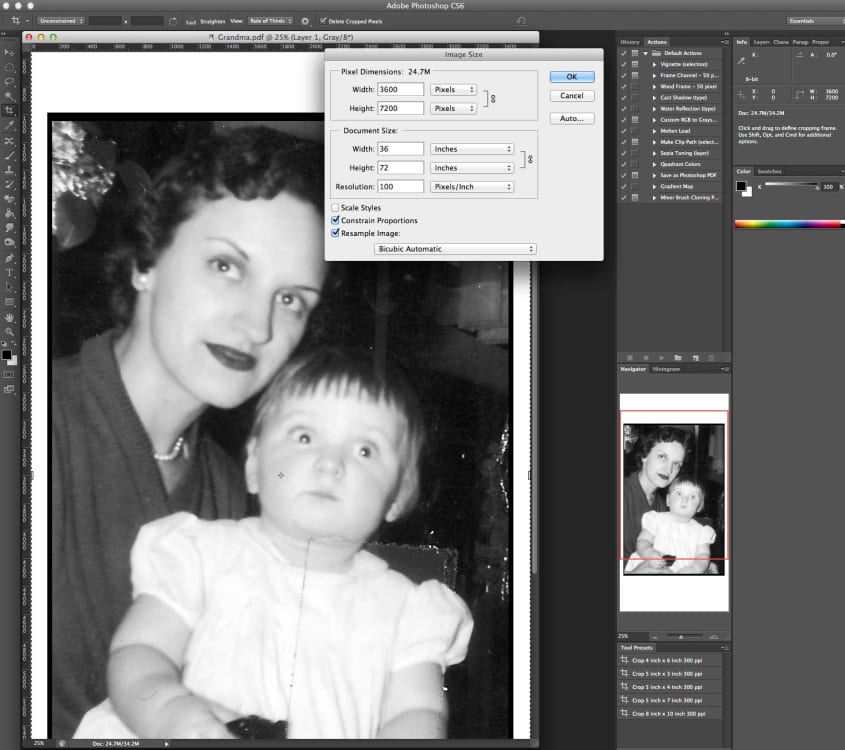
One note: I did find that it’s important to have the scanned photo image sized exactly to the width of Kinko’s printers. I took a big file with me the first time I went, assuming they could just print from it. But they were going to charge me to resize the file exactly to their printer width (crazy) so I went back home and changed the image size to exactly 36 inches wide. They printed then with no problems at all.
How To Make a Really Big and Cheap Photo Poster
What You Need
Equipment
Photographs
Scanner
Photoshop, Preview, or another photo software that lets you resize and crop
Flash drive
Scotch tape or pins, for hanging
Instructions
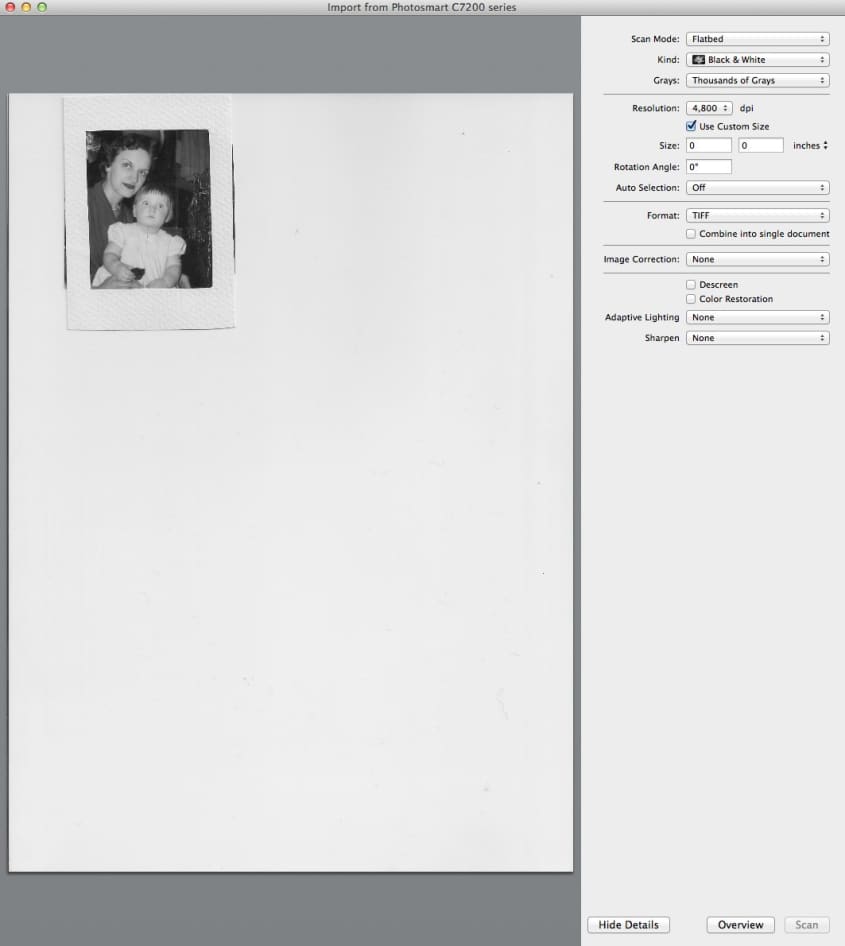
- Scan the photo: Use a scanner to scan the photo at as high of a resolution as possible. Your photos will be physically much smaller than the poster so it’s important to capture as much data as possible off the photos. I used Preview to scan at 4800 dpi to a black and white TIFF file.
- Resize the photo: Call Kinkos/FedEx Office or Staples and find out the size of their black and white plotter. Some locations have black and white printers that are 48 inches across; others, like mine, are only 36 inches wide. Resize the scanned photo file to the exact width of their printer. (Example: in Photoshop, go to Image > Image Size and change the width to 36 inches). I also added a black border around the photo and added a little bit of white canvas above and below the image itself to make sure the posters covered my wall art completely.
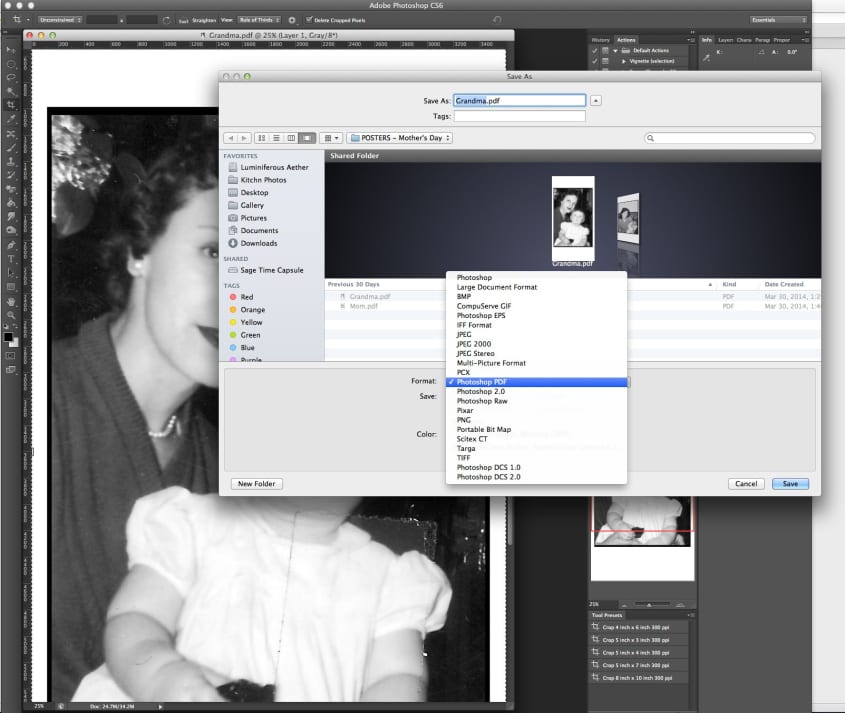
- Save the file at its biggest size and resolution: Save the file as a PDF at high resolution. It will be a big file — at least 20 to 40 MB. Transfer the file to a flash drive.
- Take the file to Kinkos and print: Take your flash drive with the file to Kinkos or Staples and tell them you want to print it on the black and white plotter. This should take only a few minutes, and if they’re anything like the one I went to, it should only cost about a few dollars per poster.
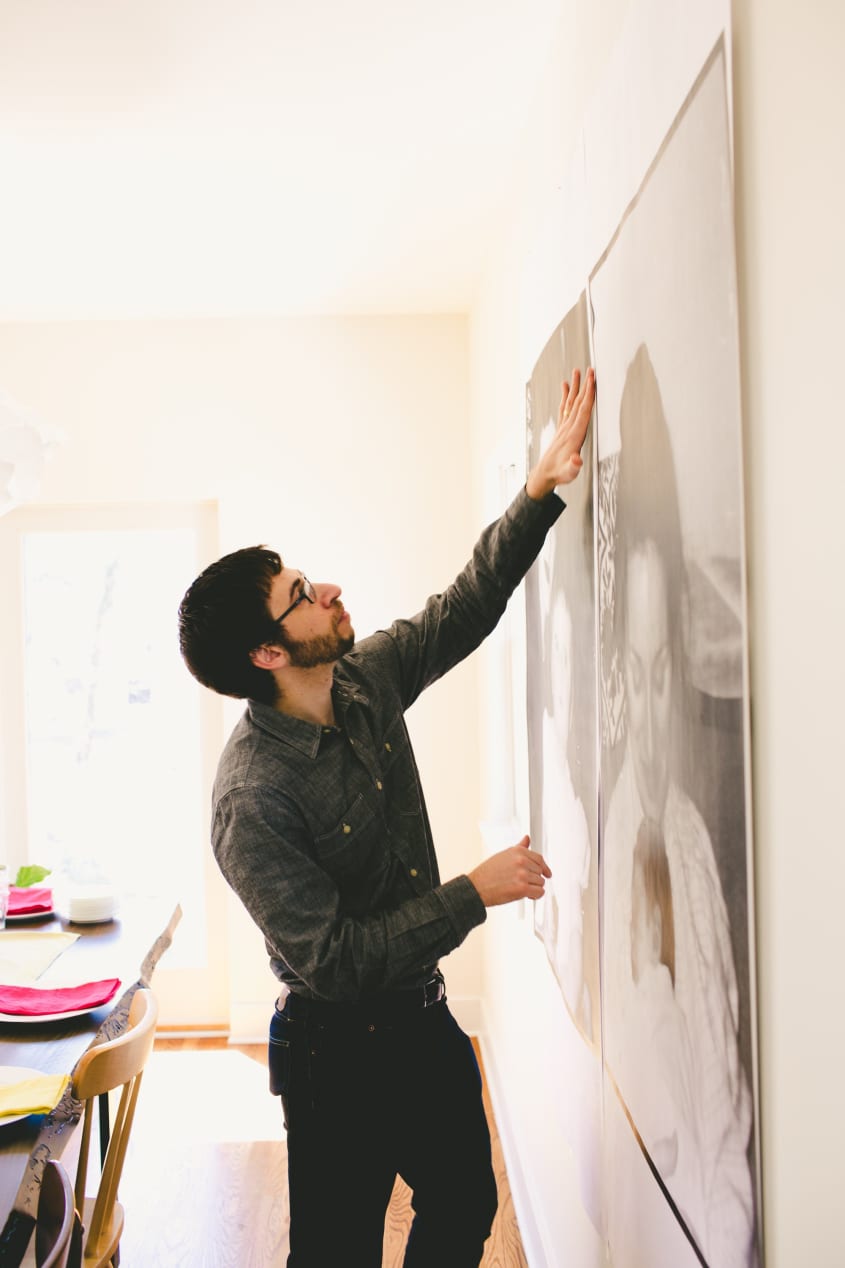
- Hang the poster: We tacked ours up with tiny tacks that didn’t leave a noticeable mark in the wall, plus a little bit of tape to keep it steady.

Want more smart tutorials for getting things done around the home?
See more How To posts
We’re looking for great examples of your own household intelligence too!
Submit your own tutorials or ideas here!