
How To Make Homemade Candy Corn

With our step-by-step guide, recreating the Halloween treat is so easy it'll spook you.
Makes225 (1-inch) candies
Prep1 hour 30 minutes
Cook10 minutes to 15 minutes
There is a particular emotion that comes from creating something that, up until that very moment, felt like the un-reproduceable creation of some industrial food lab (homemade Pop-Tarts or graham crackers anyone?). The feeling is a mixture of pride, satisfaction, and outright elation. It also feels a little like having superpowers.
Make this recipe for candy corn and you can ride that emotion for days. Because by golly, you made candy corn! Sure, you can easily buy a bag of the stuff for Halloween and save yourself the trouble, but that’s no way to become a superhero. Go on. Impress your friends and family. Make a batch of candy corn. Here’s our DIY recipe and step-by-step guide.
What Does Homemade Candy Corn Taste Like?
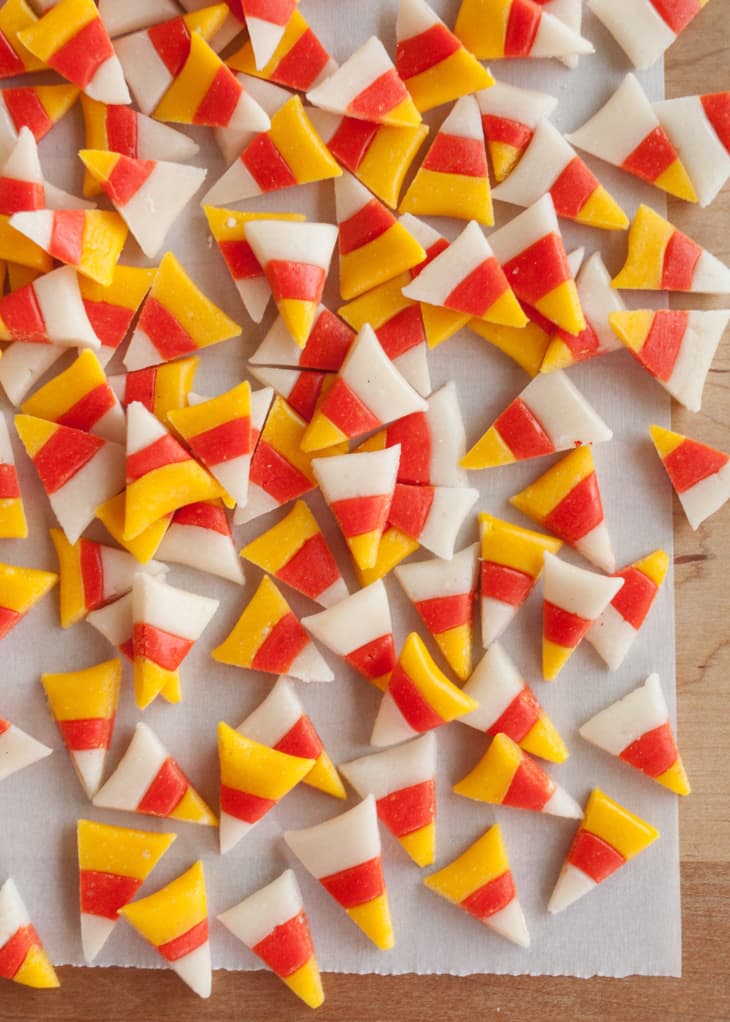
This candy corn tastes like the real thing, which is to say, it tastes addictively sweet. Best of all, homemade candy corn has that exact same candy corn texture: chewy at first, and then dissolving into delicious ephemeral sugariness.
If you don’t like store-bought candy corn, then you’re probably not going to be a big fan of the homemade version. But if you love candy corn, then this recipe will blow you away.
How to Make Homemade Candy Corn
Making homemade candy corn is a surprisingly un-scientific process. No unpronounceable ingredients or fancy stainless steel equipment required. Just some sugar, a pot, and a mixing bowl are all you need. Make candy corn in just four steps:
- Make a sugar syrup: There is a bit of candy-making required here, but it’s Candy-Making 101. I definitely recommend having a candy thermometer or instant-read thermometer to keep track of the temperature of the sugar syrup as it cooks, but that’s the most stressful this recipe gets. Also, we’re only cooking the sugar syrup to the lower end of the candy spectrum — at this stage, if you over-reach your temperature goal, you can add a splash of water to the pan to bring down the temperature and take another run at it.
- Turn it into dough: Mix in some powdered sugar, and shape this into a workable dough. We’re basically making edible Play-Doh — and yes, that’s as awesome as it sounds.
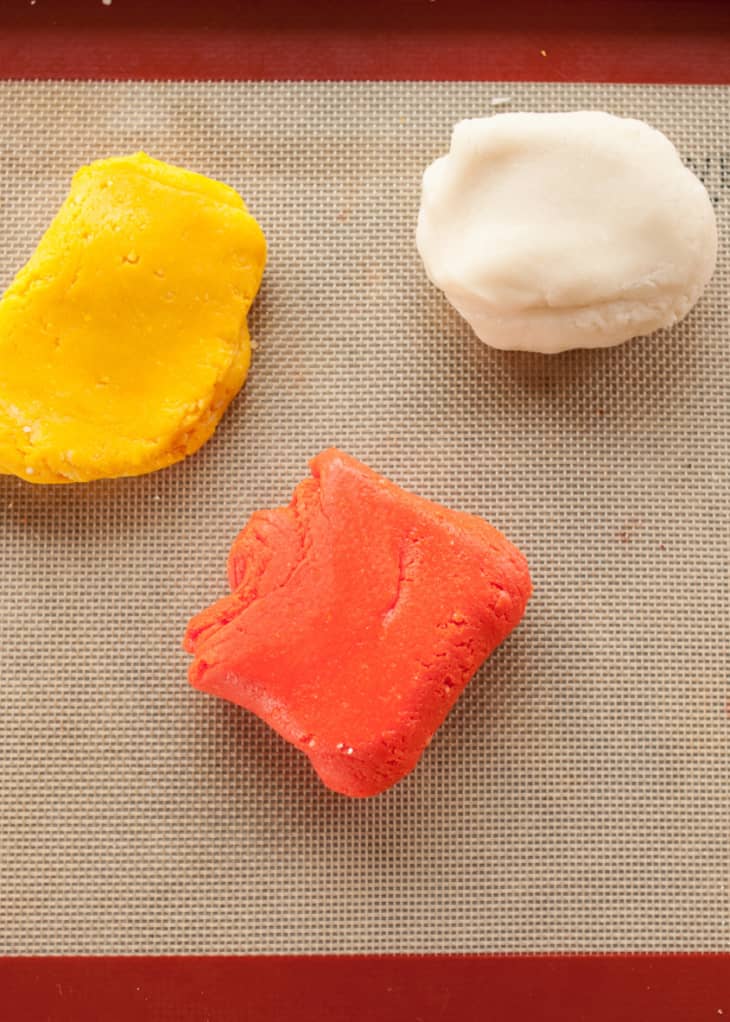
- Dye the dough: Separate the dough into three parts. Dye one part red, one part orange, and leave the last part white.
- Shape and cut the dough: Once you have the dough, making the actual candy corn shapes is like a grade-school craft project. Roll portions of each color into ropes, then flatten the ropes together and cut out triangles. All the rolling, shaping, and cutting can get a bit tedious, so be sure to have a podcast or some good music on in the background.
3 Tips for Making Candy Corn
- Yes, you need corn syrup. Before you ask, I will tell you that this recipe uses corn syrup, and unfortunately, I don’t have a good recommendation for a substitute. Candy corn is such an occasional thing for me, and corn syrup is so good at what it does (namely, making candy-making easy and preventing the sugar from crystalizing), that I feel fine using non-high-fructose corn syrup in this recipe.
- Cook the syrup to the right temp for the best texture. The texture of this candy is a direct result of how much you cook the initial candy syrup. I tried batches with the syrup cooked to 235°F, 245°F, and 255°F — the first batch made soft, taffy-like candies, and the last batch made a dough that was almost too stiff to easily shape. I found that the sweet spot is cooking the syrup to between 245°F and 250°F. This made an easily workable dough with chewy, but soft candies.
- The dough is versatile. The possibilities for this dough are endless; it is easily dyed to any color and easily moldable to any shape. You can use it to make fun cake toppers or personalized treats. Don’t stop at candy corn — the world is your oyster.
Other Homemade Halloween Treats
How To Make Candy Corn Recipe
With our step-by-step guide, recreating the Halloween treat is so easy it'll spook you.
Prep time 1 hour 30 minutes
Cook time 10 minutes to 15 minutes
Makes 225 (1-inch) candies
Nutritional Info
Ingredients
- 1 cup
powdered sugar
- 2 1/2 tablespoons
nonfat powdered milk
- 1/8 teaspoon
kosher salt
- 1/2 cup
granulated sugar
- 1/3 cup
light corn syrup
- 2 tablespoons
unsalted butter
- 1 1/2 teaspoons
vanilla extract
Red and yellow liquid food coloring
Equipment
Mixing bowls
Strainer
2-quart or larger saucepan
Candy thermometer or instant-read thermometer
Stiff heatproof spatula
Baking sheet
Silicone baking mat
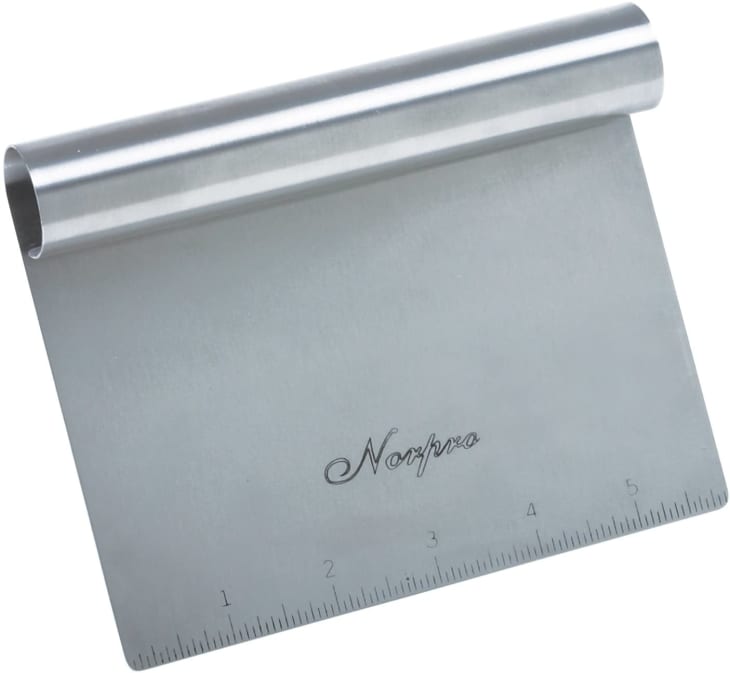
Bench scraper or chef's knife
Rolling pin
Measuring cups and spoons
Instructions
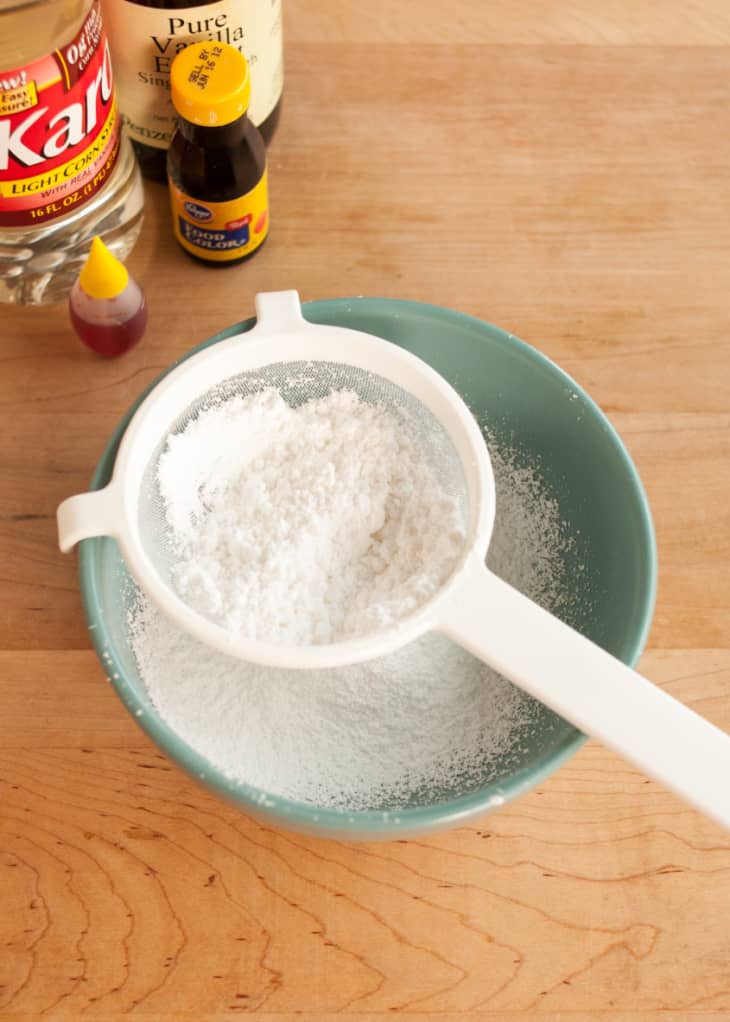
Sift the dry ingredients. Place1 cup powdered sugar and 2 1/2 tablespoons nonfat powdered milk in a sifter or fine-mesh strainer and sift into a large bowl. Add 1/8 teaspoon kosher salt.
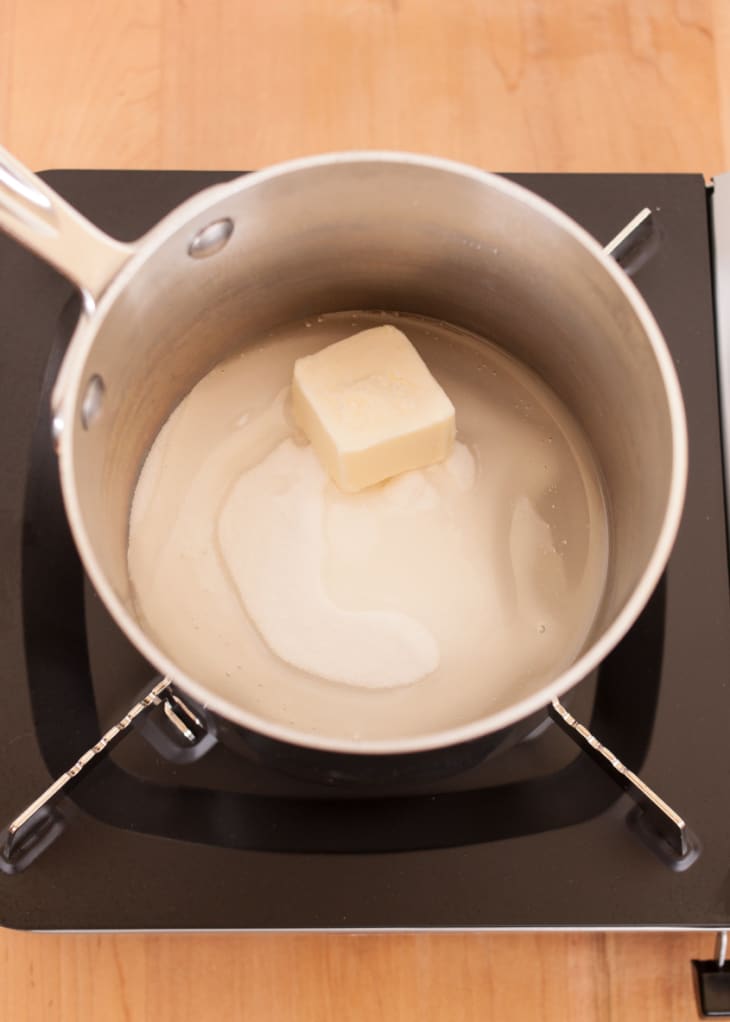
Melt the sugar, corn sugar, and butter. Line a baking sheet with a silicone baking mat and set it near the stove. Place1/2 cup granulated sugar, 1/3 cup corn syrup, and 2 tablespoons unsalted butter in a 2-quart or larger saucepan. Cook over medium heat until the sugar dissolves and the butter is melted, swirling the pan gently once or twice, 6 to 8 minutes.
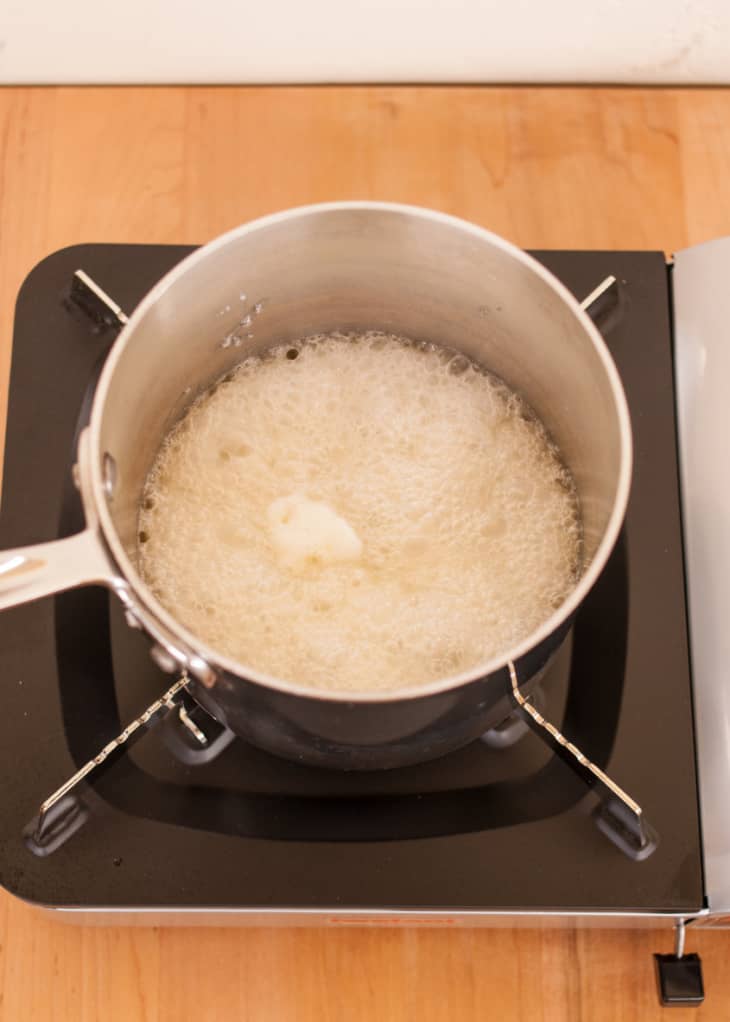
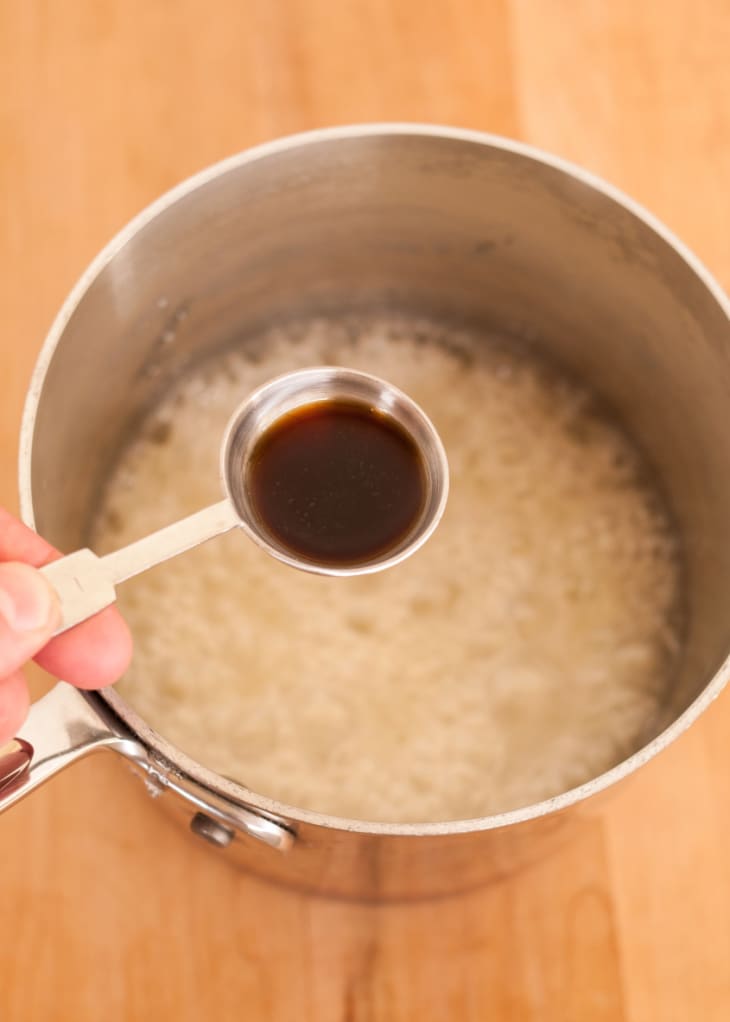
Cook the sugar syrup to 245°F to 250°F. Clip a candy thermometer or instant-read thermometer to the side of the pan. Bring the syrup to a full boil. Continue boiling without stirring until the syrup is 245°F to 250°F, 1 to 5 minutes. If you go over the temperature, remove the pan from the heat and quickly add a few tablespoons of water to the pan to reduce the temperature, and monitor the temperature carefully as it reheats. Remove from the heat immediately once the syrup reaches temperature.
Add the vanilla. Add 1 1/2 teaspoons vanilla extract. Be very careful since the syrup will bubble up and sputter quite a bit when you add the vanilla.
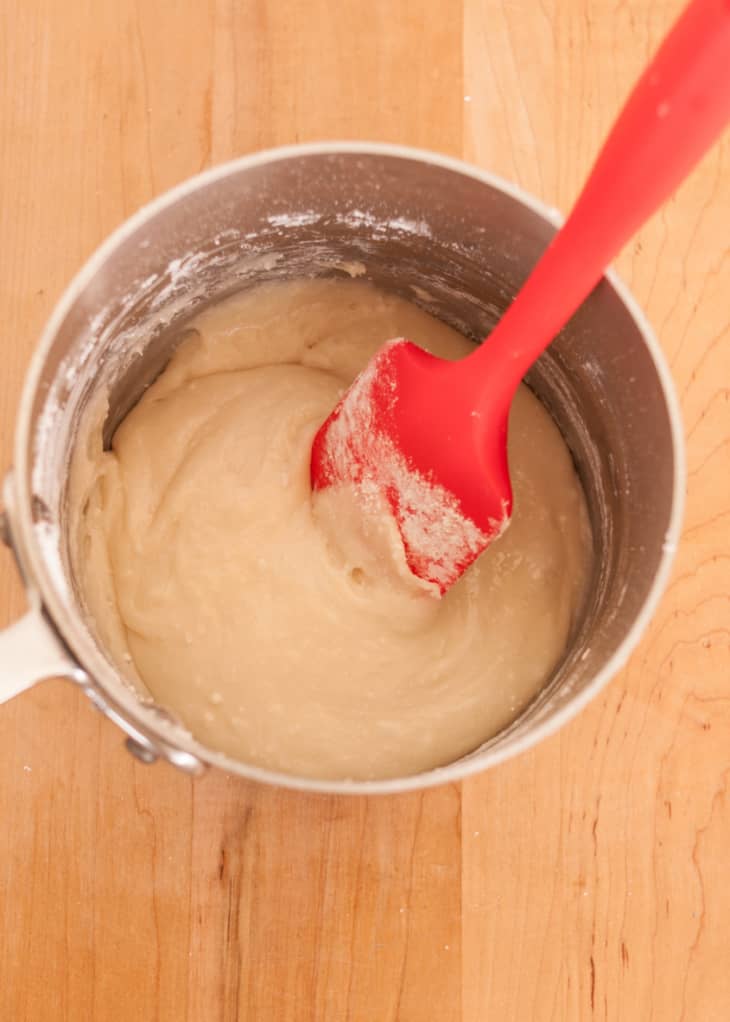
Add the dry ingredients. Add the powdered sugar mixture and stir with a stiff heatproof spatula until you've formed a thick paste-like dough and very little dry mixture remains. (I've found that it smells quite bad at this point — have faith!)
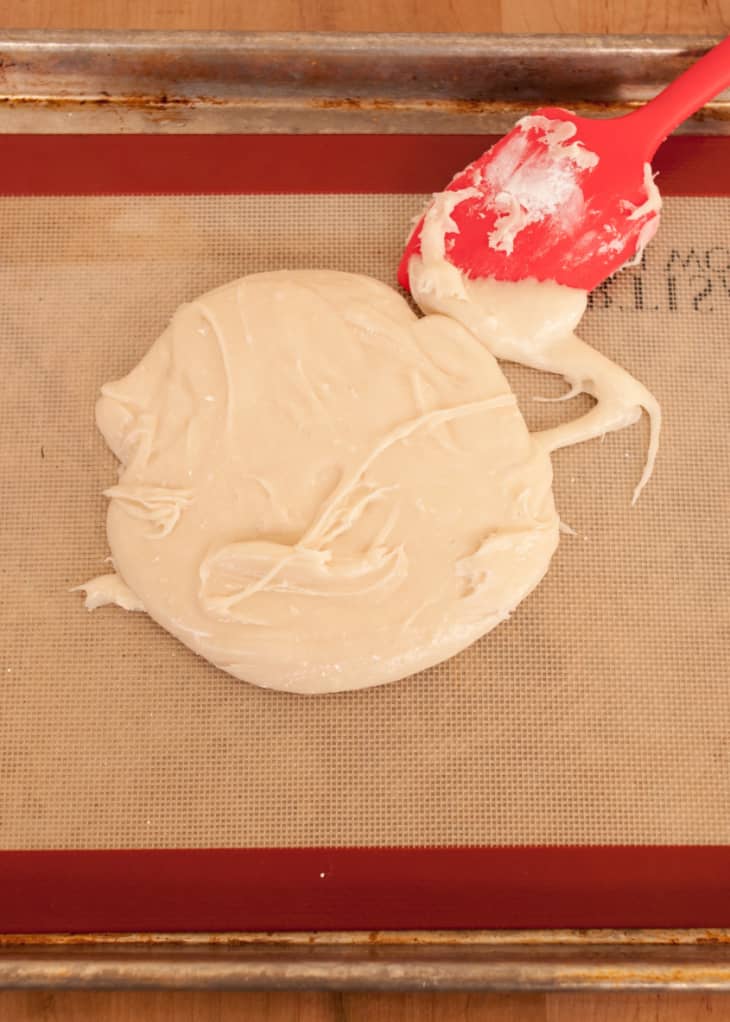
Pour the dough out onto the baking sheet. Pour all the dough onto the baking sheet, scraping the pan as well as you can.
Cool the dough 5 to 10 minutes. Let the dough cool until you are able to handle it, 10 to 15 minutes. Don't wait too long, though; the dough will stiffen as it cools and become harder to roll out.
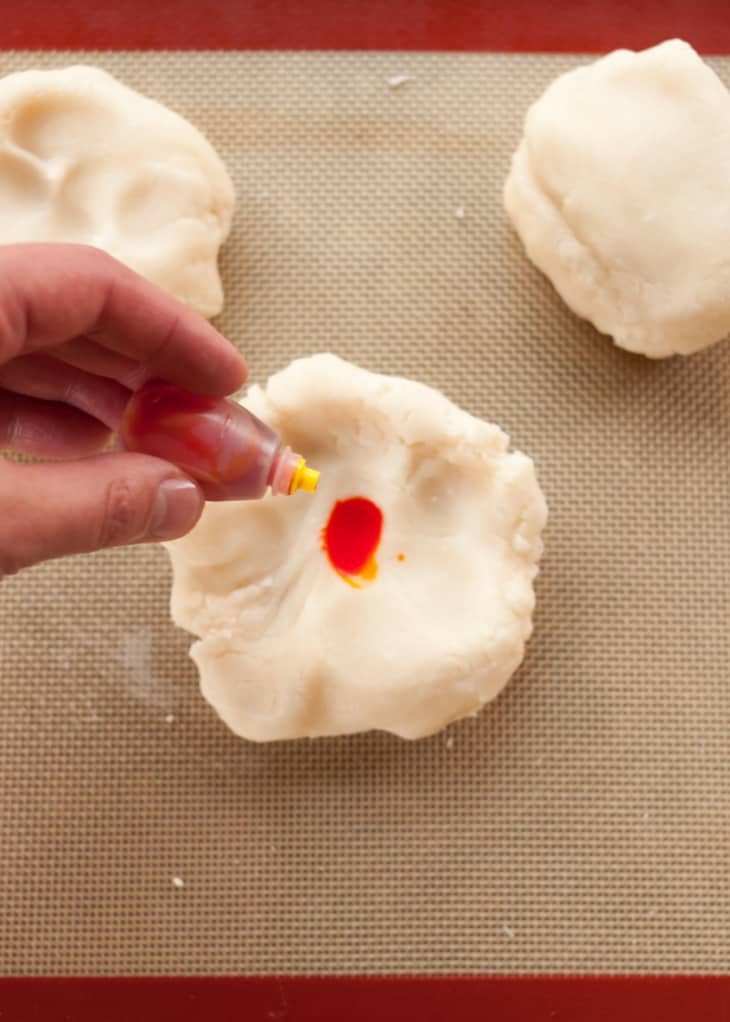
Cut and dye the dough. Cut the dough into 3 pieces using a bench scraper or chef's knife. Make a well in the center of one piece and add 10 drops of yellow food coloring. Make a well in the center of a second piece of dough and add 10 drops of yellow food coloring and 5 drops of red food coloring (to make orange).
Knead the dye into the dough. Knead both pieces of dough until uniform in color. Be sure to leave the remaining white piece of dough well away from the kneading area so it doesn't get any color. Knead against the baking mat so you don't dye your countertop or work surface. You can also knead more dye into the dough if the color doesn't seem quite right to you.
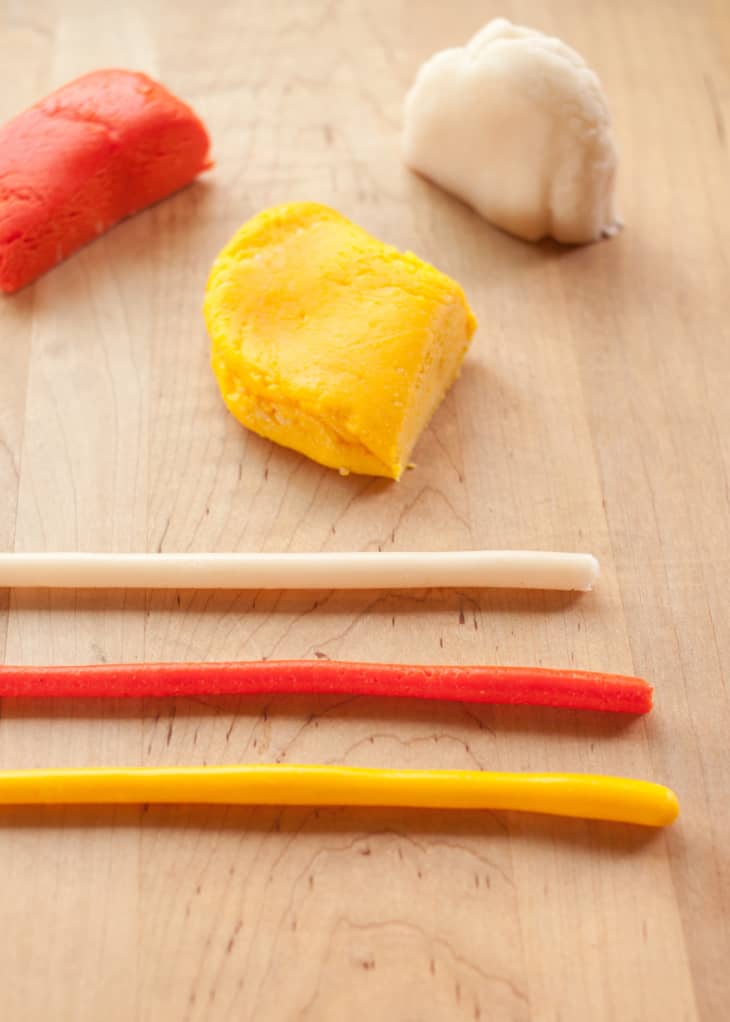
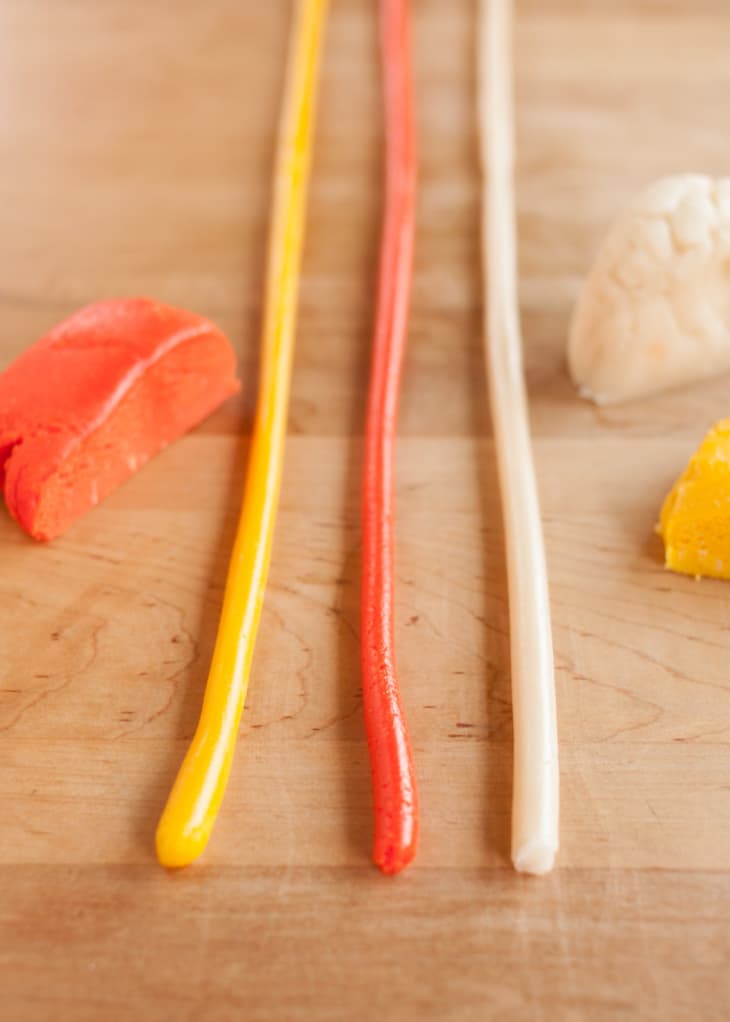
Pinch off a piece of dough from each color and roll out. Pinch off a piece of dough from each color roughly the size of a ping-pong ball. Roll each one into a thin 1/4-inch-thick rope. If a rope gets too long and hard to roll, you can break off the end and smash it back into the remaining dough.
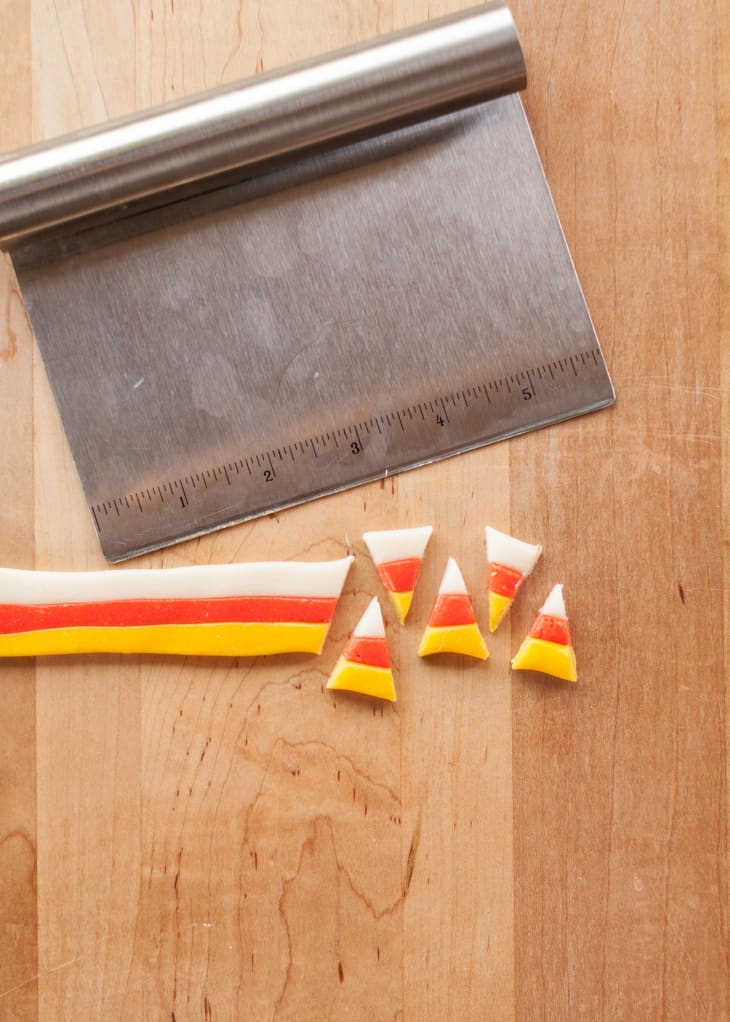
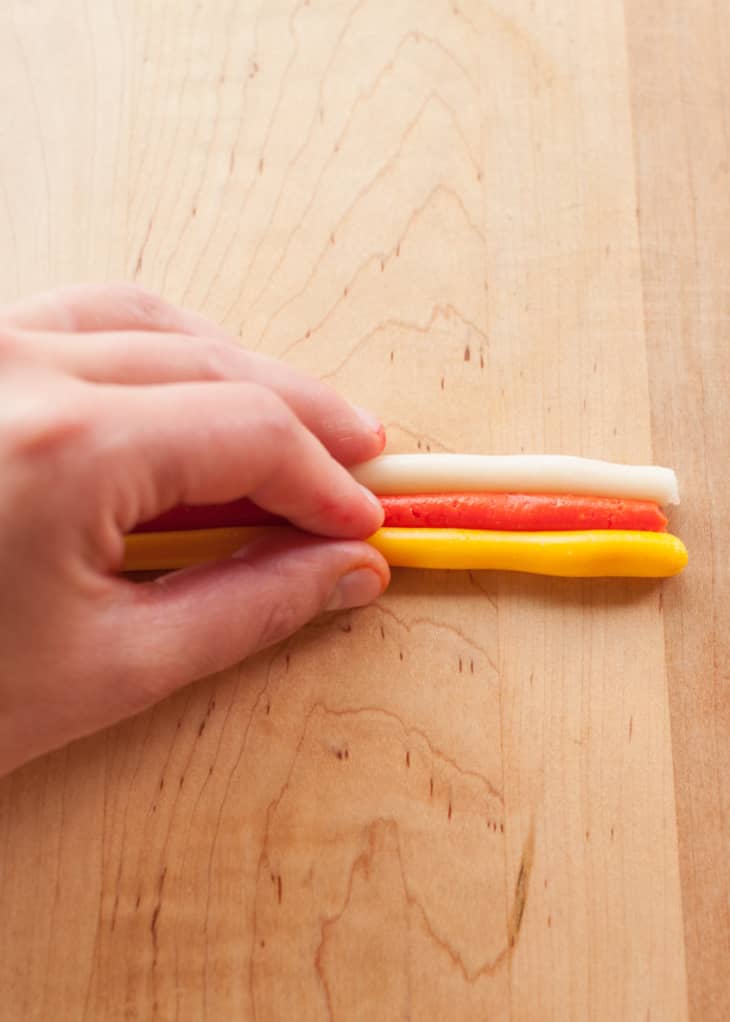
Pinch the ropes gently together. Arrange the ropes side by side in whatever order you like (yellow-orange-white is classic!), and then gently pinch them together so they stick to each other.
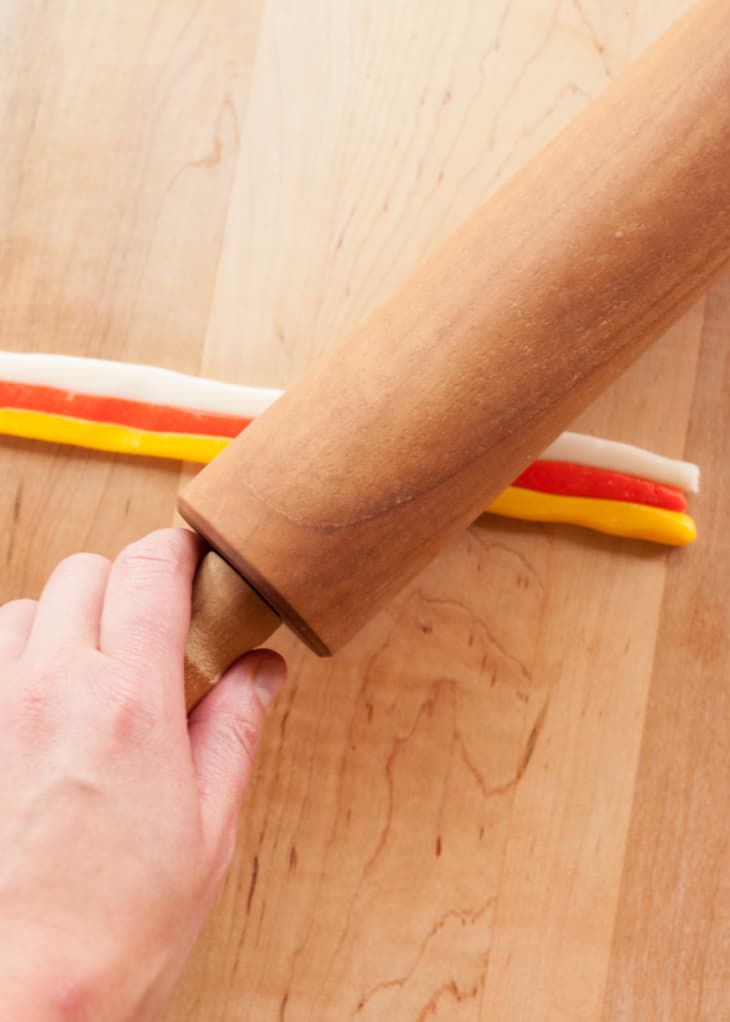
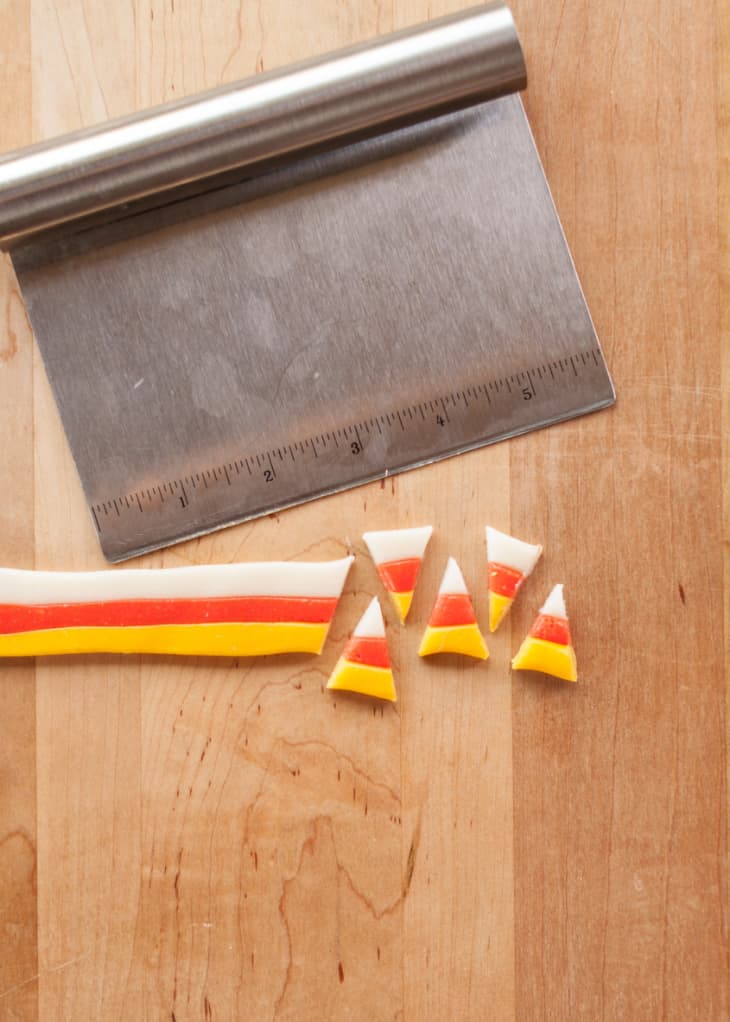
Flatten slightly with a rolling pin. Gently roll over the ropes with a rolling pin just to flatten out the curved edges.
Cut out triangles of candy corn. Use the bench scraper or chef's knife to cut out triangles of candy. Angle your scraper at a forward-slash angle and then at a back-slash angle as you work down the length of the ropes.
Repeat with remaining dough/ Continue rolling and cutting the dough until it's all used up. If the dough becomes too stiff to work with, microwave individual pieces in 5-second increments until it becomes pliable again.
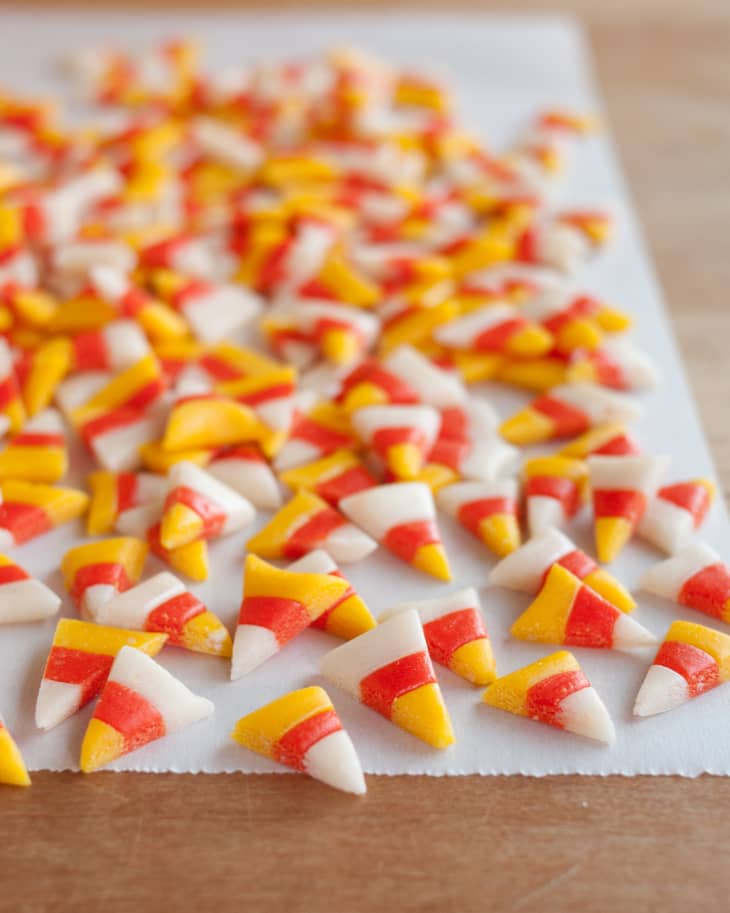
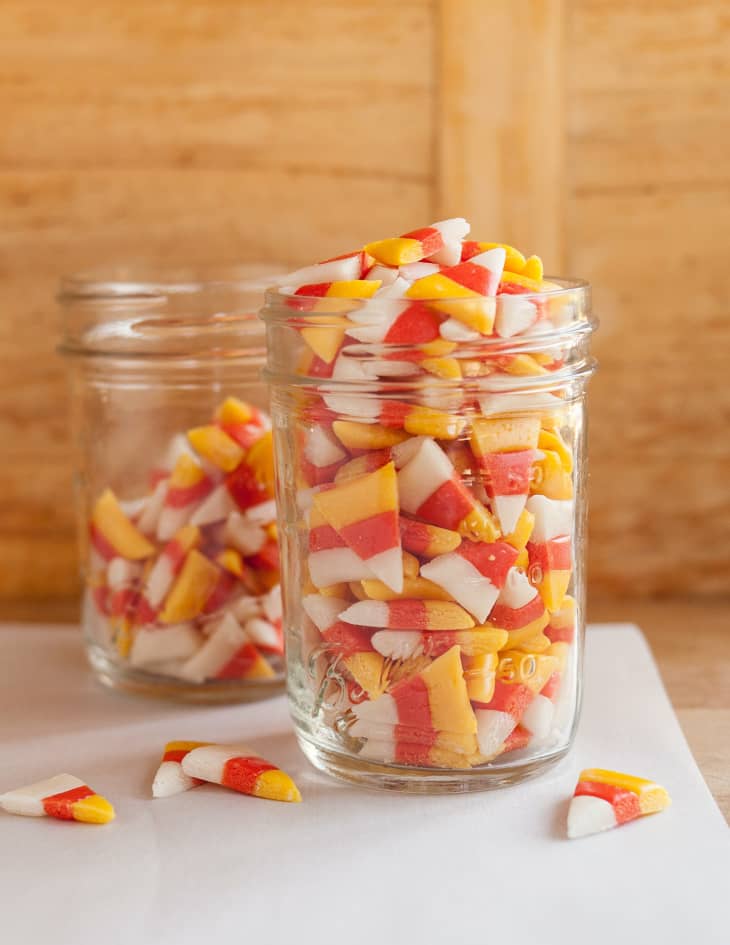
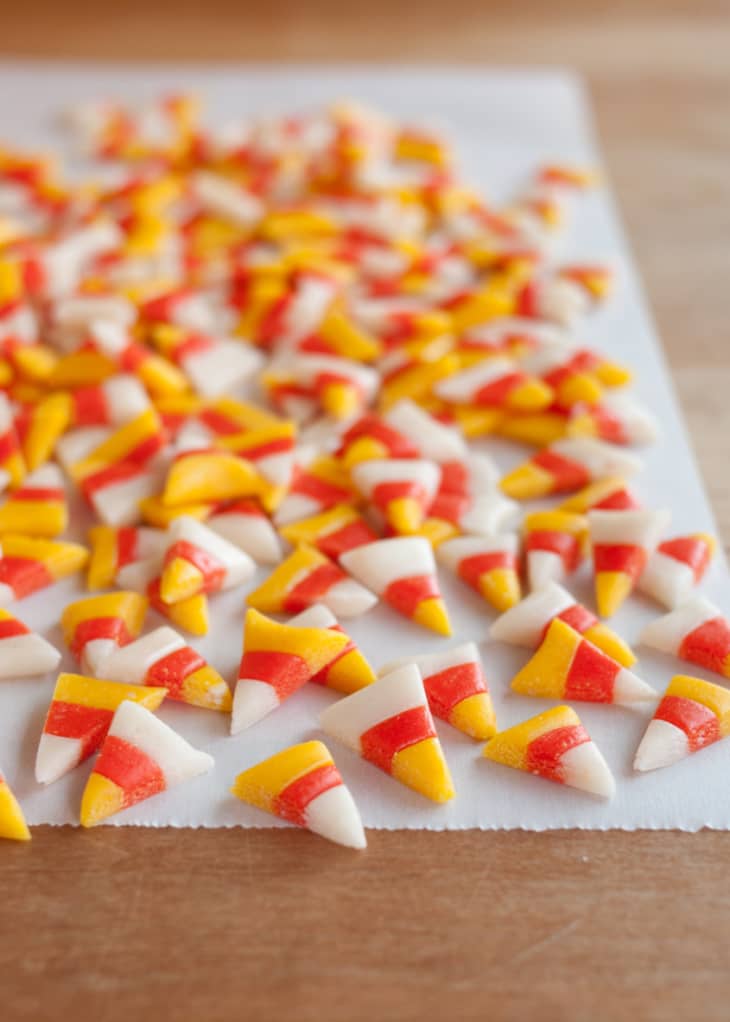
Dry the candies. Spread the candies out onto the baking sheet in a single layer to dry for a few hours. Separate any candies that are sticking together. Once dry, the candies can be stored in an airtight container for several weeks. Like commercial candy corn, these candies are good until they become too dry to chew!
Recipe Notes
Troubleshooting
- The dough is too loose to form into ropes: You didn't quite cook your sugar syrup enough. Try microwaving it for 30 seconds and letting it cool. You can also try kneading some more powdered sugar into the dough.
- The dough is too stiff to form into ropes: If it's so stiff that you can't cut it, you probably cooked the sugar syrup a little too long — best to chuck this batch and start again. If you can cut it, try microwaving portions in 5-second bursts until softened enough to roll — work quickly since the dough will harden again. If the dough was easy to roll at first and is now stiff, it's just starting to cool down and firm up, which is fine and normal but inconvenient for you — microwave portions in 5-second bursts until it's workable again.
- The sugar syrup turned grainy or hard when mixing in the dry ingredients: You probably cooked the sugar syrup a little too long. Unfortunately, this batch can't be saved. Best to start over.
- Ropes won't stick together: Your candy dough is likely starting to cool down and firm up, which is fine and normal, but inconvenient for you! Try pressing very hard. If that doesn't work, microwave the ropes at 5-second intervals, checking to see if they'll squish together at every interval.
- Finished candies are really sticky or soft: Your sugar syrup was likely a little under-temperature. Spread the candies out on the baking sheet in a single layer — no touching! — and let them dry thoroughly overnight. They might still be soft after drying, but will certainly taste great!
This recipe has been updated. Originally published October 2009.